
It's common to want to remove the background of a photo and just keep the subject. The subject of the photo can then be placed on an entirely different background. This guide will show how to erase the background of a photo using Photoshop CC. With the newest version of Photoshop CC, removing backgrounds is easier than ever!
First, make sure Photoshop is the correct tool for the job. If you just want to remove a background quickly, that can be done simply without Photoshop using one of these websites:
Here are the steps to remove a background with Photoshop.
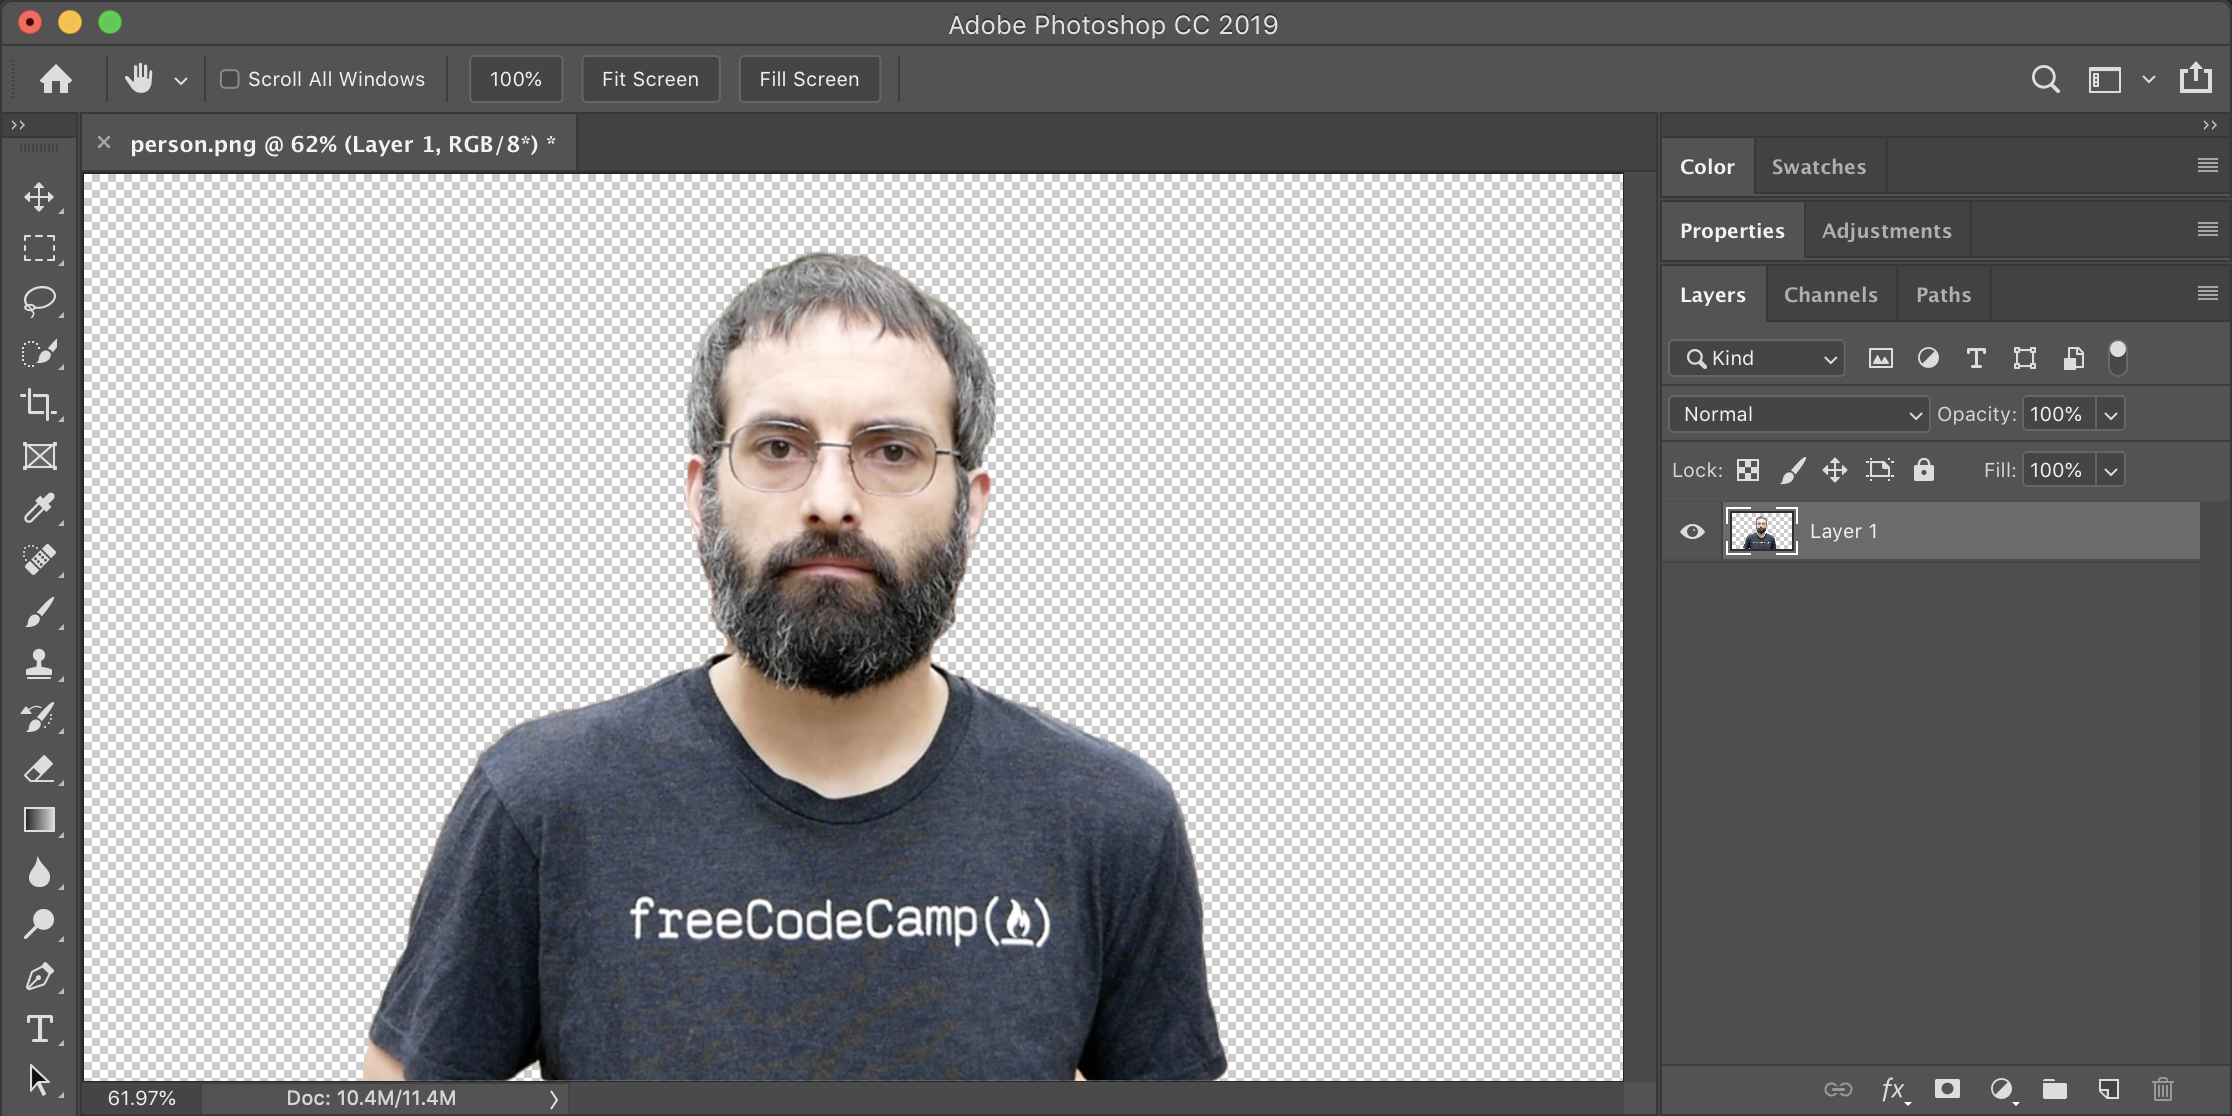
Step 1: Open your image in Photoshop.
Open the image. If you have multiple layers, make sure the layer is selected that contains the background you want to remove.
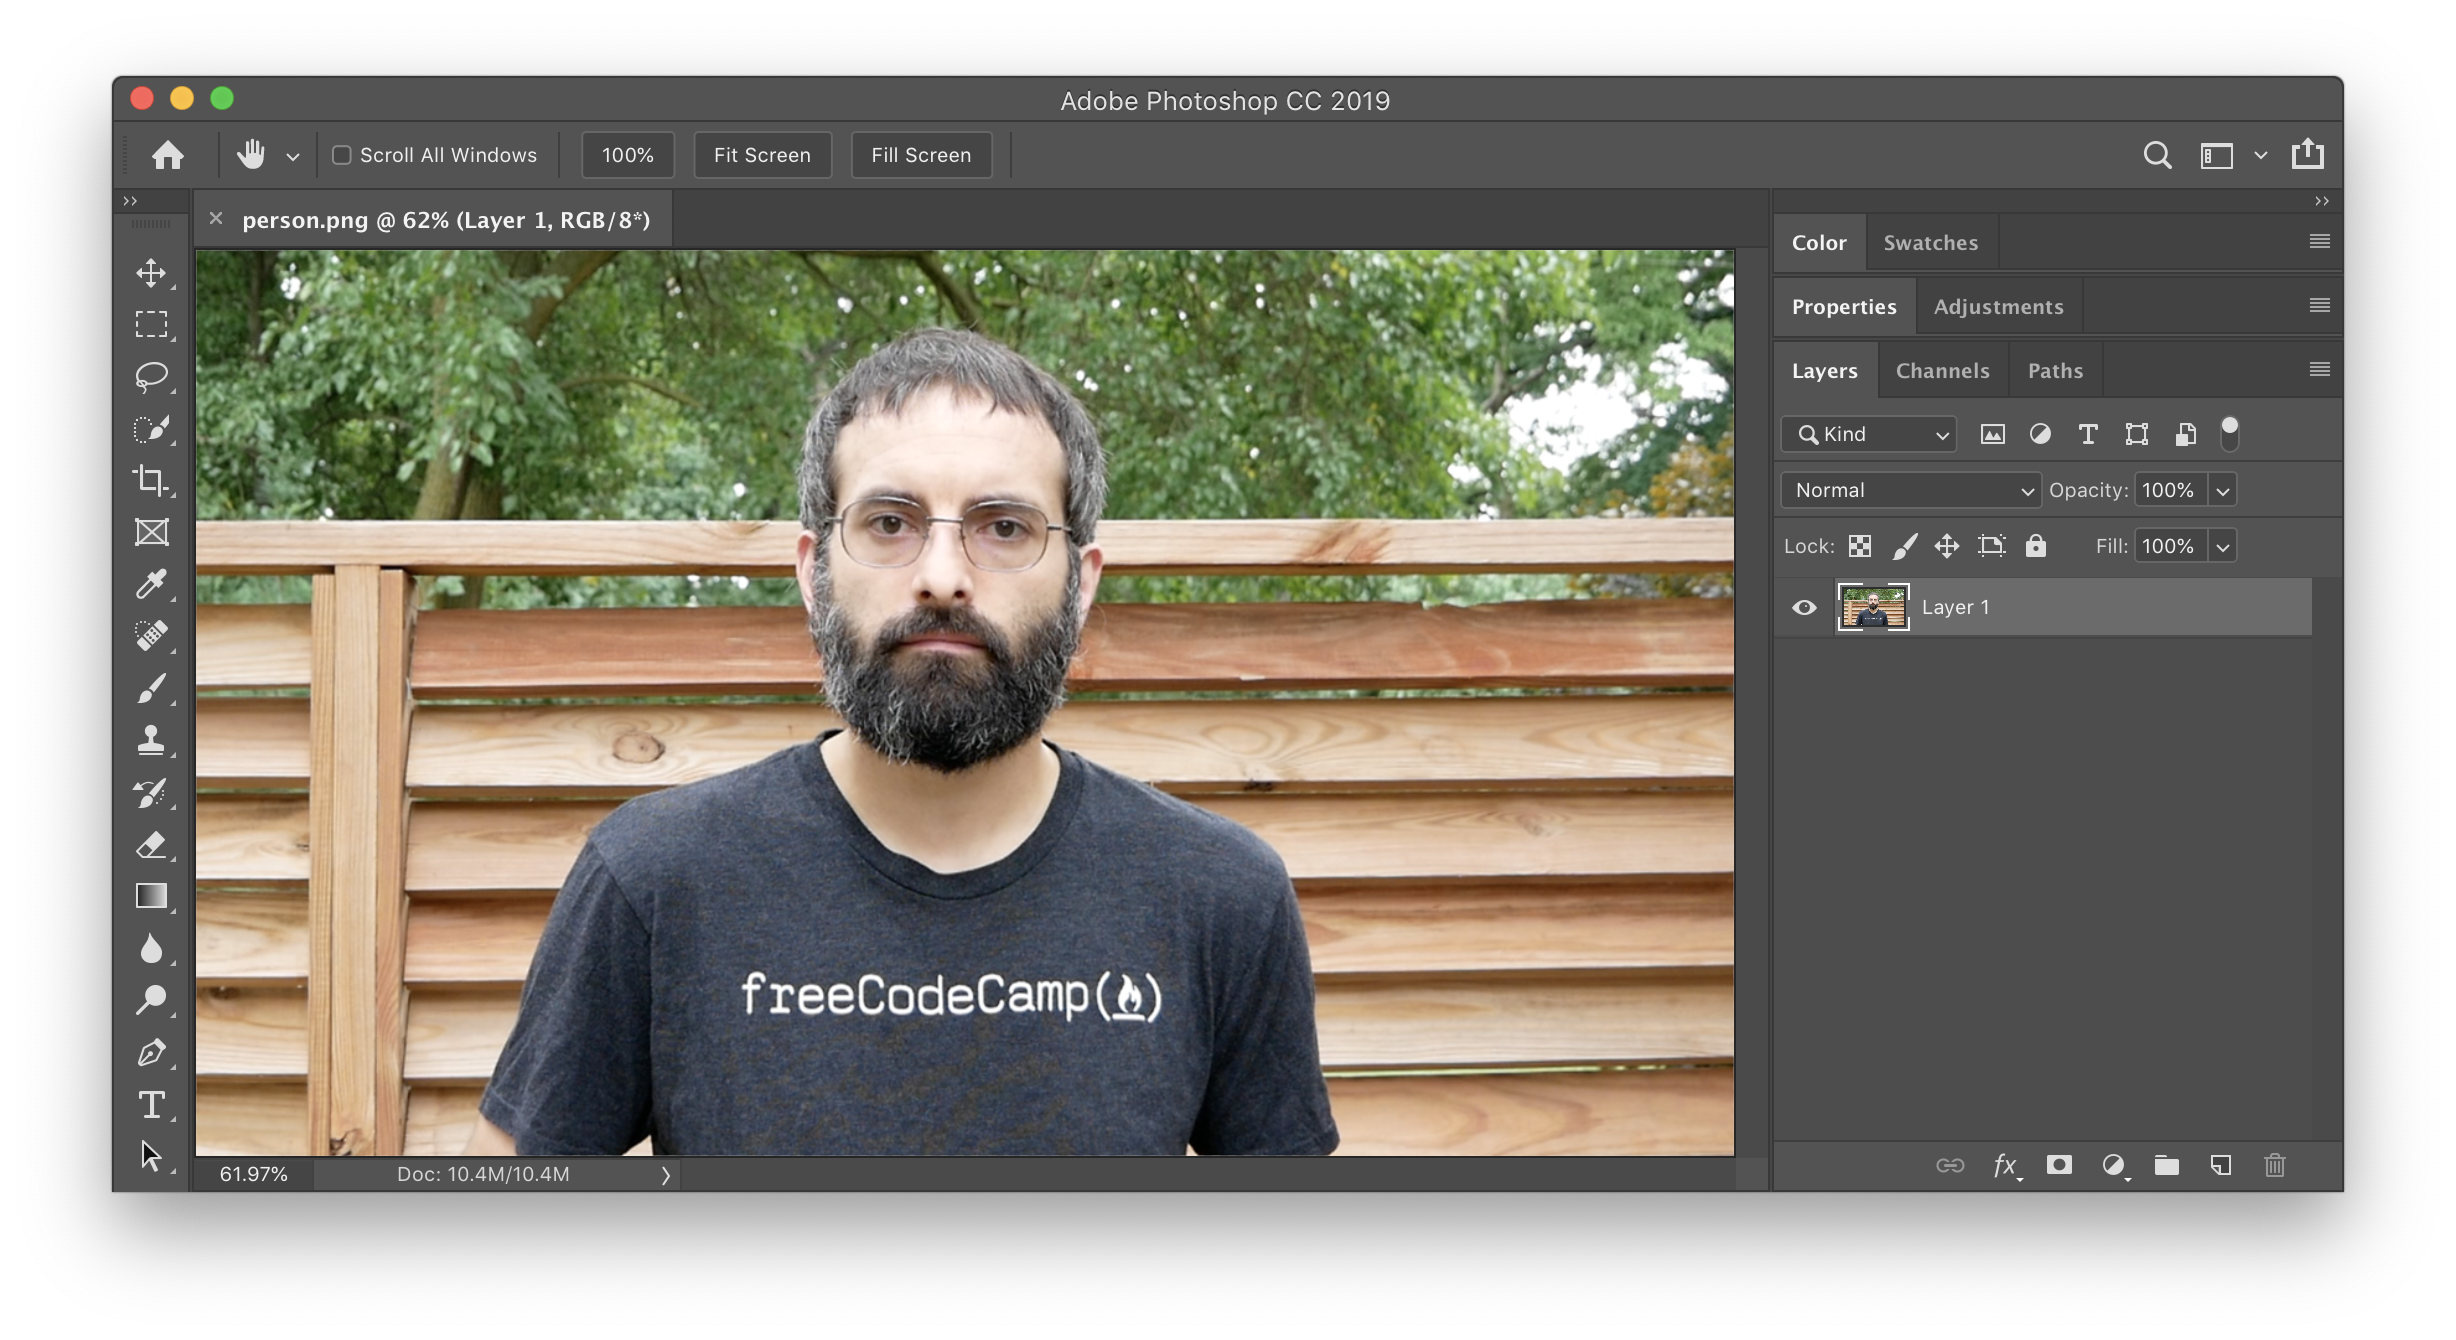
Step 2: In the "Select" menu click "Subject".
This will cause Photoshop to make a guess at a section of the the subject of the photos.

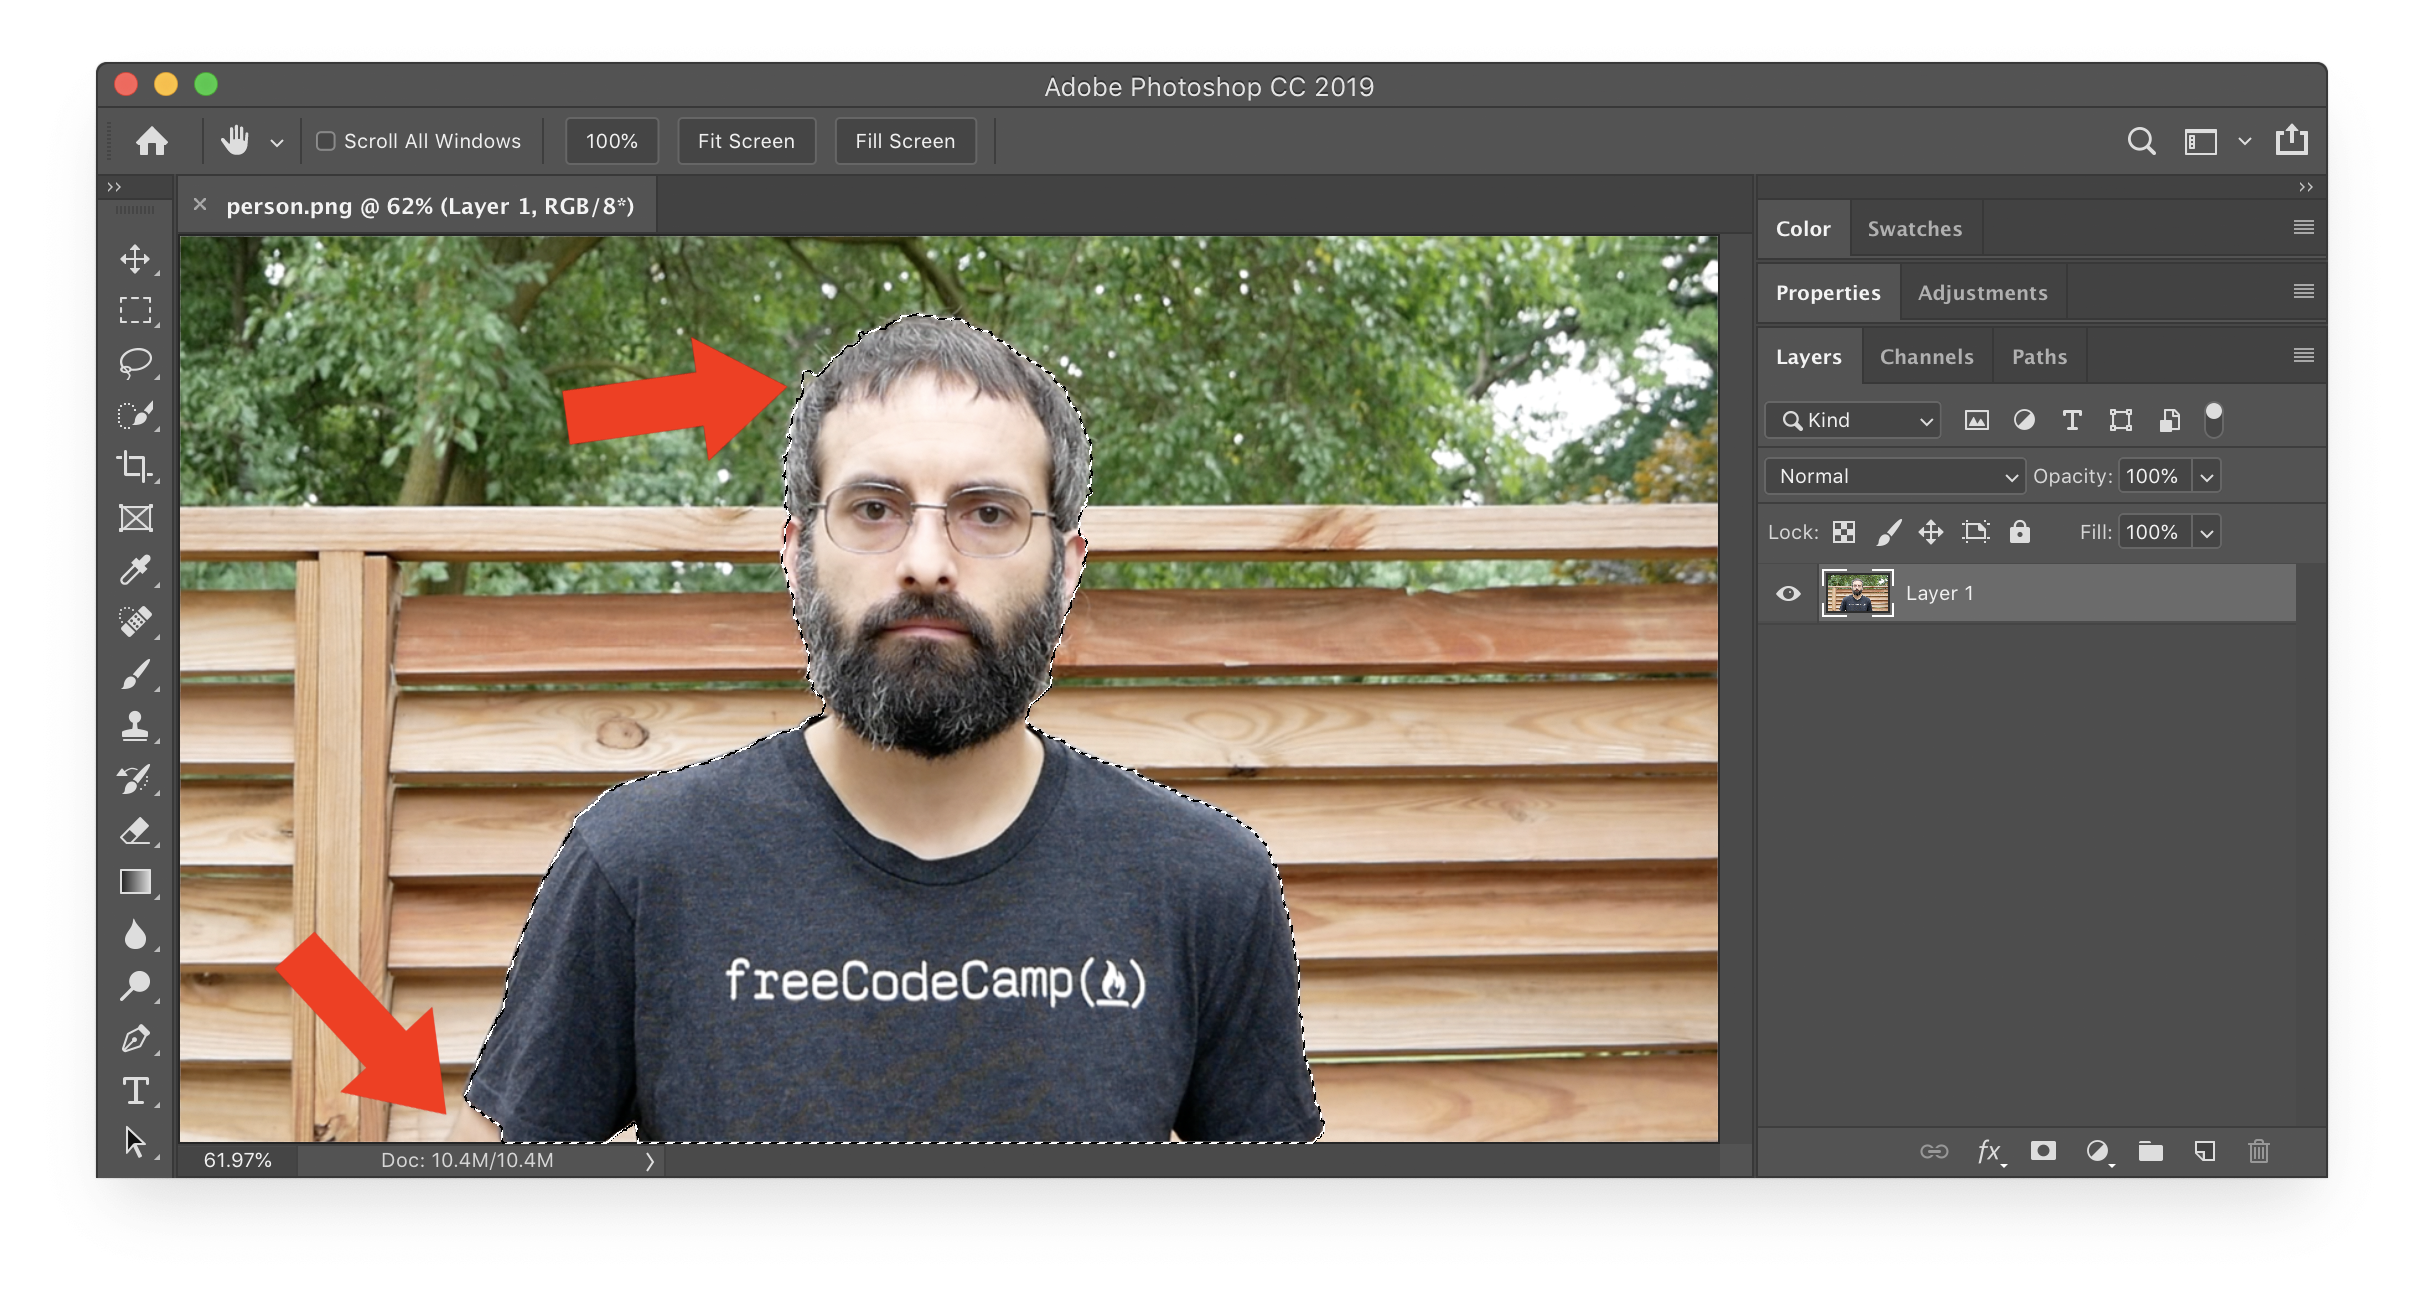
This does a pretty good job selecting the foreground, but there may be a few parts that need to be touched up. In the image below, arrows point to the parts that need to be improved.
Step 3: Go back to the "Select" menu again and click "Select and Mask".
This will open up a window that allows you to make adjustments to the selection.

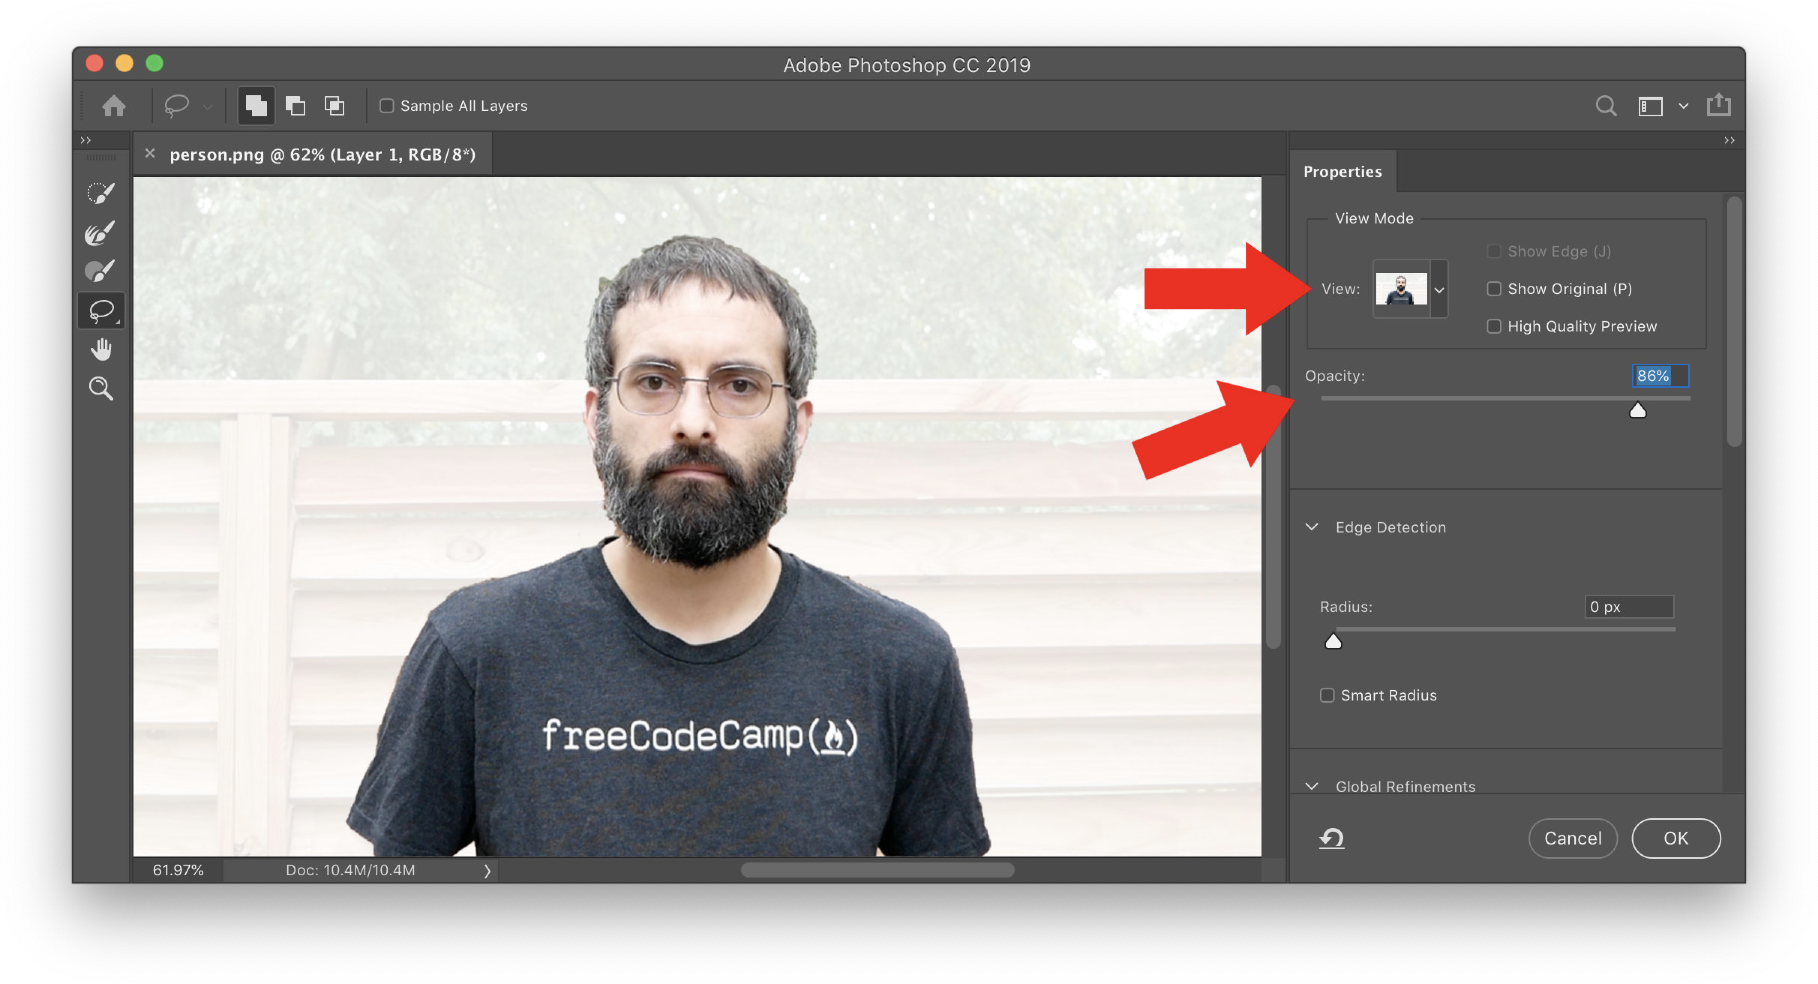
Step 3: Adjust the view mode and opacity.
Try a few different options until you can clearly see the selected foreground. The exact options you should choose will depend on the colors in your foreground image and your personal preferences.
Step 3: Adjust edge detection.
This is useful for detailed selections such as hair. The Edge Detection pixel radius indicates that the edge, including all details, could be within that many pixels on each side of what is currently selected. If you select "Smart Radius", then Photoshop will automatically determine what the pixel radius is.
Step 4: Set global refinements such as smooth.
Smooth is the main refinement you will need for photo editing. This will smooth out the jagged edges of the selection. You may also want to increase the feather, which will create a soft edge around the selection.

Step 5: Use the tools on the left side to refine the selection.
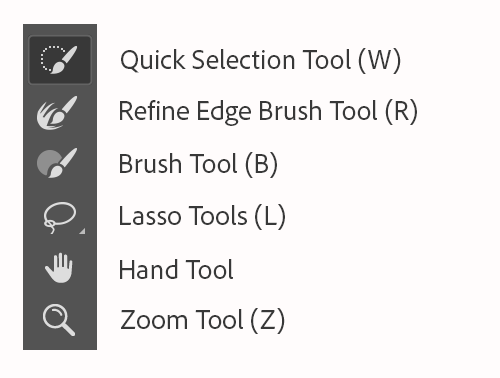
The quick selection tool allows you to easily add or remove from current selection. For this tool and any brush tool you can use the bracket key to increase and decrease the size of the brush.
The refine edge brush tool will adjust the border area and is useful to add hair or other fine details to the selection.
The brush tool is used to fine-tune selections and the lasso tool is used to draw a free-hand selection.
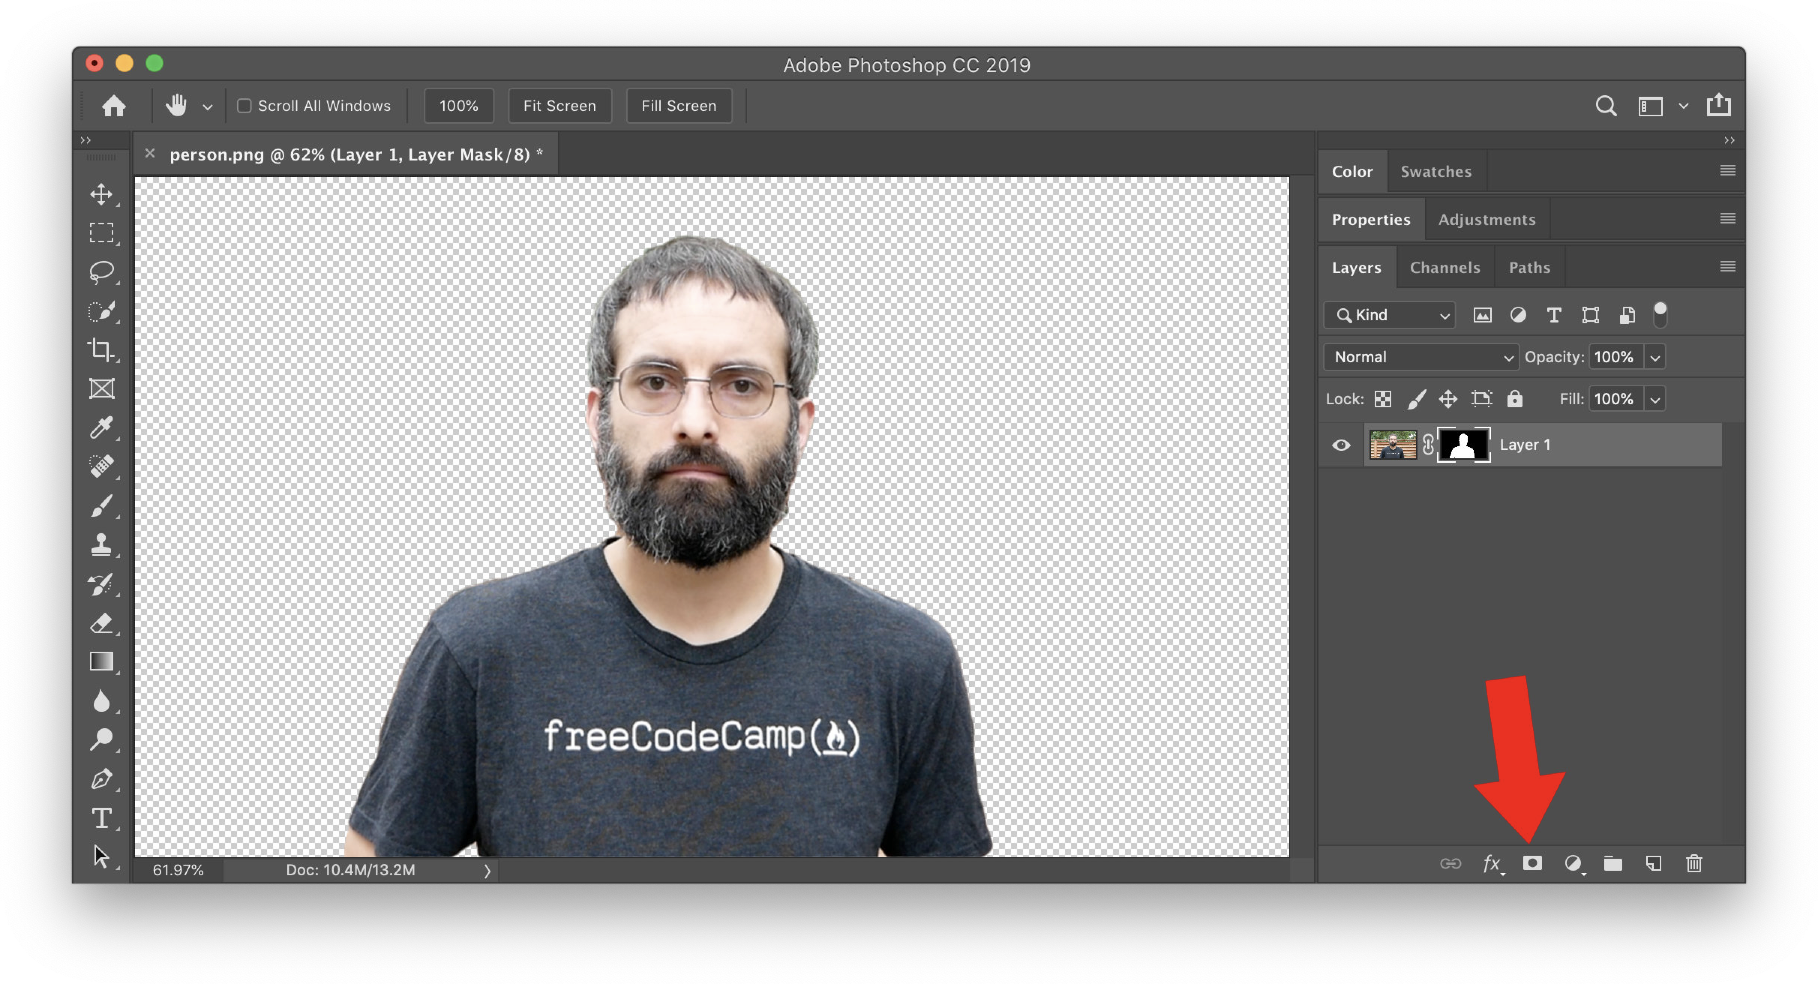
Step 6: Confirm selection and apply layer mask.
On the "Select and Mask" window, hit OK. Your foreground is now selected. To finish removing the background, hit the layer mask button to apply your selection to the mask.
When you create a layer mask, the background is still available behind the mask in case you ever need it again. If you want to get rid of the background for good, you can copy the foreground and paste it in another image or you can invert the selection (choose Select > Inverse) and press 'delete' to permanently remove the background.