

For the freeCodeCamp Back End Development and APIs certification, you can do all of the challenges locally and submit the local server link. But how does that work exactly?
In this article, I will walk you through step by step how to setup the backend challenges on your local computer and submit the localhost link.
How to clone the freeCodeCamp GitHub repo
For the Managing Packages with NPM section, you will need to use this GitHub repository.
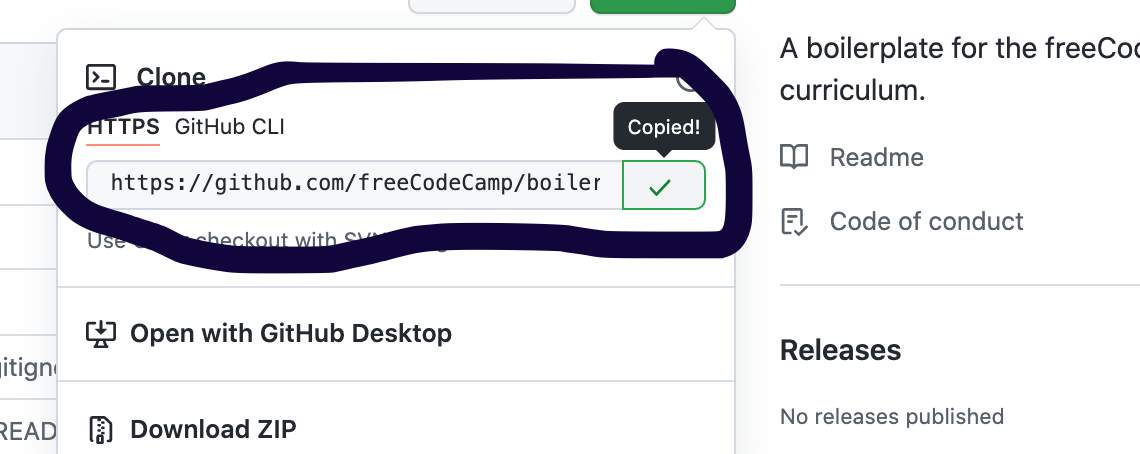
On the GitHub repo, click on the green Code button located on the right hand side of the page.

Copy the URL the address here:
If you are using a Mac, open up your Terminal app. If you are using Windows, open up your Command Prompt.
In the command line, run cd Desktop and hit enter which will change directories to your Desktop.
jessicawilkins@Dedrias-MacBook-Pro-2 ~ % cd Desktop
You should now be in the Desktop directory and see this result in the command line.
jessicawilkins@Dedrias-MacBook-Pro-2 Desktop %
Then run git clone [https://github.com/freeCodeCamp/boilerplate-npm.git](https://github.com/freeCodeCamp/boilerplate-npm.git). That was the URL you copied earlier from GitHub.
jessicawilkins@Dedrias-MacBook-Pro-2 Desktop % git clone https://github.com/freeCodeCamp/boilerplate-npm.git
You should see this result in the command line for successfully cloning the folder.
Cloning into 'boilerplate-npm'...
remote: Enumerating objects: 46, done.
remote: Total 46 (delta 0), reused 0 (delta 0), pack-reused 46
Unpacking objects: 100% (46/46), done.
jessicawilkins@Dedrias-MacBook-Pro-2 Desktop %
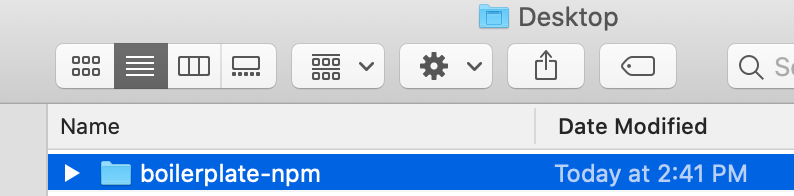
You should be able to see the new folder on your Desktop.
How to install node_modules
In the command line, run cd boilerplate-npm to change directories to the folder we just cloned from GitHub.
jessicawilkins@Dedrias-MacBook-Pro-2 Desktop % cd boilerplate-npm
Then run npm install to install the node_modules folder. The node_modules folder contains all of the dependencies needed to run your project.
Without this folder, you will not be able to run any of the challenges. That is why we need to install it inside the project folder.
jessicawilkins@Dedrias-MacBook-Pro-2 boilerplate-npm % npm install
Once installed, you should see this result in the command line:
added 50 packages, and audited 51 packages in 2s

found 0 vulnerabilities
jessicawilkins@Dedrias-MacBook-Pro-2 boilerplate-npm %
How to submit the localhost link
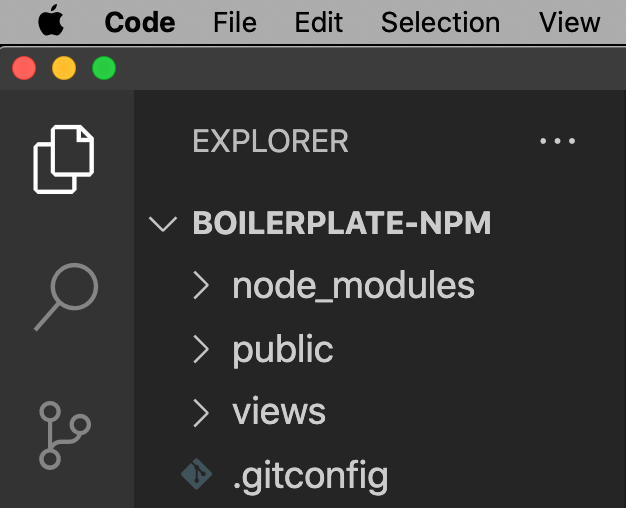
Go to your code editor of choice and open up the project folder.
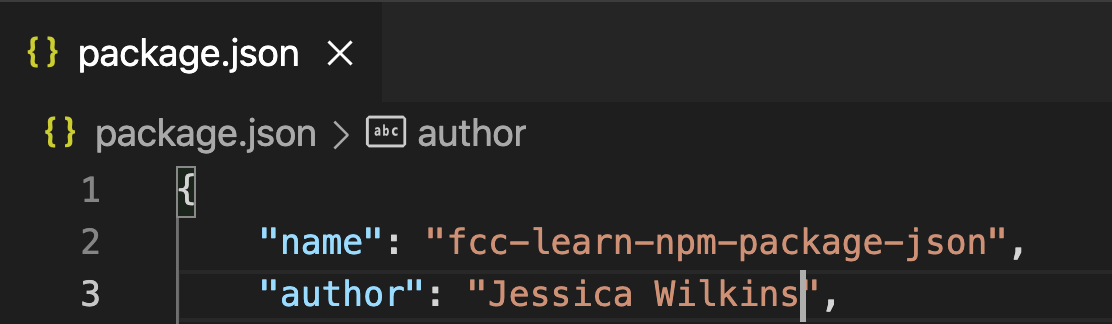
Then complete the first challenge which is to add an author to your package.json file.
Go back to the command line, and run npm start which will start the local server.
jessicawilkins@Dedrias-MacBook-Pro-2 boilerplate-npm % npm start
You should see this result in the command line:
> start
> node server.js

Node.js listening on port 3000
Go to your browser and open up a new tab. Type in http://localhost:3000/.
You should see this result in the browser.
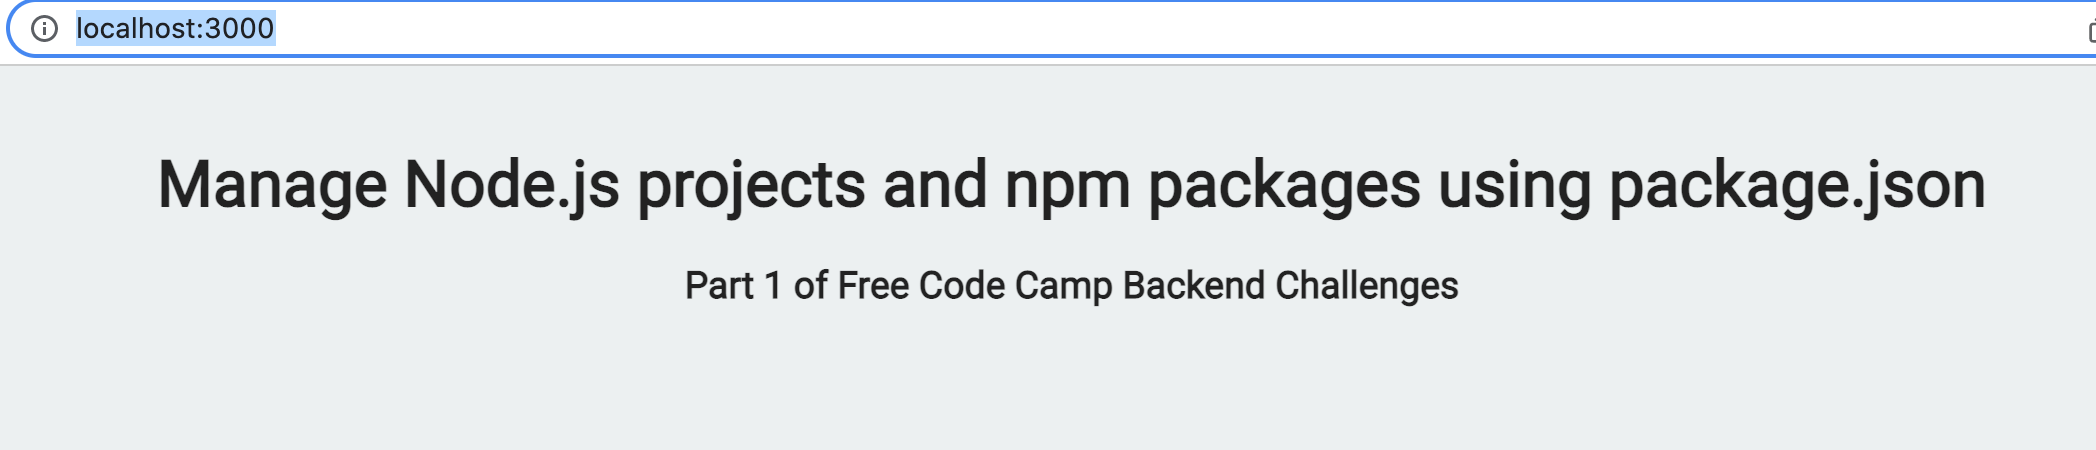
This is the local server that you will use for all of the backend challenges.
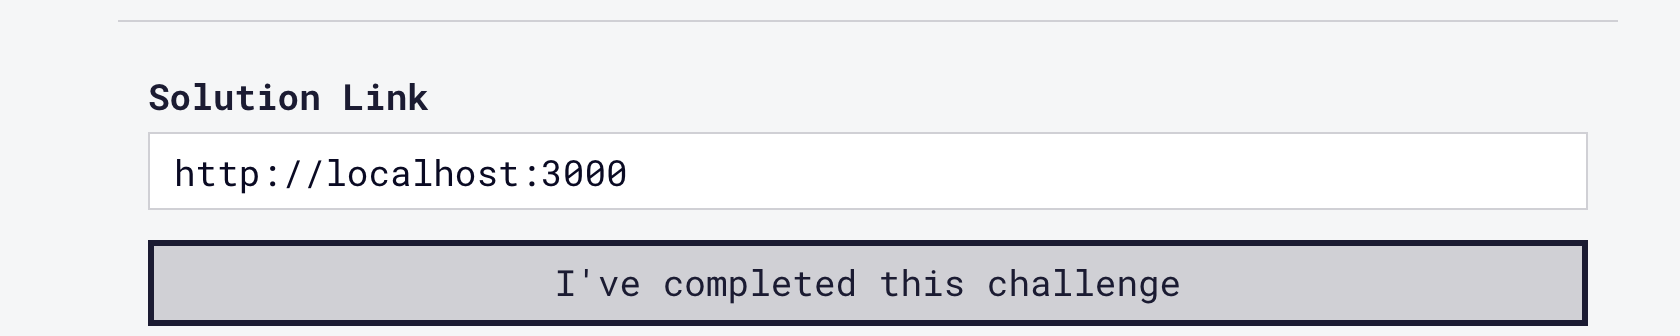
While the server is still running, go to the first challenge and submit the localhost link.
Once you have completed the challenges, you can stop the server by using Ctrl+C in the command line.
Those are the steps for completing the freeCodeCamp backend challenges using the localhost.
For the other sections of the Back End Development and APIs certification, you will need to use the corresponding GitHub repository.
For the Basic and Express section, you need to clone this GitHub repo.
For the MongoDB and Mongoose section, you need to clone this GitHub repo.