
By Jagruti Tiwari
Scheduling allows you to automate things so you don't have to do them in real time.
In this article we will see how to schedule a job in PostgreSQL. We'll use pgAgent, a job scheduling agent for PostgreSQL.
How to Install PostgreSQL and Stack Builder
You can install pgAgent with Stack Builder.
Install PostreSQL from the official website. This will download Stack Builder along with the installer.
If you have PostgreSQL already installed, you could download the installer and run Stack Builder if you don't have it already.
Stack Builder runs once PostgreSQL installation is complete. I am using PostgreSQL14 and pgAdmin4.
How to Install pgAgent
When you run Stack Builder it will first open a welcome wizard.
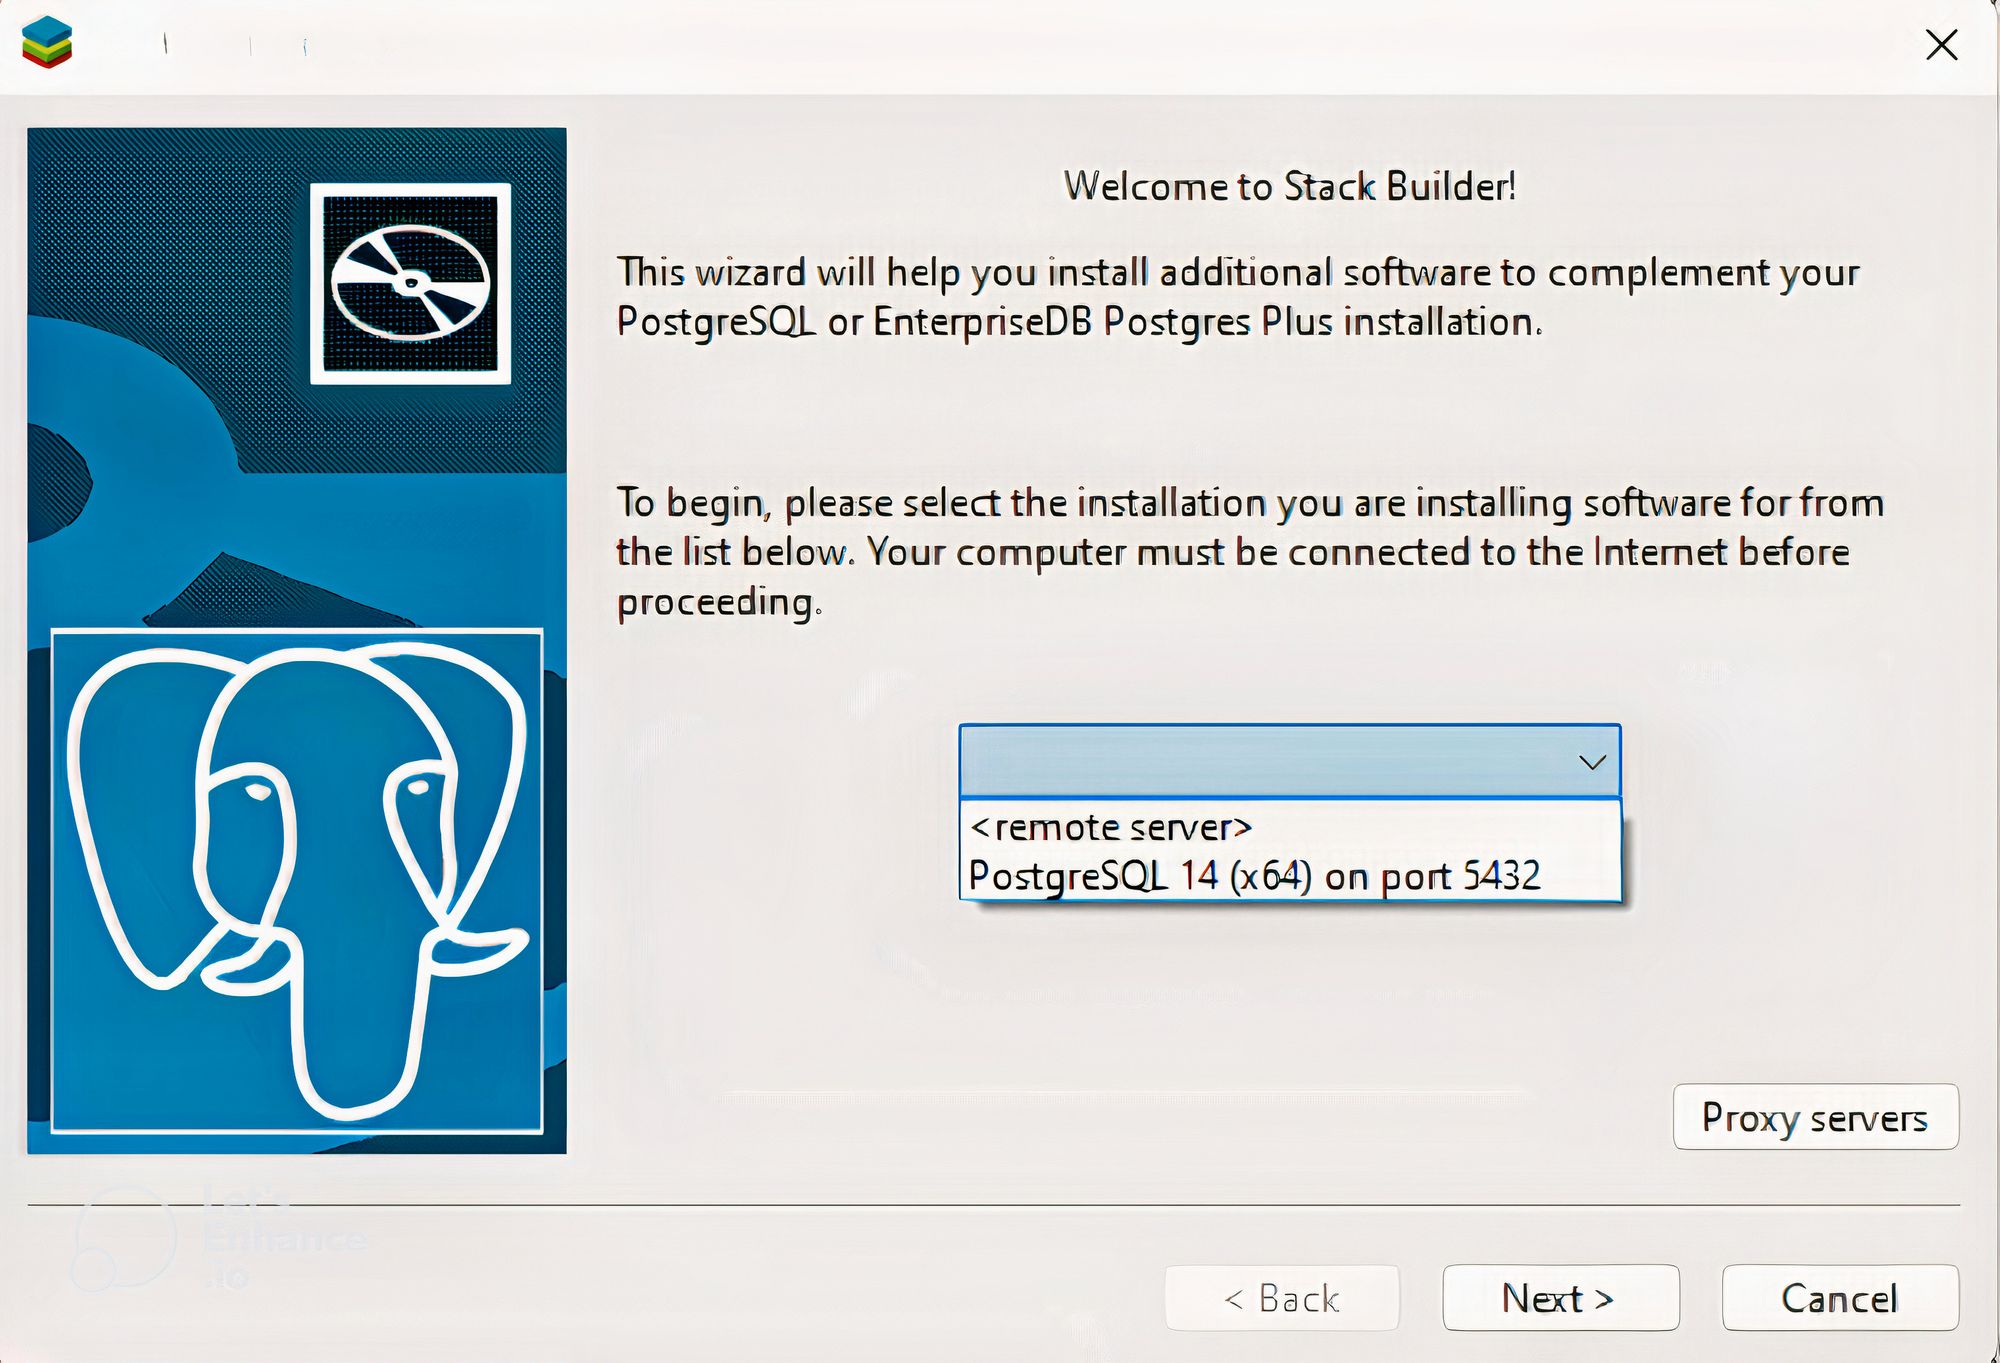
If you have multiple PostgreSQL versions installed you will pick one to use to install pgAgent.
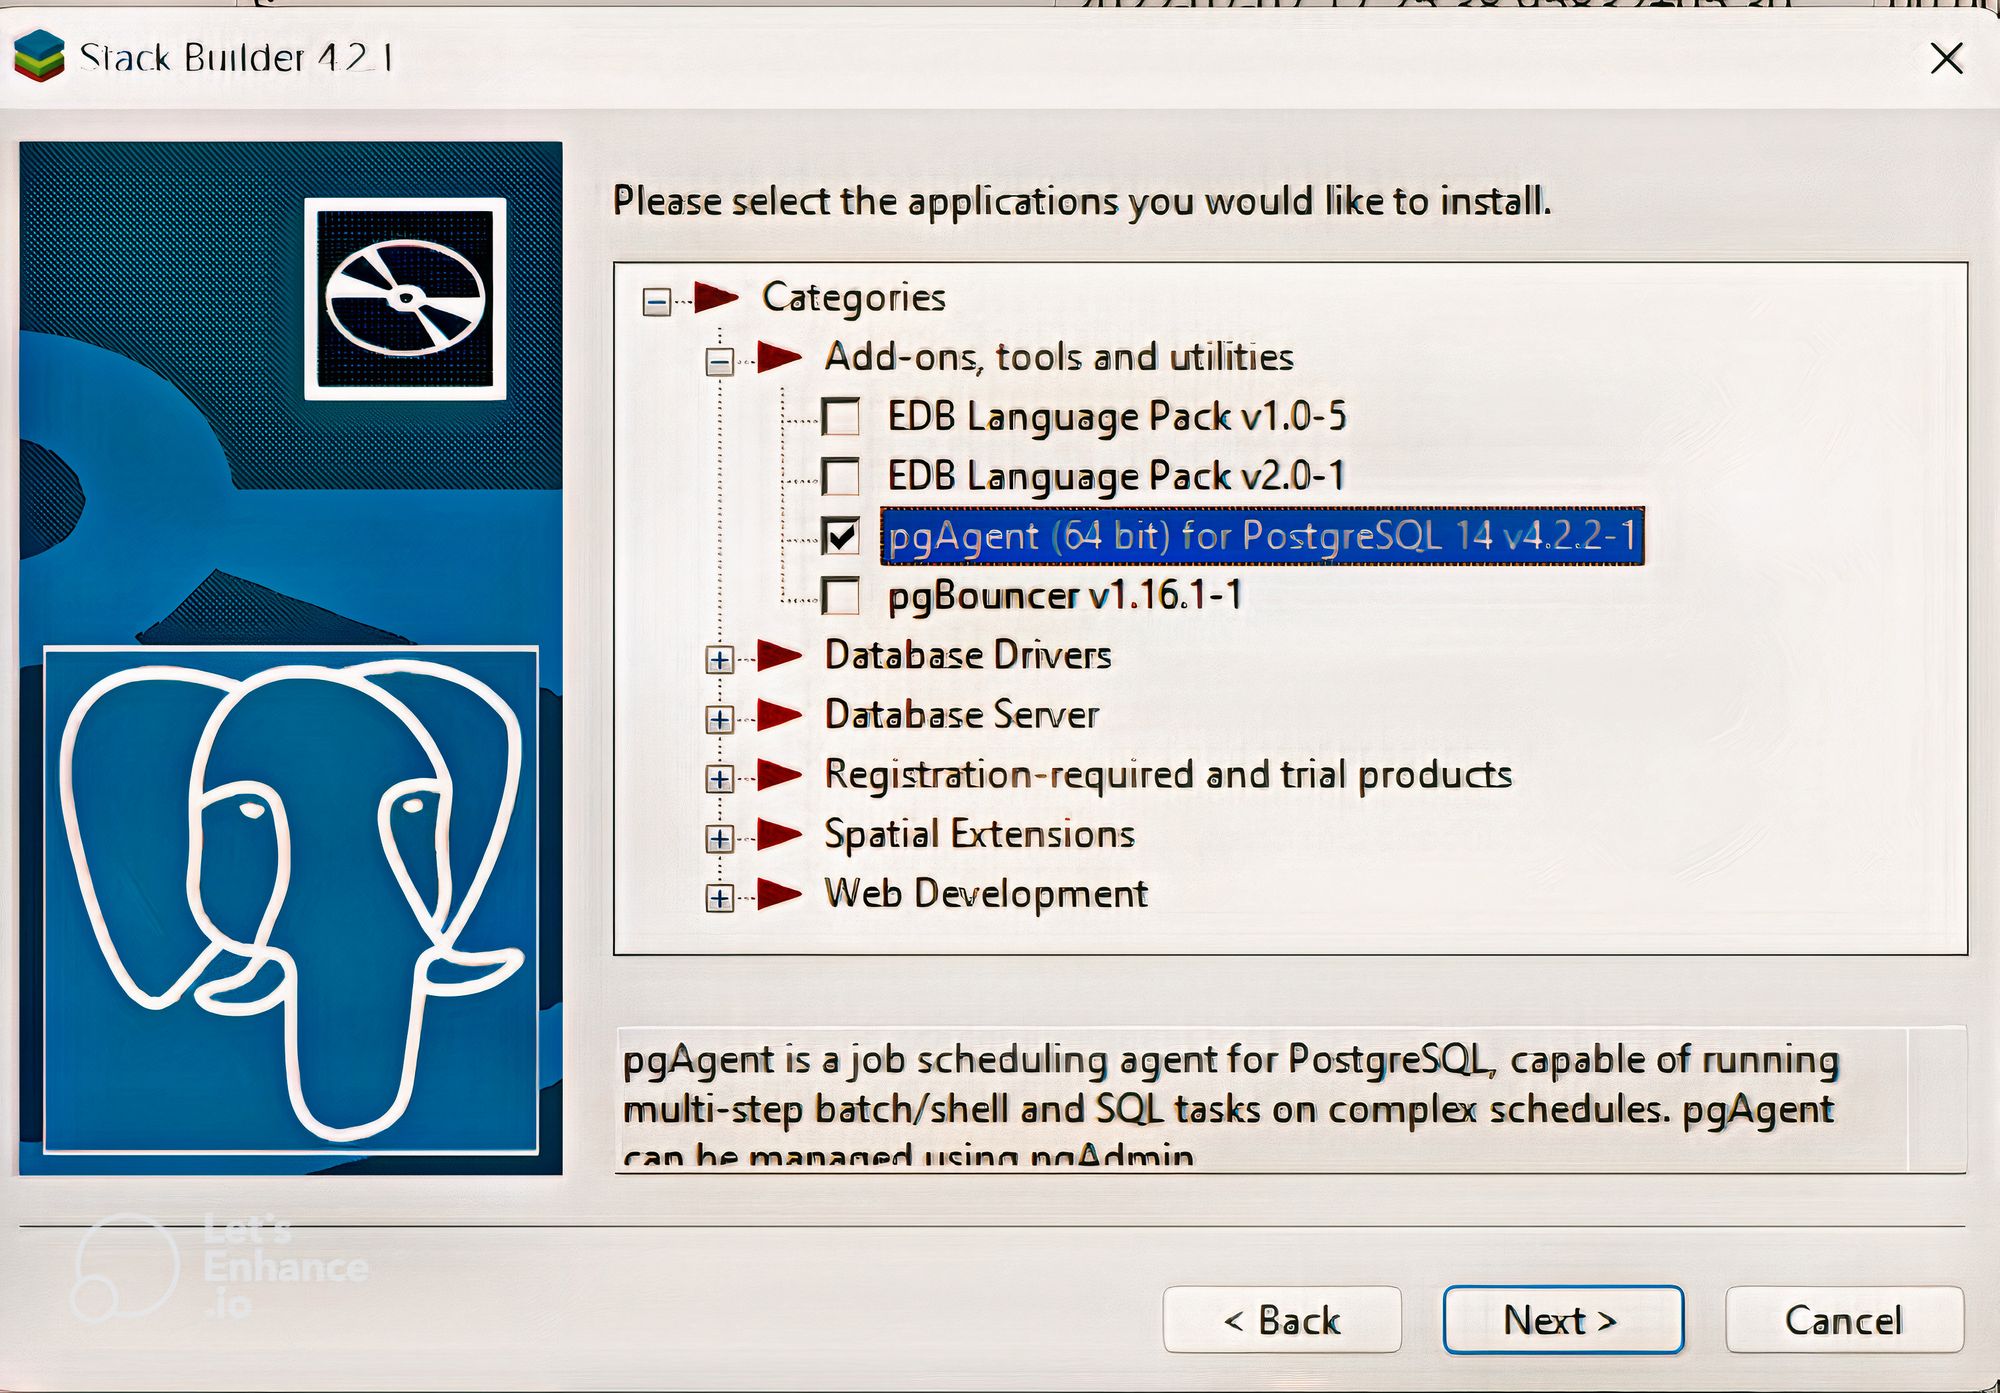
Under Adds-ons, tools and utilities, you will find pgAgent. Check the checkbox to install it.

Next, it will ask you to choose a directory where you want to install pgAgent.
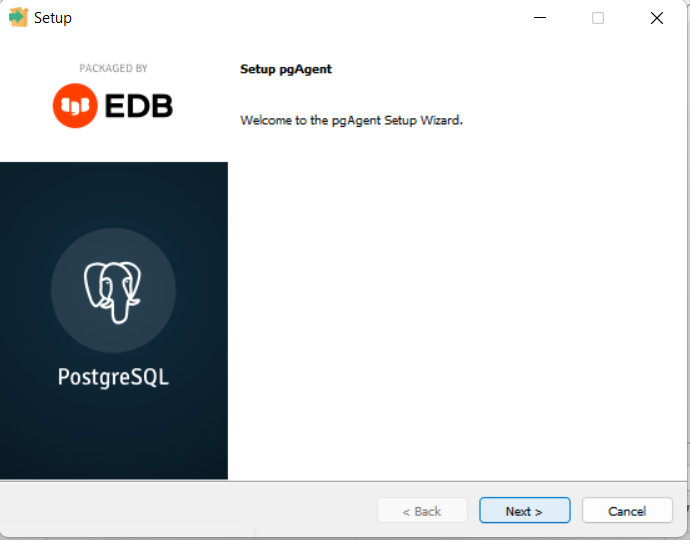
Stack Builder will then open a pgAgent SetUp Wizard.
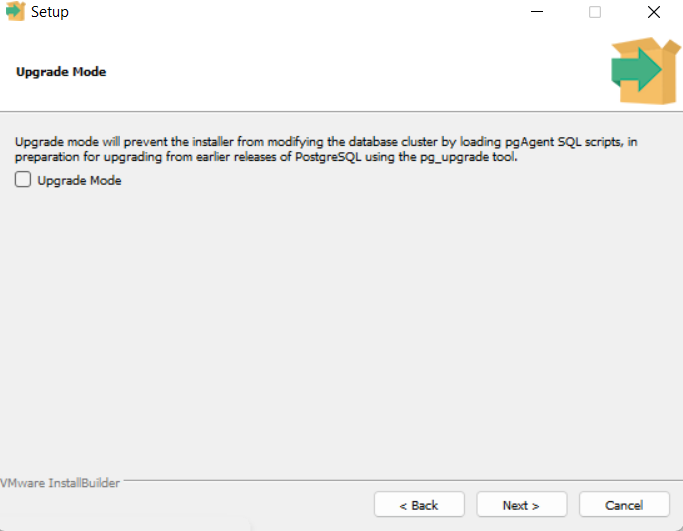
Here you will pick whether you want to install it in an upgrade mode. If you do not want to automatically change scripts while upgrading you can check the box.
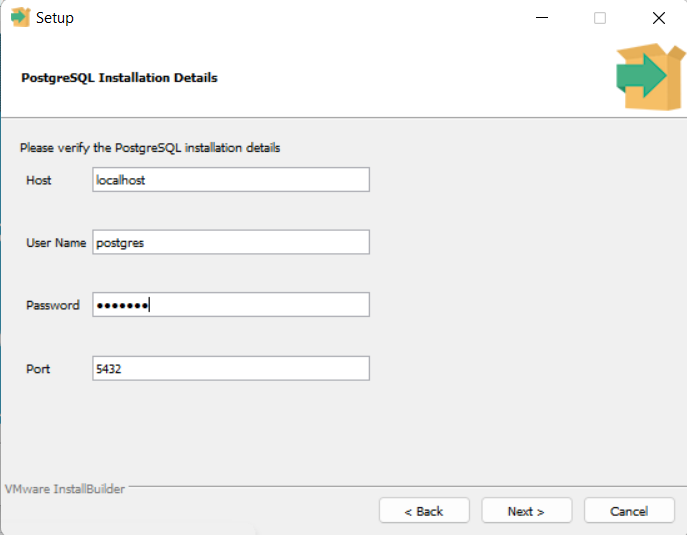
In the PostgreSQL installation details wizard, provide the username and password that you entered when you installed PostgreSQL.
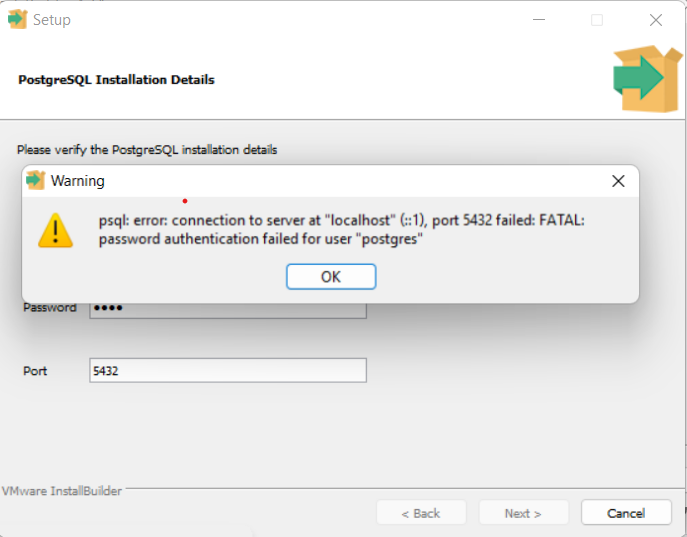
If you enter incorrect details it will throw a connection error. So make sure you remember those details.
NOTE: Login to PostgreSQL with the username and password you provided at this stage to view pgAgent jobs.
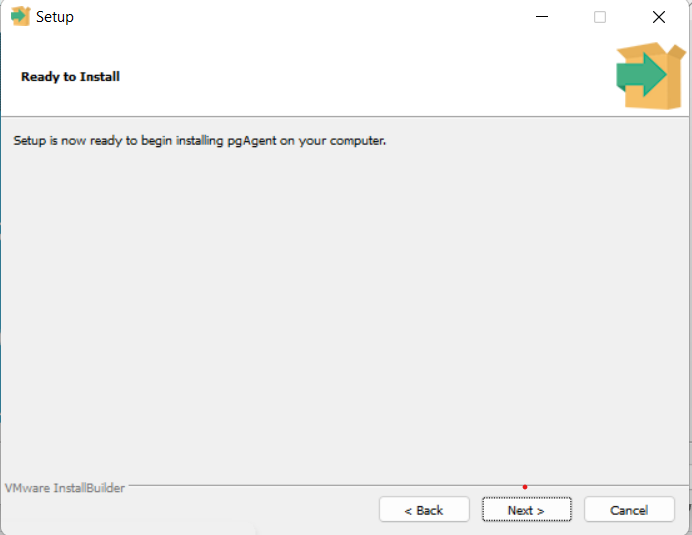
After adding those details, the setup begins:
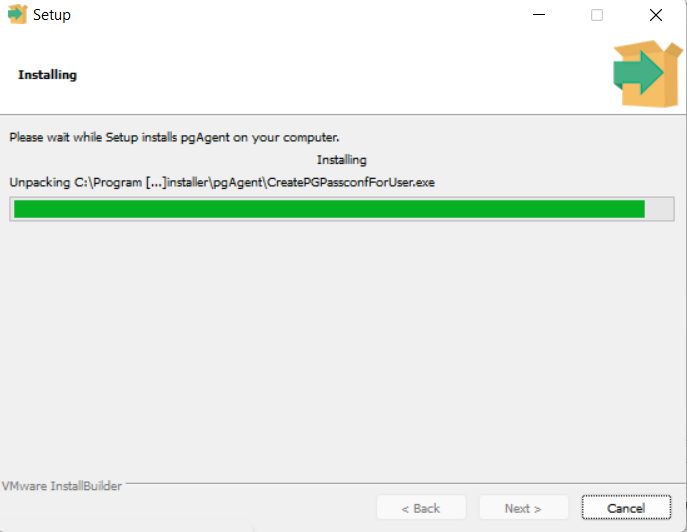
It takes a couple of seconds to finish.
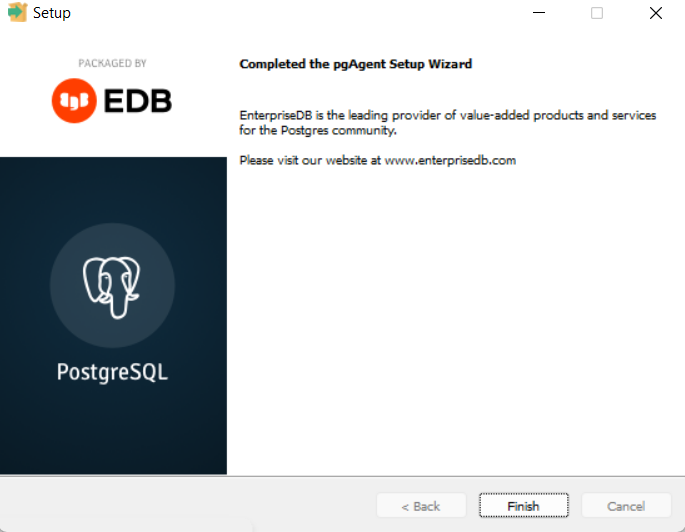
Click the finish button at the end.
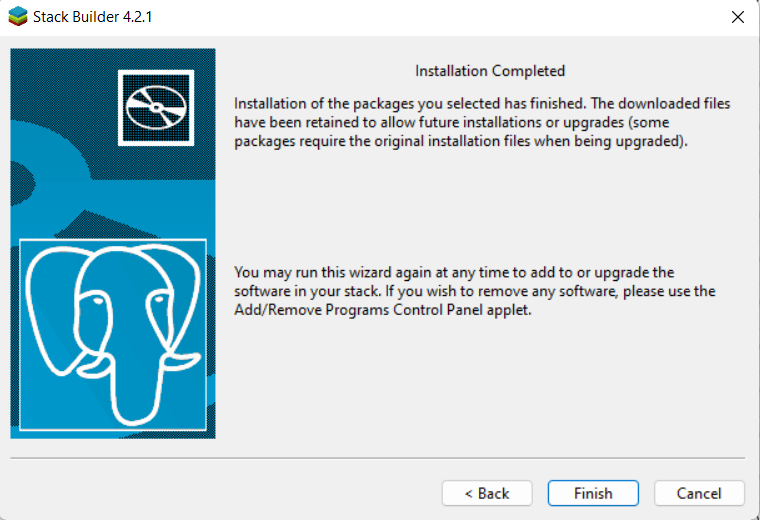
Stack Builder will also display an installation completed wizard. It has instructions to install and uninstall utilites.
Once Stack Builder is installed you simply run it to install other utilites. To uninstall them you need to use the Control Panel.
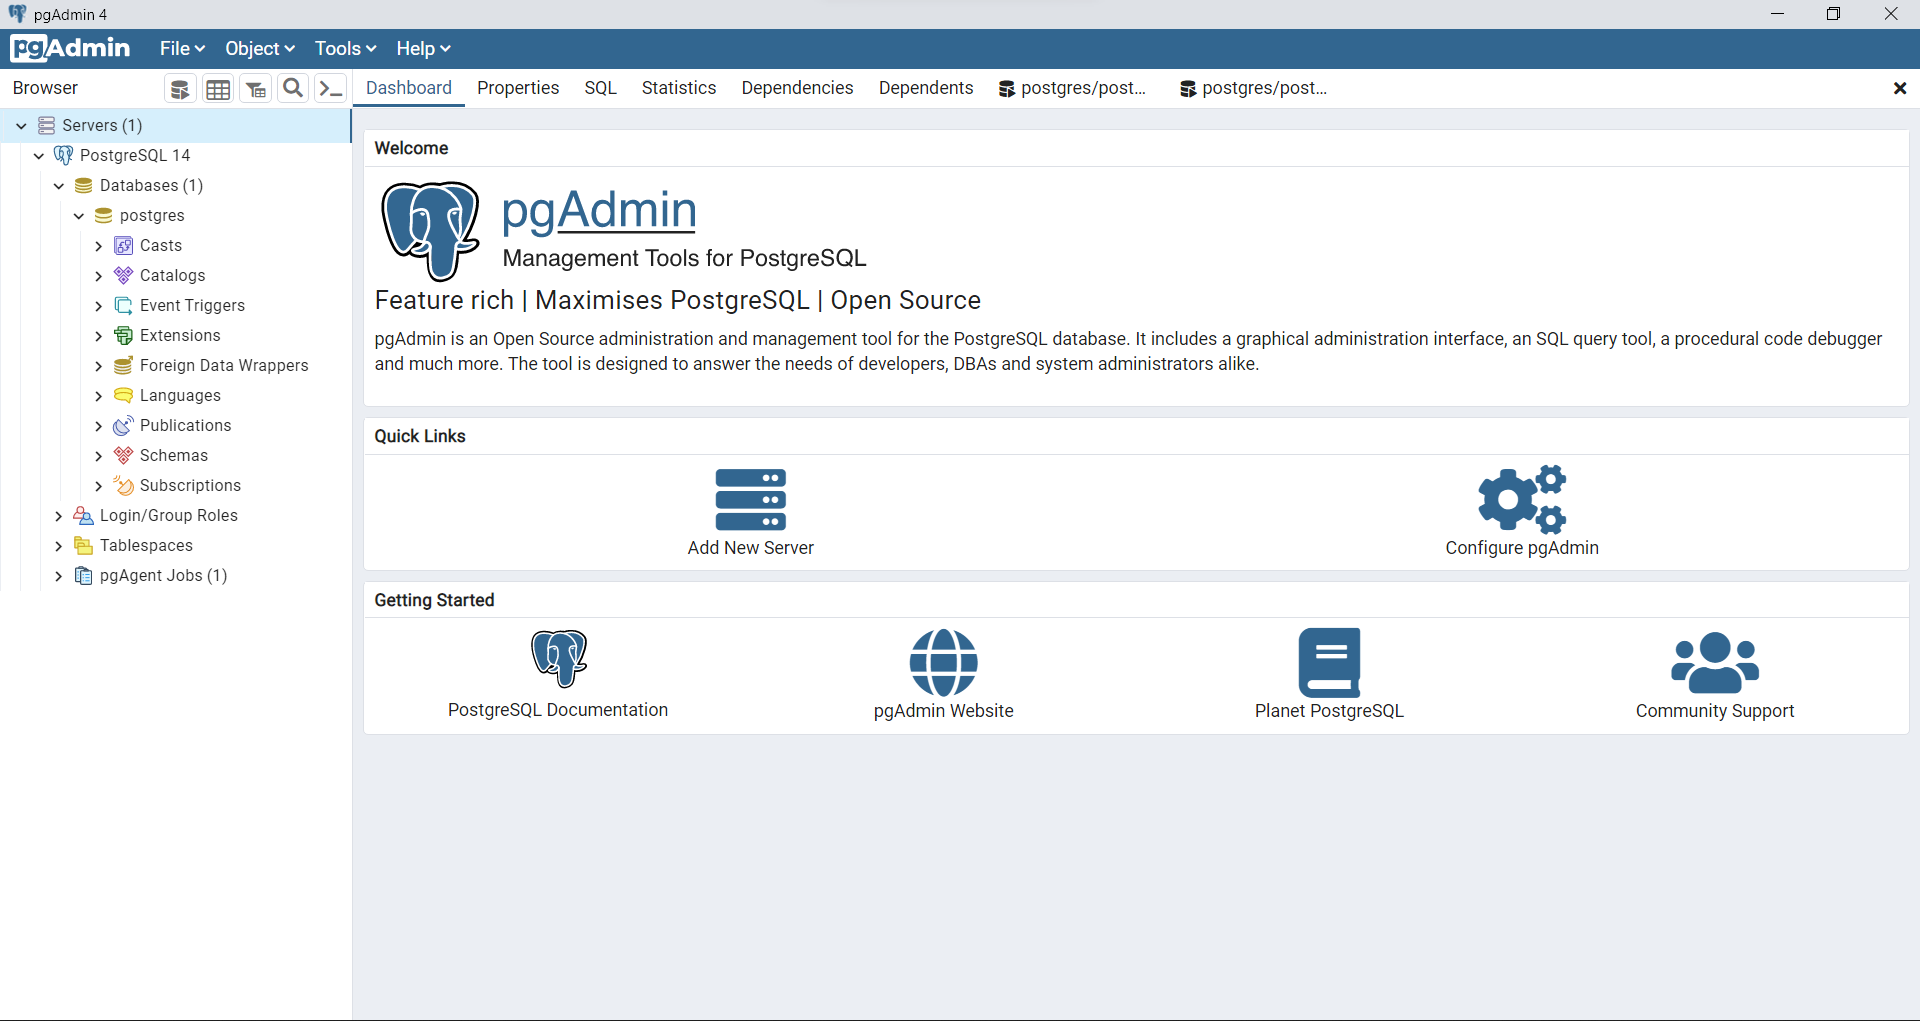
pgAgent jobs will be visible to you in the browser tree on the left side of the dashboard.
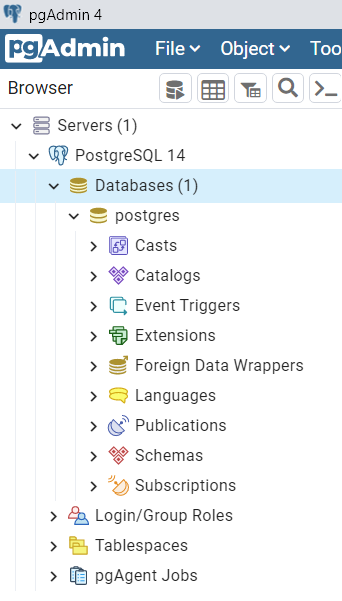
Above you can see a close up view of the browser tree.
How to Create a Job in pgAgent
To create a new job, right click on the pgAgent Jobs button and click on create.

You will see a menu, and there just click create > pgAgent Job.
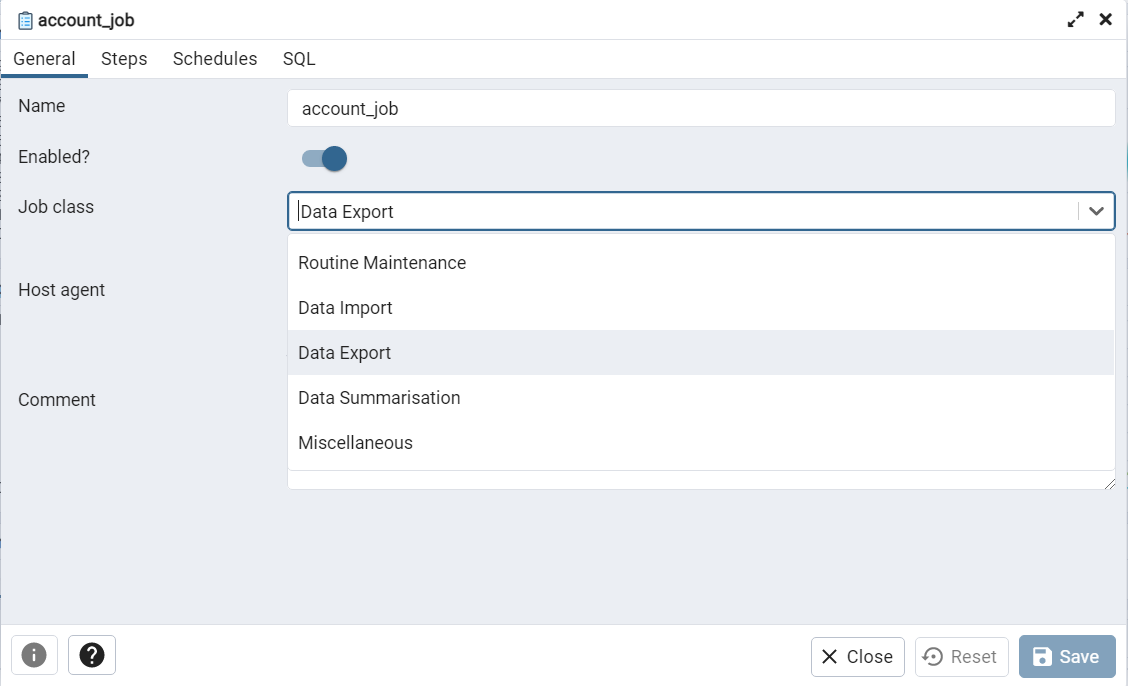
The create pgAgent dialog box has four tabs.
The first one is General tab. Here you enter the name of the job and select a category.
Category is just for internal categorization purposes – this does not affect how your job runs. You can select one based on the function of the job. Since I want to export the data to a CSV, I will pick the Data Export category.
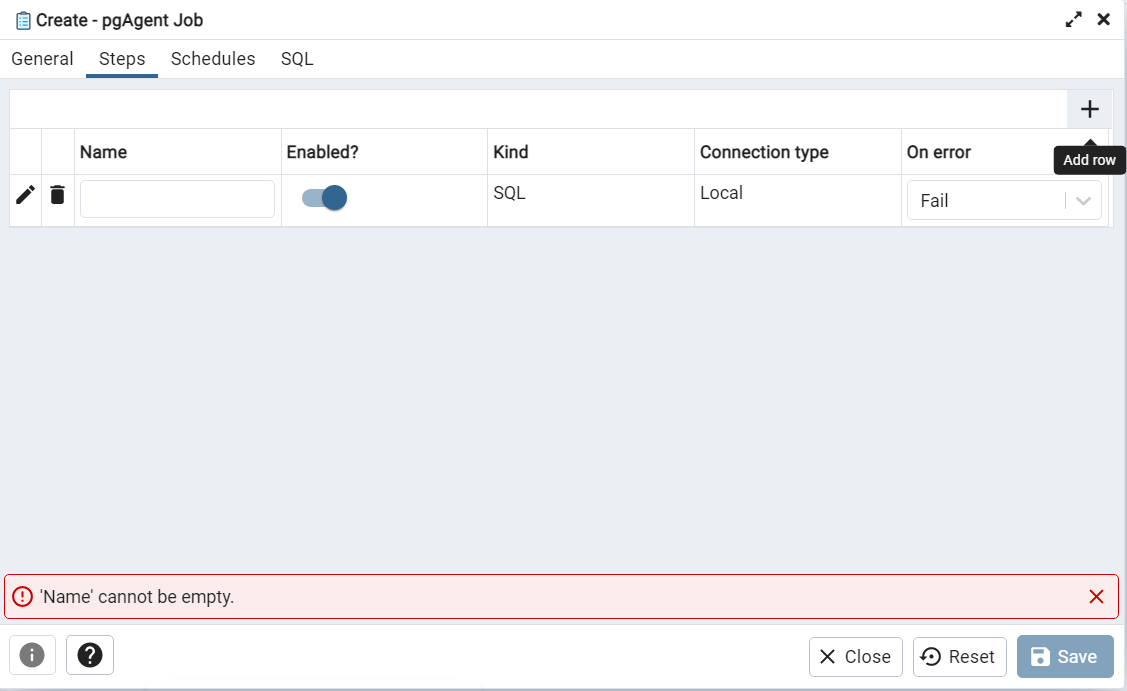
Next we click on the Steps tab in the create pgAgent dialog box. In the top right corner of the box you will see a + sign. Click on it to add a new row.
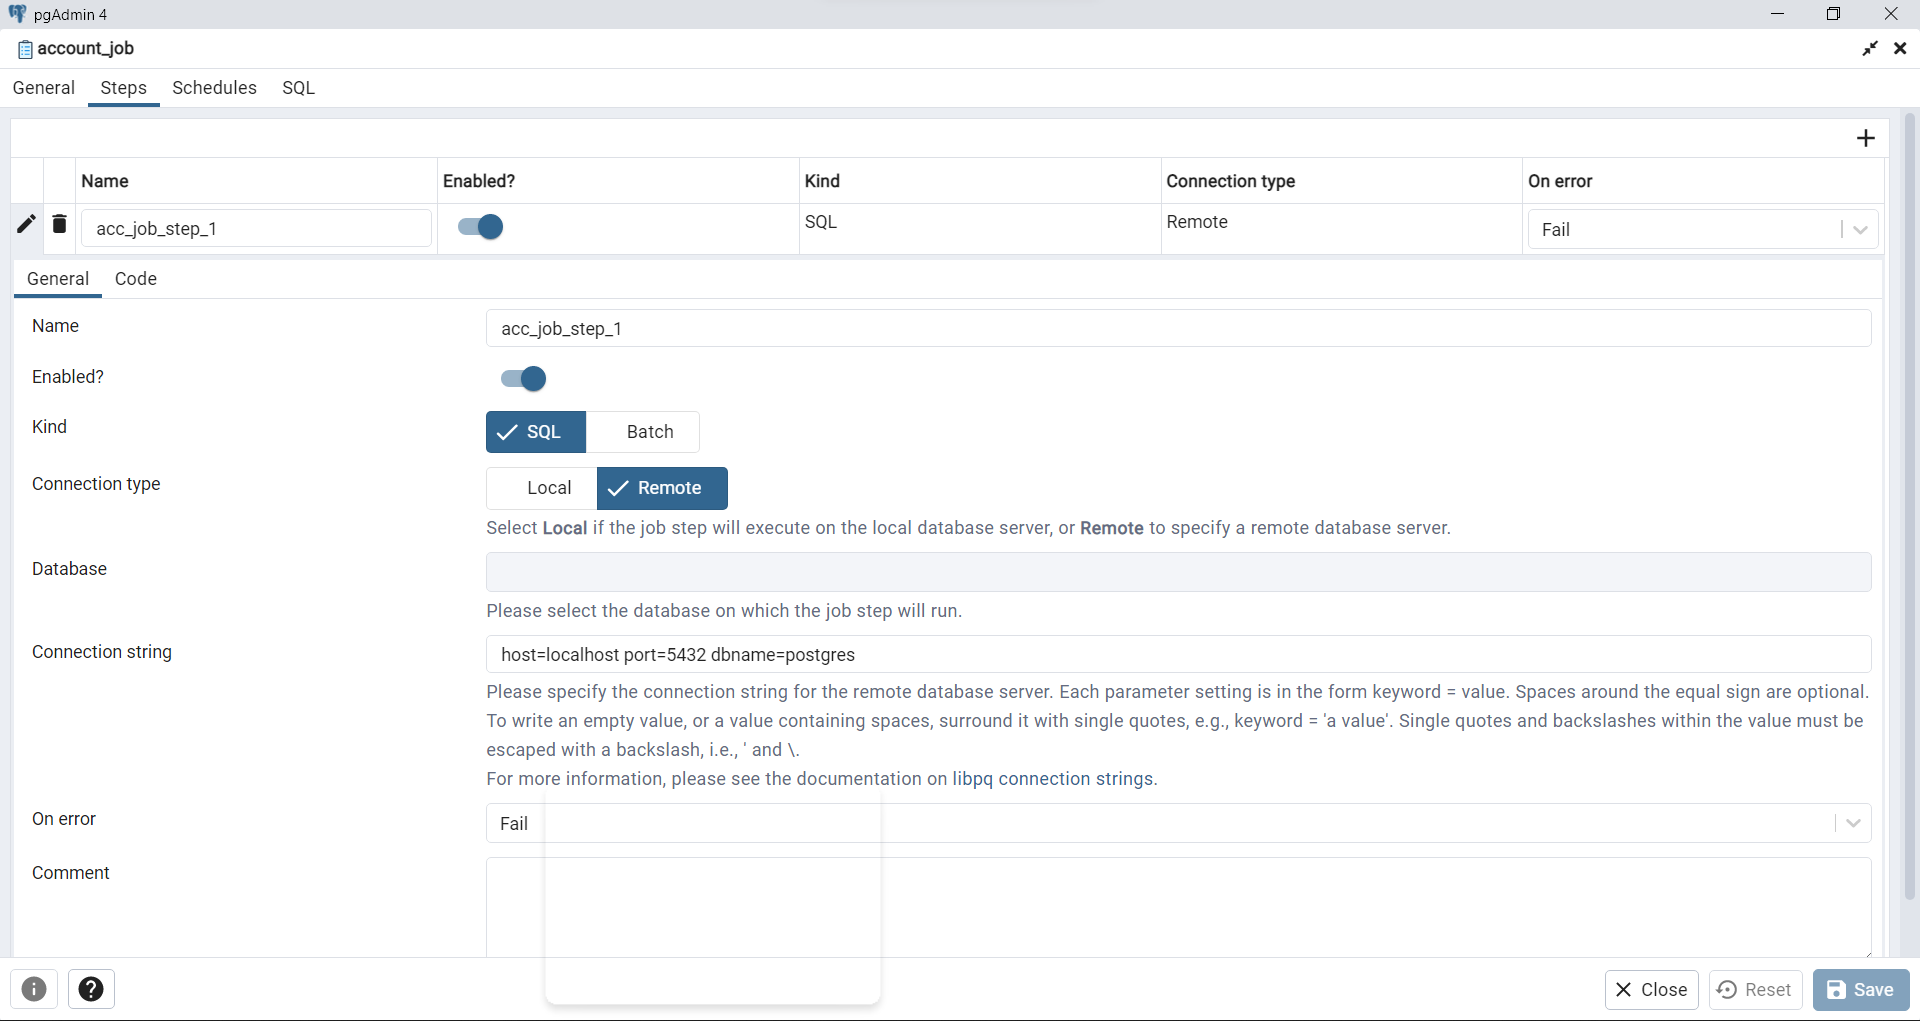
The Steps tab has two sections: General and Code.
In the General tab:
1) Add the name of the step.
2) Next, you Enable or Disable the step. Your job will run only if the step is enabled.
3) Depending on whether your job is local or remote, you can pick the Connection type. I will choose a remote connection.
4) A remote connection allows you to manually add the Connection String. The syntax should be like in libq connection string. I will add my connection details in the same format: host=localhost port=5432 dbname=postgres
5) In the On Error select box, you can pick what should be happen in case an error occurs. I have selected for the job to fail.
6) Finally, you can comment on the step. Then save the changes.
Next comes the code section in Steps tab.
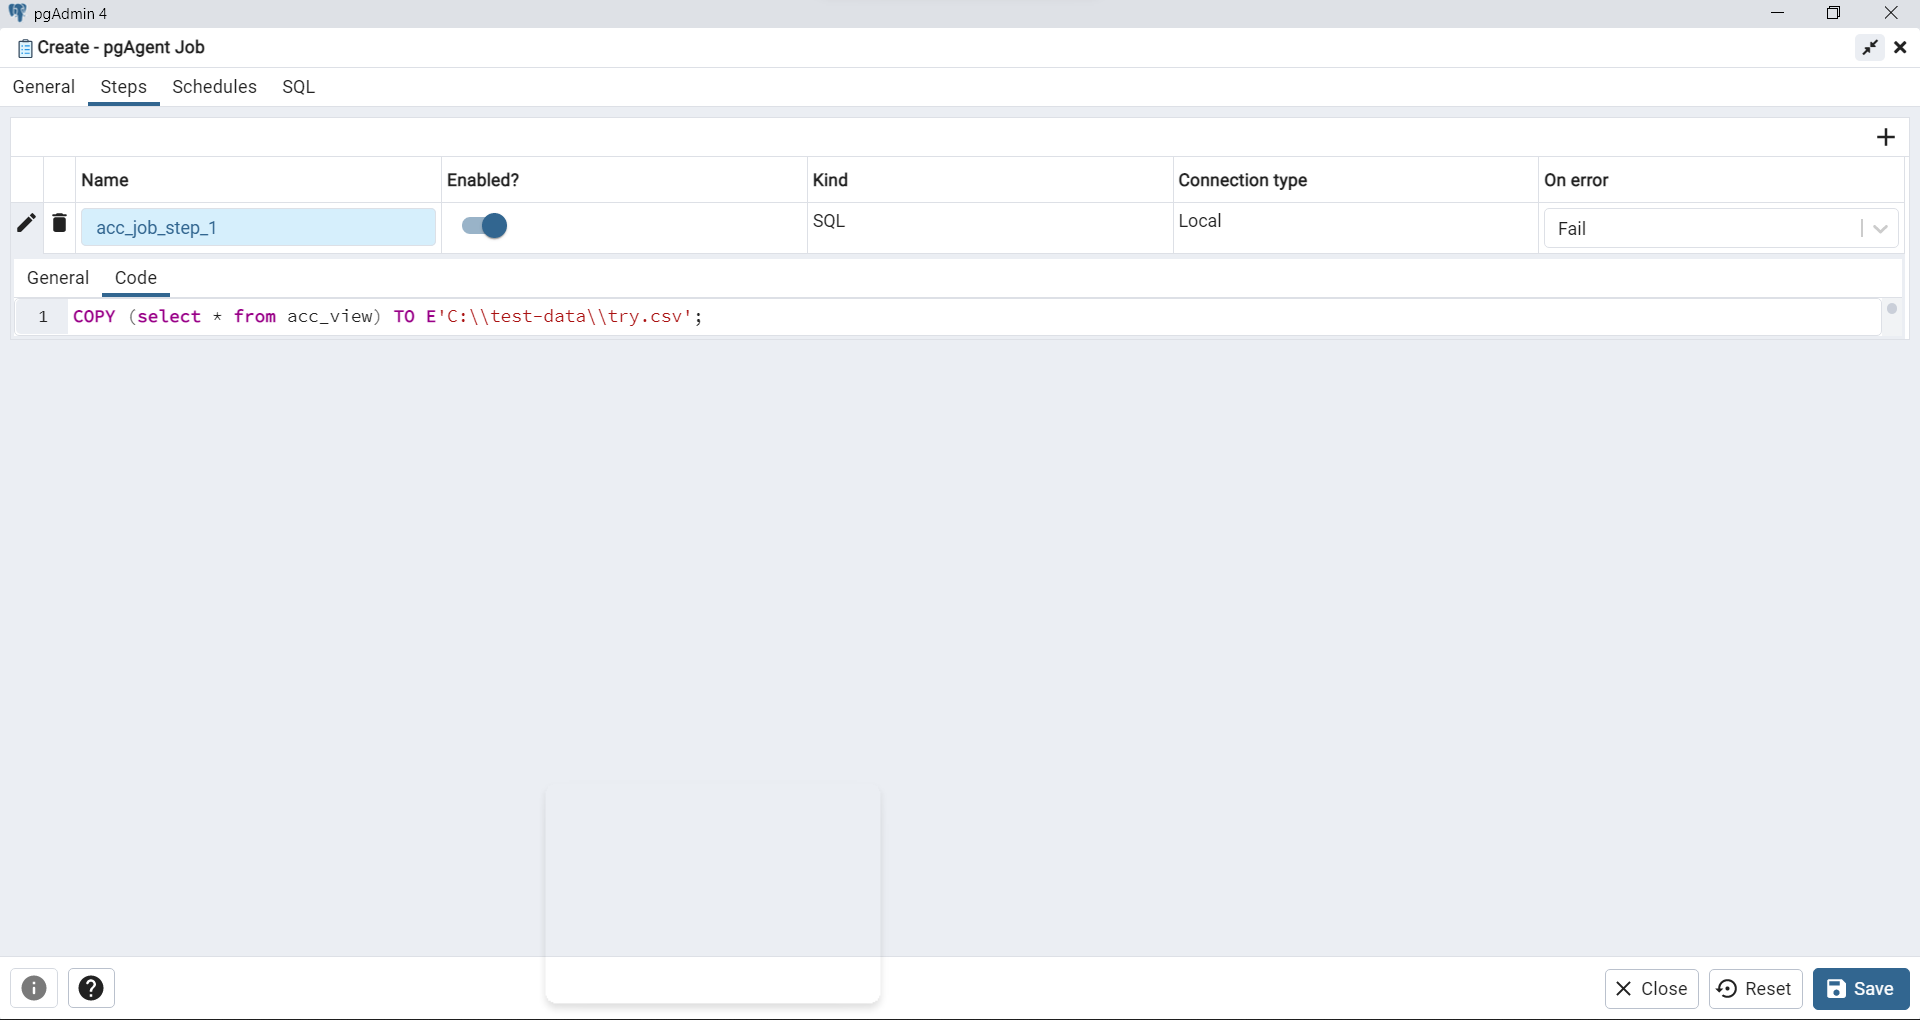
Since I want to export the data from a view, I will call the view and ask it to export the file. The code will be:
COPY (select * from acc_view) TO E'C:\\test-data\\try.csv';
I will save the changes after adding the code.
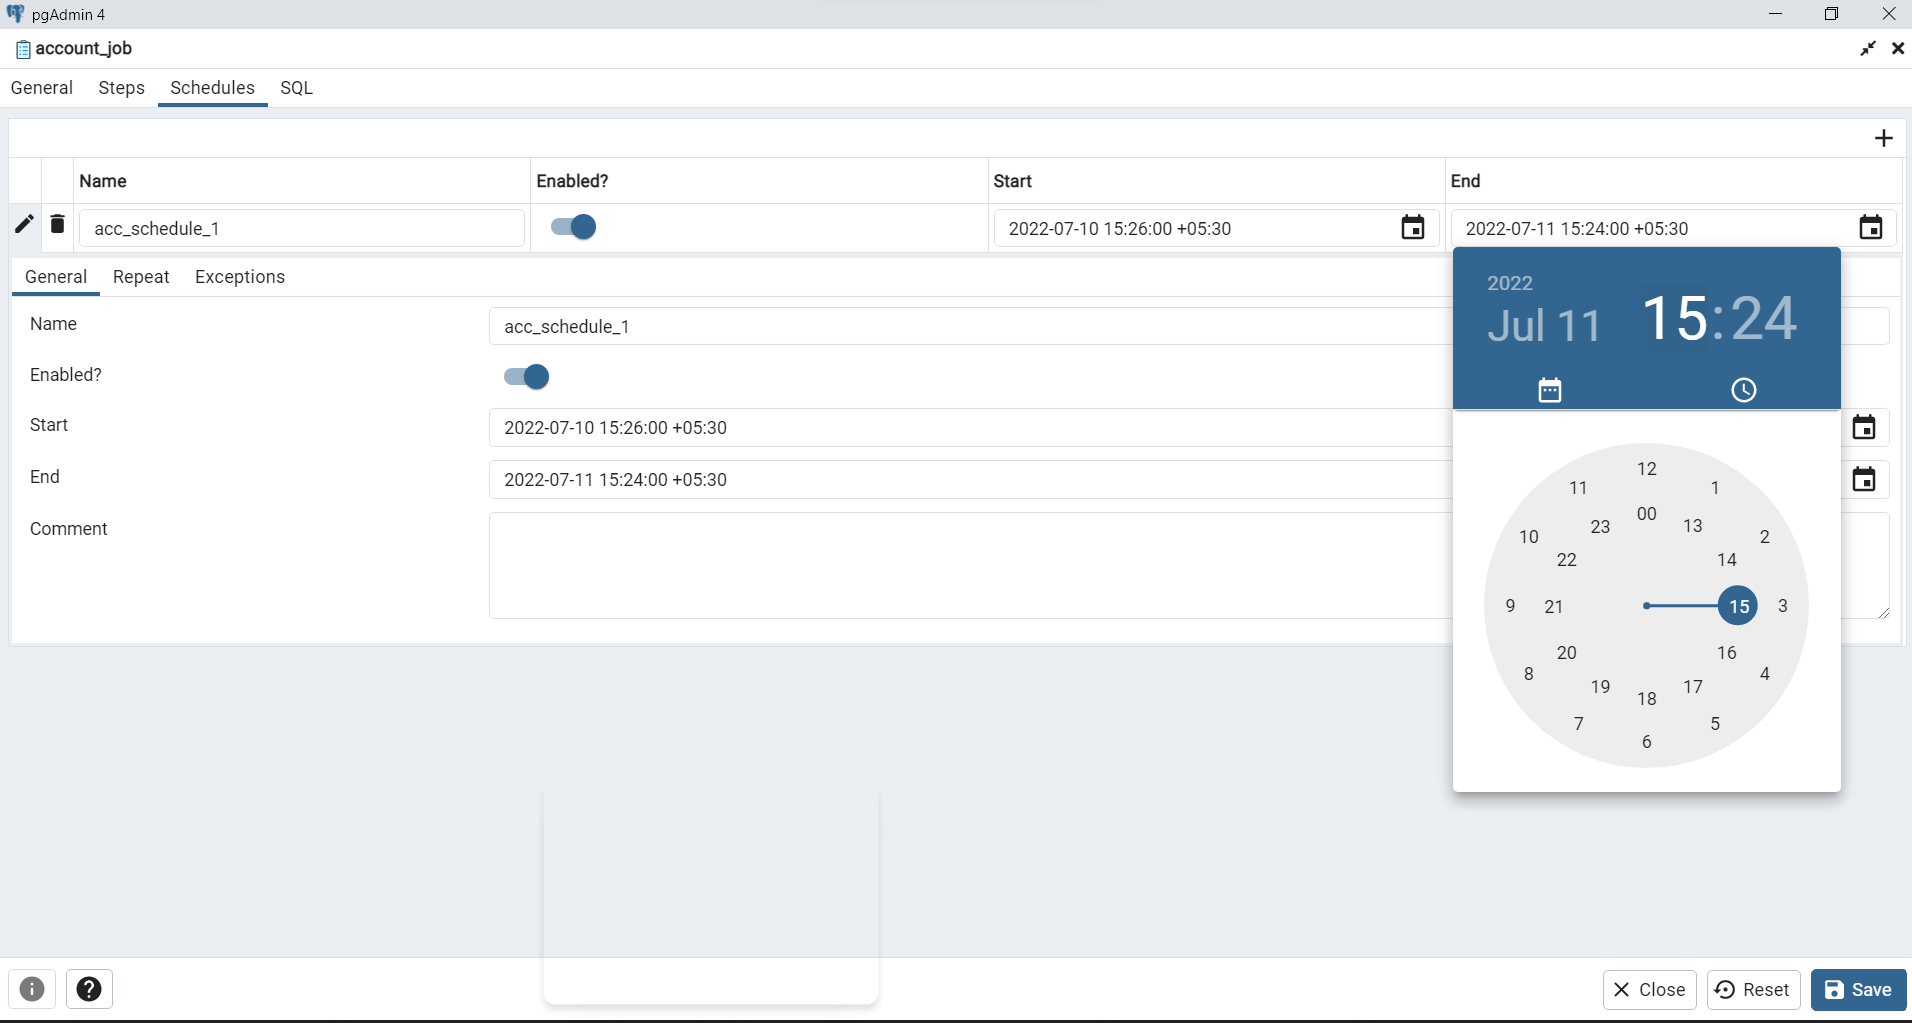
We are now ready to schedule a job. In the Schedules tab we add the start date time and the end date time for the job to start and end.
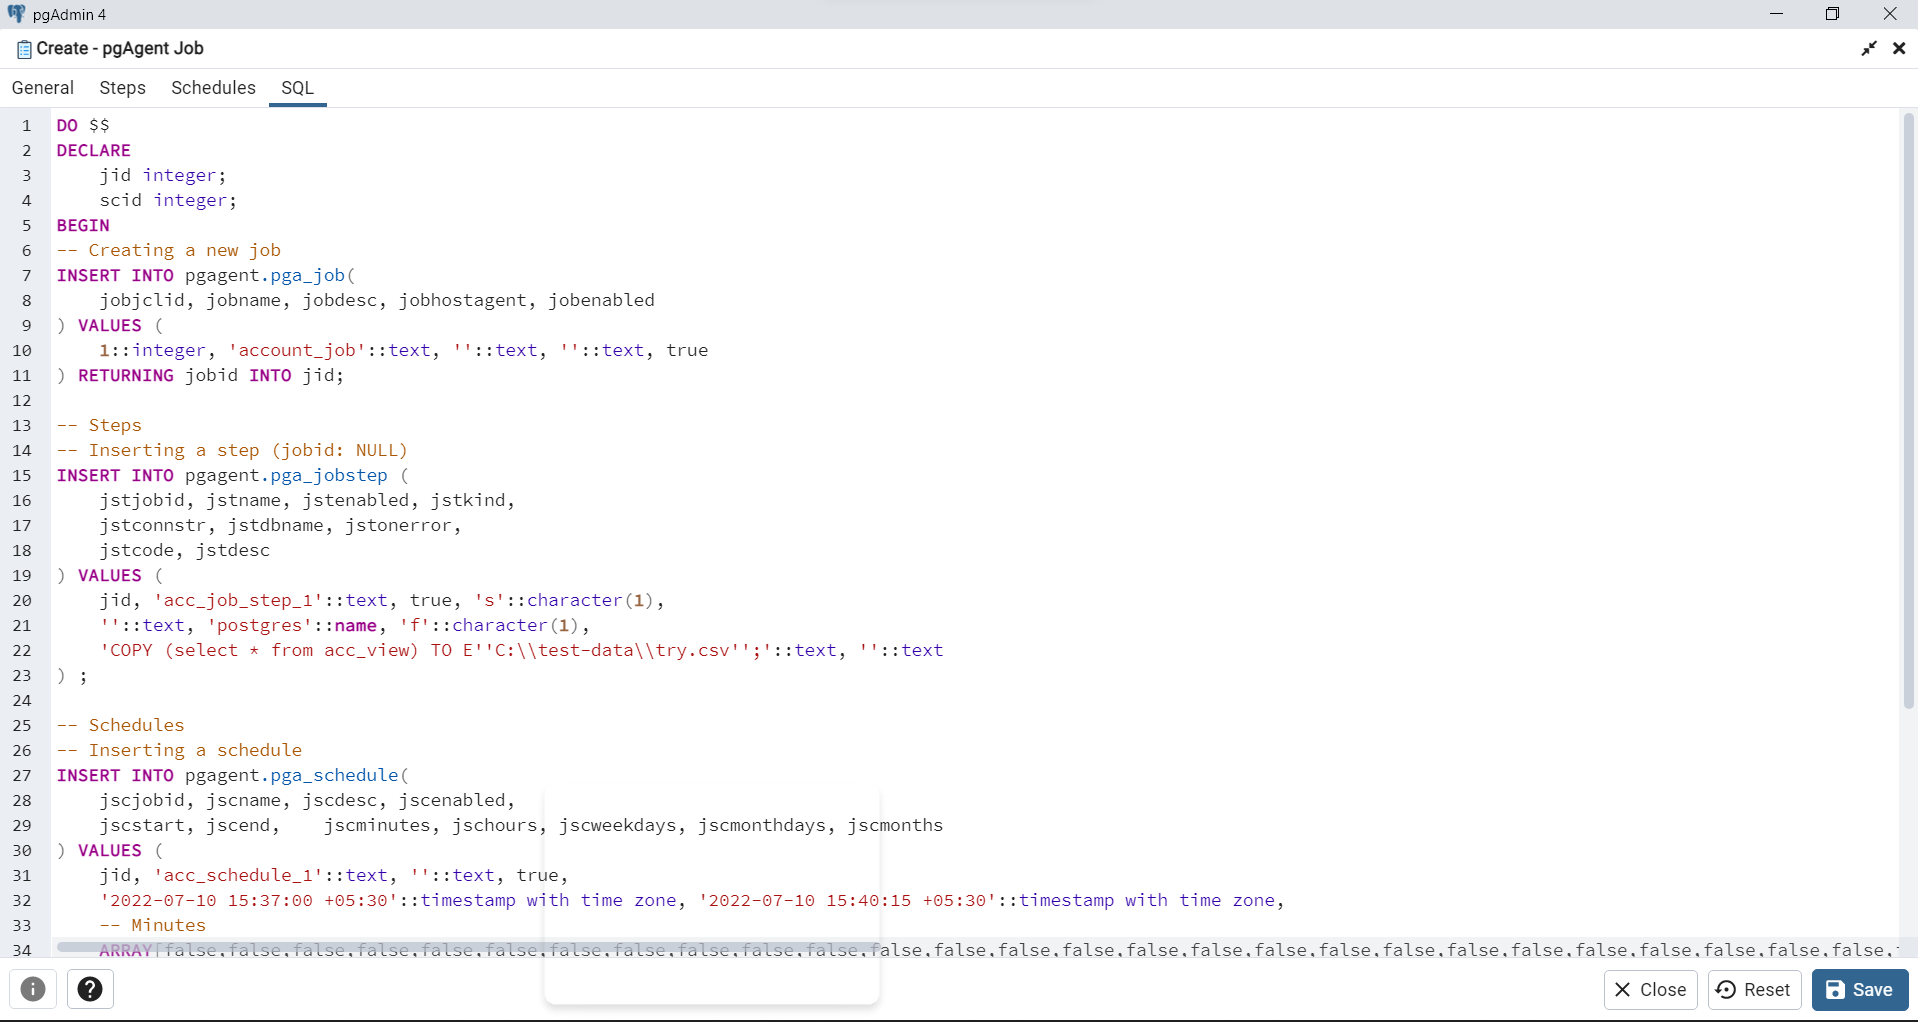
SQL is the last tab. It shows the code generated by the GUI. If you want to schedule a job dynamically you will have to execute the procedure code displayed here.
How to View Created Jobs in pgAgent
Once a new job is created, it will be displayed under pgAgent jobs in the browser tree.
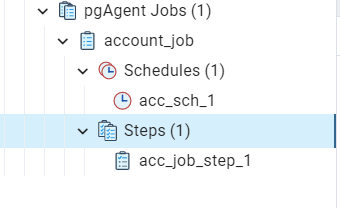
Its schedules and steps will be displayed when you extend the job.

To see whether the job was executed (whether it failed or succeeded), you select the job by its name and click on the Statistics tab in the dashboard. Here you can view the number of times the job was executed, start and end time, its status and id. s means success and f means failed in the Status column.
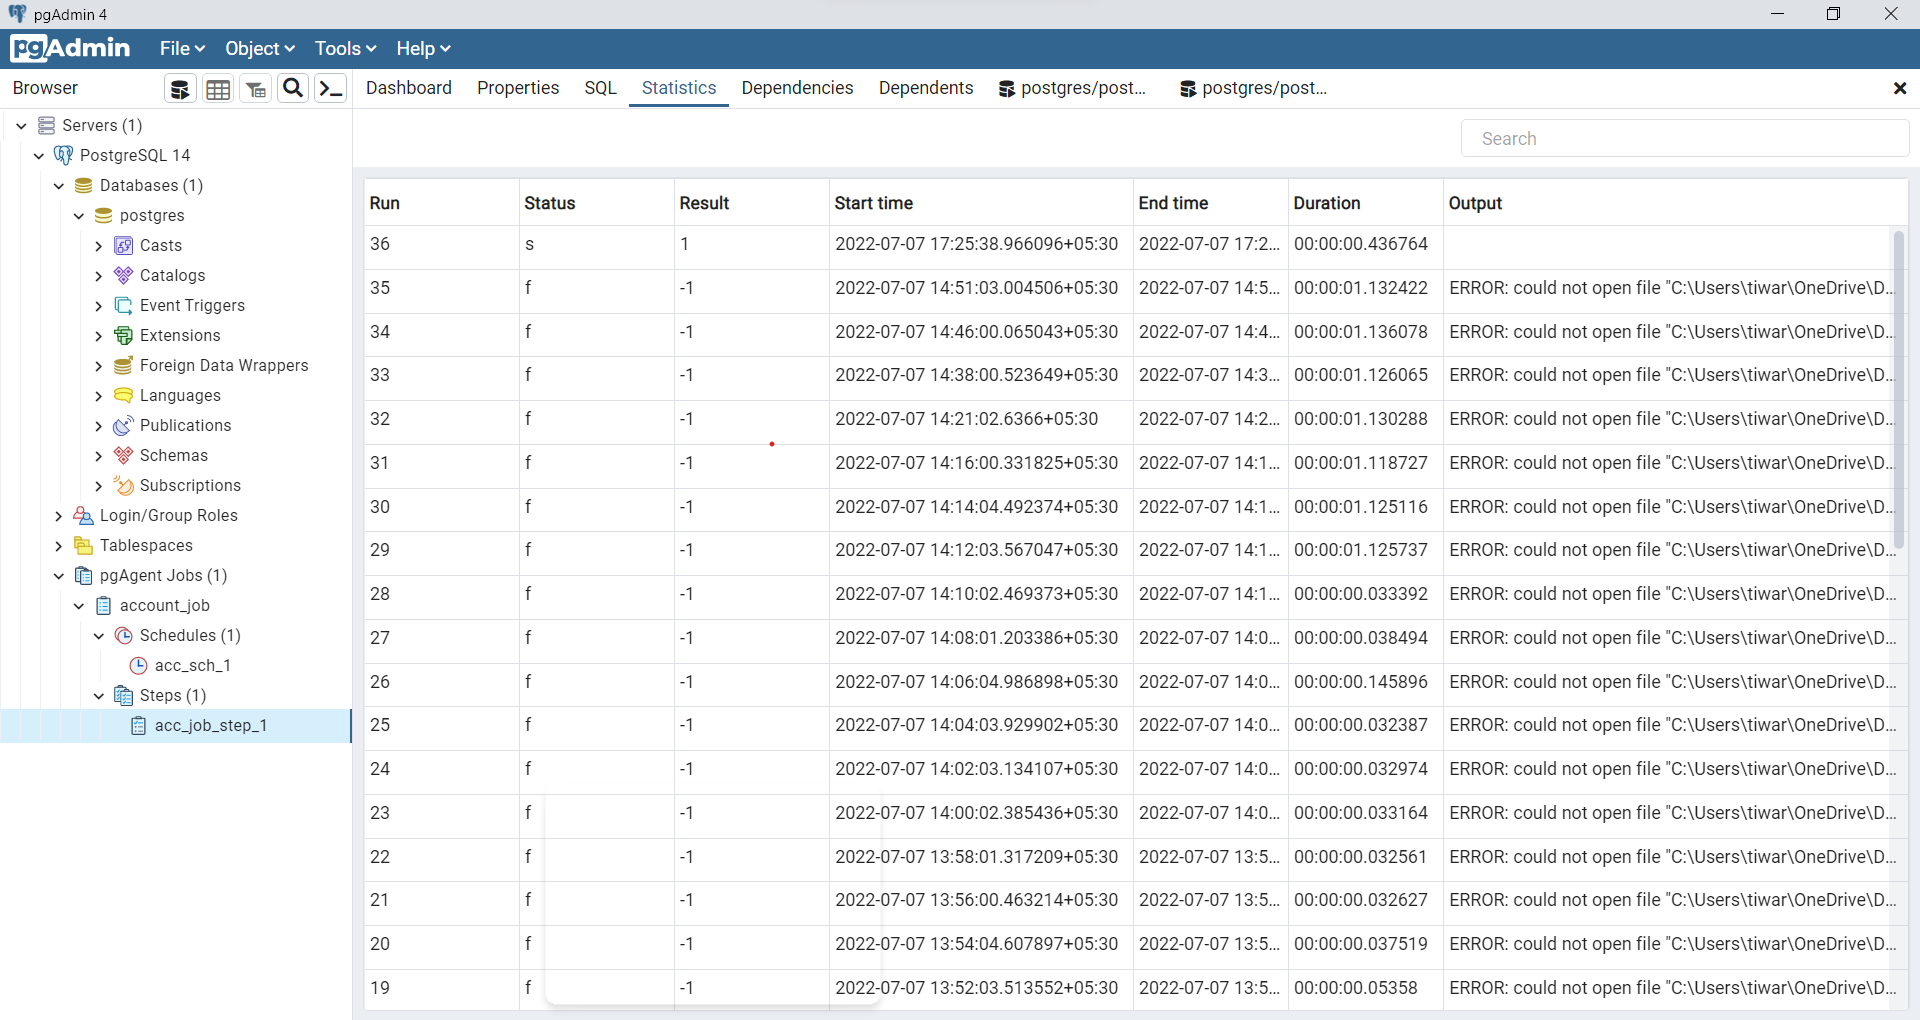
To debug why a job failed, you can simply click on the name of the step under Steps in the browser tree and click Statistics on the dashboard. In the output column you can see why the job failed.
In my case it wasn't able to access the directory I was trying to copy the data to. Once I changed the path, my job was successfully executed (note the first row).
How to Edit Jobs in pgAgent
To edit a job in pgAgent you select the job and click on the Properties tab on the dashboard.
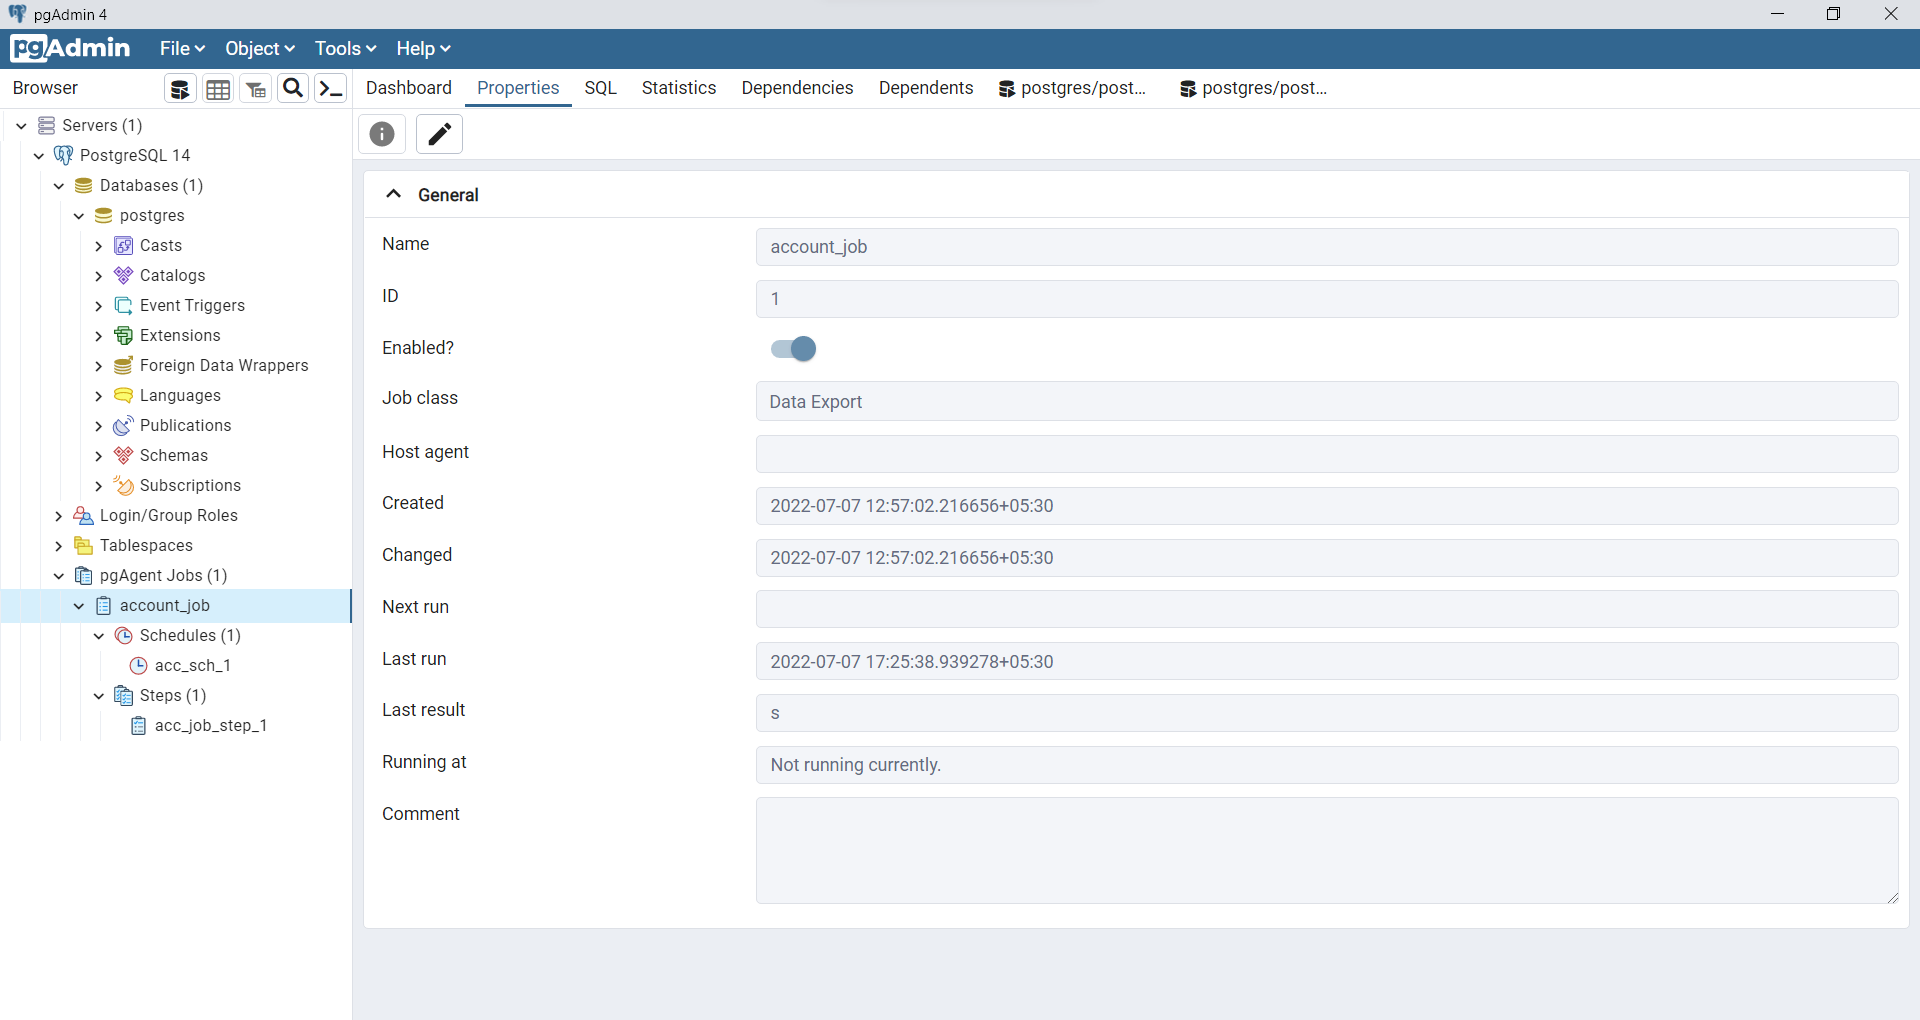
Click on the pencil icon in the top left corner, it will open a wizard where you can edit all the details.
Conclusion
It is not always feasible to create schedulers in your code, but when it's an option, it can be really helpful.
Job Scheduling coupled with exporting data in CSV format is a powerful feature of PostgreSQL. I will try to explain how to create a job dynamically in the next tutorial. Happy learning.