
By Dragos Ivanov
I work on an app that removes the background of any image.
The app will have a freemium plan, which means that I will offer a free number of credits to all users, and if they need more credits, they will need to buy more.
My Android and iOS app use Firebase and Google Cloud services like App Engine and Google Storage.
One of the questions that I had during the development was, “How will I be able to reset the free credits every month on the 1st?”.
I was worried because I had no plan – but then I found something.
Fortunately, Firebase offers Scheduled Cloud Functions which saved my day.
Before I explain how to create a scheduled cloud function, I want to tell you about my use case:
On the 1st of every month, query all the non-paying users from Firestore and update their number of credits to a certain threshold, for example, 20.
What do you need to create a Firebase Scheduled Cloud Function?
- A Firebase project
- Install the Firebase CLI or check the instructions below
- Node.js installed
- Your favourite IDE
And here's some good news – you don't need any backend development experience to follow along and implement this.
Let’s start.
Project Setup
Create a new folder. I will call it functions for this demo. It can be outside your current project, or you can create another folder inside your already existing project.
To install the required dependencies, in your new project folder, run the following command:
npm install -g firebase-tools
The above command will install the Firebase CLI. If you are not already logged into a Firebase project, you can run in your terminal firebase login.
After you logged in inside your Firebase project, from the terminal, run firebase init.
This will create all the required files (.gitignore, index.js, and package.json).
Inside the .gitignore, you will find the .node_modules folder ignored.
We will work inside the index.js file.
Inside the package.json, we will find a few scripts that we will use later.
Below you can see the structure of the folder after the firebase init command.
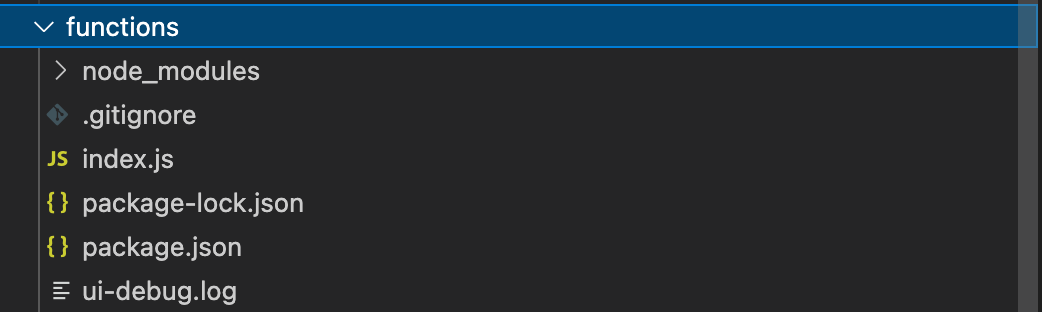 Structure of the folder after firebase init command is run
Let’s code!
Open your index.js and add the following code. I suggest to not copy the code, but write it line by line to understand it better.
const functions = require("firebase-functions");
const firebase = require("firebase-admin");
firebase.initializeApp()
var firestore = firebase.firestore()

exports.resetCreditsForFreeUsers = functions.pubsub
    .schedule('0 0 1 * *')
    .onRun(async (context) => {
        const users = firestore.collection('users')
        const user = await users.where('isPayingUser', '==', false).get()
        user.forEach(snapshot => {
            snapshot.ref.update({ credits: 10 })
        })
        return null;
    })
I feel that the first four lines are self-explanatory, but let me explain a bit.
The first two are imports. In the third, we initialize the Firebase app, and in the fourth, we access the Firestore object.
exports.resetCreditsForFreeUsers is our function.
functions.pubsub
  .schedule('0 0 1 * *')
  .onRun(async (context) => {
  // ....
  return null;
})
The above part helps us schedule our code on the 1st of every month. You can set it to happen every minute or every 10 minutes or whenever you want. It’s amazing!
How to find a cron schedule expression
I found a website called crontab.guru, which helps and tells you the scheduled expression you need.
While playing with it, I found that the easiest way to use it is to go on Google, search for your expression, for example, “crontab every 20 minutes”, and the first result will be the result you need.
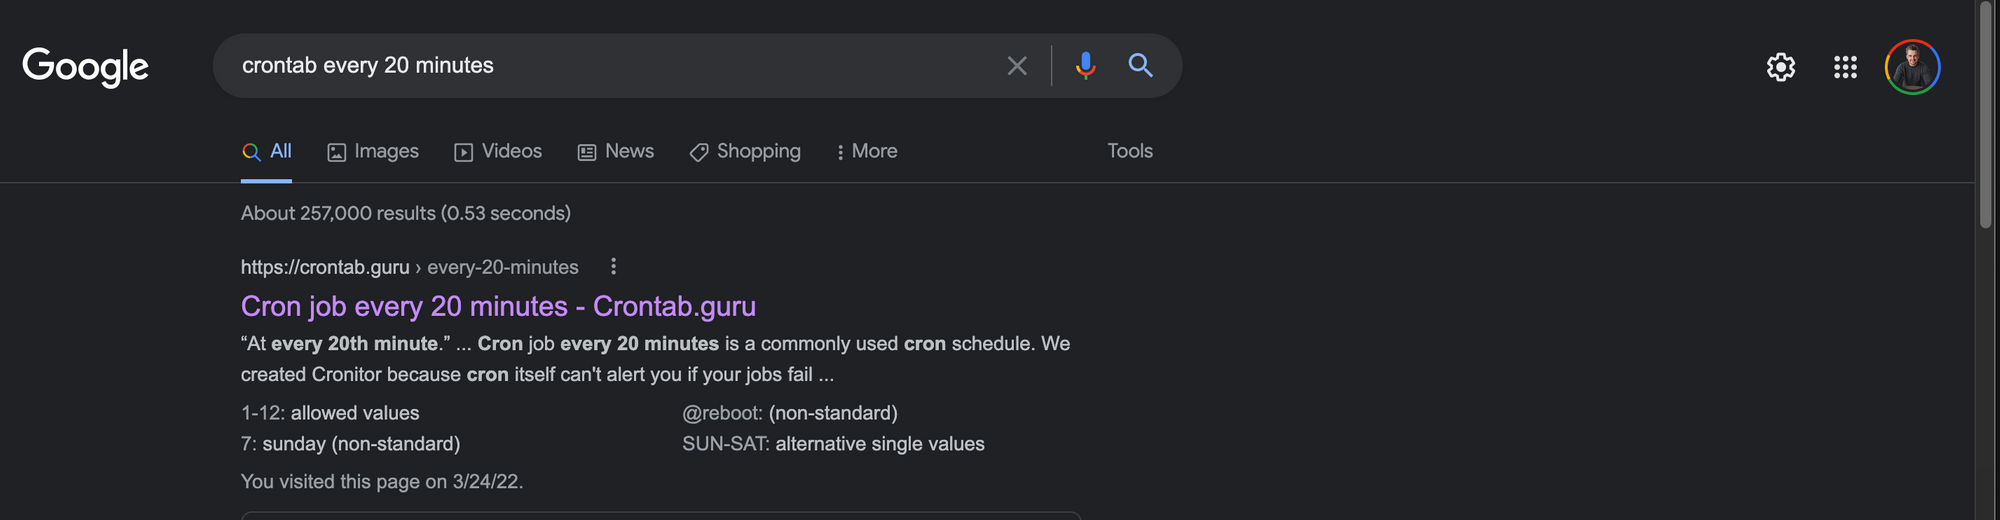 The first Google result was the one I needed.
Copy the value that you get in the crontab.guru website, /20 * and pass it in the .schedule function.
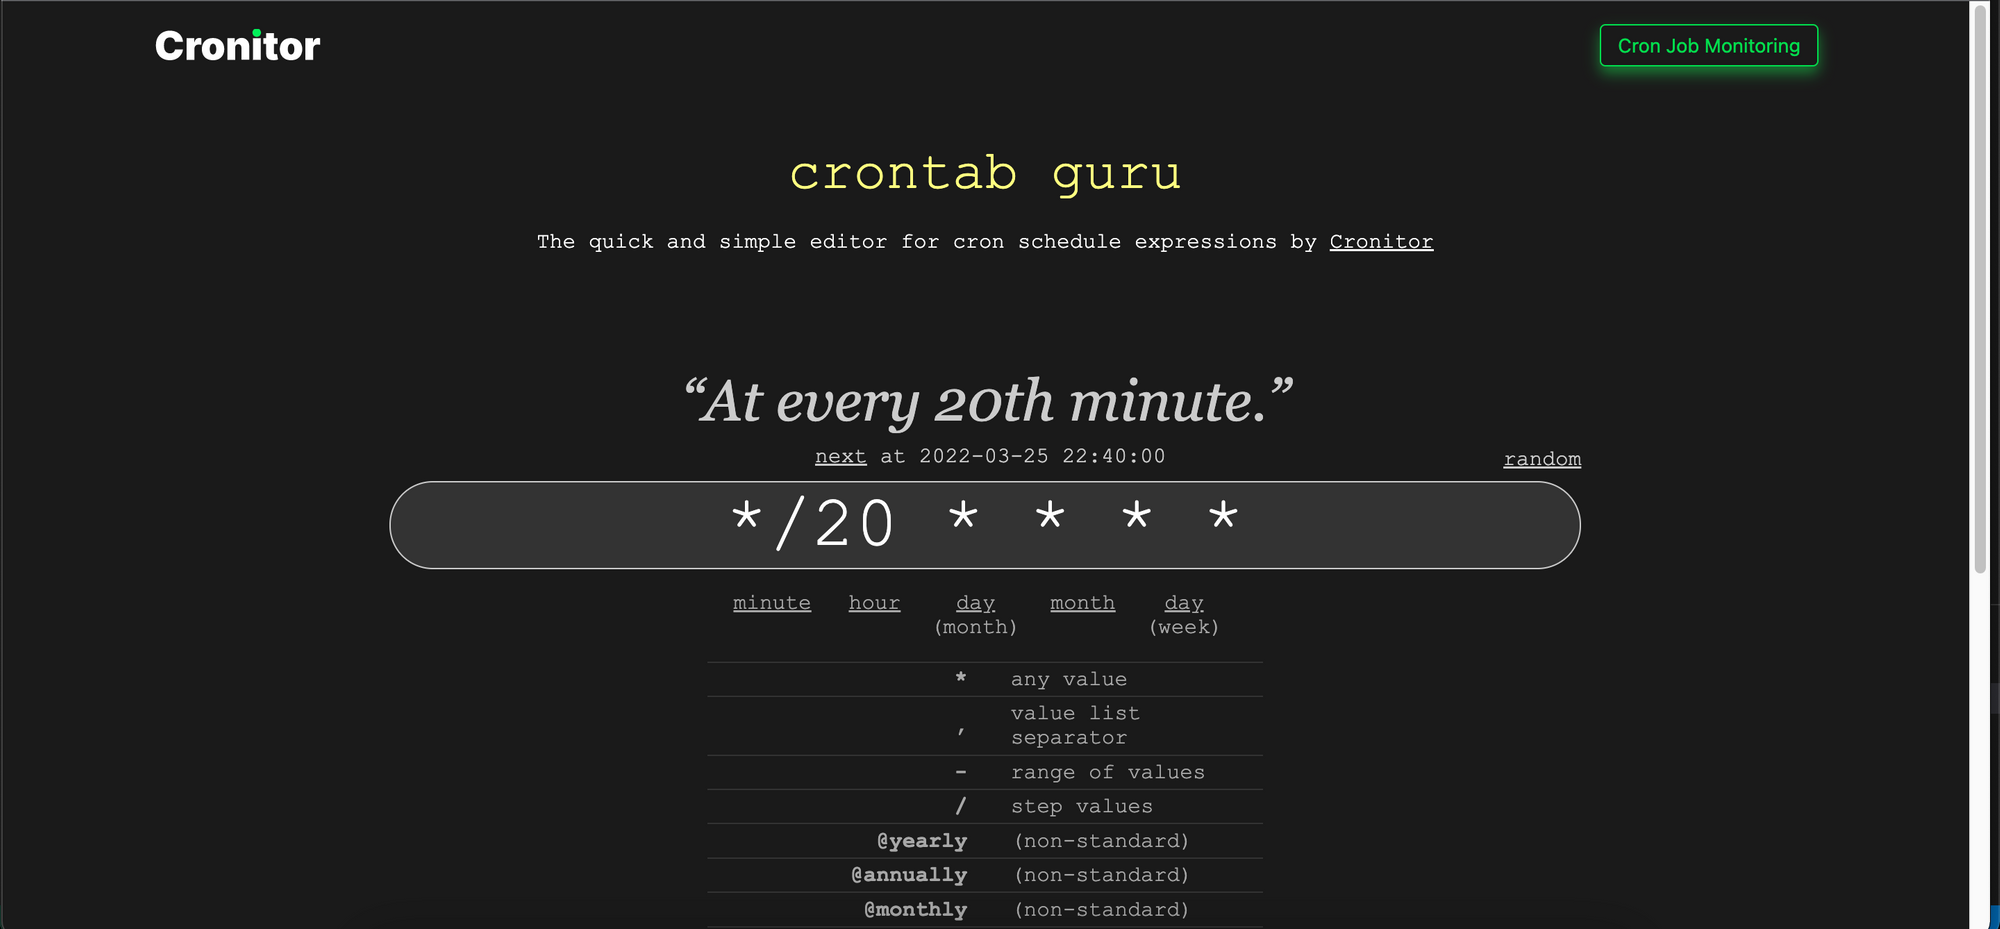 crontab guru can help you get your schedule expression
It might be unclear because, initially, I talked about doing a scheduled task on the 1st of every month, but now I mention every 20th minute.
You can replace the value with whatever use case you have.
Code that runs inside the onRun function
The below code, which can be found in the onRun callback, queries the Firestore ‘users’ collection and searches for users with the isPayingUser field as false and then updates their credits to 10. Pretty simple, right?
const users = firestore.collection('users')
const user = await users.where('isPayingUser', '==', false).get()
user.forEach(snapshot => {snapshot.ref.update({ credits: 10 })})
And that is all you need code wise.
Now, we want to deploy the cloud function.
Deploy the scheduled Firebase cloud function
Remember the package.json? You will find the “deploy” script inside because of the earlier firebase init command.
In your terminal run the command: npm run deploy.
After your function is deployed successfully, you should see it available inside the Firebase tab called Functions.
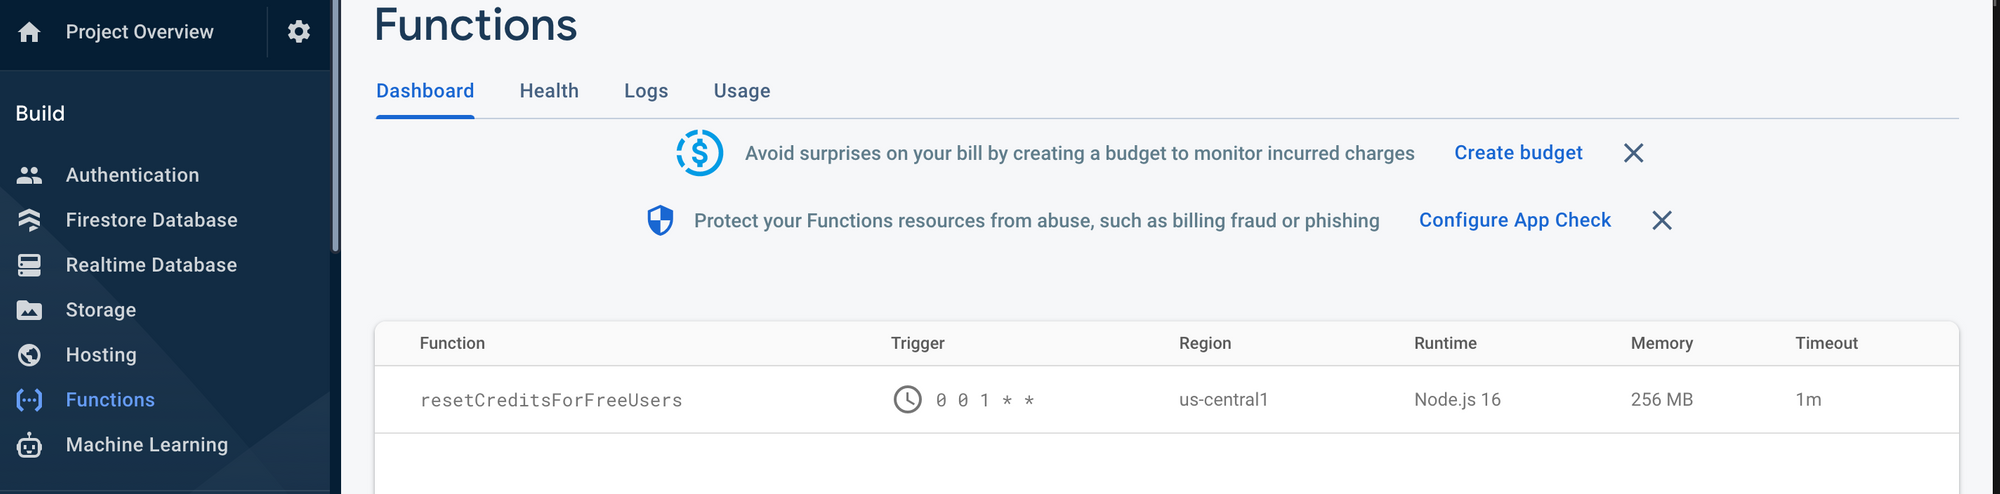
Congratulations. Your scheduled function is now live and will run every time you need it.
How to Debug a Firebase Scheduled Cloud Function
There might be better ways, but here is a simple way I used.
Inside your onRun function, you can set the following piece of code:
functions.logger.info("Hello logs!");
This is the equivalent of console.log() or println(), but for Firebase Cloud Functions.
After you deploy your function successfully, you will see a bunch of logs inside the Firebase Logs tab.

When your function runs, and if it contains the functions.logger call inside the onRun, you will see it every time your function runs.
Conclusion
We are at the end of the tutorial, and I hope that it was helpful to you. Firebase Scheduled Cloud Functions helped me to achieve what I wanted for my app.
I write technical content during my journey of reaching $1000 in monthly recurring passive income. If you want to support or read what I write, please follow me on Twitter.