

Windows 10 has 2 built-in ways to take screenshots. These are fast, convenient, and easy to remember.
The first method is incredibly simple, and accessible at any time – right from the keyboard.
Method #1: Pressing the Print Screen Key on your keyboard will take a screenshot of your entire PC screen.
If you press the Print Screen Key, Windows will take a screenshot and, by default, save this to your Microsoft OneDrive account.
You can then open up any screenshots you've taken with the Print Screen Key by navigating to the Screenshots Folder inside the Pictures folder inside your OneDrive, using Windows File Explorer.
Again, these are stored in OneDrive > Pictures > Screenshots.
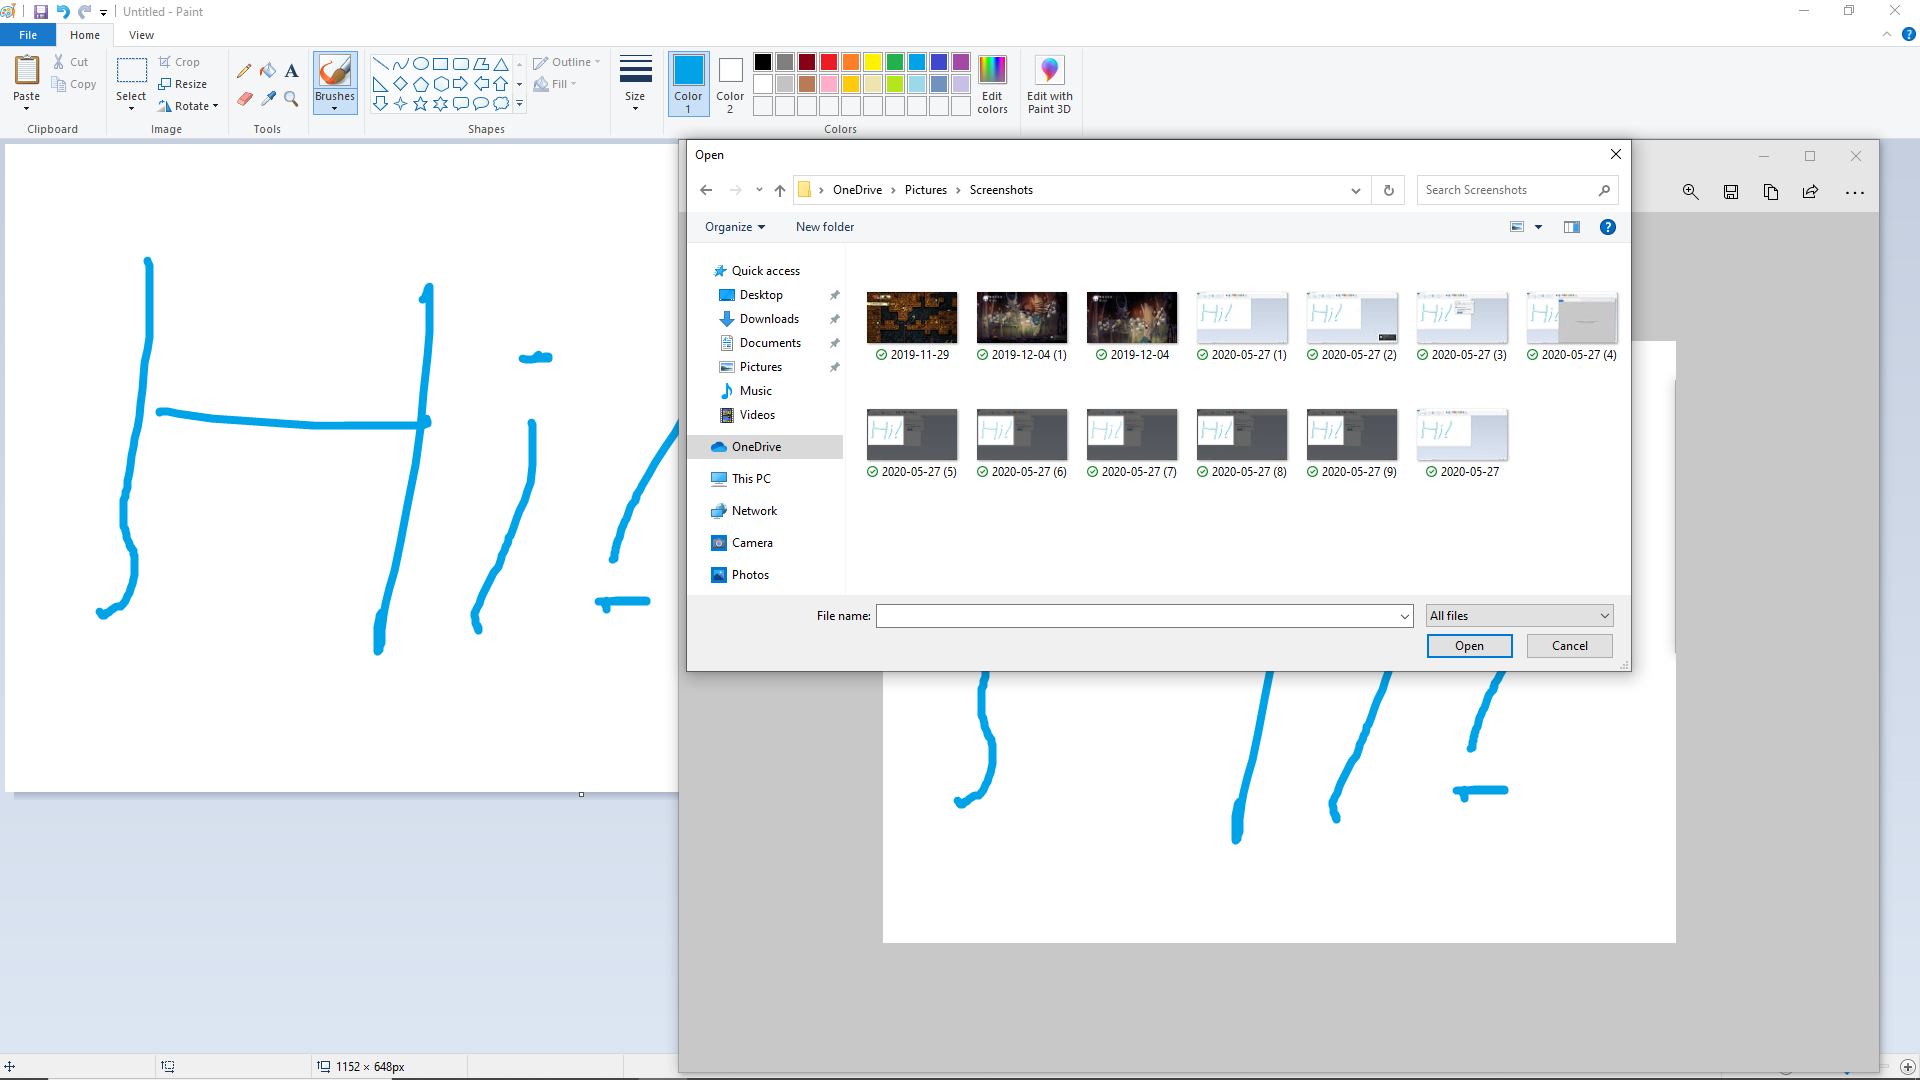 Your screenshots will be here in OneDrive > Pictures > Screenshots. Here are some screenshots I took while making this tutorial, along with some screenshots I accidentally took while playing Hollow Knight.
But using the Print Screen Key is a bit of a blunt instrument. It captures your entire screen. And for privacy reasons, you may not want to do this.
Also, some laptops don't even have a Print Screen Key on their keyboard.
Fortunately, Windows also has a more powerful built-in screen-shot tool called Snip & Sketch. And it will give you a ton of flexibility.
Method #2: How to Use Windows Snipping Tool (AKA Snip & Sketch) to take a partial screenshot of your PC's screen.
The Snipping Tool is quite powerful, considering that it's a free built-in screenshot tool.
You can open it from the search bar by pressing the Windows key and then typing "snipping tool".
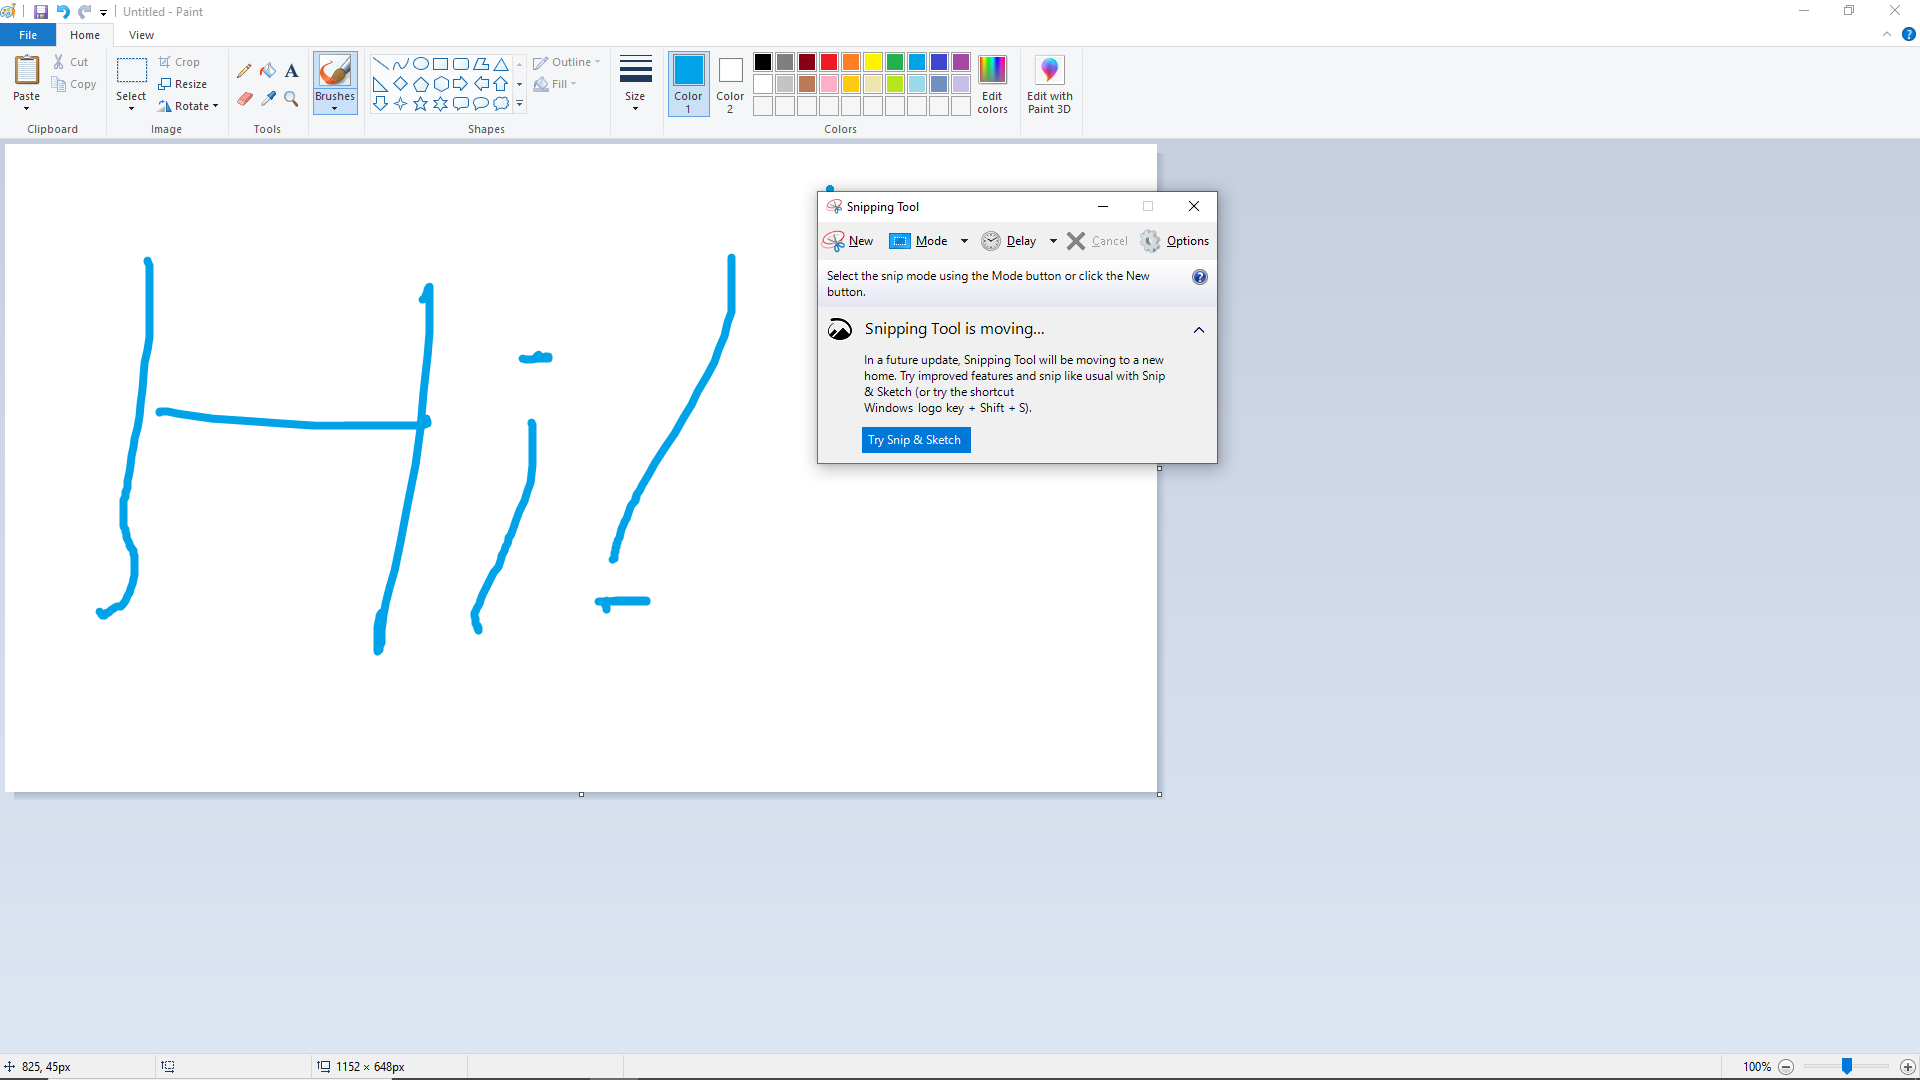 Microsoft is in the process of moving the Snipping Tool from a point and click tool over to a hotkey.
But Windows is trying to get users to get into the habit of using their new hotkey.
By pressing three keys at the same time, you can put Windows into a special Screenshot Mode where you can select whatever parts of the screen you'd like to snap.
Here are the 3 keys you press to initiate this mode: Windows + Shift + S
If you press and hold those buttons, here is what you'll see:
 Note the little cross hair, and the fact that everything outside of my selected area is darkened. And yes, I had to use my phone to take this picture. It was the best way I could think of to take a photo of the screenshotting process itself ?
When you hold down Windows + Shift + S at the same time, your entire screen will darken. You can then left-click your mouse and drag your cursor – which will now be shaped like a little crosshair.
The portion of the screen that you've selected will be brighter than the rest of the screen.
Then, whenever you've selected everything you want to screenshot, just release these keys. Presto – you have taken a screenshot. Convenient, right?
And using Microsoft's new Snip & Sketch tool, you can even draw on your screenshots to further mark them up.
OK – so where does Windows store these screenshots?
Unlike with the Print Screen Key method, by default Windows will store these screenshots in your Pictures folder: This PC > Pictures.
You can access these using the Windows File Explorer.
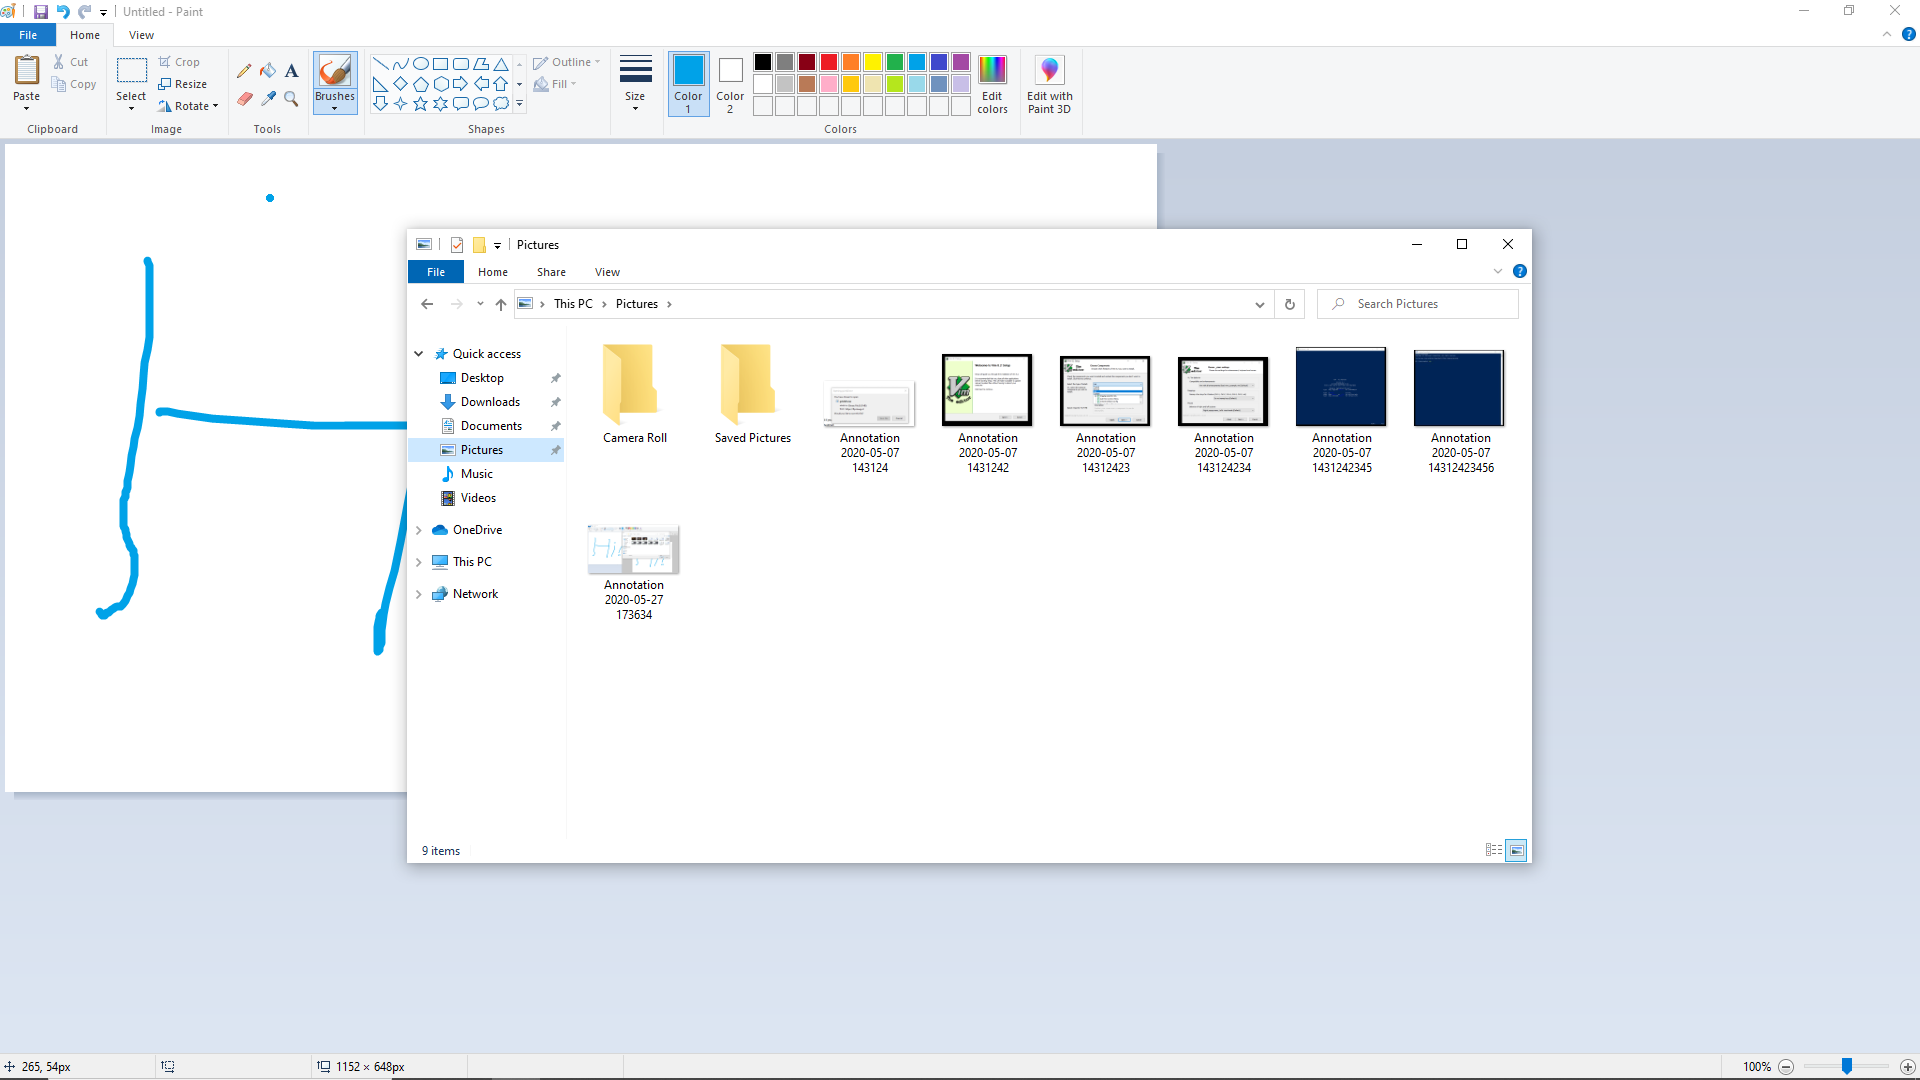 Once you've saved an image using the Snipping Tool you can use the Microsoft File Explorer to open it. The files are, by default, located in the Pictures directory.
Windows Snip & Sketch Makes Taking a Screenshot of your PC Pretty Easy.
I personally applaud Microsoft for making this process so convenient. Coming from the Mac and Linux world, there is no equivalent tool that works this well for those operating systems.
Thanks for reading this guide. I for one take dozens of screenshots per day. And I hope you are able to also embrace this convenient way of capturing information and quickly sharing it with people. Screenshots are a great way to quickly communicate.
Have a fun day, and happy snipping.