
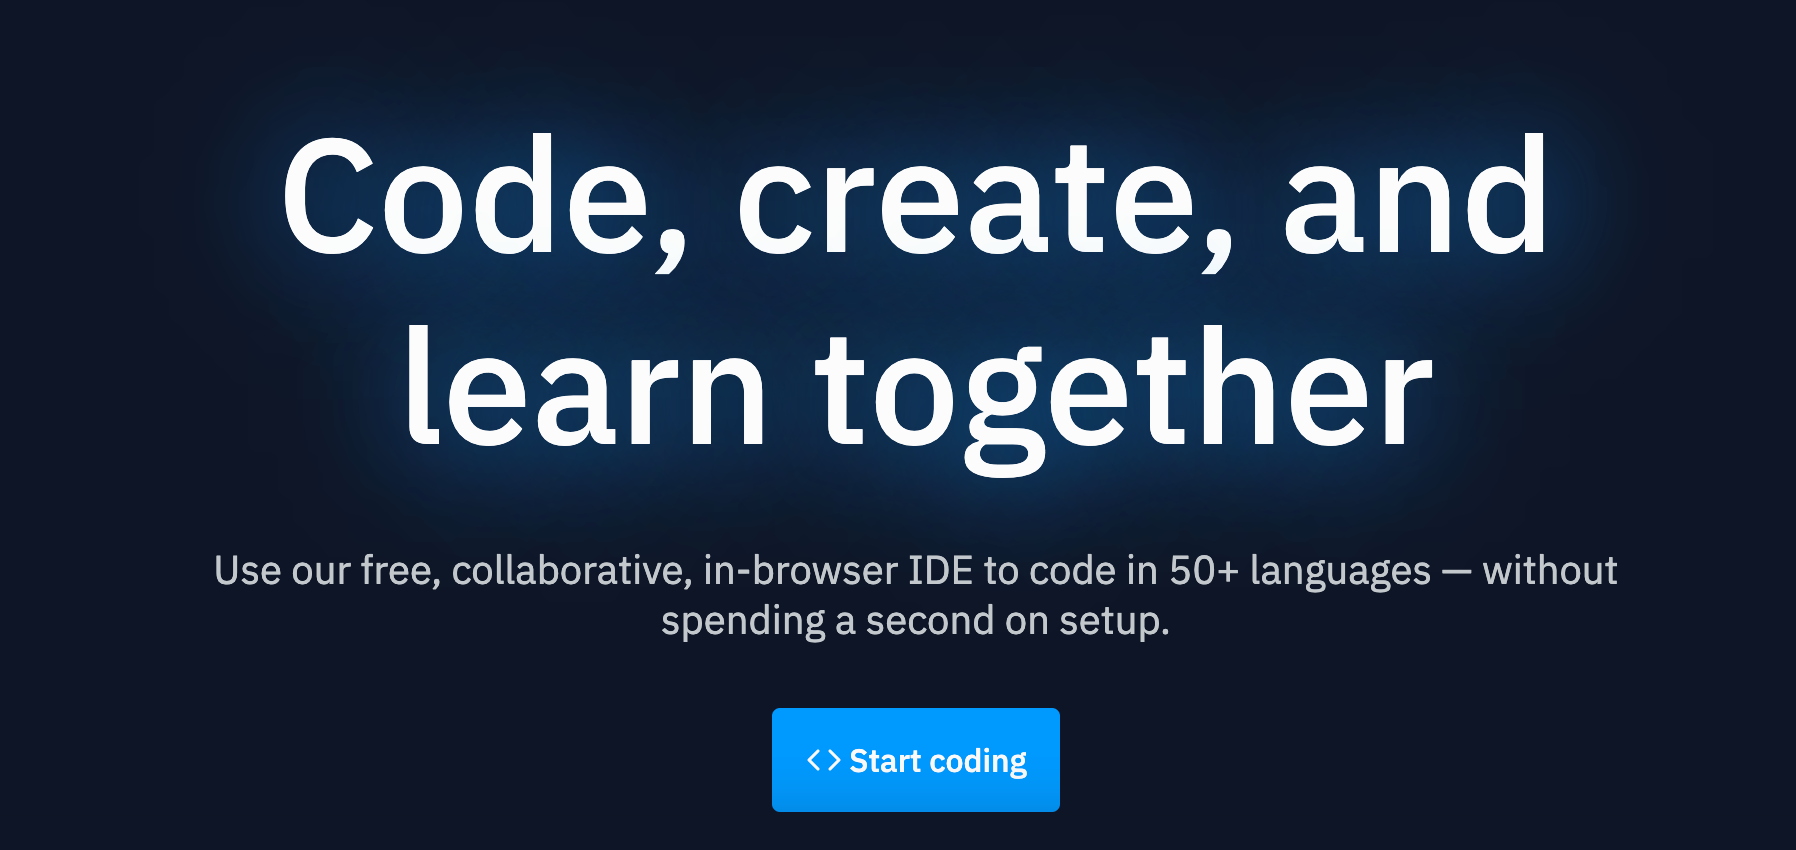
Replit is a popular free online IDE that you can use to create your projects with very little setup. This editor supports over 50 languages and many programming courses use it, including freeCodeCamp.
In this article, I will show you how to get started with Replit and show you how to use a lot of the basic features.
Here is a list of topics discussed in the article:
- How to create a free Replit account
- What is a Repl and how do you create one?
- Basic features of the Replit editor
- Replit files and folders
- Version control in Replit
- Replit Debugger
- How to install packages in Replit
- Secrets(Environment Variables) in Replit
- How to customize Replit settings
- Replit Database
- How to add Unit Tests in Replit
- How to use the run button in Replit
- How to clear the console in Replit
- What is the Replit shell console?
- How to add a custom domain in Replit
- How to publish your project in Replit
- How to share Replit project URLs
- How to invite others to edit your repls
- What is included with the Replit paid subscription?
How to create a free Replit account
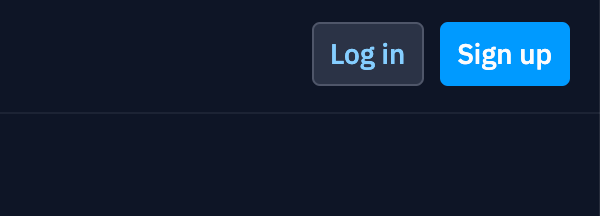
To get started, you will first need to go to the Replit homepage. In the top right hand corner, click on Sign Up.
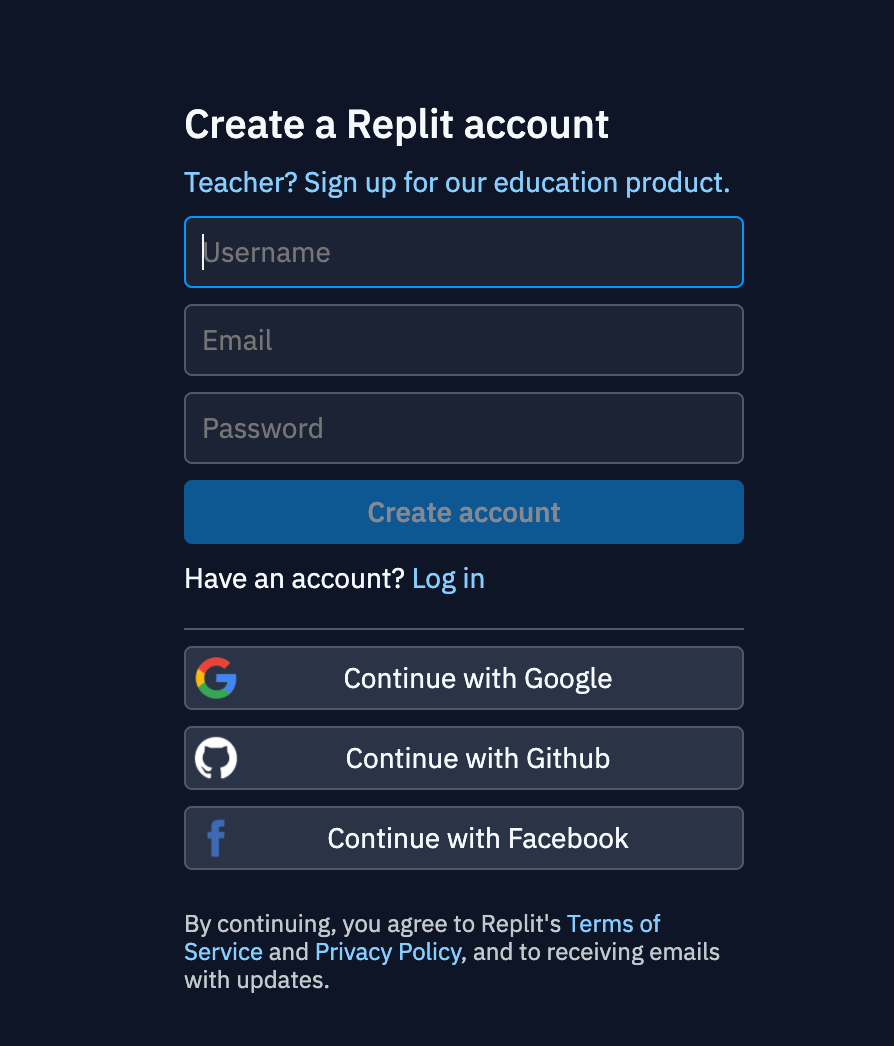
You can create an account with your own username, email, and password. Or you can create an account using your Google, Facebook, or GitHub account.
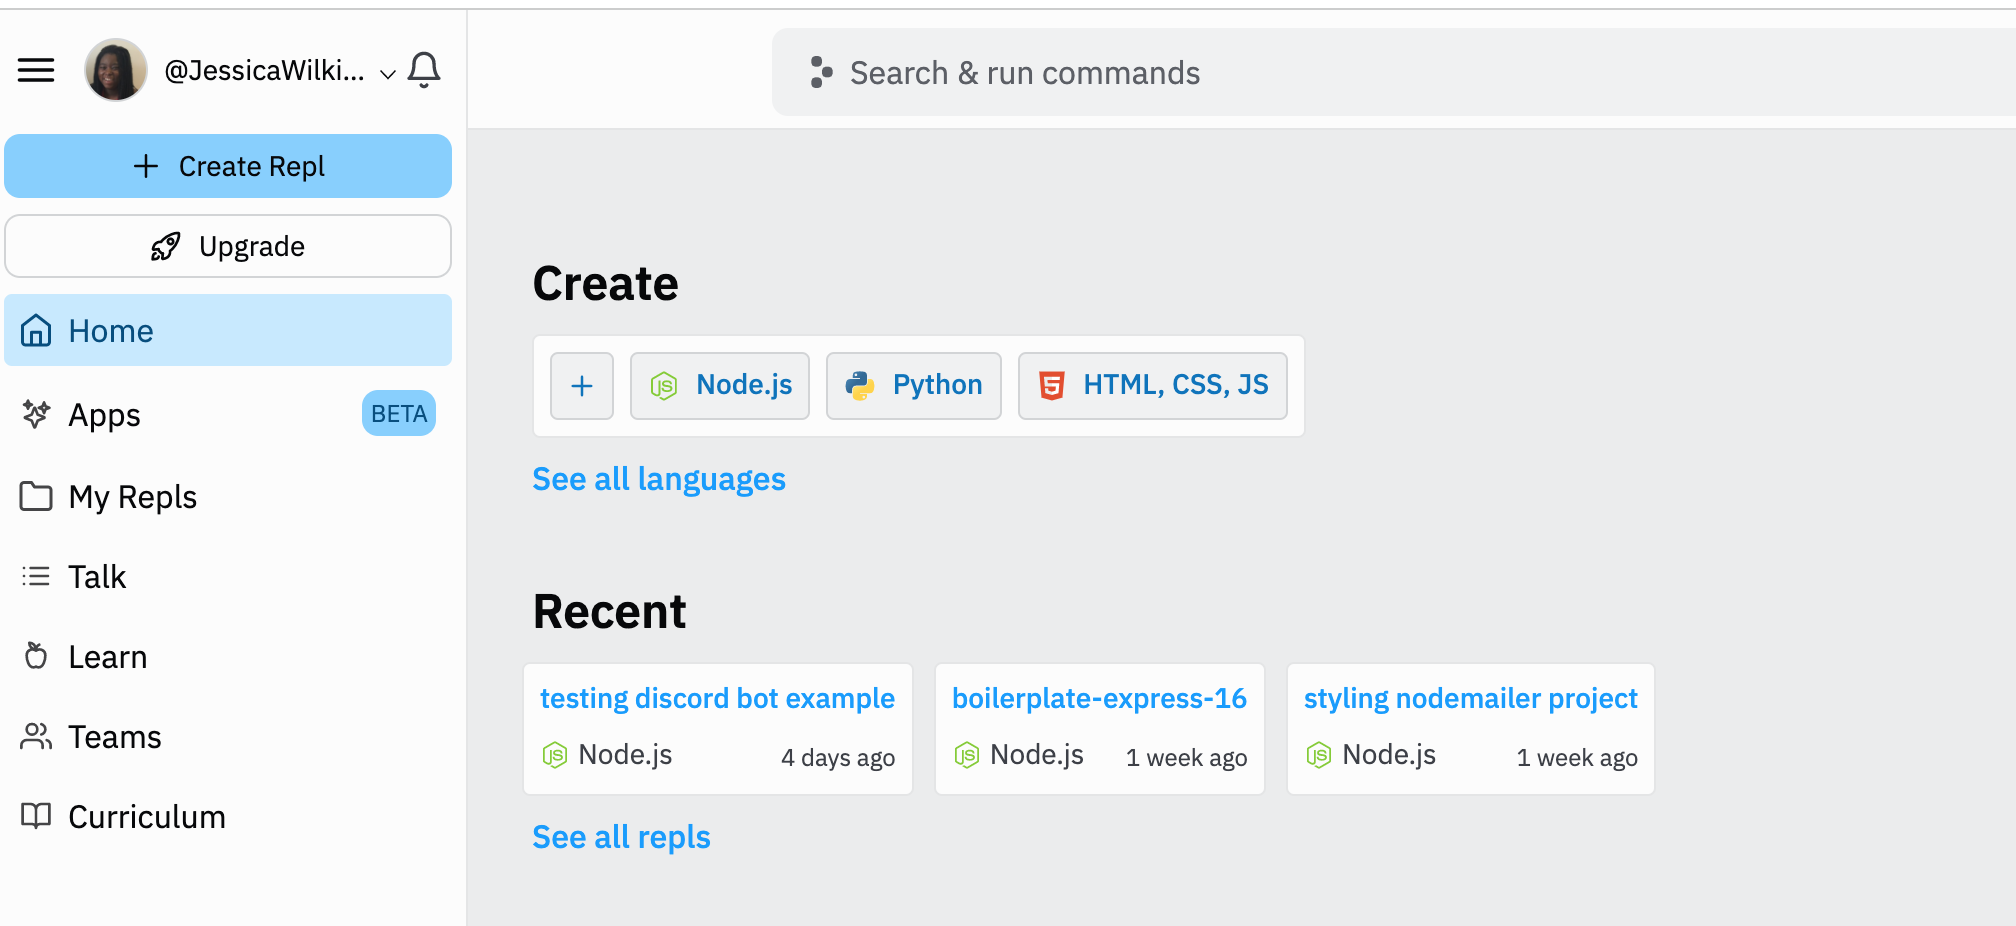
Once you are logged in, then it should take you to your account homepage.
What is a Repl and how do you create one?
Repl stands for read-eval-print loop and it is an interactive programming environment for developers to create small projects.
In Replit, there are three places where you can create a new repl.
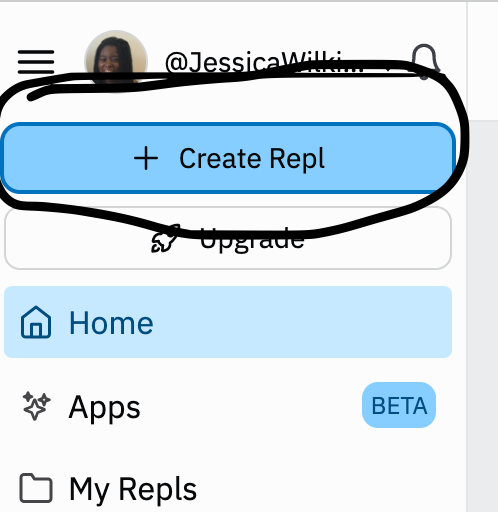
One way is to click on the Create Repl button located at the top left hand corner of the homepage.
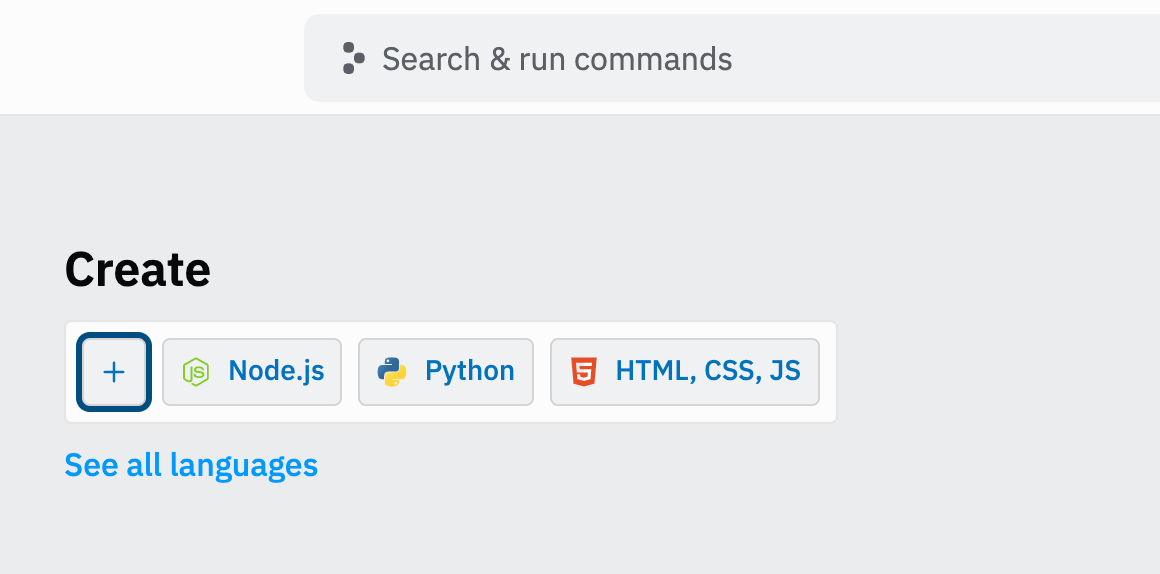
You can also create a repl by clicking on the + icon under the Create section.
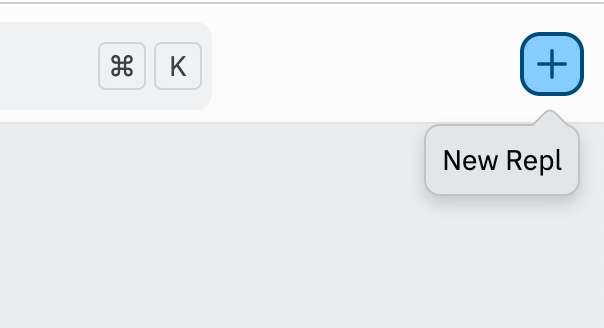
The last option is the click on the + icon located at the upper right hand corner.
Then you can choose from one of Replit's many templates including Python, Node, Java, HTML & CSS, Ruby, and more.
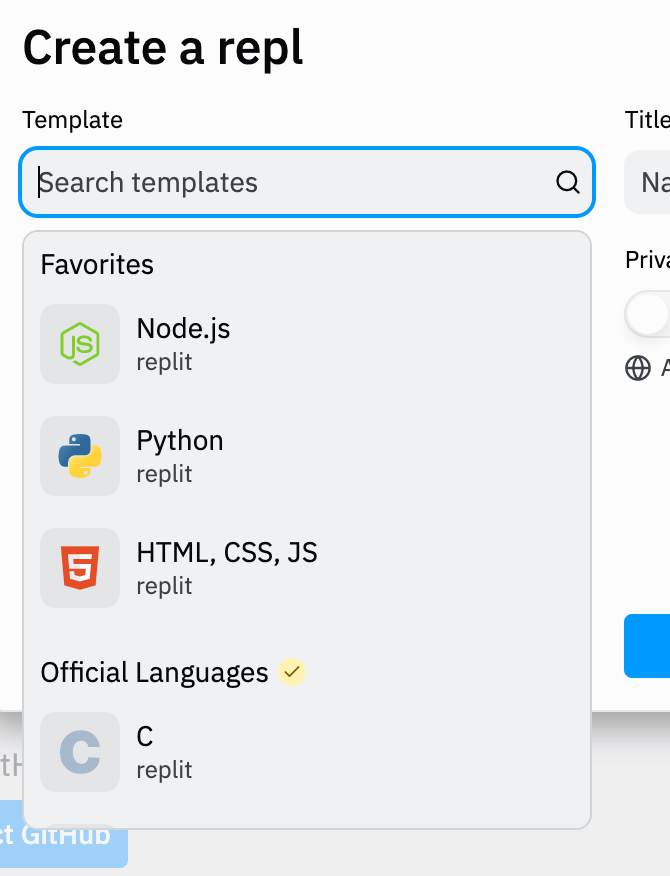
Once you choose your language, pick a name for your project.
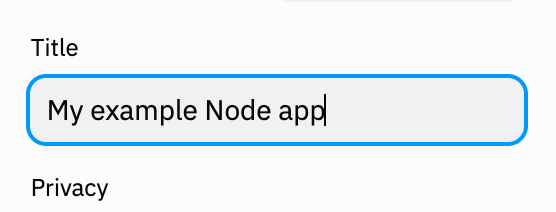
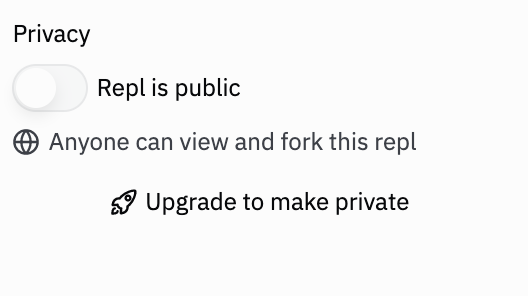
For the free version of Replit, you are not allowed to create private projects. If you want a private repl, then you will need to upgrade to the paid subscription.
Once you are done naming your repl, click on the blue Create Repl button.
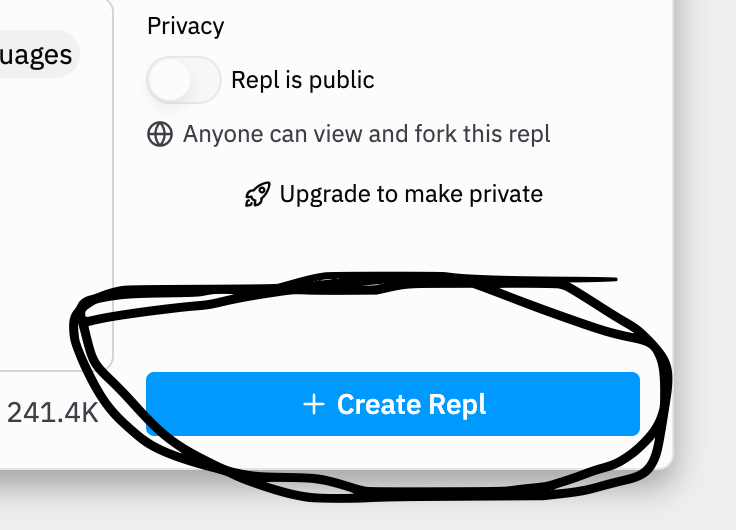
Then you should be taken to the editor.

Basic features of the Replit editor
In this section, I will go over some of the basic features you can use in the Replit editor. These features include a debugger, files and folders, version control, unit tests, and more.
Replit Files and Folders
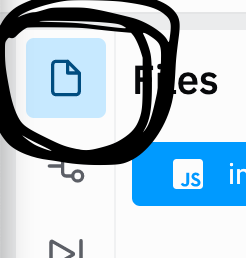
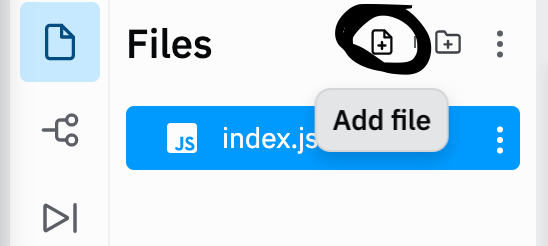
In the upper left hand corner, you can click on the file icon to add files and folders to your project.
To add a file, click on the Add file icon.
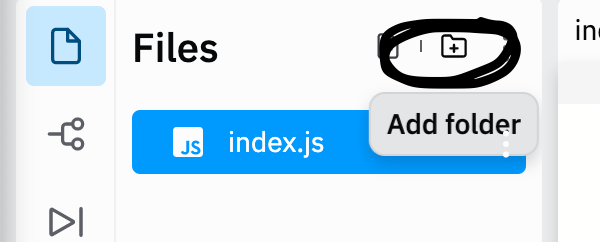
To add a folder, click on the Add folder icon.
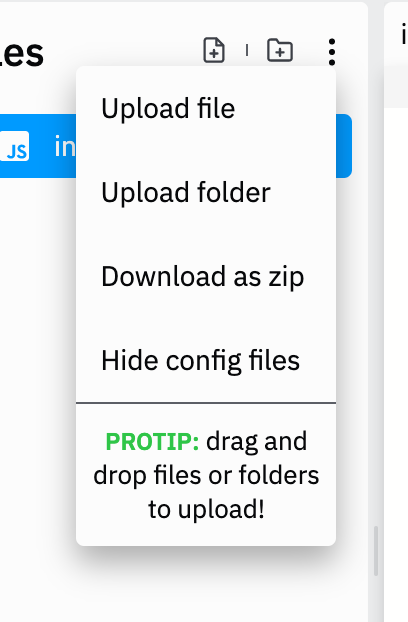
If you want to upload files or folders from your computer, click on the three vertical dots icon.

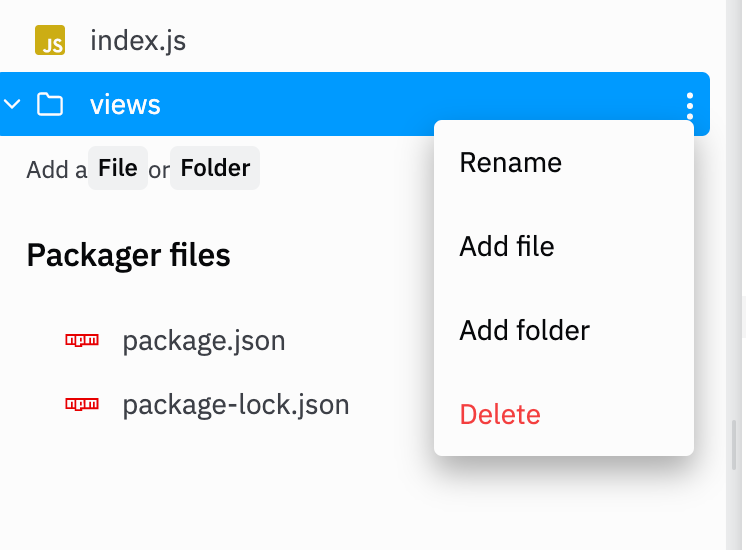
If you need to delete files or folders, then click on the three dots icon located next to the file you want to delete. Then from there, choose the delete option.
You can also right click on the file and you should see the list of options.
Version control in Replit
You also have the ability to connect to your GitHub account and create a repository for this project. At the time of this writing, this feature is currently in beta.
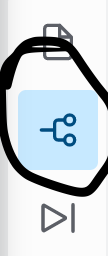
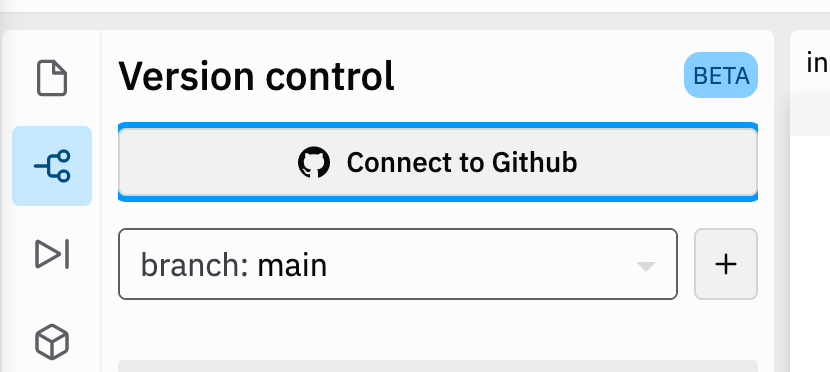
First click on the version control icon on the left hand side of the editor page.
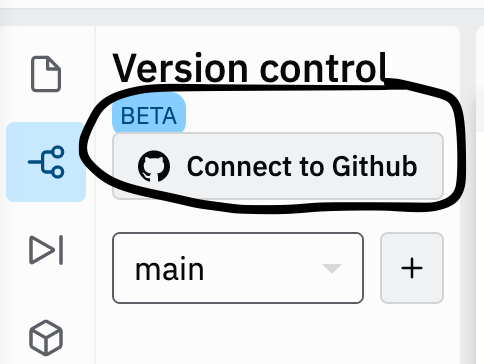
You should then see an option to connect to your GitHub account.
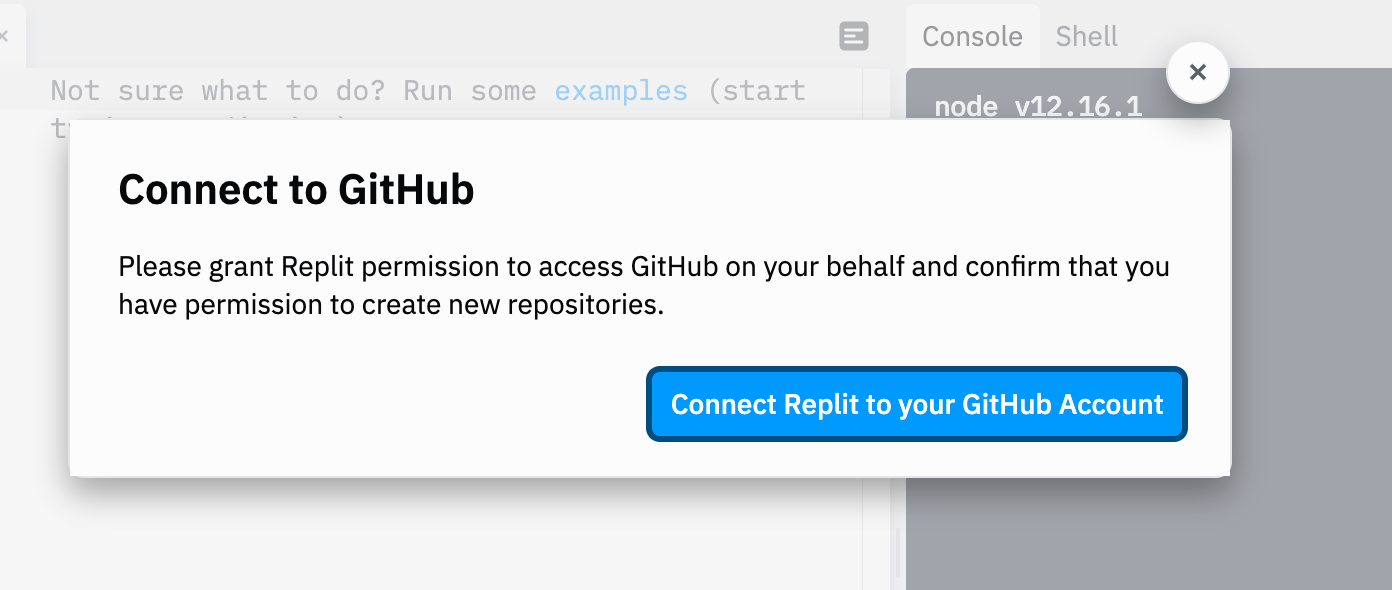
You will be prompted to grant Replit permission to create new repositories on GitHub.
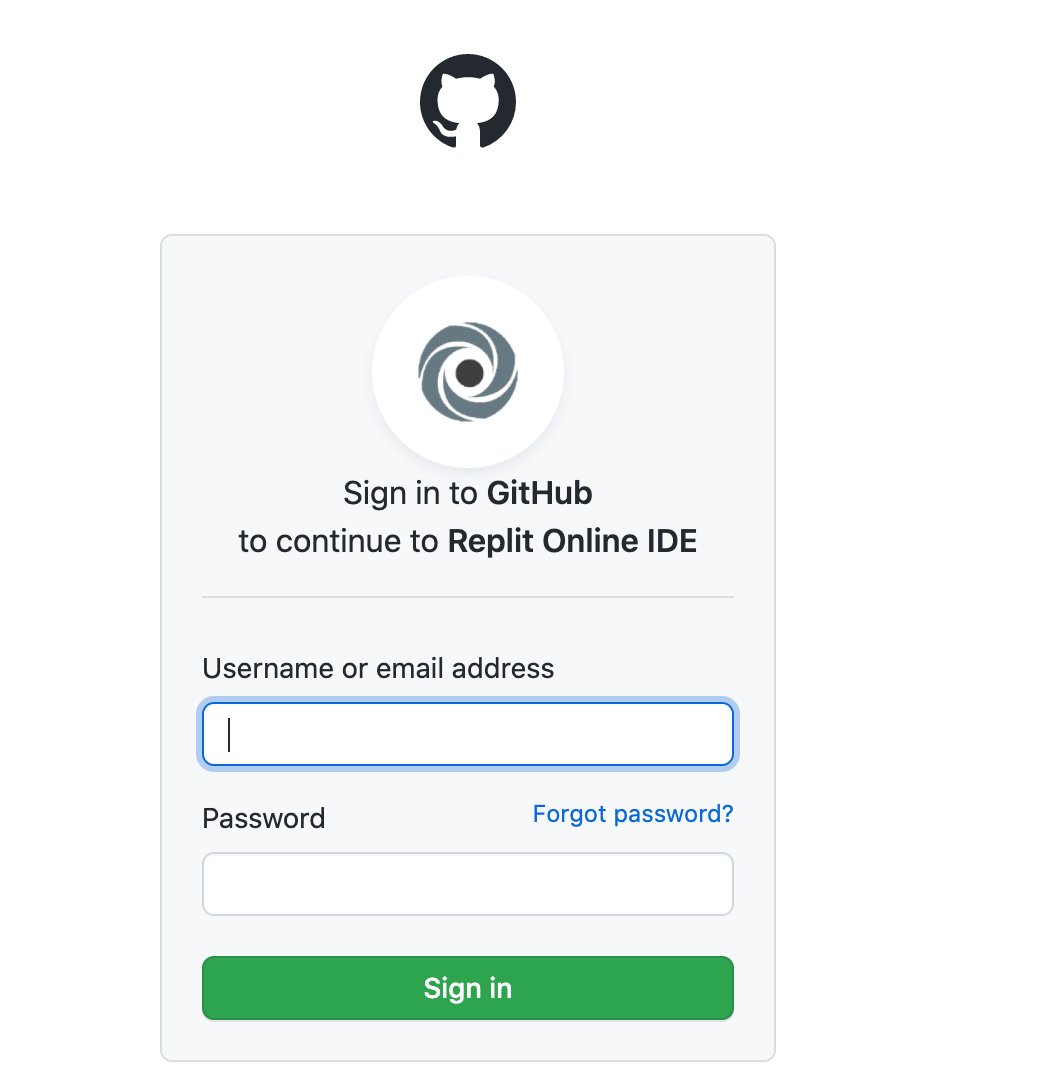
Enter in your login information for GitHub.
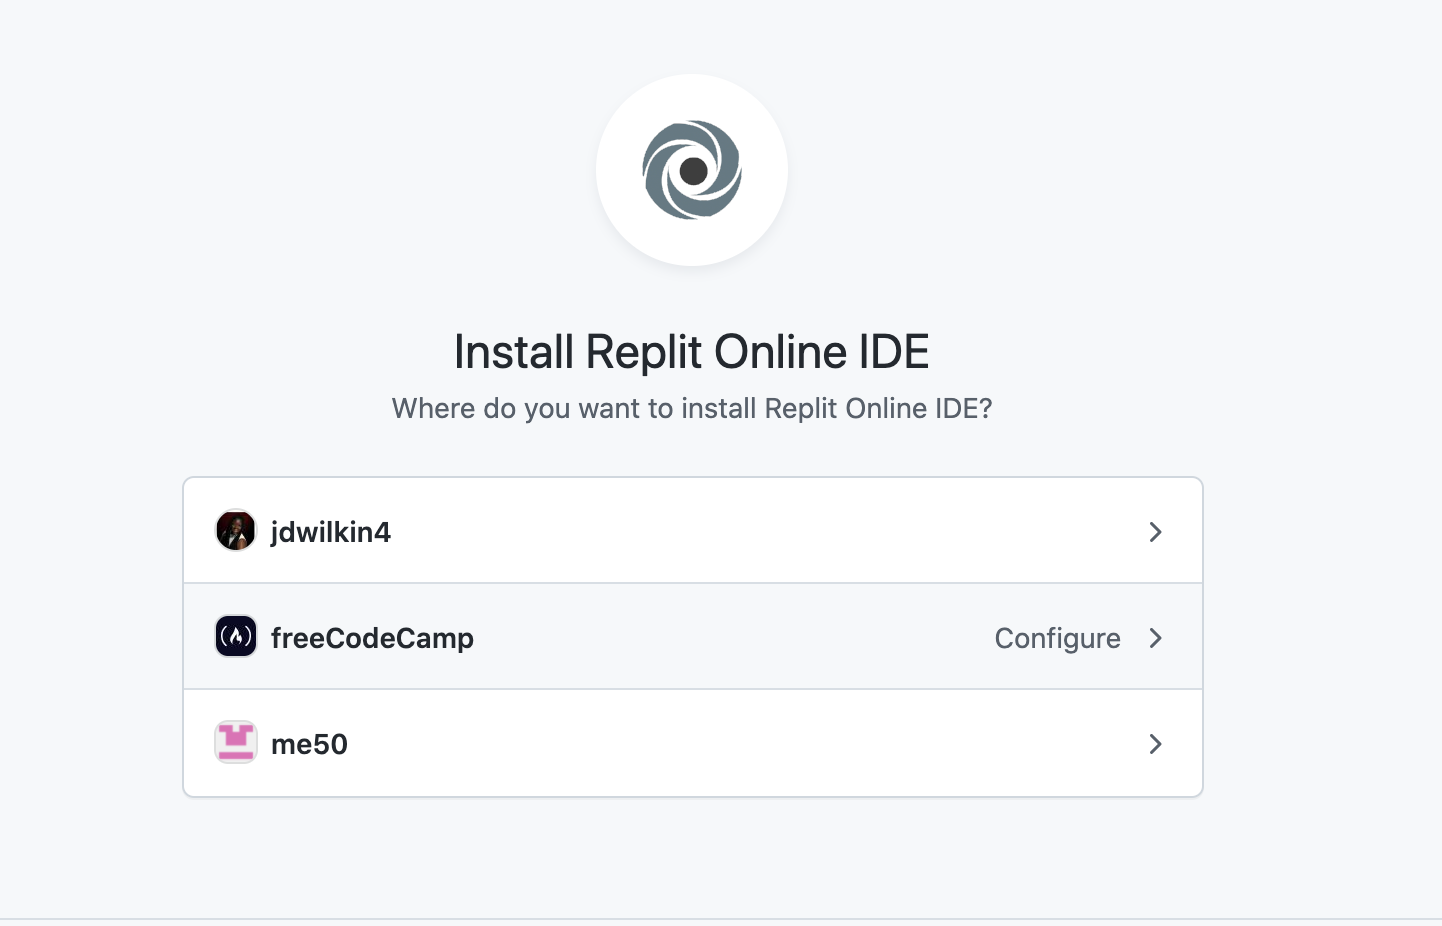
If you have multiple accounts linked to your profile, choose the account where you want to install Replit.
You will then need to authorize Replit to install.

After you Install and Authorize Replit, you should be directed back to the Replit editor.
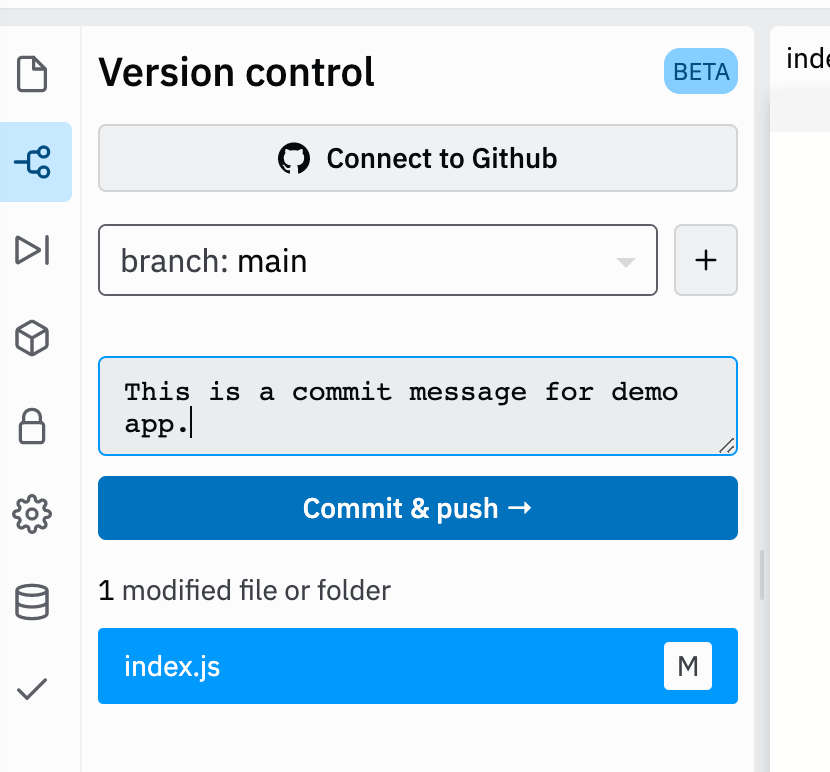
Now all of our changes will be tracked and we can push those changes to GitHub. Write a short commit message and click on the Commit & push button.
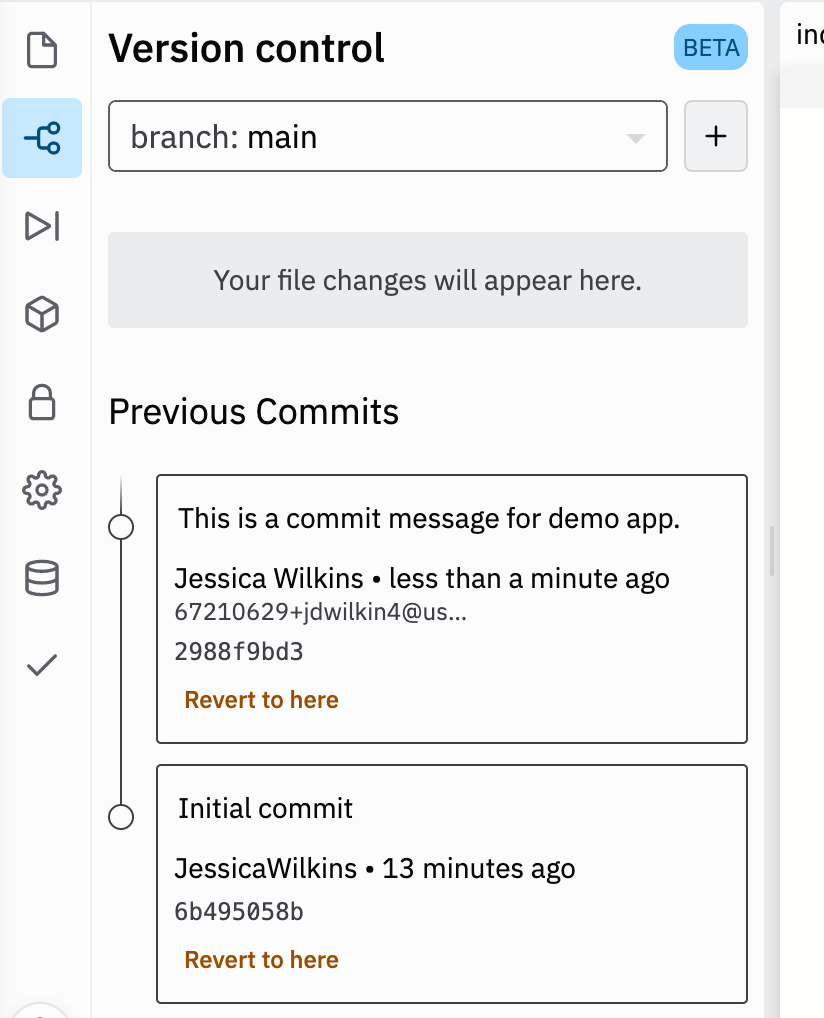
You should see all of your commit messages in the version control panel.
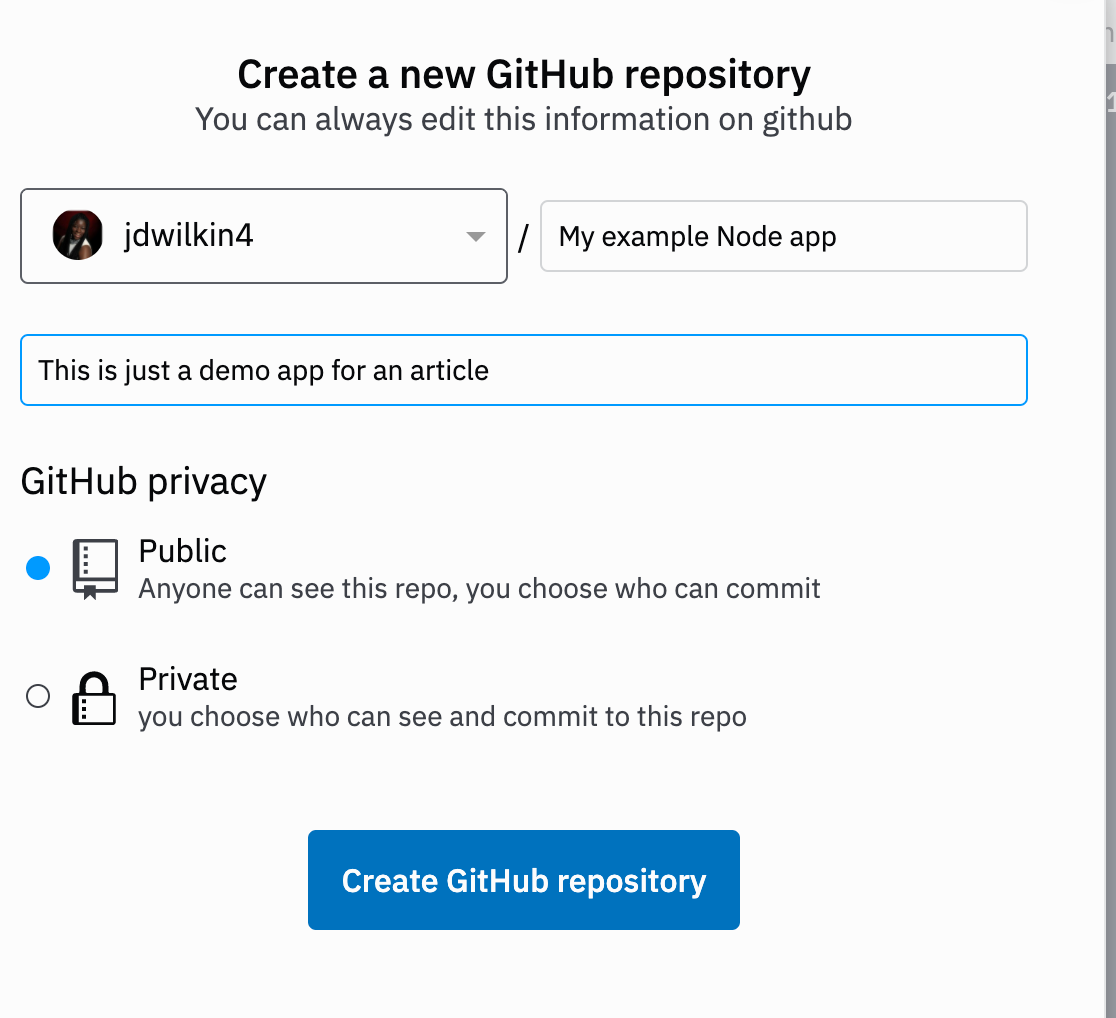
Then click on the Connect to GitHub button so you can create a new repository.
You can add a description for the repo and then click on the Create GitHub repository button.
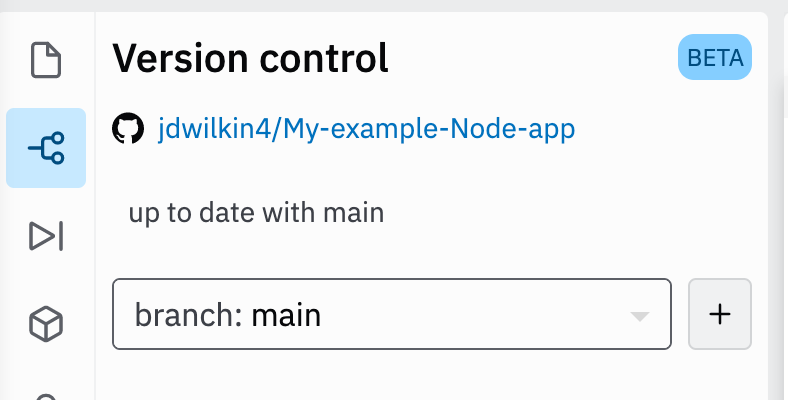
Once it is created, you should see the name of the repository in the version control panel.
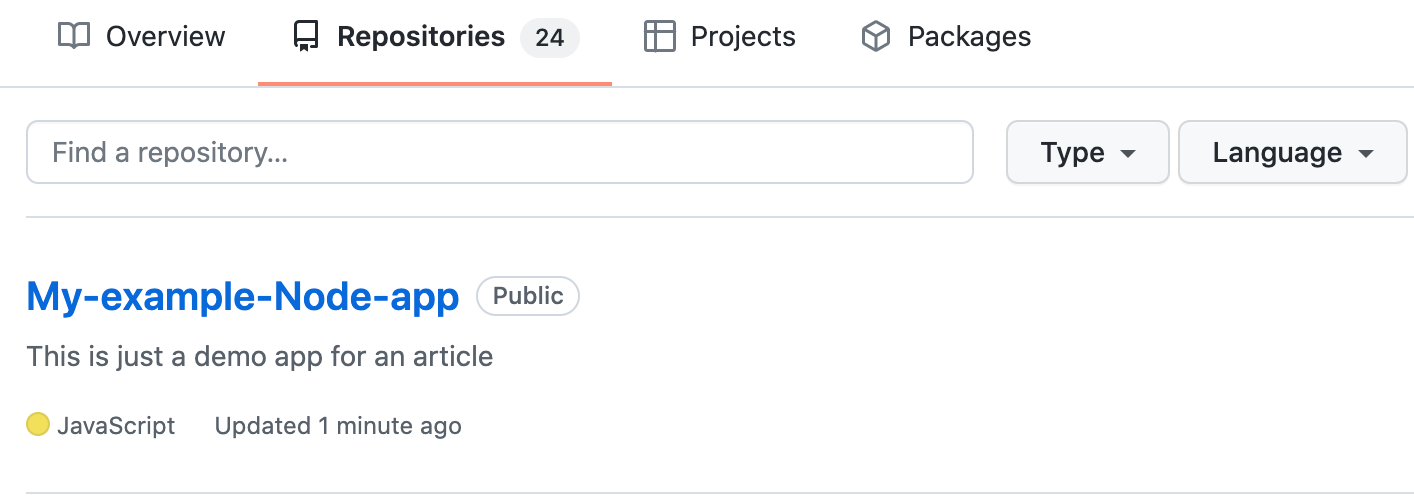
You can also see your new repository in GitHub.
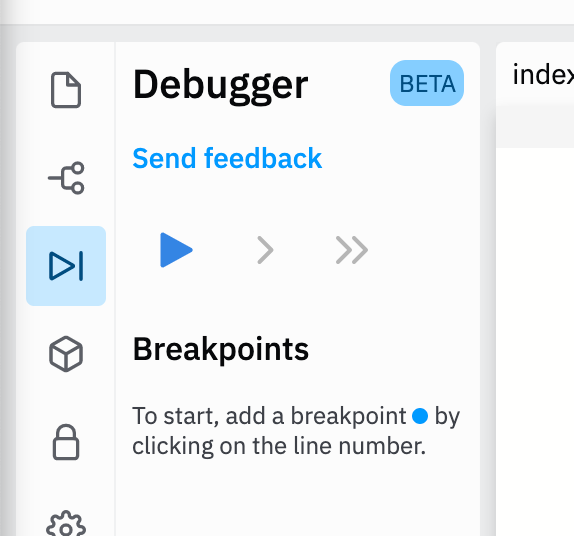
Replit Debugger
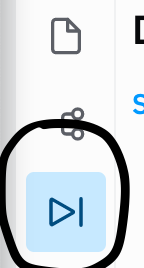
The Replit editor has a debugger tool, where you can walk through your code step by step to see what is happening and fix errors. This is also a Beta feature.
You can find this feature on the left hand side of the editor page.
How to install packages in Replit
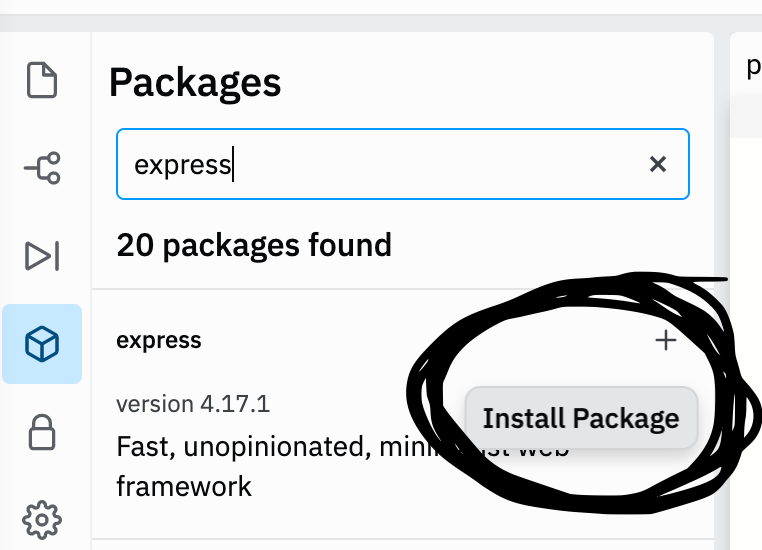
You can also install different packages into your projects like morgan, express or cors using the Packages panel on the left hand side of the editor page.
Search for the package that you want to use and click on the + icon to install it into your project.
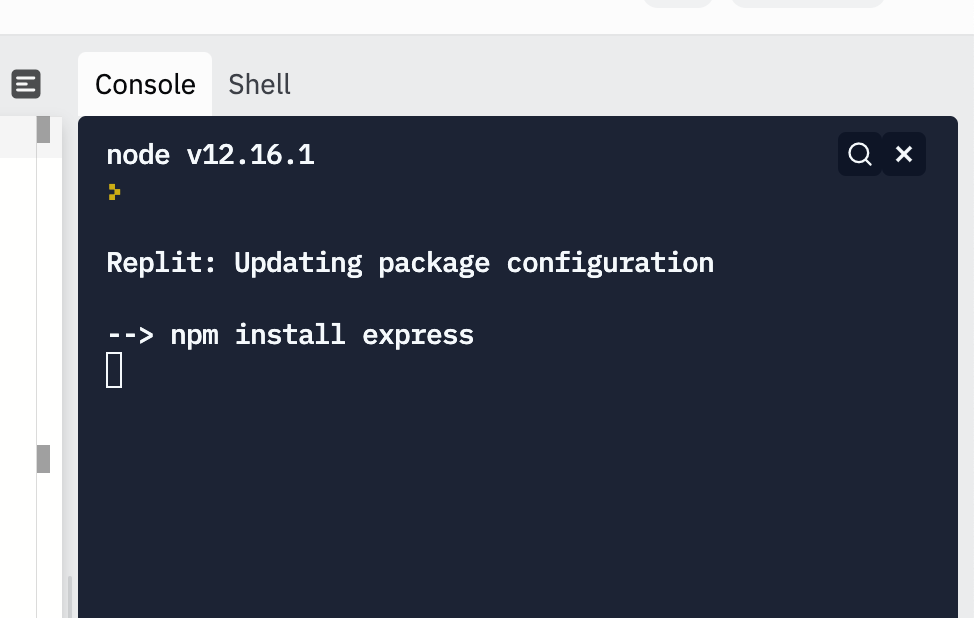
Inside the console, which is located on the right hand side of the screen, you should see the package being installed.
Secrets (Environment variables) in Replit
Replit no longer supports creating .env files.
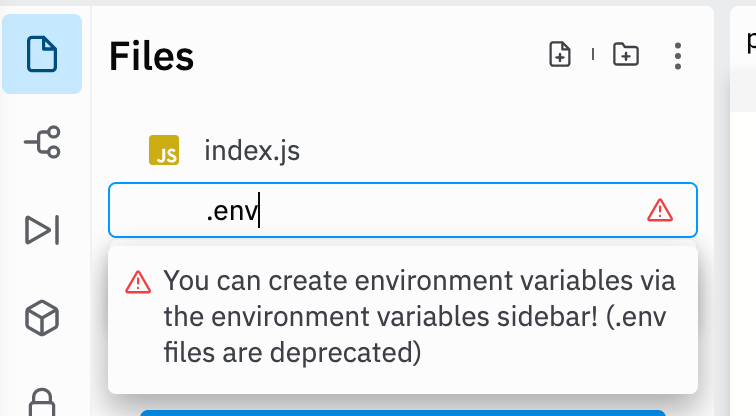
Instead, you will have to use the Secrets tab to store your environment variables. You can find this Secrets icon on the left hand side of the editor page.
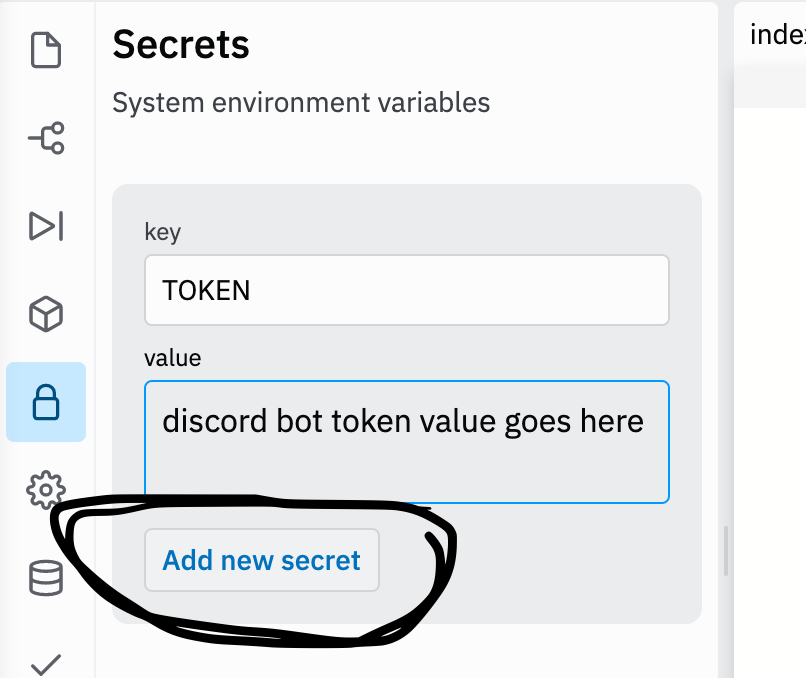
You will write the name of your key in the Key input field and write the value in the value input field. Then click on Add new secret.
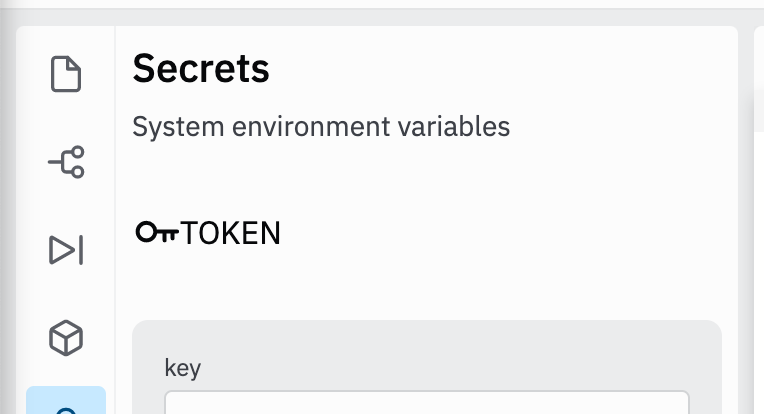
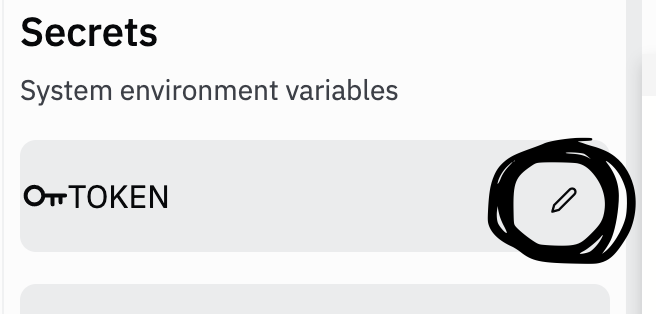
Then you should see your newly created environment variable in the Secrets tab.
If you need to edit that variable, hover your mouse over the variable name and click on the pencil icon.
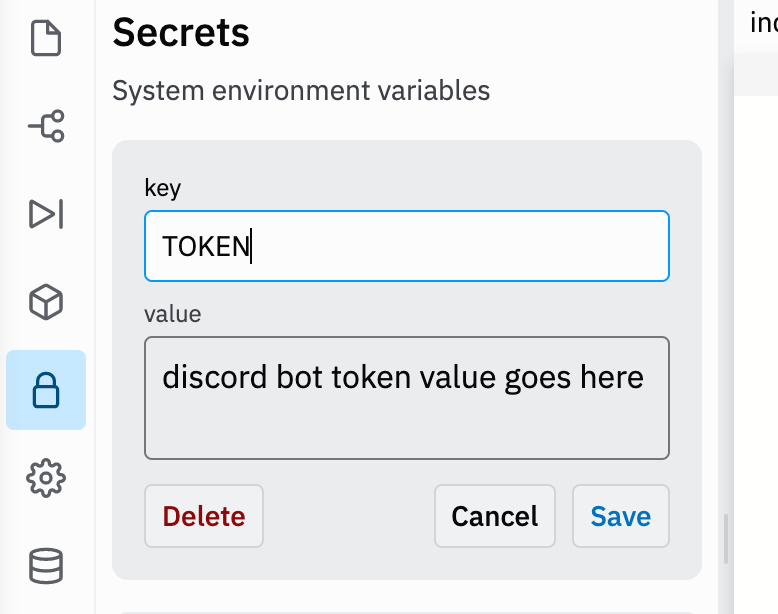
Now you should be able to use that environment variable inside your code.
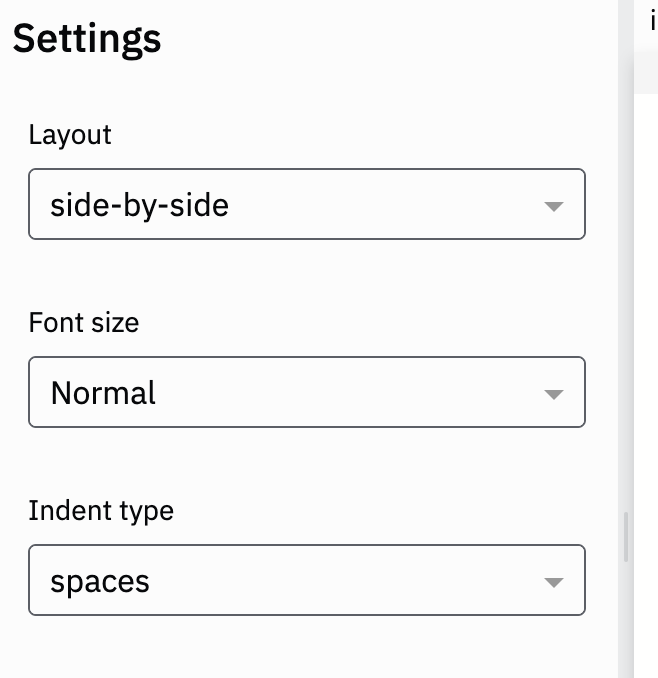
How to customize Replit settings
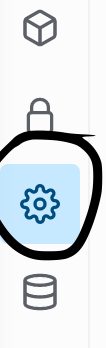
If you need to customize the editor settings for your project, click on the settings icon on the left hand side of the editor page..
Replit Database
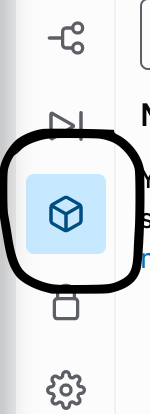
If you want to use Replit's key-value storage, then click on the Database icon on the left hand side of the editor page.
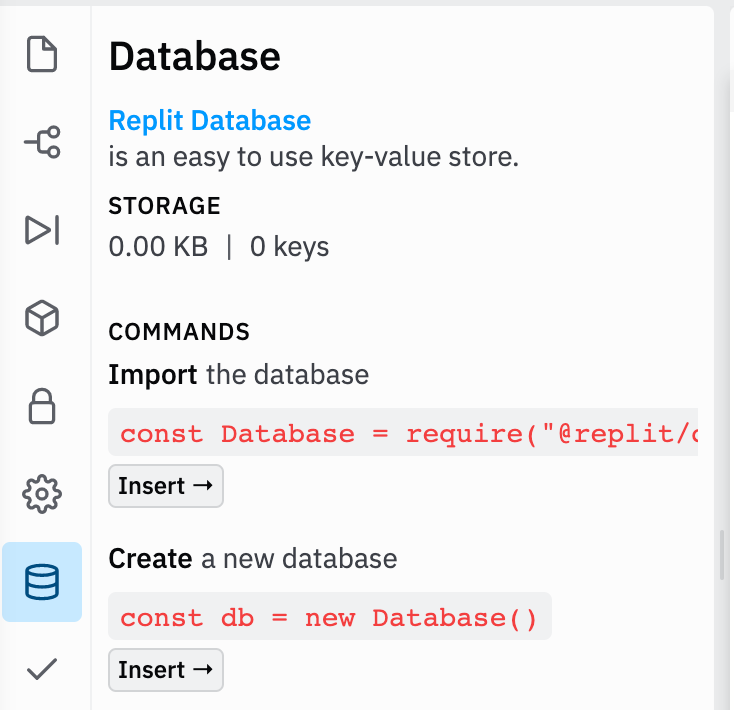
To learn more about how to use the Replit Database, please visit the documentation.
How to add unit tests in Replit
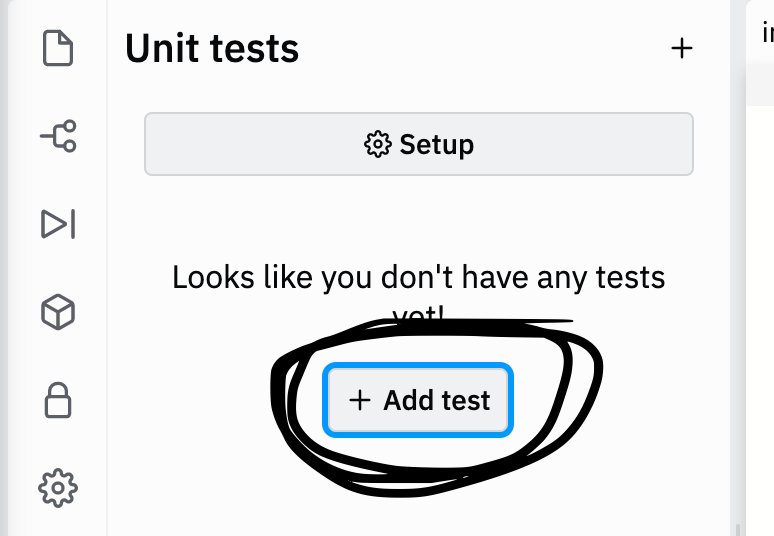
If you need to add Unit tests to your project, click on the Unit tests icon on the left hand side of the editor page.
Then click on the Add test button.
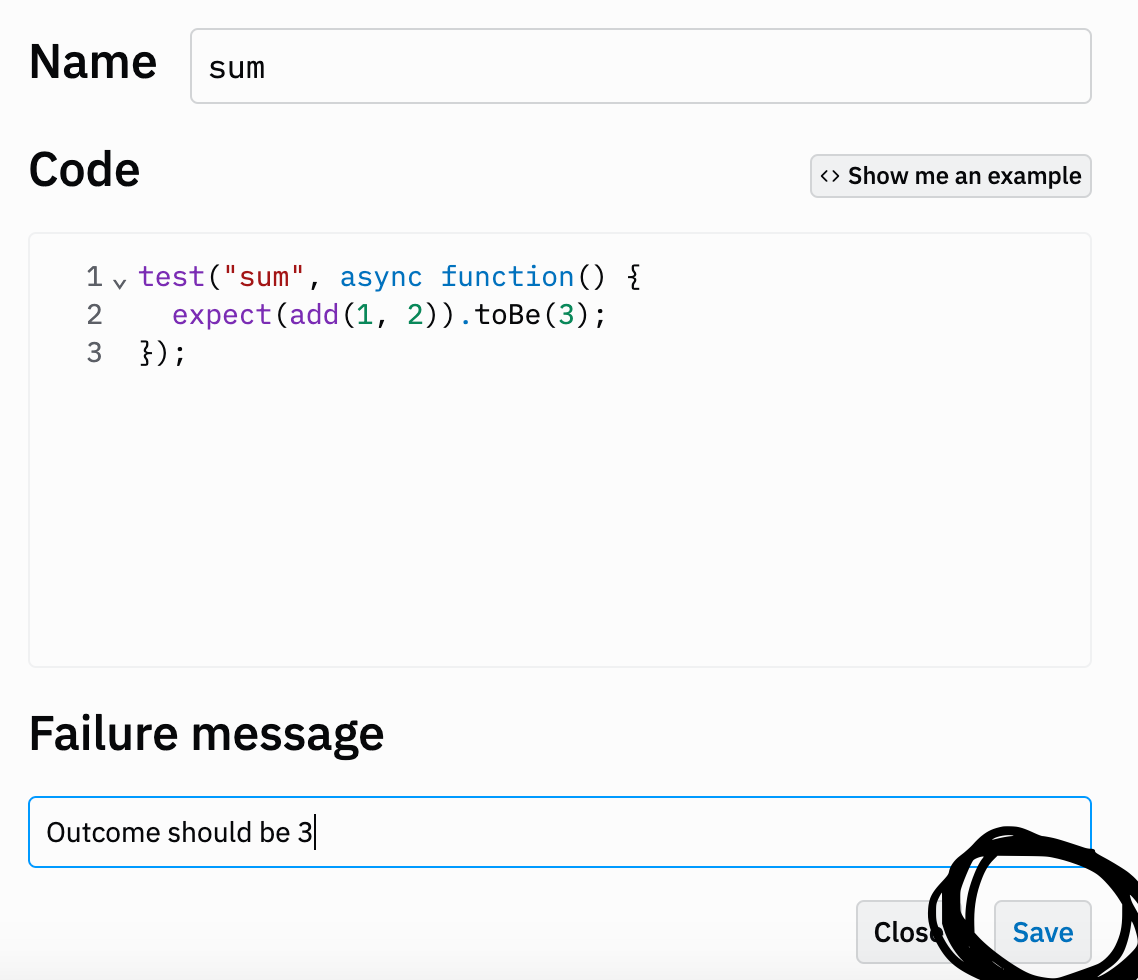
Then you can create your Unit tests by providing a name, the code, and a failure message. Click save when you are done.
This is a screenshot using the Replit example unit tests for adding two numbers:
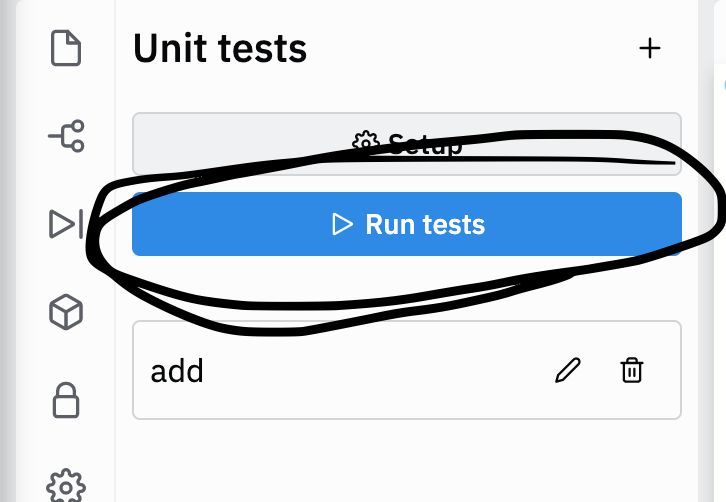
Then click on the Run tests button.
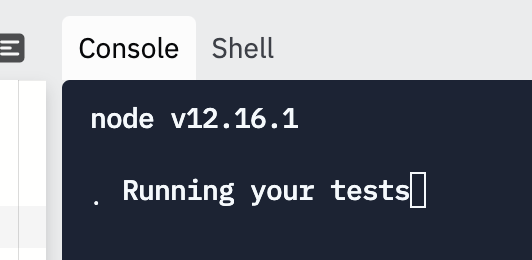
Inside the console, you will see the tests running with the results.
How to use the Run button in Replit
If you want to start the server for your project, then click on the green Run button located at the top of the editor page.

When you click on the Run button then you should see the results of your code in the preview window and console located on the right hand side of the editor page.
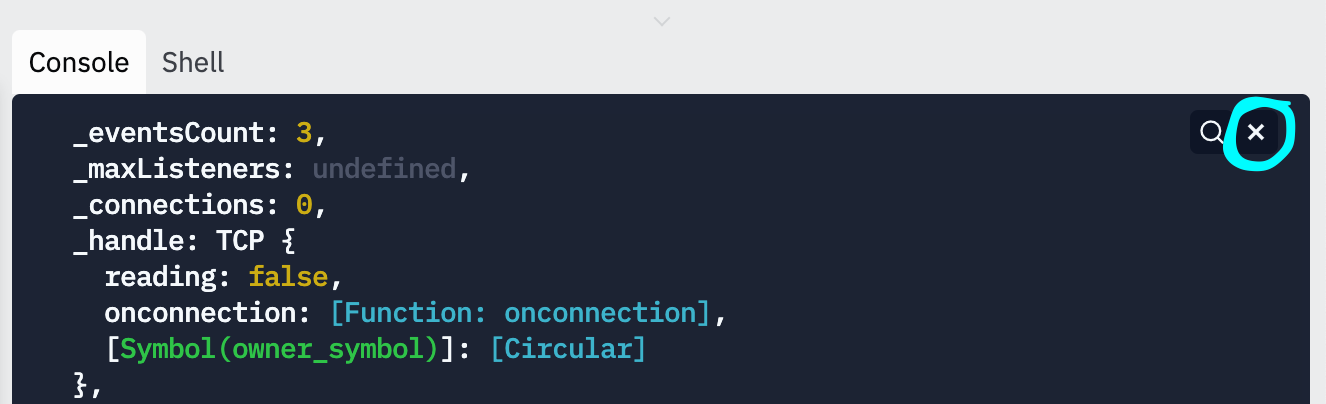
How to clear the console in Replit
If you need to clear out the console, then click on the x icon located at the right hand side of the console window.
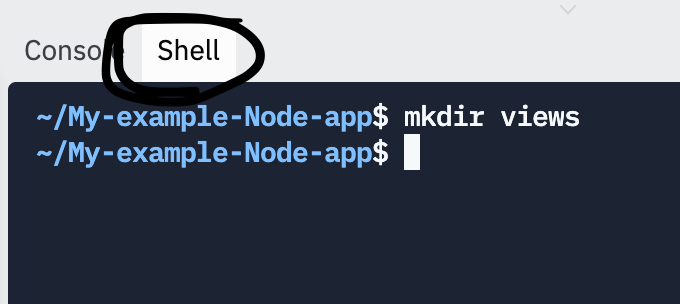
What is the Replit Shell console?
If you need to type in commands, such as removing or adding folders, then you can use the Shell console.
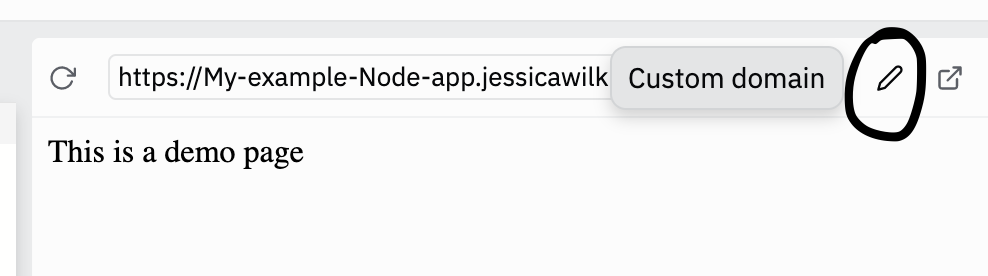
How to add a custom domain in Replit
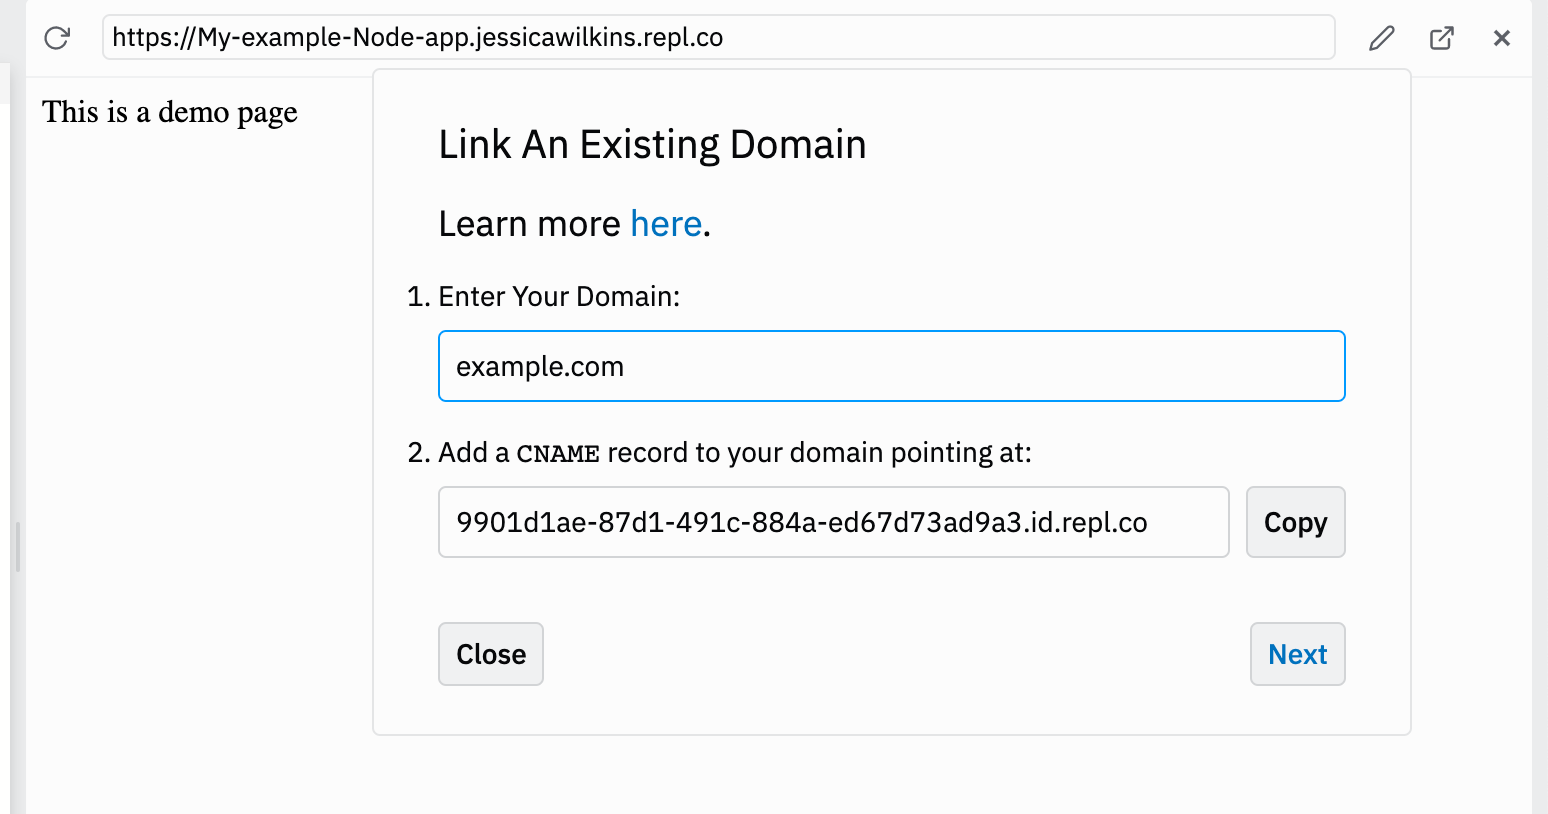
In the preview editor, you can add a custom domain for your project. Click on the pencil icon next to the preview URL.
Then you can add your custom domain and CNAME information:
How to publish your project in Replit
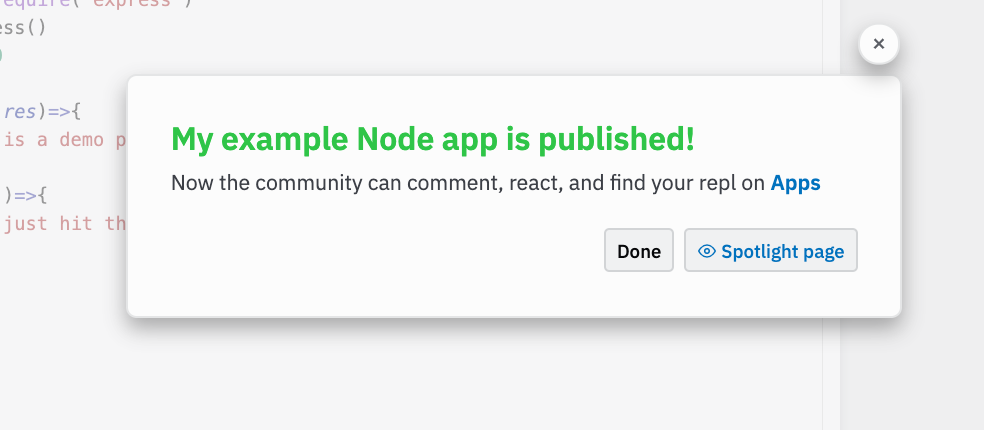
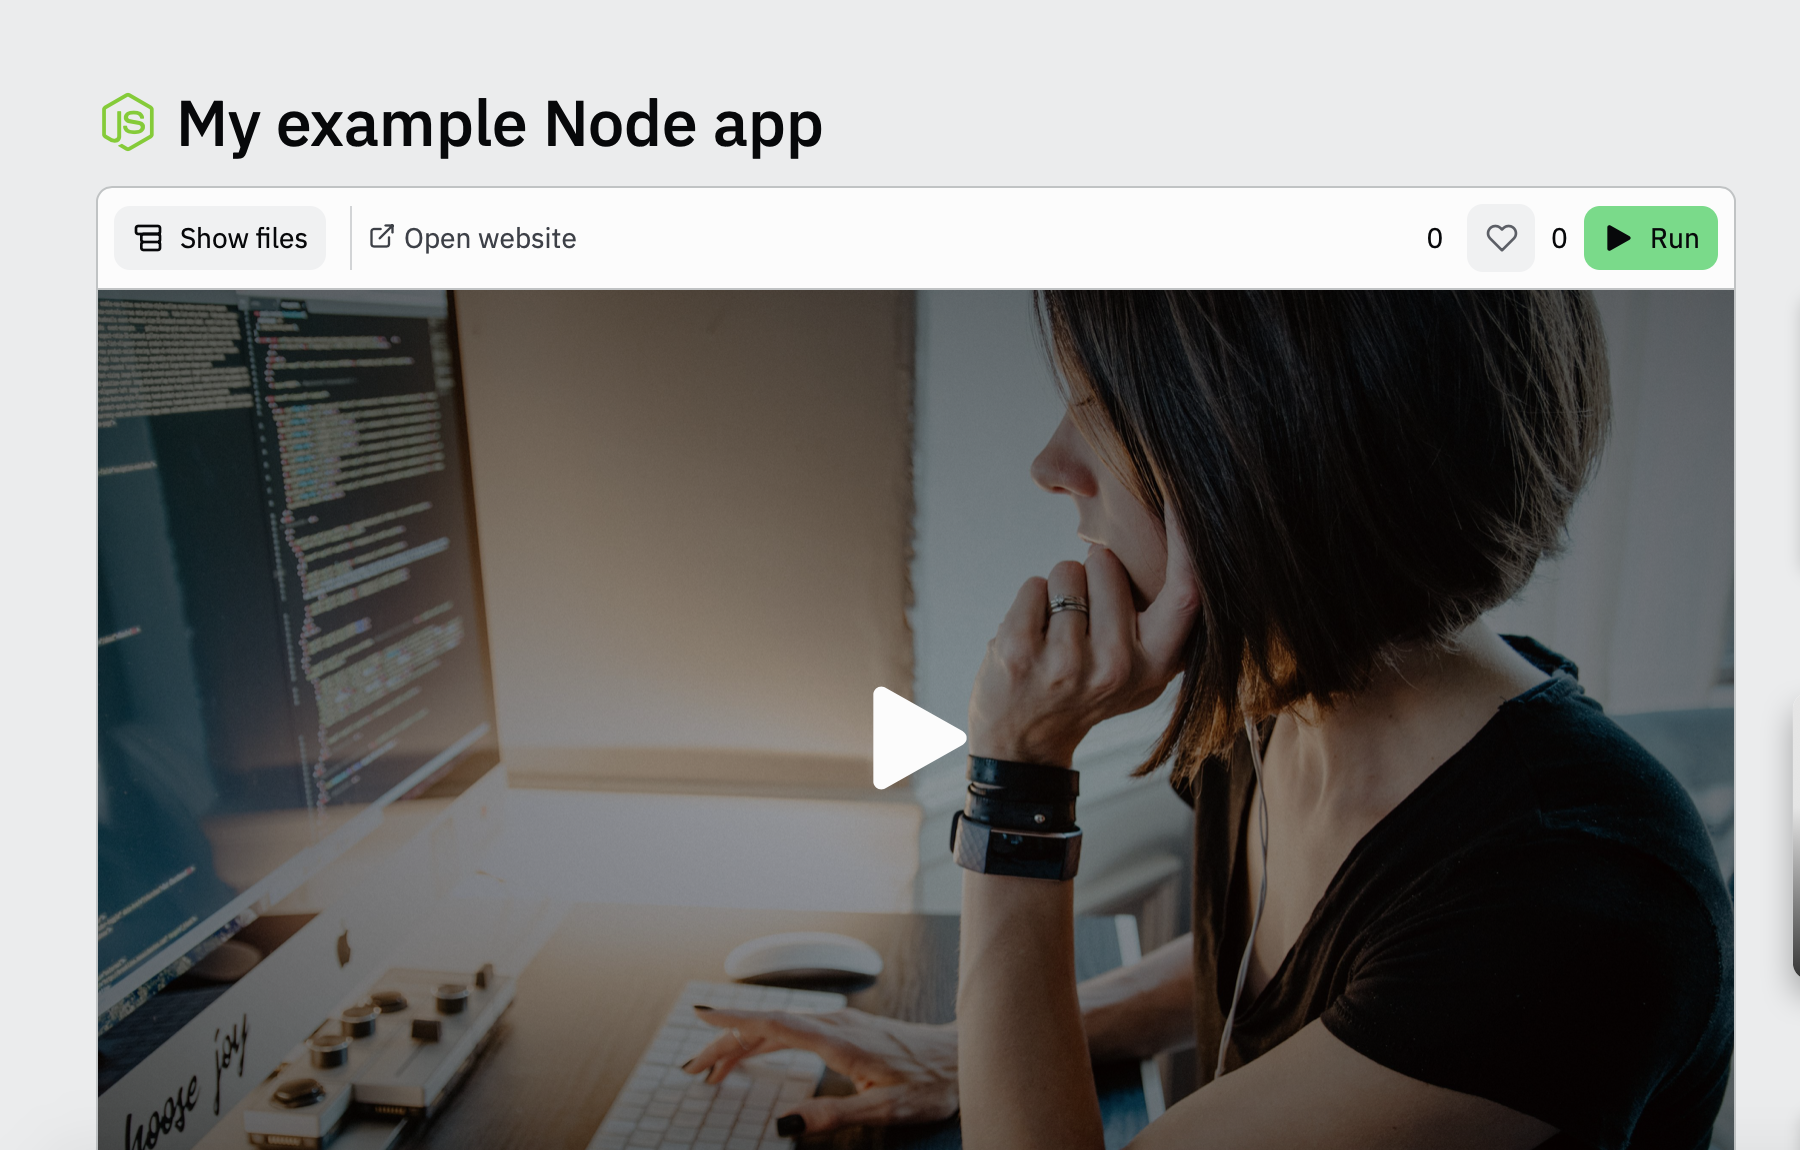
Once you are finished creating your project, then you can publish it and have it displayed in the collection of Replit Apps.
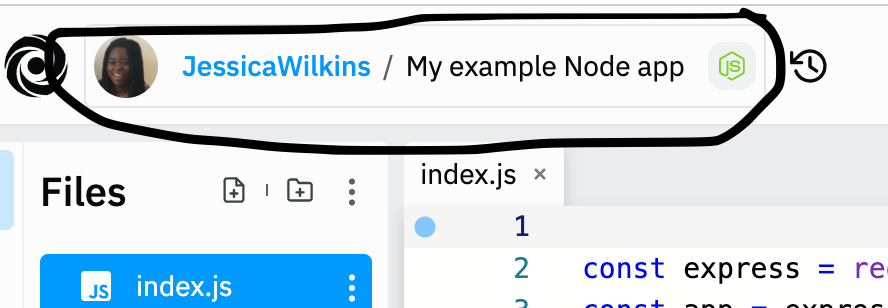
First click on the name of the project, which is located in the top left hand corner.
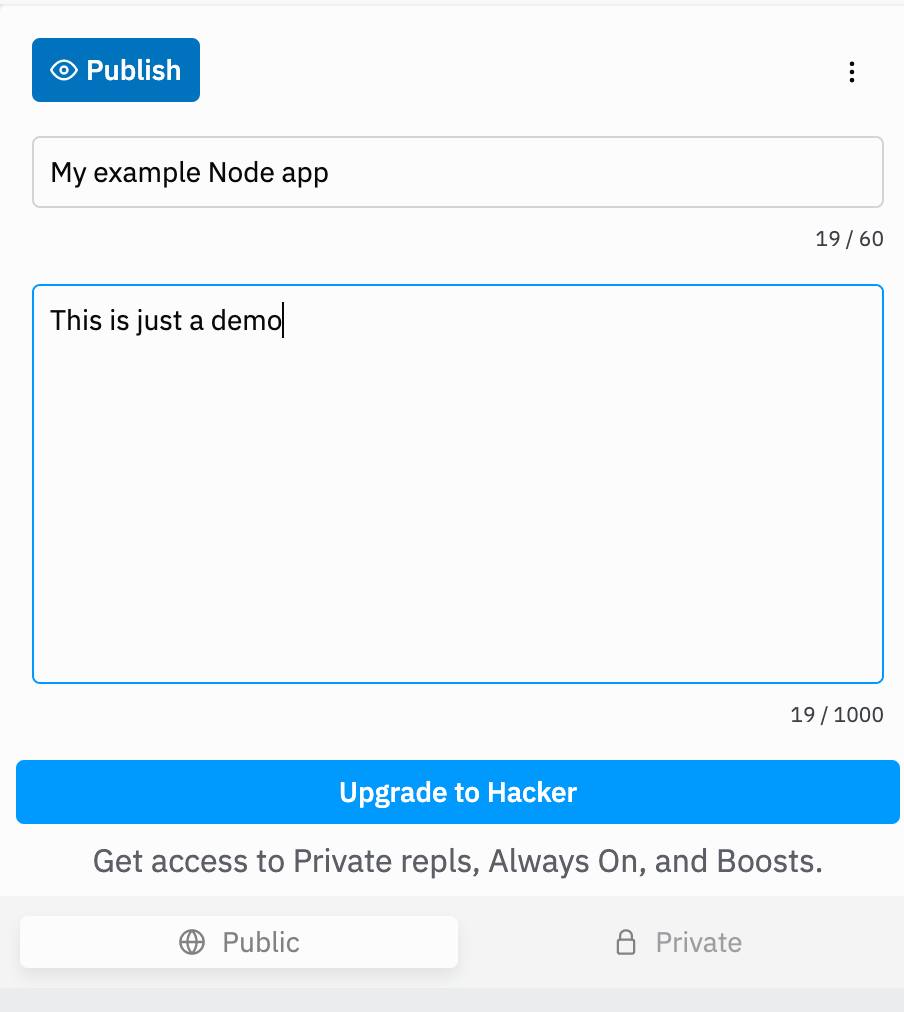
Then you can provide a short description of the project and click on Publish.
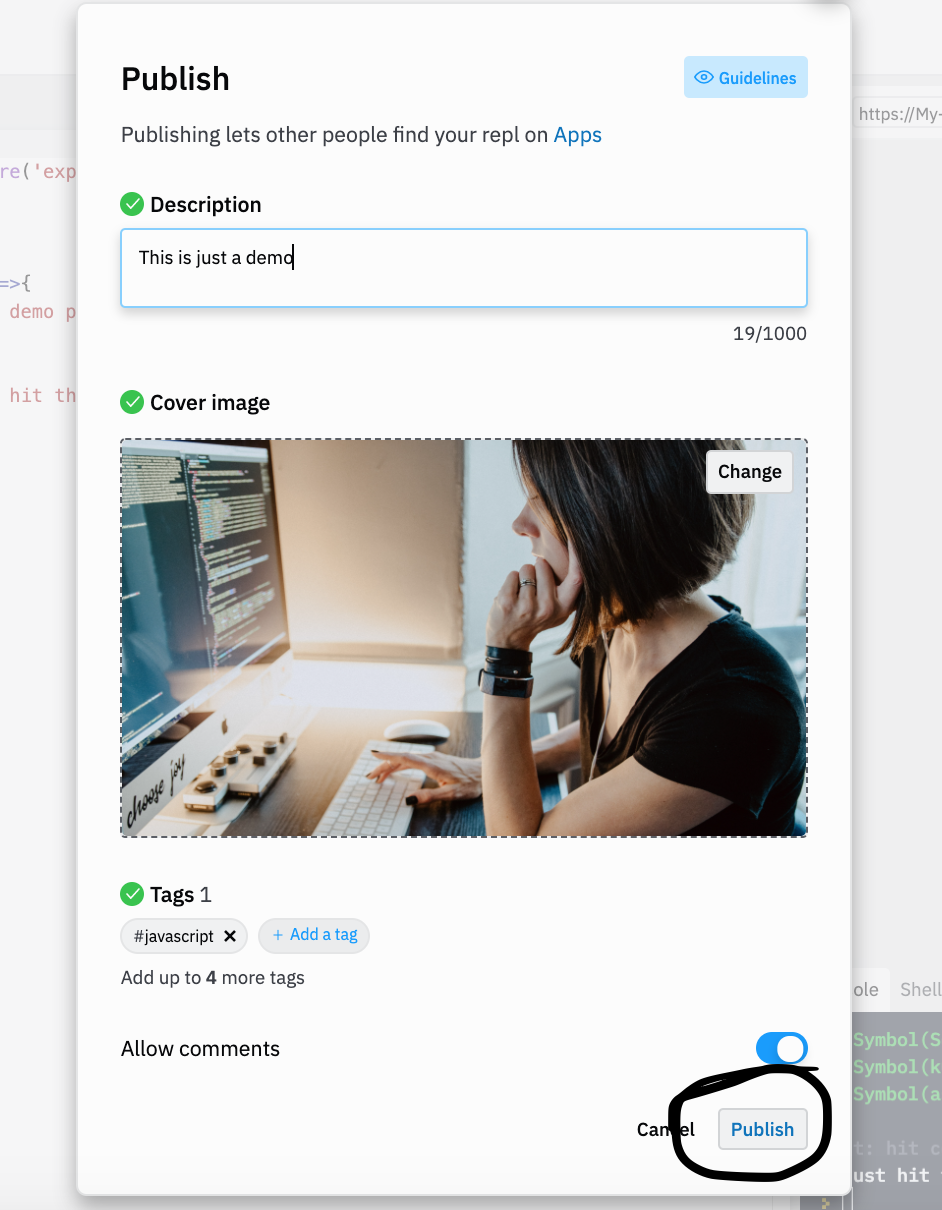
You will then have the option to provide a description, cover image, and tag information. When you are finished, click on the publish button.
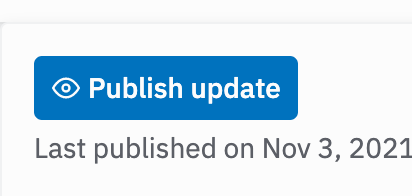
If you want to publish an update, then you can click on your project and then click on Publish update.
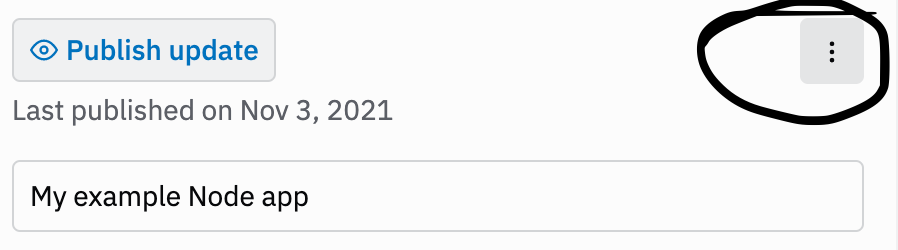
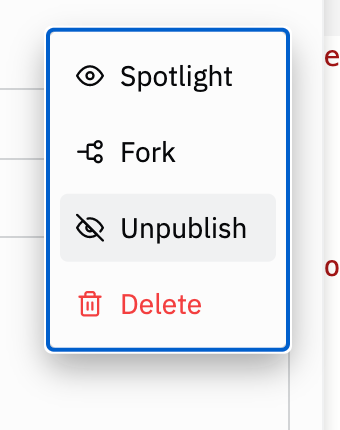
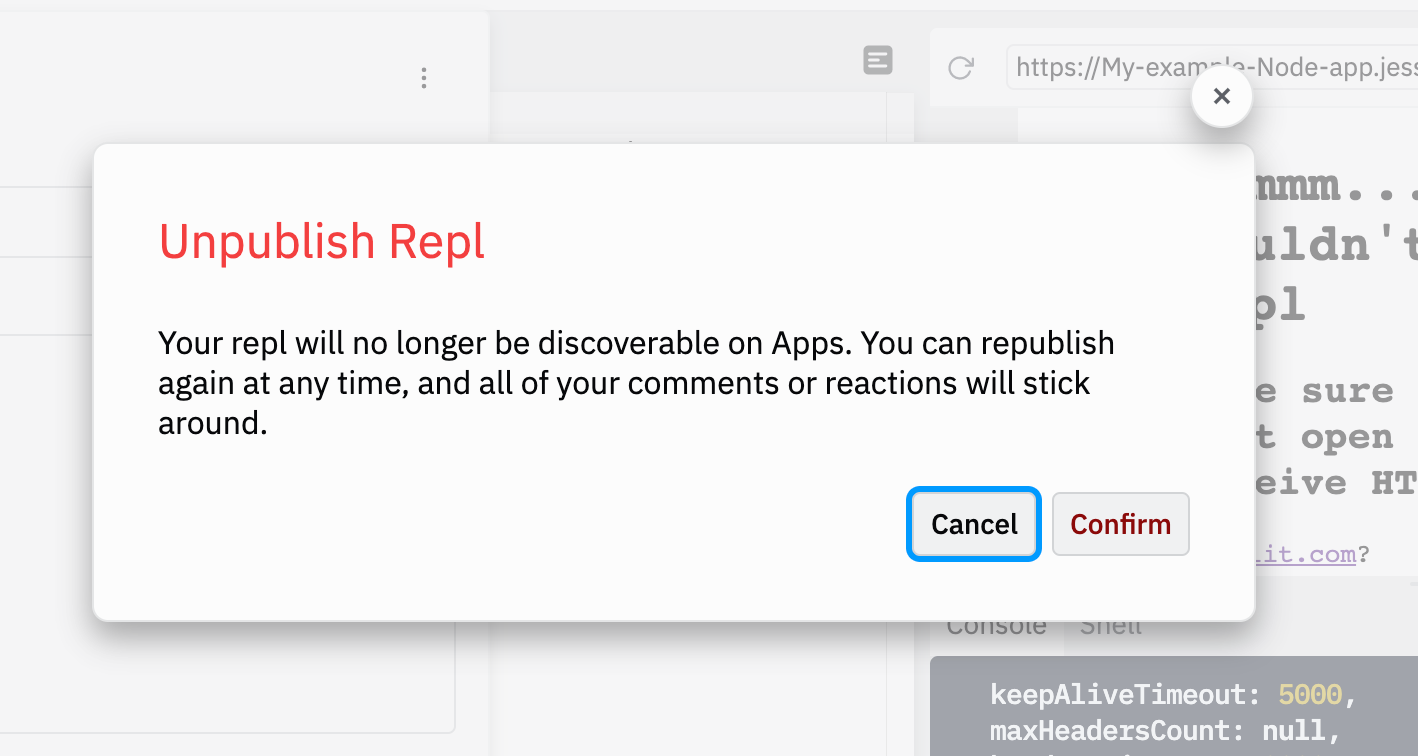
If you need to unpublish your project, click on the three dots icon to the right of the publish page and choose the unpublish option.
How to share Replit project URLs
If you want to share your project URL, you will first need to click on green Run button followed by the Open in new tab button located in the preview window.
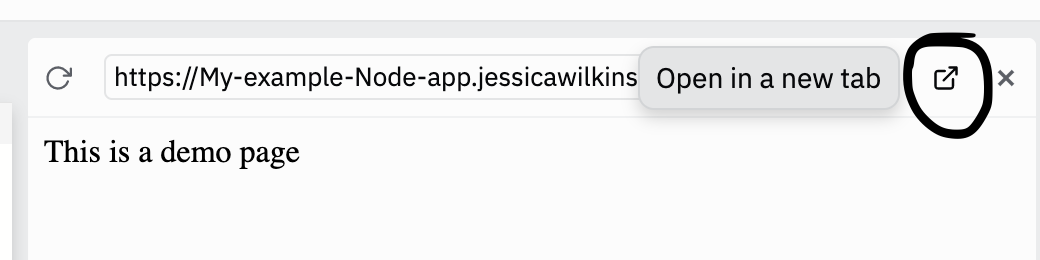
Then you should see your page in a new tab.
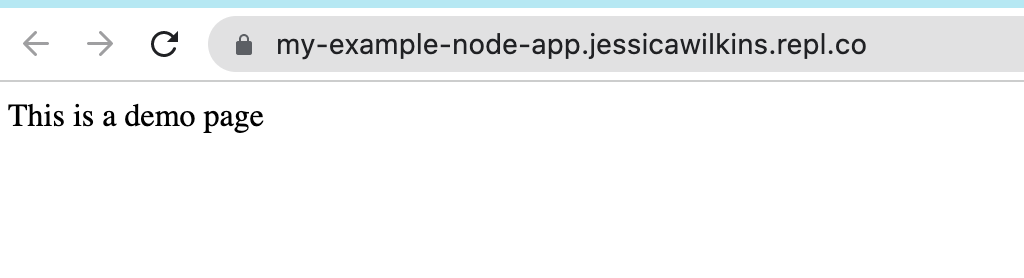
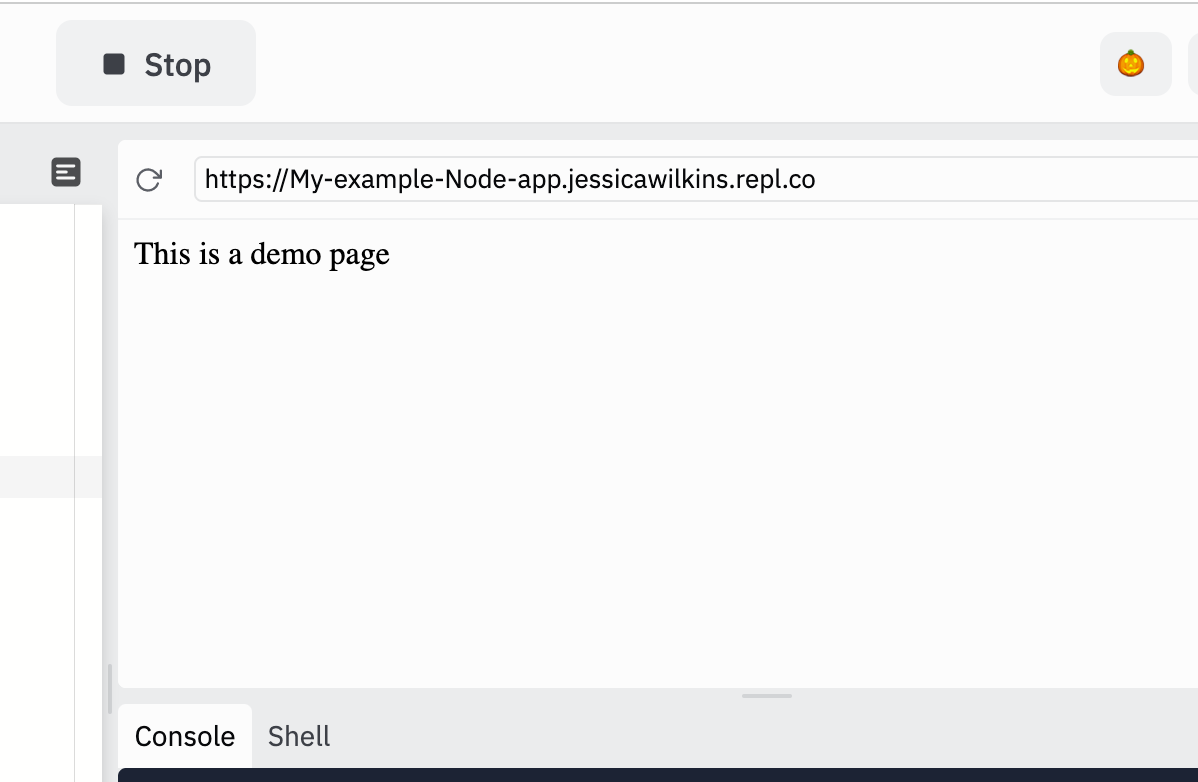
If you want to share your URL which contains the editor and preview window, use the link found in the top of the browser.
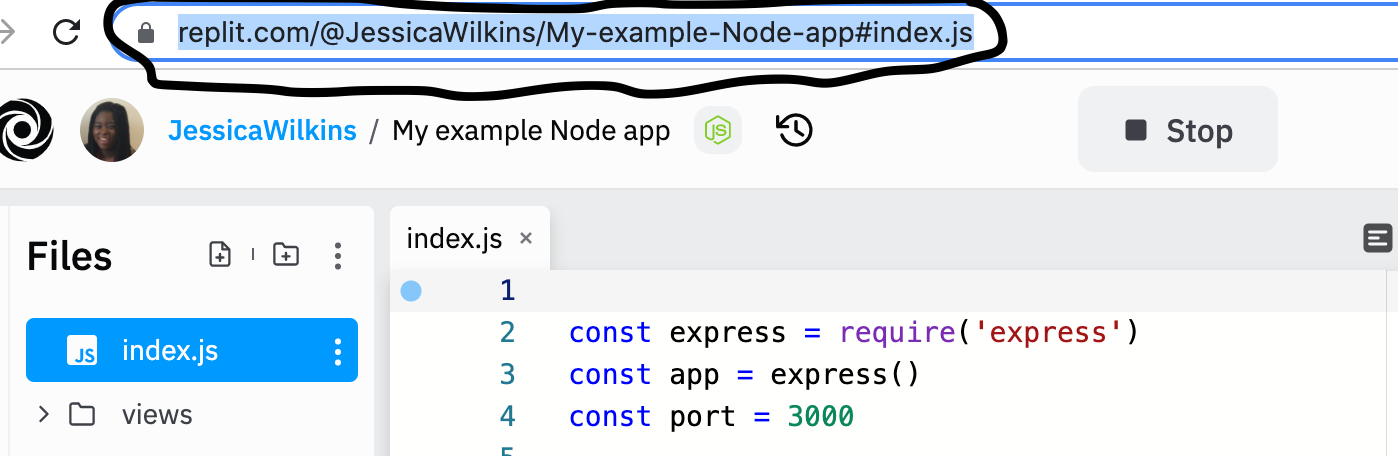
If you visit the link, you should see this result:
If you need help on a project and want other developers to see your code and files, then you share that browser link. Others won't be able to see your environment variables when you share your project.
How to invite others to edit your repls
Replit has a feature where you can invite other developers to join your project and edit the code.
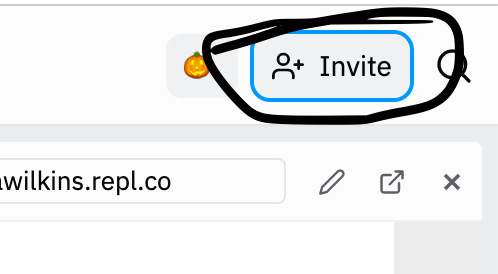
First, click on the Invite button located at the top right hand side of the editor page.
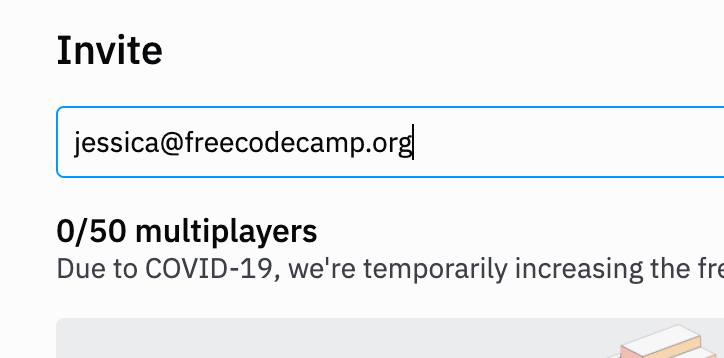
In the search field, you can add users from replit or add the email addresses of those you want to invite.
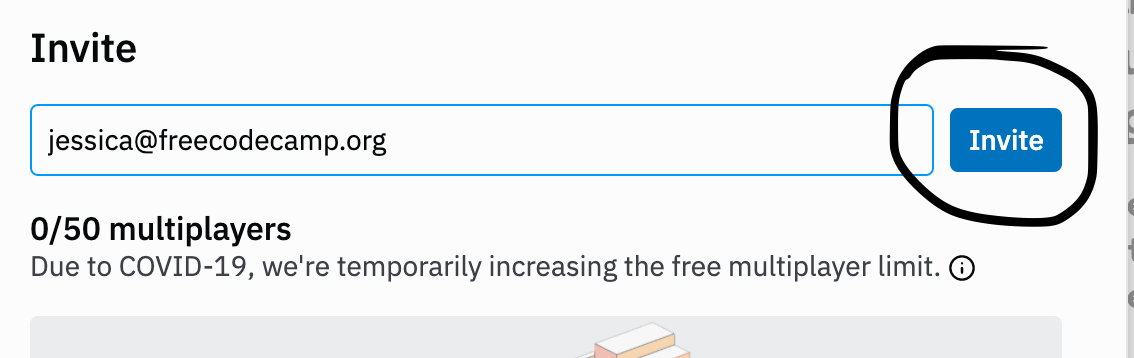
Then click on the blue Invite button to send invites for users.
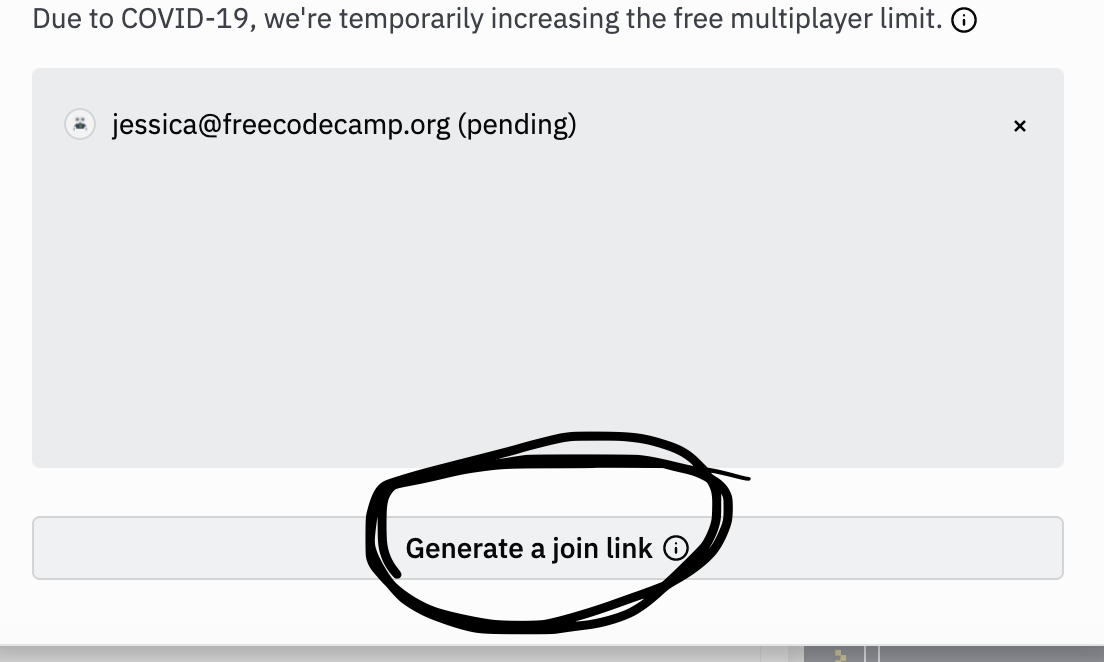
You will see that their invitation is pending.

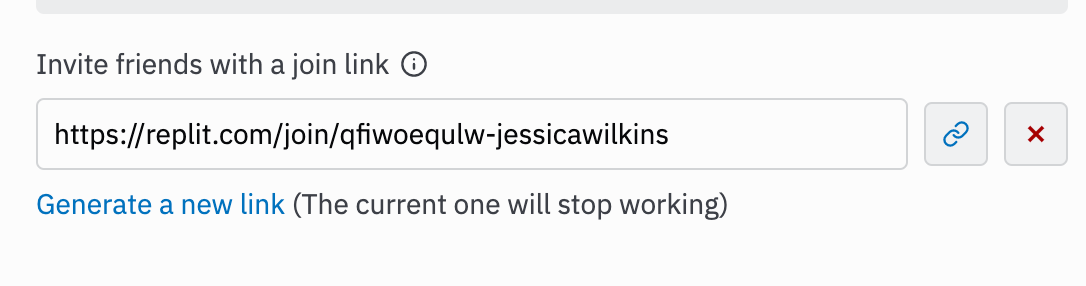
You can also send out a join link to the user you want to add to the project. Click on the Generate a join link button located at the bottom.
If you need to remove invited users, then click on the x icon located next to their name.

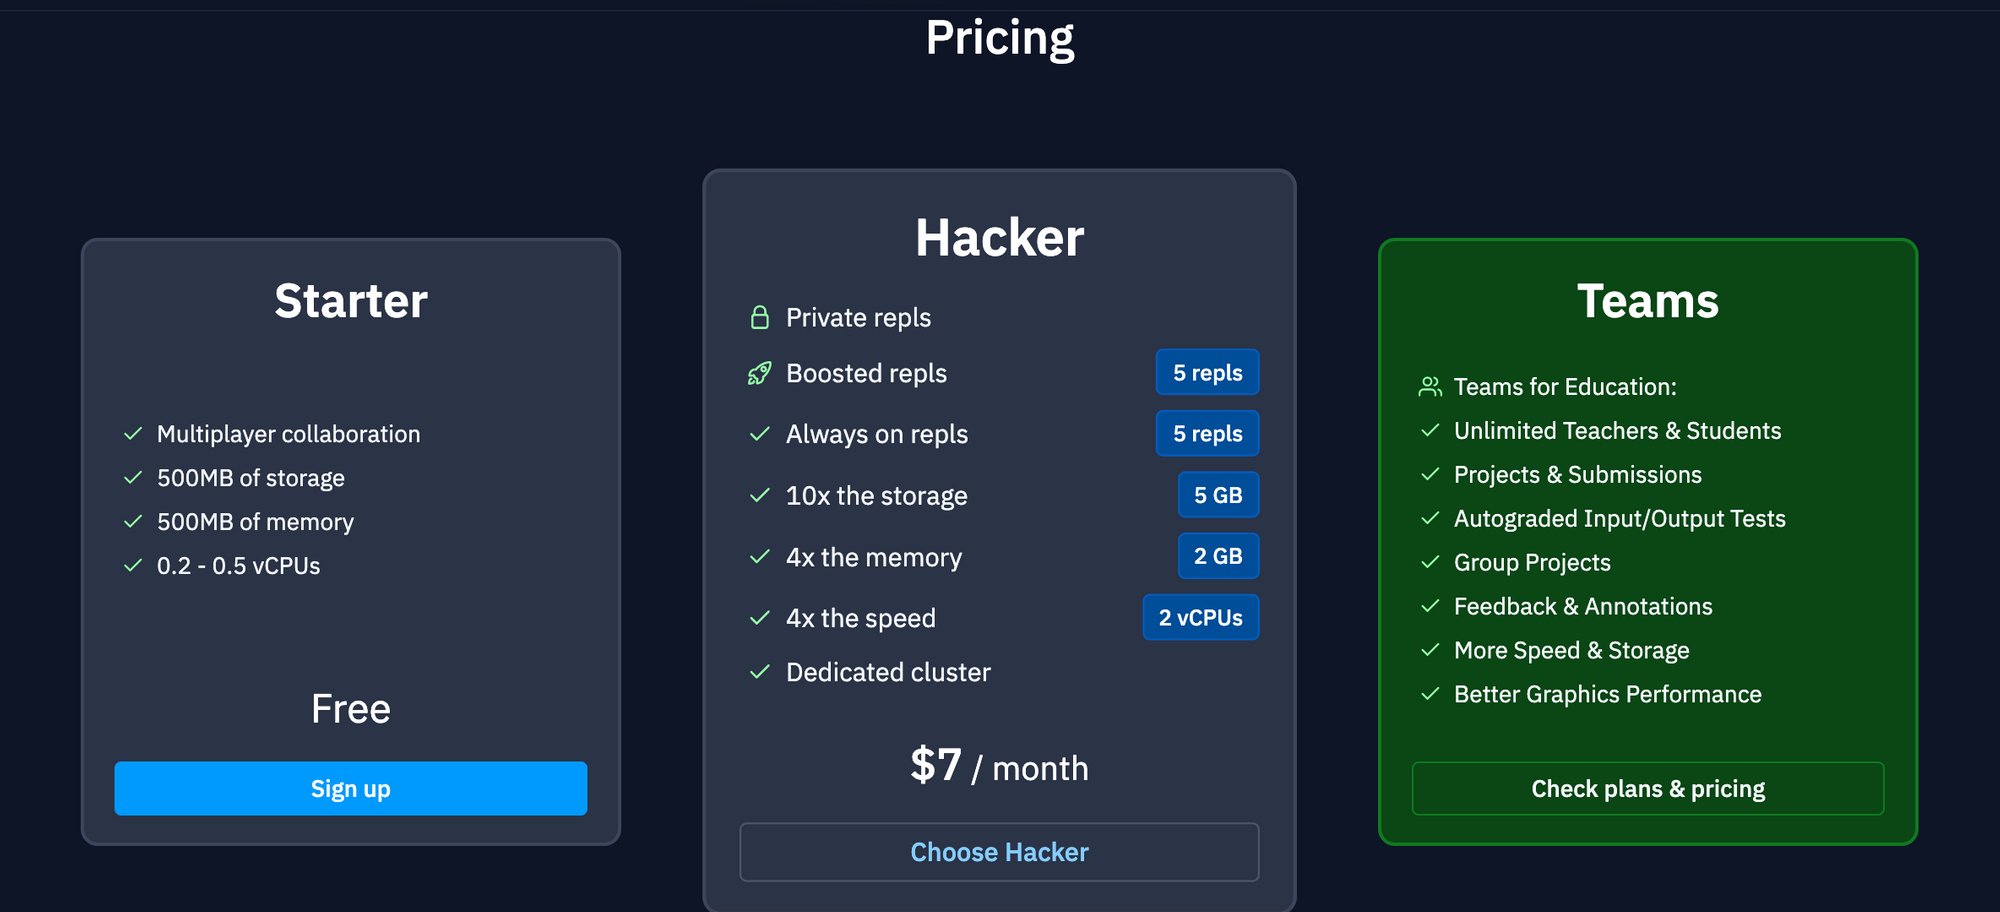
What is included with the Replit paid subscription?
The Hacker paid subscription level comes with more memory, storage, speed and private repls.
The Teams paid subscription level comes with educational projects for students and teachers to work with.
To learn more, please visit Replit's pricing page.
I hope you enjoyed this Replit starter guide and best of luck on your developer journey.