

Hi there! If you are reading this article, you're probably trying to understand what Sass is and how it works.
Sass is a CSS preprocessor that helps you manage tasks in large projects where the style sheets get larger, you have a number of lines of CSS code, and it becomes difficult to maintain your CSS codes.
This is where Sass becomes useful, as it has features that don't yet exist in CSS like nesting, creating functions with mixins, inheritance, and more. These features will help you write maintainable CSS code.
Sass lets you reuse your code, split it into files, and it also helps you create functions, variables, nest your CSS selectors, and other shortcuts.
How Sass Works
The web browser does not understand Sass code, though – it only understands CSS code. This means that you have to transform the Sass code into CSS code.
To do this, the compiler will generate a file with the CSS code. This transformation is called compilation. When you write Sass code in a .scss file, it is compiled into a regular CSS file that the browser will use to display it on the web page.
Why Use Sass?
There are many advantages to using Sass, so let's look at some of them now:
First, Sass is easy to understand if you know CSS. Since it's a CSS preprocessor its syntax is similar.
Also, if you use Sass, your CSS code will be compatible with all versions of browsers.
Sass also makes it possible to reuse your code by creating variables and functions with mixins (cutting up pieces of code) that can be reused over and over again. This helps you save time and allows you to code faster.
Speaking of saving time, Sass reduces the repetition of writing CSS code. This is thanks to its features like functions, variables, inheritance, and so on.
Finally, Sass is compiled to CSS and adds all the necessary vendor prefixes so you don't have to worry about writing them manually.
How to Install and Configure Sass
In this article, I'll show you two ways to install Sass.
How to Install Sass with Node.js
First, we'll download and install Node. Then we'll use the JavaScript package manager npm to install Sass and configure it in your project.
We are going to do a global installation, because this will save you from installing it every time you plan to work in your projects with Sass.
Here are the steps to follow to install and set up Sass in a project:
First, open your terminal and type:
npm install -g scss
Again, this is global installation. If you do this, you avoid installing it every time you plan to work with Sass in your projects.
Then, in the project folder, create a Sass file in the one you are going to work on:
style.scss
style is the file name and .scss is the Sass extension name.
Then you will use the following command to generate a style.css file from the SASS file:
sass --watch style.scss style.css
style.scss is the source file and style.css is the destination file where Sass generates the CSS code.
Now installation and configuration are complete! You can use Sass in your projects.
But before we get into how to use Sass, I want to show you a second way of doing it. I recommend this way, as it is the simplest and easiest way to install and configure Sass.
How to Install Sass Using VS Code
First, download and install Microsoft's VS Code editor if you haven't already. Then launch the editor so you can download the Live Sass Compiler extension.

And that's all you have to do. Once the installation is done, you'll be able to use Sass in your projects. Easy, right?
How to Use Sass in a Project
To understand how to use Sass, we will work on an example project where we will create two grids. The idea here is not to learn everything about Sass but what you see is mostly what you need to know to start using Sass.
Here is an overview of what we will create to understand Sass.

You might be wondering why I took the grid example? Well, because we often use grids in web pages and they're simple to understand.
First of all, you should know that we'll do all the coding in the Sass file (style.scss) and not in the style.css file. It is Sass that will generate a CSS file for us with the same code.
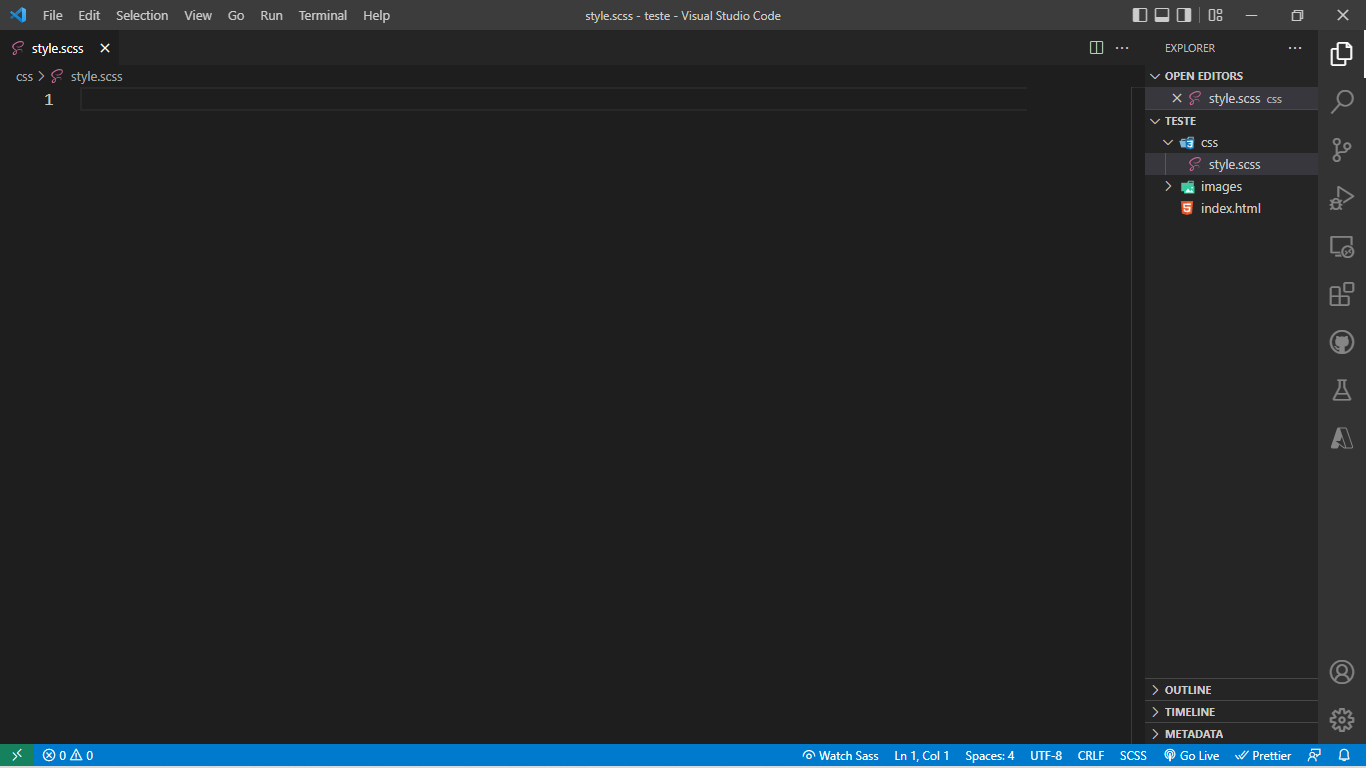
To start, create a folder with two folders inside, CSS and images. Then inside the CSS folder create a file with the Sass extension – in my case it's style.scss.
Then open it and the file will be detected right away. Below the editor a button will appear named Watch Sass. Just click on it to tell Sass to watch this file and start generating (compiling) code in the CSS file.

Once SASS finishes compiling it will create three files in the project's CSS folder: style.css, style.scss, and style.css.map. It tracks all the changes and it is ready to generate CSS code.
If you come back soon to continue working, all you have to do is open the file which has the extension .scss. Then click on Watch Sass for Sass to start generating the modifications in the CSS file (otherwise nothing will be generated in the CSS file).
I hope it's going ok so far. You have just seen how to install, configure, and start using Sass in your project. So now let's continue with our example of the grids to understand the different functionalities Sass brings.
How to Use Variables in Sass
Before seeing how to create Sass variables, create an index.html file copy and paste the code below in the file:
<!DOCTYPE html>
<html lang="en">
      <head>
            <meta charset="UTF-8">
            <meta http-equiv="X-UA-Compatible" content="IE=edge">
            <meta name="viewport" content="width=device-width, initial-scale=1.0">
            <title>card with sass</title>
      </head>
      <body>

            <div class="card">
                  <img src="https://images.unsplash.com/photo-1524749292158-7540c2494485?ixlib=rb-1.2.1&ixid=MnwxMjA3fDB8MHxzZWFyY2h8MTd8fGRldmVsb3BlcnN8ZW58MHx8MHx8&auto=format&fit=crop&w=500&q=60" alt="">
                  <div class="card_content">
                        <h2 class="card_title">Lorem</h2>
                        <p class="card_description">Lorem, ipsum dolor sit amet consectetur adipisicing elit. Rerum porro dolores sapiente.</p>
                  </div>
            </div>

            <div class="card card_dark">
                  <img src="https://media.istockphoto.com/photos/put-more-in-get-more-out-picture-id1291318636?b=1&k=20&m=1291318636&s=170667a&w=0&h=UvVIk7wwkN3X9OFm8gBlWWviV5vAjfrq2ejYP30JmnA=" alt="">
                  <div class="card_content">
                        <h2 class="card_title">Lorem</h2>
                        <p class="card_description">Lorem ipsum dolor sit amet, consectetur adipisicing elit. Atque amet obcaecati nihil.</p>
                  </div>
            </div>

      </body>
</html>
Run the file in your browser to see the result.

Sass lets you create variables, but I want to show you a difference between Sass and CSS.
body {
    font-family: 'Poppins', Helvertica, sans-serif;
    background-color: #ab99ca;
    padding: 2rem;
    min-height: 100vh;
    display: flex;
    align-items: center;
    justify-content: center;
}
If you look at this example, it's CSS. But if in the project I want to reuse any color, padding, or font, I have to rewrite the same code (in CSS).
But with Sass I can create variables so I can reuse these features. To create a variable in Sass, we use the dollar sign $ followed by the variable name and a colon for the value. Keep in mind that it's best to create a name that reflects the object you're going to use.
/* Creating and Using Variables */

$fonts: 'Poppins', Helvertica, sans-serif;
$primary-color: #ab99ca;
$spacing: 2rem;

body {
    font-family: $fonts;
    background-color: $primary-color;
    padding: $spacing;
    min-height: 100vh;
    display: flex;
    align-items: center;
    justify-content: center;
}
Add the above code in the style.scss file. Since we are working with a Sass file and HTML does not recognize Sass, to see the results we'll specify the CSS file that has been generated in our file index.html.
How to Link the CSS File
It's really important to link the CSS file to index.html, to allow the CSS file to apply the CSS styles to the HTML. Otherwise there will be no styling applied and you will only see the code produced by the HTML.
So we will link our CSS file in the index.html file. In my case:
<link rel="stylesheet" href="css/style.css">

Run the file in your browser to see the result.

We will now see how to organize the code thanks to IMPORTS. The code will be cut into files while we keep using our example.
When creating a file, the file name will be followed by an underscore(_) at the beginning to prevent it from being compiled by Sass.
Create three files:
_variables.scss: to add the variables_mixins.scss: to add the functions that we will reuse_card.scss: to add the styles of our cards

Copy and paste the variables you created in the style.scss file and put them in the _variables.scss file:
    $fonts: 'Poppins', Helvetica, sans-serif;
    $primary-color: #ab99ca;
    $spacing: 2rem;
    $dark-grey: #999;
For the _mixins.scss file, this is where we'll create the reusable functions with mixins.
Mixins allow you to create reusable functions. To declare a function you must enter @mixin name_fonction { content } or if your function has a parameter, you must enter @mixin name_fonction($name_variable) { content }.
To use mixins, you have to import it by typing @include namefunction(); which saves time in a large project.
Add this code to the _mixins.scss file:
@mixin flex-center {
    display: flex;
    align-items: center;
    justify-content: center;
}

/* $radius is the parameter of the function */

@mixin border-radius($radius) {
    -webkit-border-radius: $radius;
    -moz-border-radius: $radius;
    border-radius: $radius;
}
For the _card.scss file, add this code to it:
.card {
    background-color: white;
    width: 20rem;
    overflow: hidden;
    margin: 2rem;
    box-shadow: 5px 5px 5px 5px #000;
    @include border-radius(0.5rem); /* using the mixins function */

    img {
        height: 15rem;
        background-size: cover;
        background-position: center center;
    }

    .card_content {
        padding: $spacing;
    }

    .card_title {
        margin: 0;
        color: black;
    }

    .card_description {
        margin: 0;
        color: $dark-grey;
    }

    &_dark {

        background-color: black;

        .card_title {
            color: white;
        }
    }

}
In the code above we're using nesting and aliases. Nesting helps us simplify the way we write our CSS styles and allows us to nest CSS selectors.
For aliases you can use (&) or (and) followed by the class name that will resume the parent selector's code.
To use an alias, you must import it by typing the alias followed by the name of the variable (&_dark).
If you try to run the index.html file, nothing will change. It does not change because we have created files that are not related to index.html and our style.sass file only generates the code it has.
To fix this, we'll import all the files we've created into the style.sass file so that when SASS does the monitoring, it'll generate the code of those files.
/* file import */
@import 'variables';
@import 'mixins';
@import 'card';
For the style.scss file, add the above code. The style.scss file should be like this:
/* file import */

@import 'variables';
@import 'mixins';
@import 'card';

body {
    font-family: $fonts; /* variable usage */
    background-color: $primary-color;
    padding: $spacing;
    min-height: 100vh;
    @include flex-center(); /* using the mixins function */
}
In the previous code, I imported the files (SASS import) into style.css so that they can be tracked and generate code when there are changes.
Run the index.html file in your browser to see the result.
If you get the same result as in the capture above, congratulations, you now understand how Sass works.
Here is the preview link for the project we built: https://adalbertpungu.github.io/card_with_sass/
And here's the GitHub repository link:
Conclusion
In this article, you learned how Sass works by building a simple photo grid. In this small project, we've covered many core Sass features, but not all of them. So I hope you will start using it in your projects to learn more.
You can check the documentation if you want to dive deeper: https://sass-lang.com/documentation.
That’s all for this article. Thank you for reading! I think you’re ready to try using Sass.
Happy coding.
Follow me on Twitter: twitter.com/AdalbertPungu