

Wireshark is the best network traffic analyzer and packet sniffer around. In this article, we will look at it in detail.
Wireshark is a network analyzer that lets you see what’s happening on your network. It lets you dissect your network packets at a microscopic level, giving you in-depth information on individual packets.
Wireshark was first released in 1998 (and was called Ethereal back then). It can run on all major operating systems. Most enterprises and government organizations now prefer Wireshark as their standard network analyzer.
Wireshark is also completely open-source, thanks to the community of network engineers around the world. While most security tools are CLI based, Wireshark comes with a fantastic user interface.
OSI Model
I am assuming you are new to networking, so we will go through some basics of the OSI model. This is important to understand the core functions of Wireshark.
The Open Systems Interconnection (OSI) model standardizes the way two or more devices connect with each other. The OSI Model segments network architecture into 7 layers: Application, Presentation, Session, Transport, Network, Datalink, and Physical.
Here is what each layer does:
- Physical Layer — Responsible for the actual physical connection between devices. Data is transferred in the form of bits.
- Data Link Layer- Makes sure the data is error-free. Data is transferred in frames.
- Network Layer — Takes care of finding the best (and quickest) way to send the data. Sender’s and receiver’s IP addresses are added to the header at this layer.
- Transport Layer — Acts as a bridge between the network and session layer. Uses protocols like TCP and UDP to send and receive data. Data at this layer is called a Segment.
- Session Layer — Establishes and maintains a session between devices.
- Presentation Layer — Data from segments are converted to a more human-friendly format here. Takes care of encryption and decryption.
- Application Layer — The layer that interacts with the user. If you are using a browser, it is on the application layer.
The below diagram should help you to understand how these components work together.
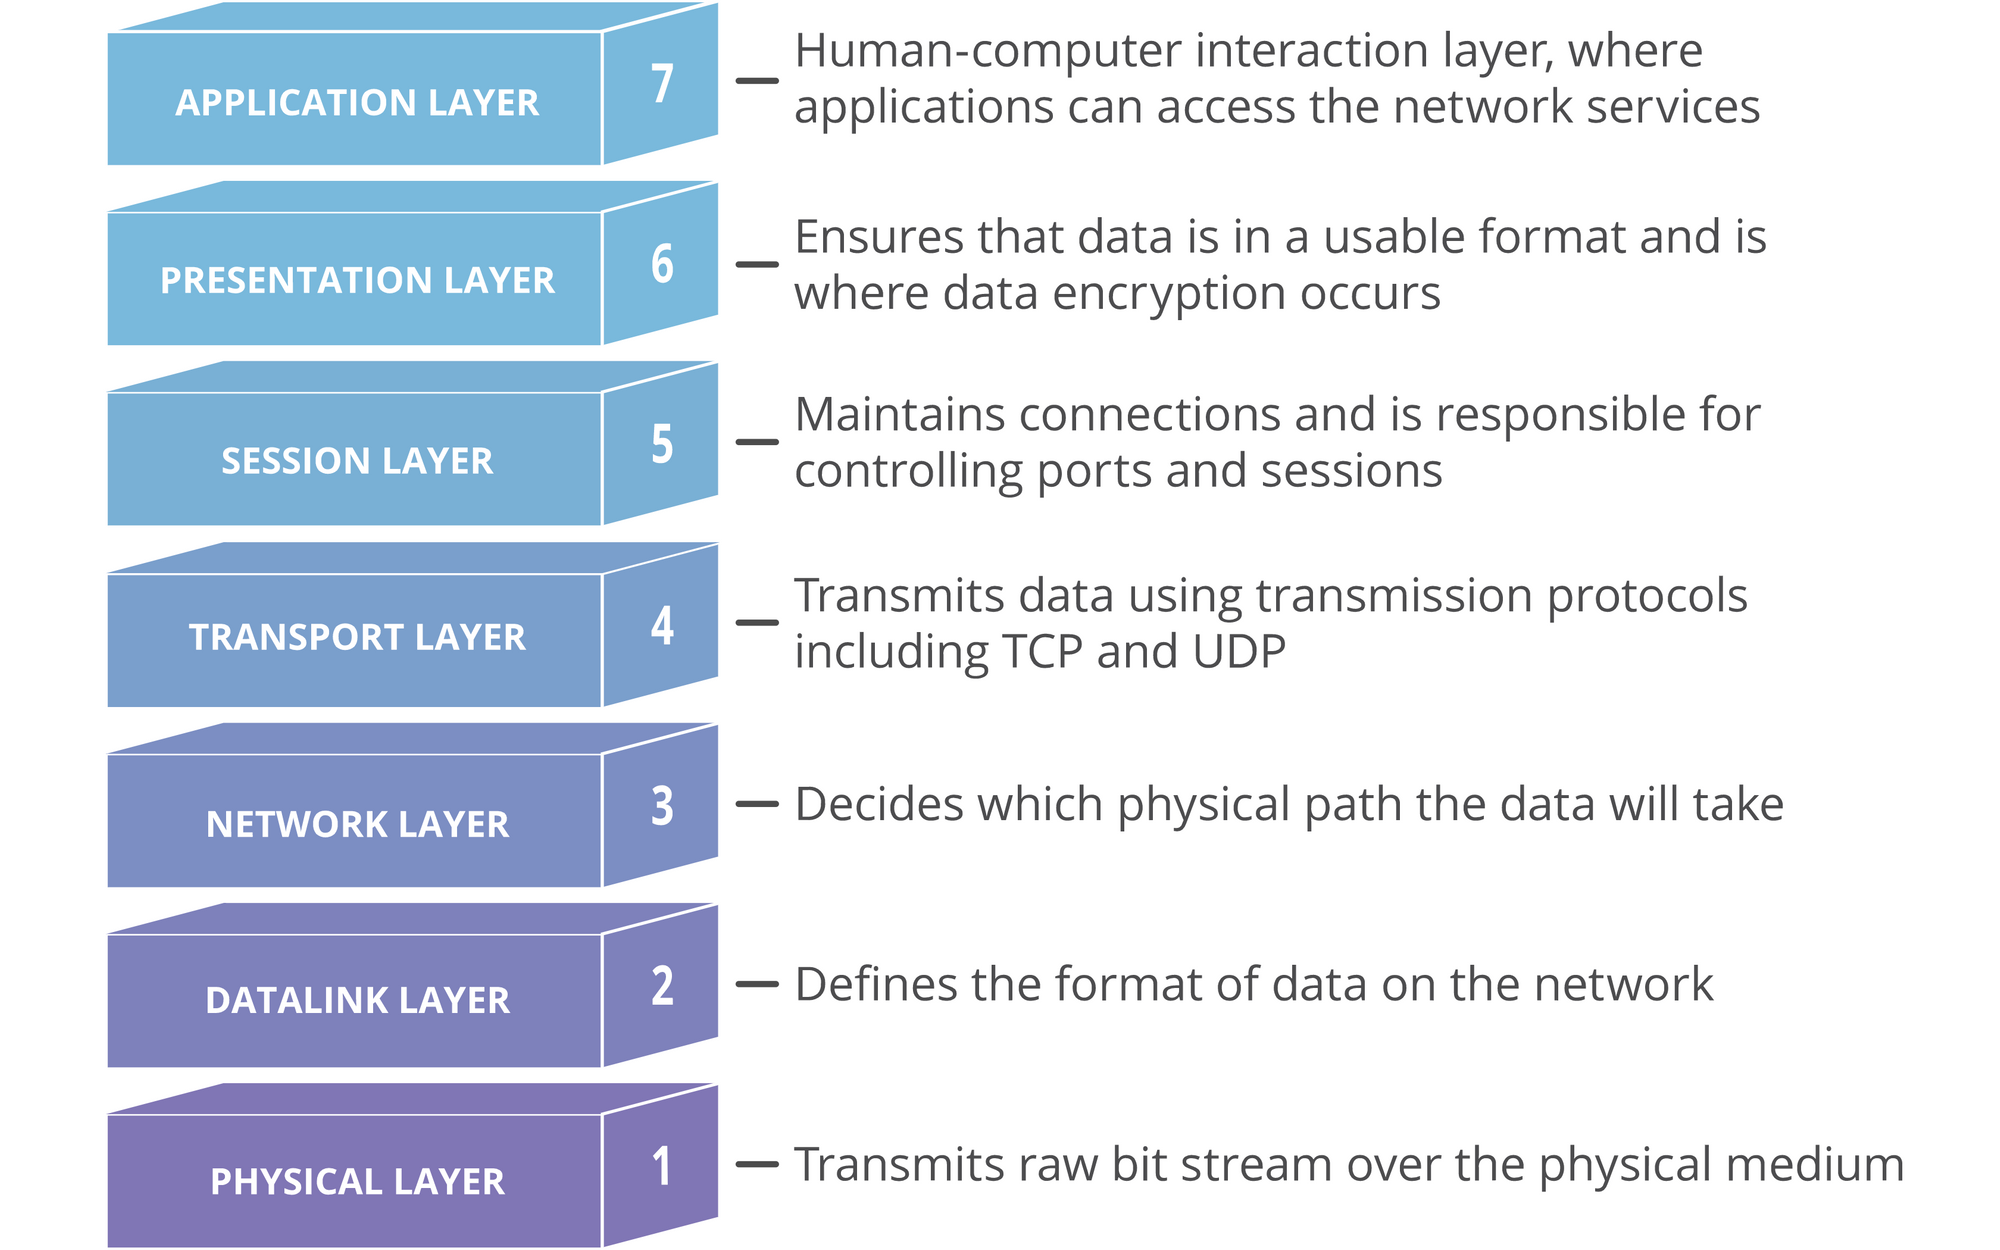 OSI Model
If you are interested in learning more about the OSI model, here is a detailed article for you.
Packets
Now that you have a solid grasp of the OSI model, let’s look at network packets. When data is transferred from one computer to another, the data stream consists of smaller units called packets.
When you download a file from the internet, the data is sent from the server as packets. These packets are re-assembled by your computer to give you the original file.
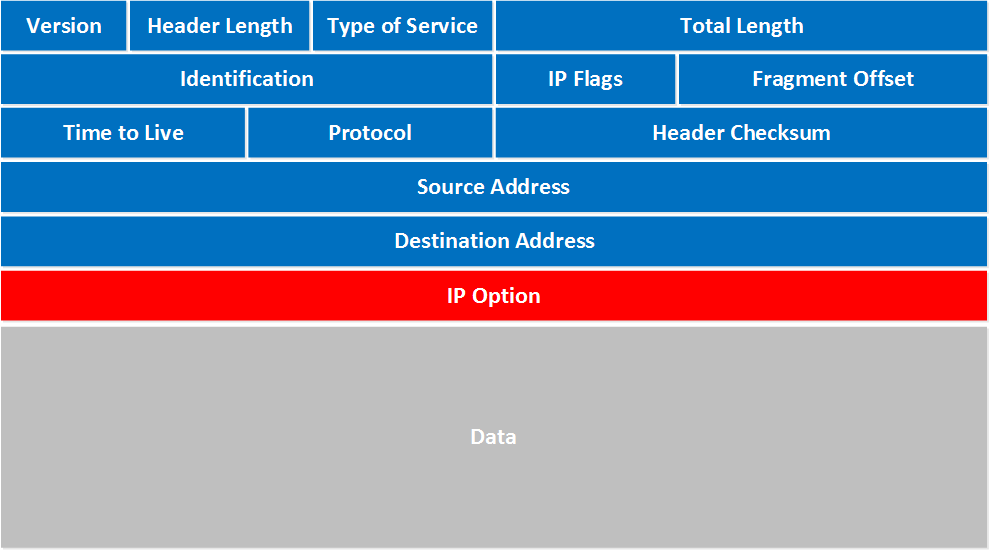 IPV4 Packet
A packet can contain the following data:
- source and destination IP addresses
- protocol
- source and destination ports
- data
- length, flags, TTL, and so on
Each packet contains valuable information about the devices involved in a packet transfer. Each data transfer involves thousands or even millions of these packets of data being sent between the source and the destination devices.
Now you can understand the importance of Wireshark. Wireshark lets you capture each of these packets and inspect them for data.
Wireshark, to a network engineer, is similar to a microscope for a biologist. Wireshark lets you ‘listen’ to a live network (after you establish a connection to it), and capture and inspect packets on the fly.
As a network engineer or ethical hacker, you can use Wireshark to debug and secure your networks. As a malicious hacker (which I don’t recommend), you can "sniff" packets in the network and capture information like credit card transactions.
This is why it is unwise to connect to a public network like Starbucks and perform financial transactions or access private data. Even though sites with HTTPS can encrypt your packets, it is still visible over the network. If someone really wants to crack it, they can.
Wireshark Basics
Now let's look at how you can play with Wireshark. Download and install Wireshark from here.
Wireshark has an awesome GUI, unlike most penetration testing tools. Here’s how Wireshark looks when you load it.
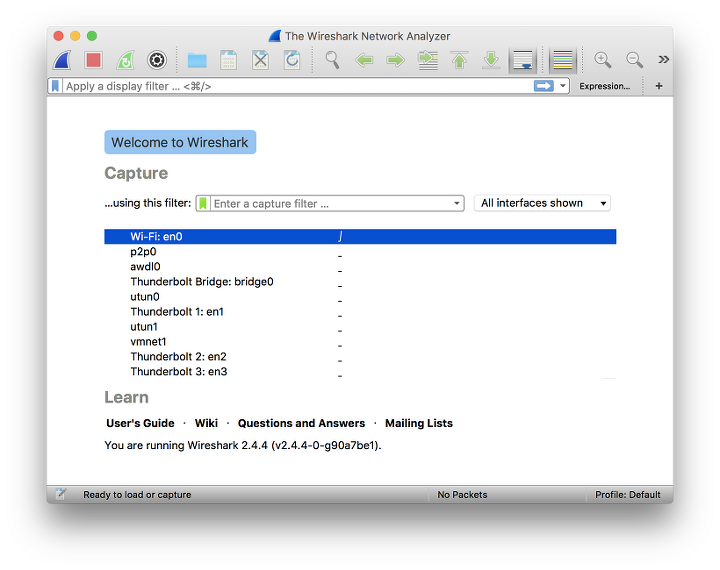 Wireshark Startup
Wireshark lists out the networks you are connected to and you can choose one of them and start listening to the network.
 Wireshark UI
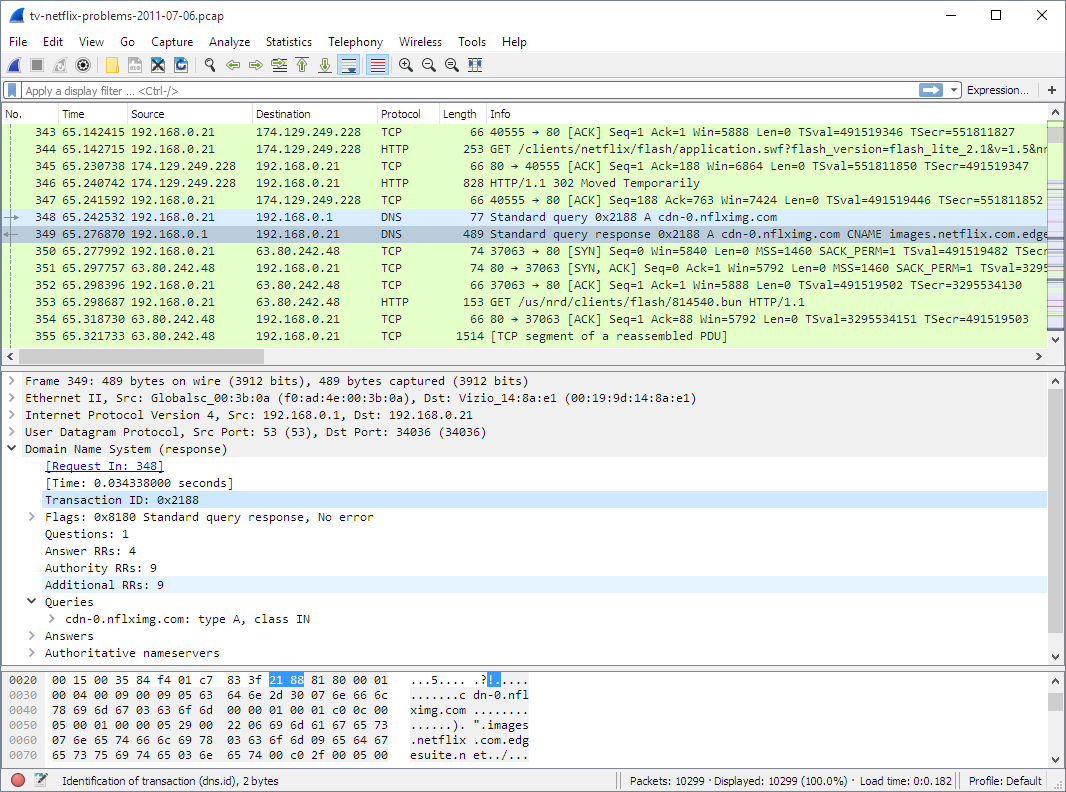
There are three panes in Wireshark.
Packet List Pane
This pane displays the packets captured. Each line represents an individual packet that you can click and analyze in detail using the other two panes.
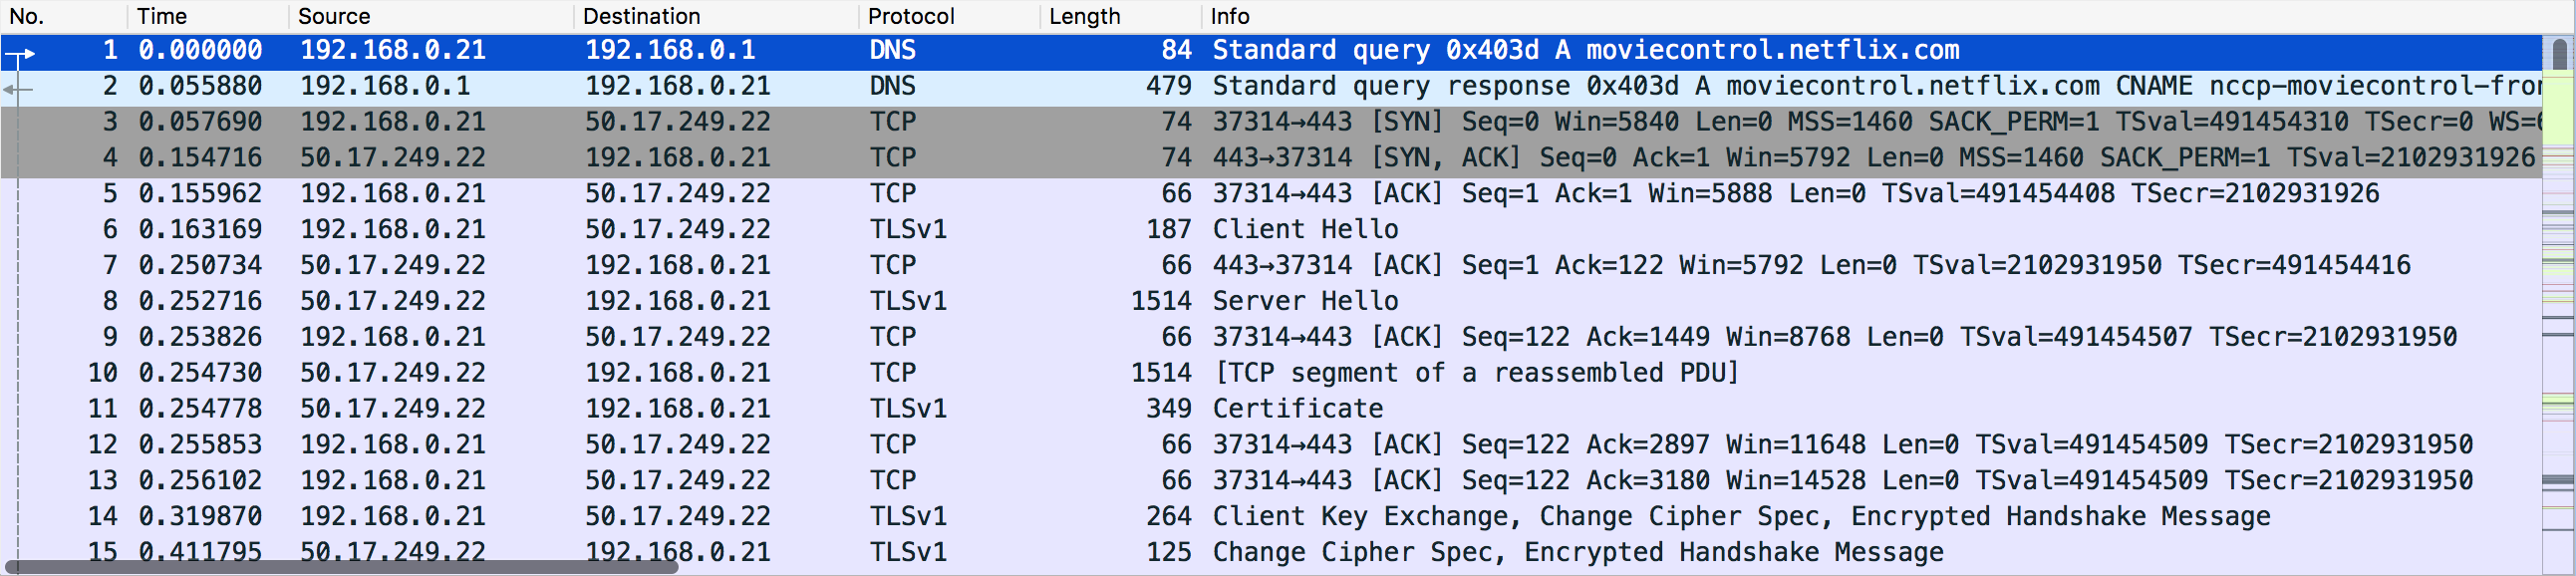 Packet List Pane
Packet Details Pane
You can select a packet and then look at the packet information in more detail using the Packet Details pane. It displays information such as IP addresses, ports, and other information contained within the packet.
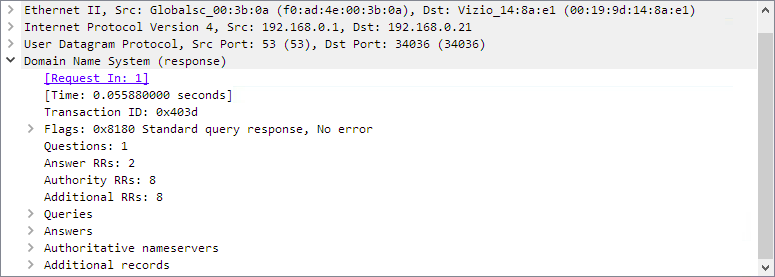 Packet Details Pane
Packet Bytes Pane
This pane gives the raw data of the selected packet in bytes. The data is displayed as a hex dump, which is displaying binary data in hexadecimal.
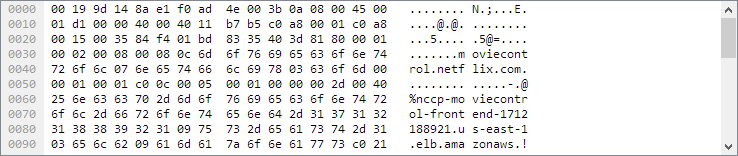 Packet Bytes Pane
Filters
Wireshark has filters that help you narrow down the type of data you are looking for. There are two main types of filters: Capture filter and Display filter.
Capture Filter
You can set a capture filter before starting to analyze a network. When you set a capture filter, it only captures the packets that match the capture filter.
For example, if you only need to listen to the packets being sent and received from an IP address, you can set a capture filter as follows:
host 192.168.0.1
Once you set a capture filter, you cannot change it until the current capture session is completed.
Display Filters
Display filters are applied to capture packets. For example, if you want to display only the requests originating from a particular ip, you can apply a display filter as follows:
ip.src==192.168.0.1
Since display filters are applied to captured data, they can be changed on the fly.
In short, capture filters enable you to filter the traffic while display filters apply those filters on the captured packets. Since Wireshark can capture hundreds of packets on a busy network, these are useful while debugging.
Core Features of Wireshark
Now that you have a good grasp of Wireshark basics, let's look at some core features. With Wireshark, you can:
- Identify security threats and malicious activity on a network
- Observe network traffic for debugging complex networks
- Filter traffic based on protocols, ports, and other parameters
- Capture packets and save them to a Pcap file for offline analysis
- Apply coloring rules to the packet list for better analysis
- Export captured data to XML, CSV, or plain text file.
Conclusion
Wireshark is always ranked among the top 10 network security tools every year. With its simple yet powerful user interface, Wireshark is easy to learn and work with. It is a valuable asset in every penetration tester’s toolkit.
Hope this article helped you to get a solid grasp of Wireshark. I recently wrote an article on the top 10 tools you should know as a cybersecurity engineer. Do check it out if you are into cybersecurity.
I regularly write about Machine Learning, Cyber Security, and DevOps. You can signup for my weekly newsletter here.