
By Todd Palmer
If you need an easy and light-weight Web Server just to do some development, lite-server is an excellent choice.
In this article I will:
- Briefly explain the what and why of lite-server.
- Show you how to create a simple web application and serve it with lite-server.
- Explain some simple lite-server configuration.
- Finally, if you just want to install lite-server once and use it everywhere, take a look at my project www-lite-server in GitHub.
Although this is written as an introductory level article, I expect that:
- You know a little about the command prompt, such as creating and switching directories.
- You have npm installed and understand how to use it to install packages.
- You know how to create simple web pages using HTML.
What is lite-server?
lite-server is a lightweight development web server with support for Single Page Apps (SPAs). Actually, it is bit more technical than that. But, for our purposes, that’s good enough.
lite-server was created by John Papa. You should follow him and read all his stuff, because he is a true hero of the open source community!
 _[John Papa](undefined" rel="noopener" target="blank" title=")
John created lite-server because he wanted a simple web server he could use to test deploying Single Page Applications that leverage URL routes. Maybe you aren’t using JavaScript GUI Frameworks like Angular, React, and Vue.js just yet. But know that when you do, lite-server will still be there for you.
So let’s take advantage of John’s work by actually…
Using lite-server in a Web Project
First, we will create a small web project with a simple index.html. We’ll install lite-server. Then, we’ll use lite-server to serve our web page.
Create a Project
At your command prompt, run:
mkdir litecd lite
This creates a new directory called lite and makes it our working directory.
In our lite directory, add an index.html file that looks like this:
Install lite-server
At the command prompt in your lite directory, run:
npm init -y
We use npm to initialize an empty project. The -y tells it to just use the defaults for any parameters.
To add lite-server to our project we can run:
npm install --save-dev lite-server
This installs the lite-server package and adds it to the devDependencies in our project’s package.json file.
"devDependencies": { "lite-server": "^2.3.0" }
Also, you can take a look at the node_modules folder and see that lite-server and its dependencies are all installed there.
Run lite-server
In your package.json file, modify the scripts object. Replace the contents with an entry called start that runs lite-server, like this:
"scripts": { "start": "lite-server"},
So now your package.json file should look like this:
To run lite-server and serve your index.html web page, run:
npm start
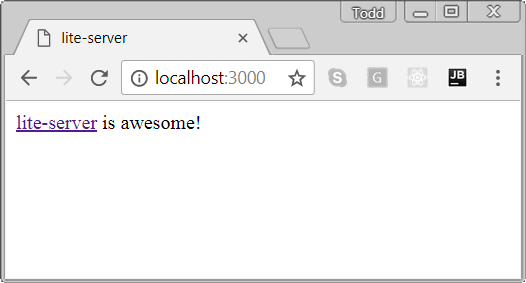
Notice that lite-server launches your default browser and displays your index.html:
Furthermore, lite-server is built on Browsersync. So, when we update our index.html, lite-server will refresh automatically. Let’s try it!
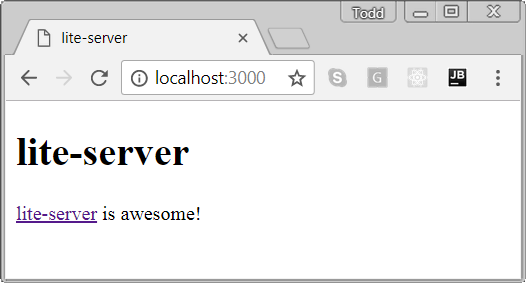
In your index.html, just before the <;a> tag, add a heading tag to the page:
<h1>lite-server</h1>
Save your file and watch your browser update auto-magically!
Some Simple Configuration
lite-server supports a lot of flexibility as to how it is configured. But for this article we will keep it simple.
We will create a lite-server configuration file and edit it to change:
- the HTTP port
- the web root directory
- which browser gets launched
The lite-server Configuration File
The config file for lite-server is: bs-config.json
Why bs-config? Well, lite-server is built on Browsersync which supports having a JSON or JavaScript config file named bs-config.
Add a bs-config.json file to the root of your project. It should look like this:
This example config file really just duplicates the default values. But, we will use it as the basis for explaining how to change some of the more useful configuration parameters.
Specifying the HTTP Port
By default, lite-server uses port 3000. But if you would like to use a different port, you can easily change it.
For example, let’s switch it to use port 3001. In your bs-config.json file, change the port to look like this:
"port": 3001,
Restart lite-server using npm start.
lite-server launches our default browser again. But, this time the URL looks like this:[http://localhost:3001/](http://localhost:3001/)
Specifying the Web Root
By default, lite-server serves pages from the current directory where it is installed. Using the server element in bs-config.json, we can specify a different web root or “base directory” as lite-server calls it.
Let’s try it:
- In your lite project, create a directory called: test
- Copy your index.html to the test directory
- In bs-config.json, modify the server element to look like this:
"server": { "baseDir": "./test"}
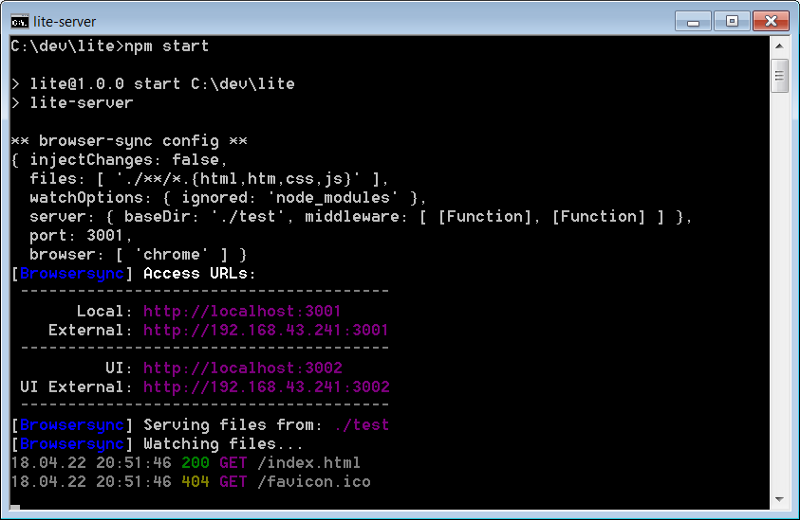
Restart lite-server. You can see in the output that it is:
Serving files from: ./test
Launching the Browser
When it starts up, lite-server launches our default browser to display the web page. But, maybe you want your project to support both IE and Chrome. Well, we can tell lite-server to launch both.
Notice the browser entry in the config file is actually an array. So we can give it a list of strings.
Let’s have some fun with this and make lite-server launch a bunch of browsers. On my machine I have three browsers installed: Chrome, IE, and Firefox. To make lite-server launch all three, I just change the browser entry to:
"browser": ["chrome", "iexplore", "firefox"]
And now when I run npm start I see this:
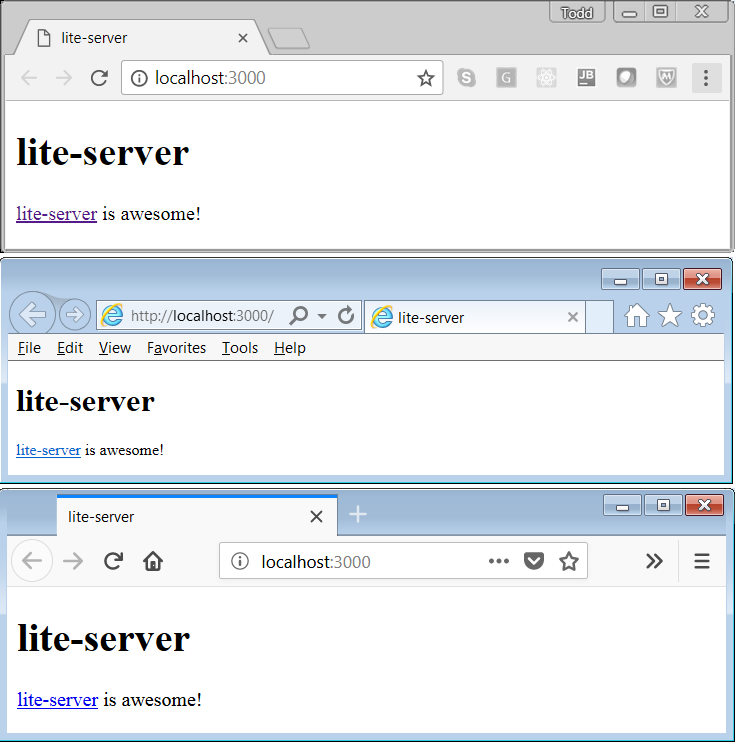
Because hey! You can never have too many browsers open.
www-lite-server: Install Once and Use It Anywhere
Since we can configure the server Base Directory in our bs-config.json, we can actually install lite-server in one place and point it at any other project.
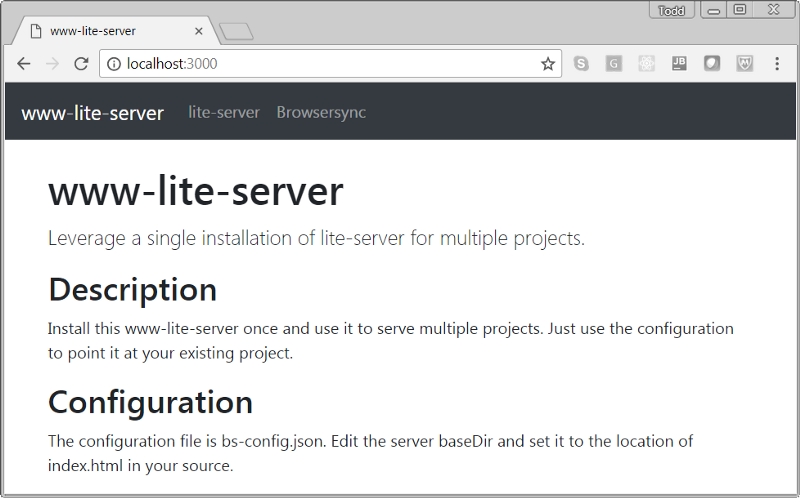
I have created a simple project called www-lite-server for you that does just that. You can use it like this:
git clone https://github.com/t-palmer/www-lite-server.gitcd www-lite-servernpm installnpm start
This will serve up the local index.html, which looks like this:
By modifying the baseDir entry in the bs-config.json, you can have www-lite-server serve web pages for any of your projects. For example, if you have a project in:
C:\dev\my-project
just change your bs-config.json to look something like this:
{ "port": 3000, "server": { "baseDir": "C:\dev\my-project" }}
Then use npm start to start serving web pages.
Some Technical Notes
lite-server is just a wrapper around Broswersync. Actually, it is Browsersync that does most of the “heavy-lifting”. However, Single Page Apps typically use routes which Browsersync doesn’t handle. For more information, see the Why section on the lite-server GitHub README.
Resources
Follow John Papa on Medium: https://medium.com/@John_Papa
Please star lite-server on GitHub: https://github.com/johnpapa/lite-server
www-lite-server: https://github.com/t-palmer/www-lite-server
Browsersync: https://www.browsersync.io/