

At some point in your design career, you may hear about Information Architecture (or IA). You might even have to create a userflow or sitemap.
Now, this article aims to help you go back to the basics and remind you of the meaning and importance of IA. So if you don't really understand the concept of Information Architecture, this is the best place to be.
We'll also explore how to do a userflow and a sitemap later in the article. Let's get started!
What is Information Architecture?
Information Architecture (IA) is the process of planning and designing how information is organized in websites and applications. It focuses on meeting user needs and business goals by creating a logical and user-friendly information structure.
Information Architecture is mostly used by designers to structure the layout of their designs, especially during the sketching/low-fidelity stage.
Importance of Information Architecture
I can't overstate the importance of Information Architecture. Below, I'll share some reasons why every UX Designer should learn what IA means and how to implement it effectively:
- Organization and Structure: Information Architecture provides a framework for organizing and structuring information. It helps you make sure your designs are logically grouped and categorized.
- Content Prioritization and Hierarchy: Hierarchy is one of the basic principles of design, and IA helps you achieve that. It enables designers to highlight key information and arrange content based on its relevance and importance to users.
- User-Centric Design: Information Architecture helps designers think of their users during the design process, by considering how users typically think, behave, and search for information. Everyone has mental models, including users, and IA helps to make sure that information is presented in a way that matches the mental models of your already existing/target users.
- Navigation: Information Architecture provides a clear way to navigate a design. It allows users to understand intuitively where they are in a site and how to move between different sections of a design.
- Business Goals: Information Architecture helps to make sure the information presentation of your design aligns with the goals and objectives of the business/firm/company.
Types and Forms of Information Architecture
There are so many types and forms of Information Architecture, especially since it's used in a lot of fields. But here we'll be looking at Userflows and Sitemaps, which are the most common ones in design.
What is a Userflow?
A userflow refers to a diagram that shows the step-by-step journey of a user through a website, application, or system.
Imagine trying to order food online. Some steps you might take include: opening the food ordering application on your phone, signing up/logging in, choosing from the list of available food, choosing how many portions you'd like, and finally making payment online.
That's a typical example of how a user flow might be structured.
Userflows illustrate the paths, interactions, and decision points users encounter as they navigate and complete specific tasks or goals. They help designers and stakeholders understand and optimize the user journey.
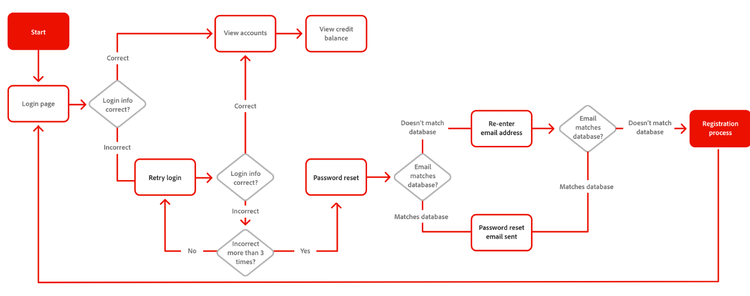 An example of a Userflow
What is a Sitemap?
Sitemaps are diagrams that display the layout and organization of content within a website or application.
Imagine a 2 bedroom apartment. The apartment could contain a sitting room, a kitchen, 2 bedrooms, a bathroom, and a dining room. The sitemap simply tells us how we can get to the kitchen from the sitting room/the bedroom/any place in the apartment.
In design, sitemaps provide an overview of the pages, menus, and sub-pages, helping us plan and visualize the information architecture and user experience of the system. They aid in content planning, navigation design, and website development.
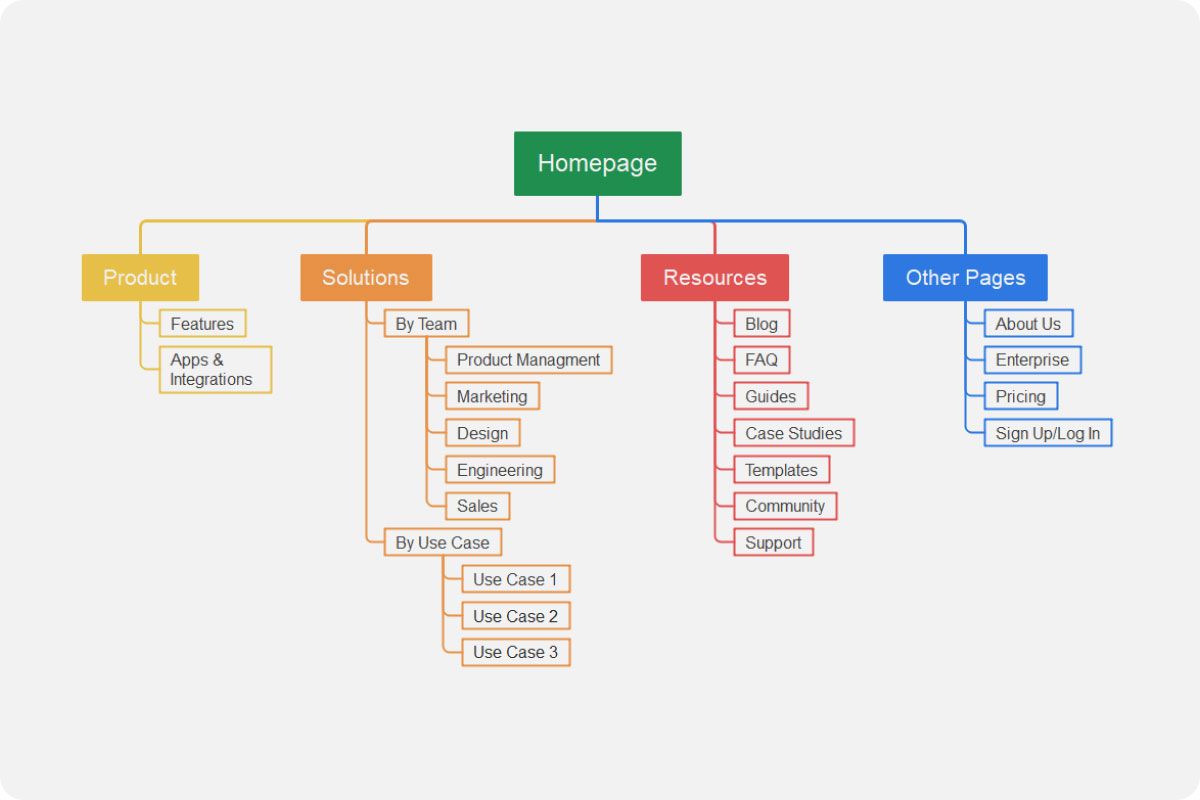 An example of a Sitemap
Differences Between Userflows and Sitemaps
- Focus and Perspective: Userflows primarily focus on the step-by-step actions and interactions a user takes within an app or website, to accomplish a task or goal. Sitemaps focus on the overall structure and organisation of a website or an application, depicting the hierarchical relationship between different pages or sections.
- Level of Detail: Userflows provide more detailed information about each step of the user's journey, including specific actions, decisions, and possible outcomes at each stage. Sitemaps provide a high-level overview of the app's or website's structure, showing the main pages or sections, without diving into the specific interactions within each page.
- User-Centric vs Architectural: Userflows are user-centric and primarily represents the user's perspective and actions within the app or website. Sitemaps are more architectural in nature, representing the overall structure and organisation of an app or a website from a high-level viewpoint.
- Interactivity and Decision-points: Userflows highlight interactive elements within the app or website, illustrating the choices and options available to the user at each step. Sitemaps do not explicitly showcase interactivity or decision points.
When to Use Information Architecture
You might be wondering when knowledge about Information Architecture will come in handy.
You can use Information Architecture in any or situation at all, really – like designing a mobile app, a website, a pitch deck, and more. Information Architecture is always helpful because it helps you decide what content/information comes first, what follows and how, and so on.
Typically, you'll think about Information Architecture after conducting user research. This is because research can help you understand the goals and needs of your users, and what they would likely do when they're trying to accomplish a goal on your site.
Also, userflows usually come before sitemaps, because you have to understand how a typical user would journey through your site, before deciding on how the layout or organization of that site would look like.
How to Create Userflows and Sitemaps
You can use the same methods and tools to create userflows and sitemaps. You just need to understand the differences between them and bear in mind that the purpose of each one is different.
How to Create a Userflow
Step 1: Define your Goals and Identify Tasks
The first step is to define your goals and objectives for the project, stating what kind of Information Architecture you're trying to create (a userflow or a sitemap). You can just write this down on paper before digitalizing it.
For example: I'm working on a food ordering app, and I'd like to make a userflow showing how a typical user would order food using the app.
I would write down the typical/possible steps the user would have to go through to achieve the task of ordering food. These steps could be:
- The user opens the application on their phone.
- The user signs up or logs into the application.
- The user goes to the homepage.
- The user chooses from restaurants close to them.
- The user selects from the menu and adds food to cart.
- The user pays for the food and waits for delivery.
- The user exits the application.
Step 2: Choose a Tool
The next step is to choose a tool you want to use to create your userflow. There are lots of tools available for this, like Figjam, Miro, Whimsical, and others. I use Figjam since it's so easy to understand.
Here's what it looks like:
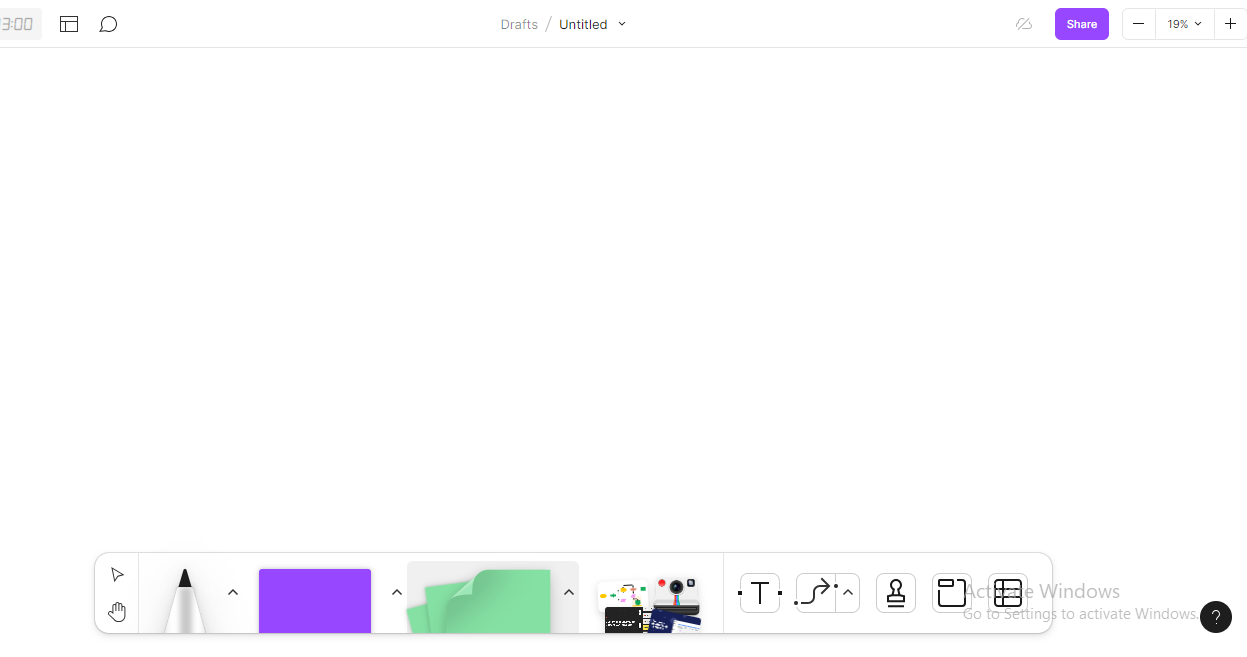 Figjam interface
Step 3: Sketch your design
The next thing is for you to sketch your actual flow on Figjam. Before this, you should note that every shape for a userflow has a specified meaning. You can see some shapes, flows and associations, and their meanings below.
 Shapes, flows, and associations for a userflow.
The First Shape (Rounded edge rectangle): This shape represents the start/end of a userflow. It's typically used when you want to start or end a userflow. If you notice, there's also an end tag with a similar shape in the image above. Some people also use a circle to represent this.
The Second Shape (Rhombus): This shape represents a decision. It's used to show when a user has to make a decision like "login", "signup", and so on.
The Third Shape (Rectangle with dotted lines): This represents a group. A group in a userflow can contain process and data, showing that an action has been submitted to the database, and it's expecting feedback from the site.
The Fourth Shape (Parallelogram): This shape shows when the user has to make an input, like "choose how many portions of food they want to order, and so on.
The Fifth Shape (Rectangle with solid lines): This shape shows the process of the user going through the application or website. It might also include screens the user needs to pass through in order to achieve their goal.
The Sixth Shape (Cylinder): this shape represents the data running in the system, which feedback is required from.
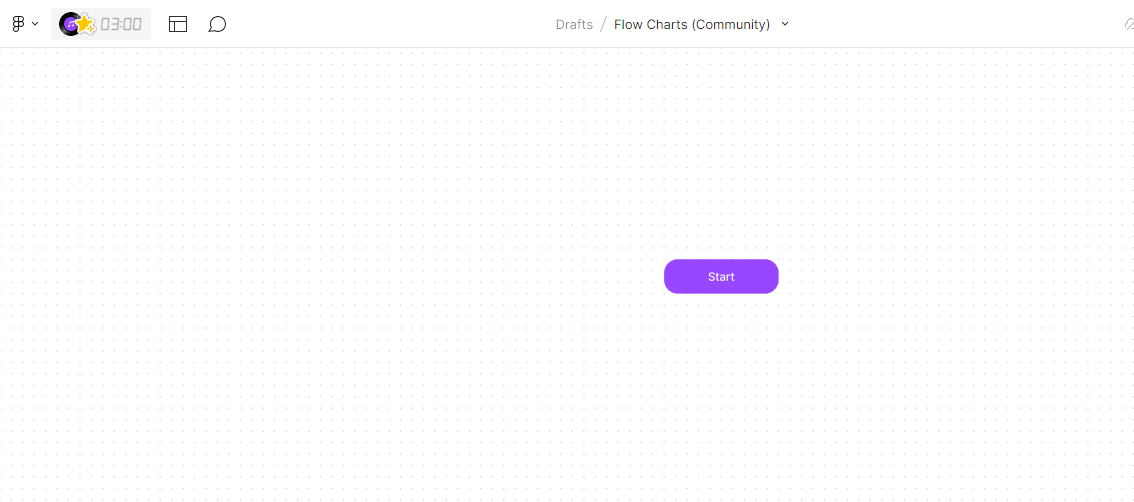
Now that you know the different shapes and their uses, you'll need to first draw the shape for 'start':
 Choosing a Shape
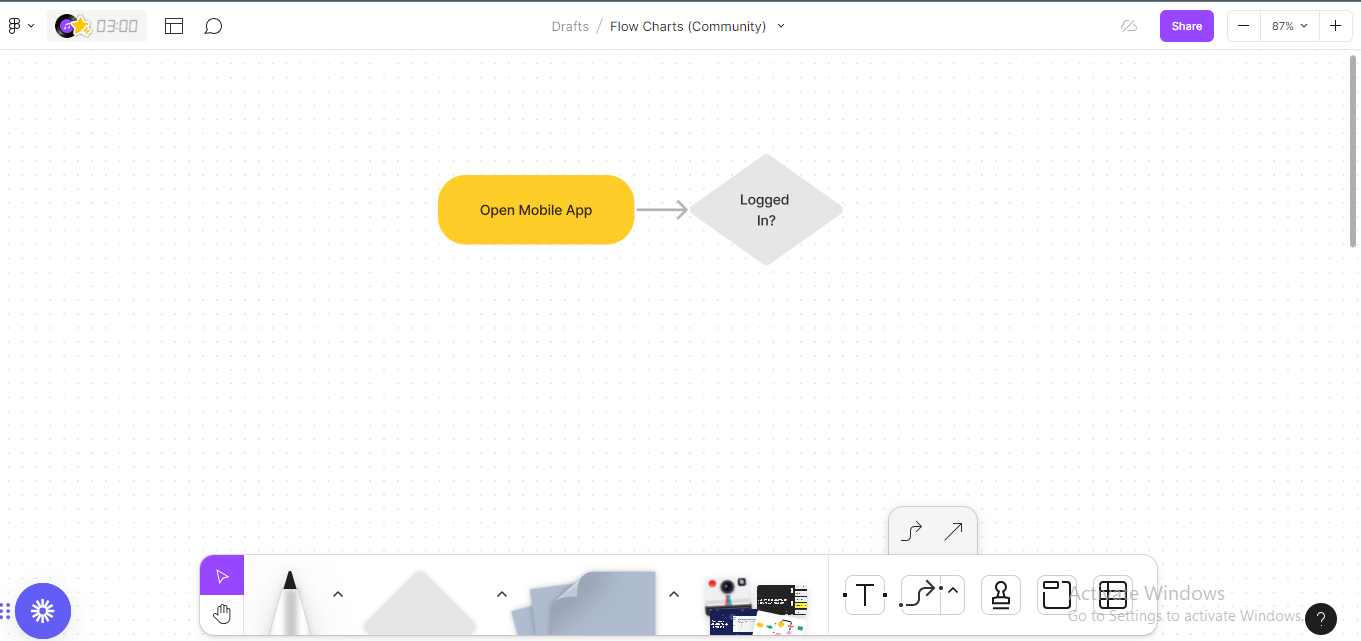
Next, you'll want to resize the shape if necessary, and input your text.
 Resizing shape and adding text
Up next, you'll need to add another shape and draw a connector. To add a connector, you can either click on the edge of the previous shape and drag, or draw the connector directly from the Figjam tools.
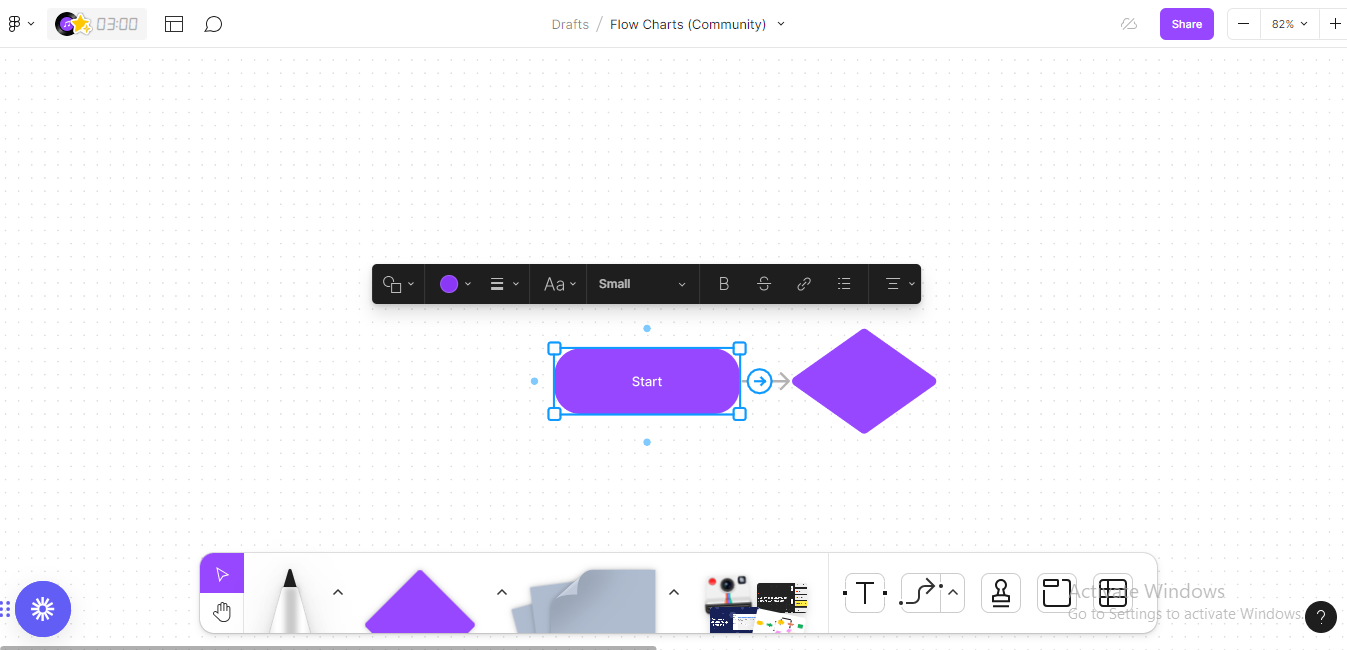 Drawing a connector to the next shape.
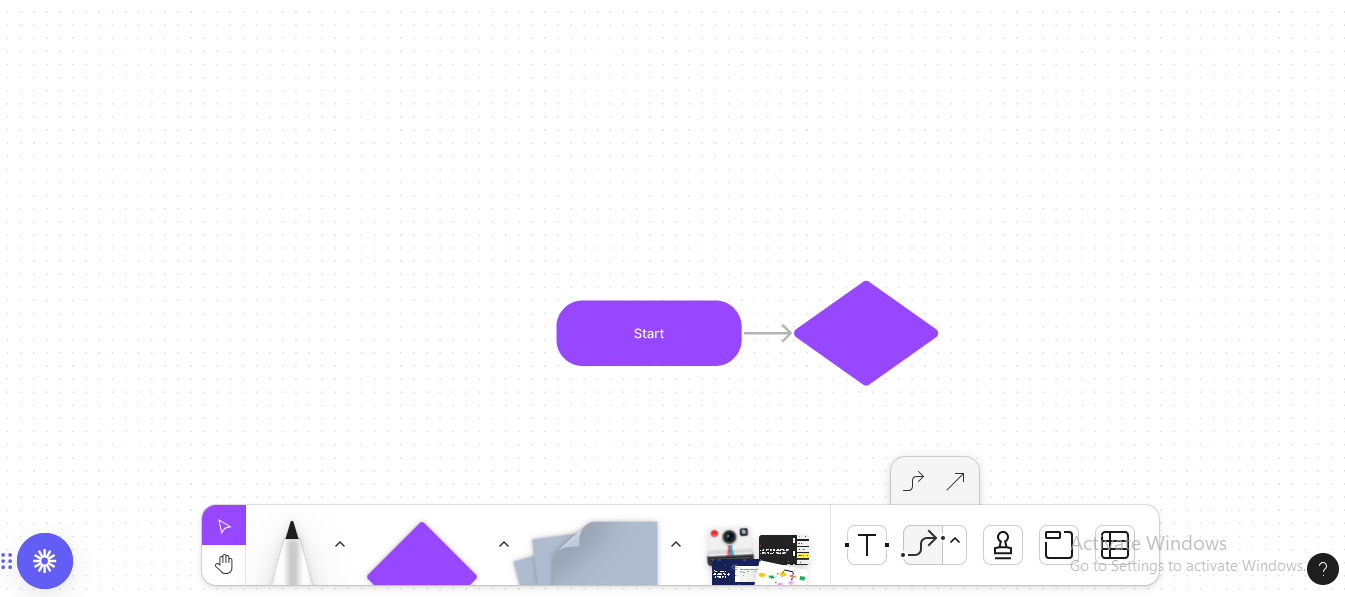 Drawing a Connector from Figjam tools
When you do that, you then input your text. (Remember to take note of the meanings/roles of each particular shape).
You continue this way until you're done adding all the steps in your userflow diagram.
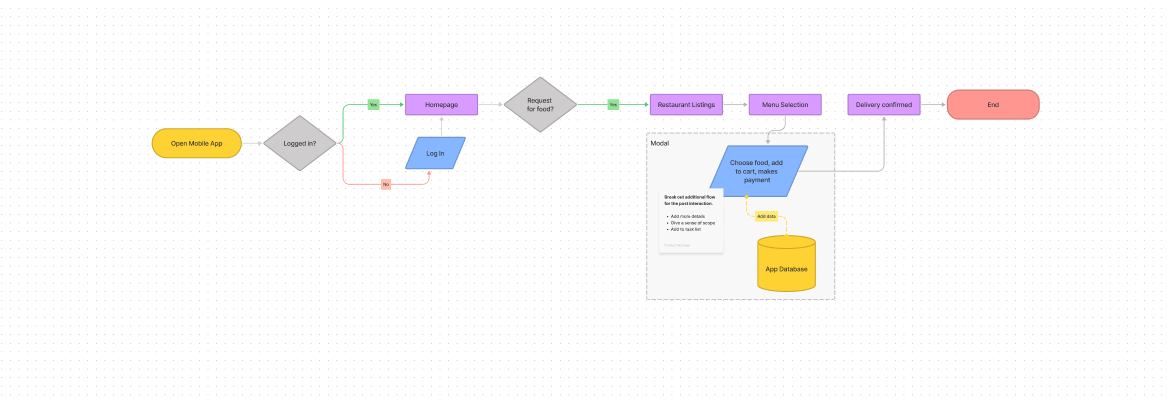 Example userflow diagram with multiple steps
Step 4: Validate and finalize
Once you're done with your userflow, the next thing is to validate the diagram. This just means reviewing the userflow to make sure it's accurate, usable, and aligns with the users' needs.
Basically just go through the diagram and consider whether it represents the intended user journey, and whether all necessary steps and decision points are included.
How to Create a Sitemap
Earlier in the article, I mentioned that the processes for creating a sitemap and a userflow are similar. The difference lies in the purpose of the two diagrams. We'll be exploring how to create a sitemap using Miro, a diagramming tool.
Step 1: Open the tool
The first step obviously, is to open your tool. If you don't have an account already, sign up at Miro and it should display your dashboard.
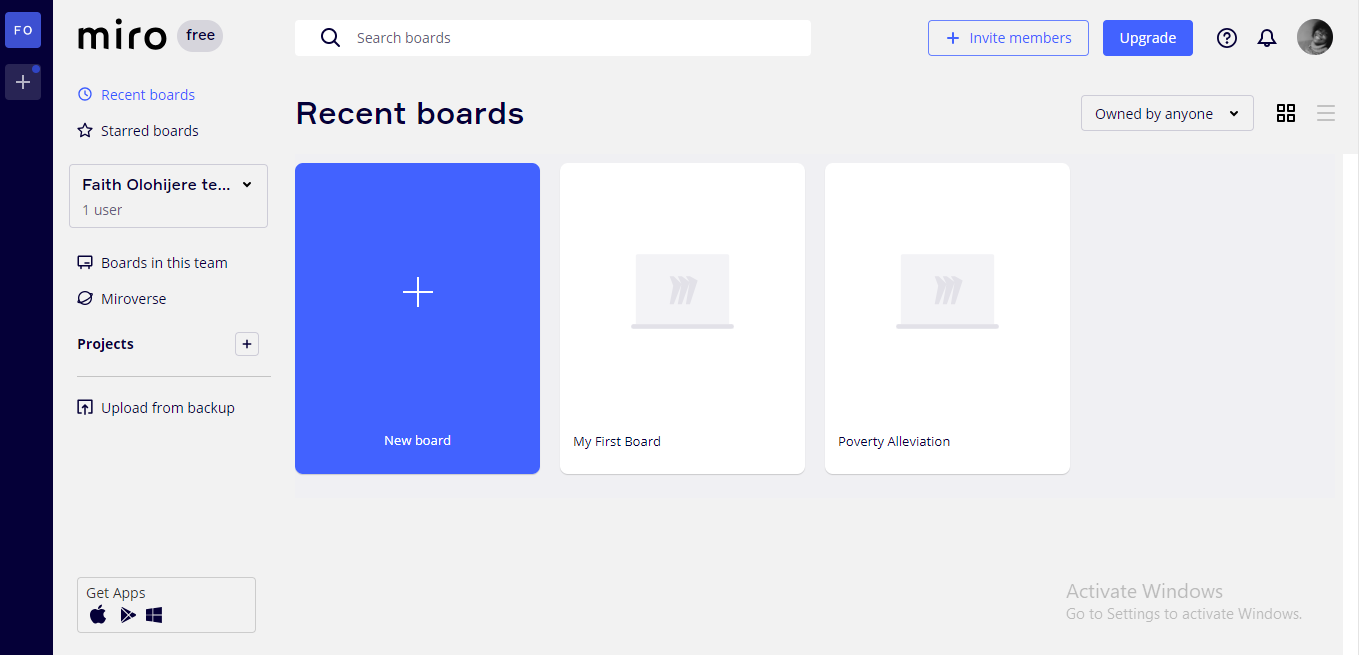 Miro Dashboard
Next, click on "New Board" to open a blank canvas.
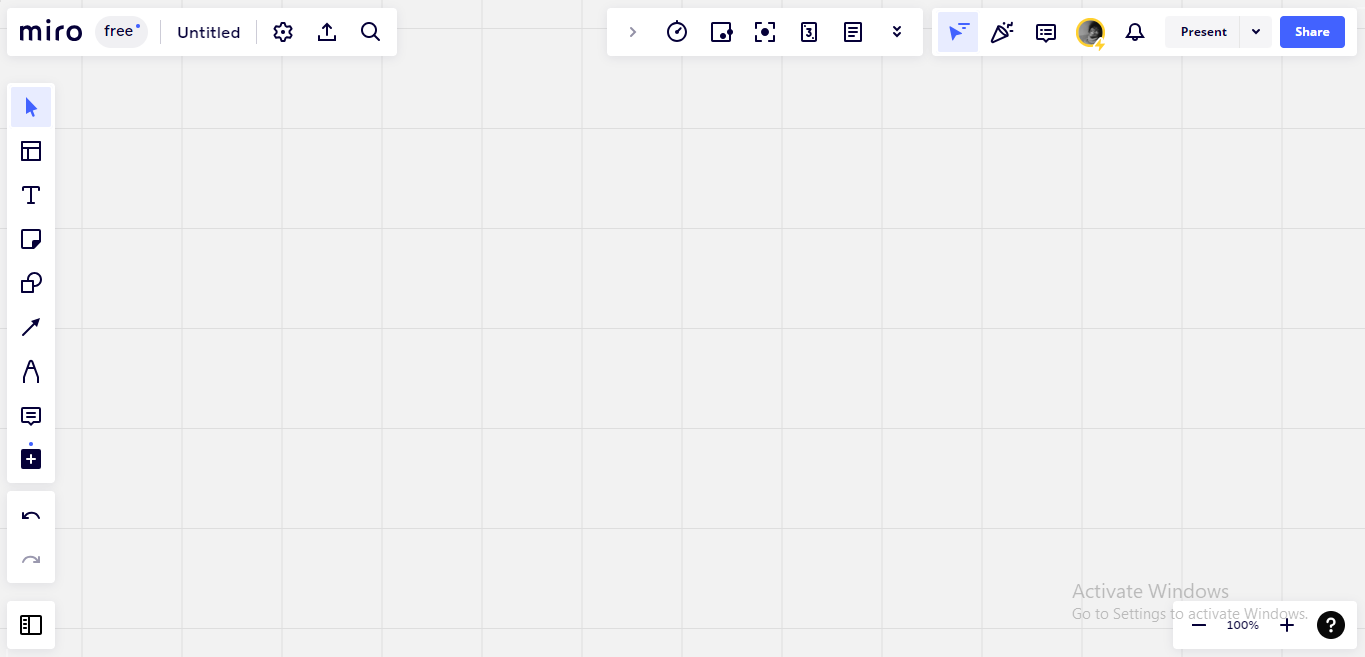
Step 2: Start drawing the sitemap
Next, you start drawing your sitemap. You should already know what screens you'll be designing, and how these screens connect to each other. Your userflow might help inform this.
Click on the Shapes tool from the toolbar on the lefthand side of your screen, to bring up all available shapes.
Note that, unlike Userflows where every shape has a meaning, you can use any shape for your sitemaps. Most designers make use of rectangles when doing sitemaps. It's very easy to build and stack, especially when you have lots of pages to represent.
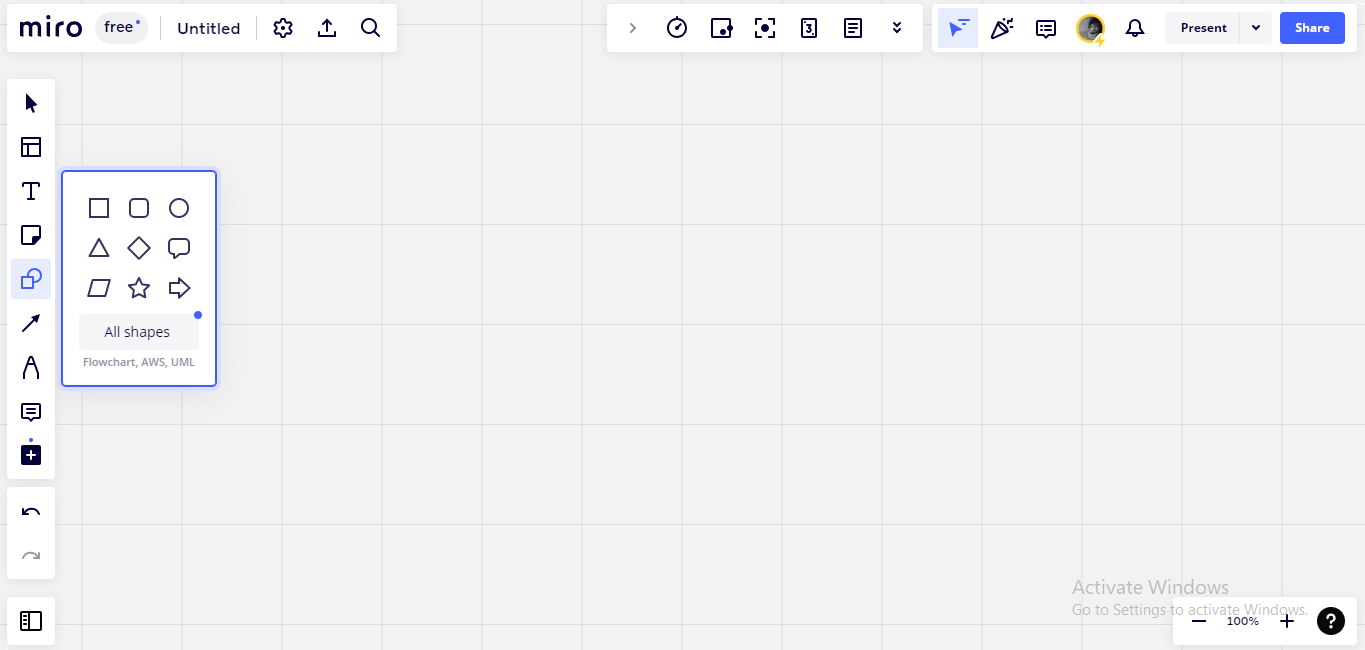 Choosing a shape
A plus icon will appear, and you just have to drag till the shape is to your satisfaction.
Step 3: edit the shapes
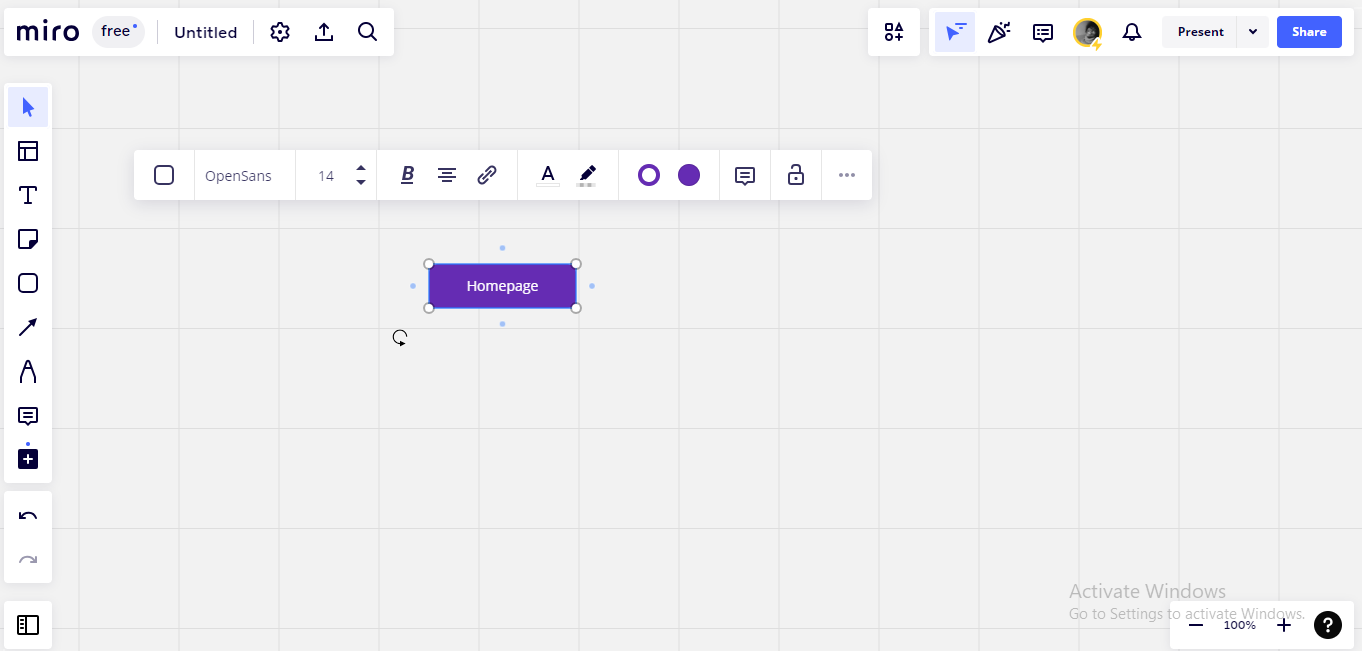
Next, you edit the shape to add colour, and your text. This could be "Homepage", "Log-in", "Signup", and so on – whatever is the first screen of your design.
When you click on the button, a sub-menu comes up. Here, you can switch your shape type, change text font and size, add text colour, align it, add a border or fill colour for the shape, and more.
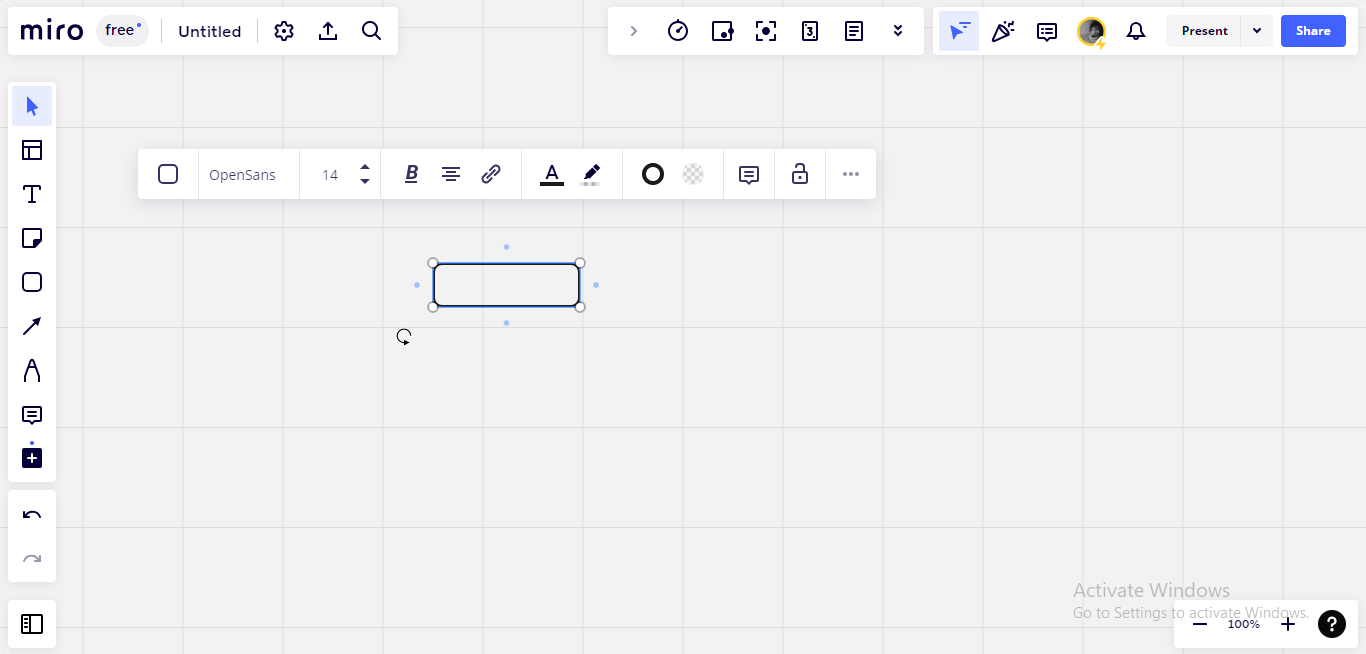 Typing inside a shape
 Editing a shape
Step 4: add shapes for the next screens
Next, you need to draw shapes for the next screens which the homepage branches into. This could be major items on the navigation bar, where you have to click on CTAs (Call To Actions) to open them.
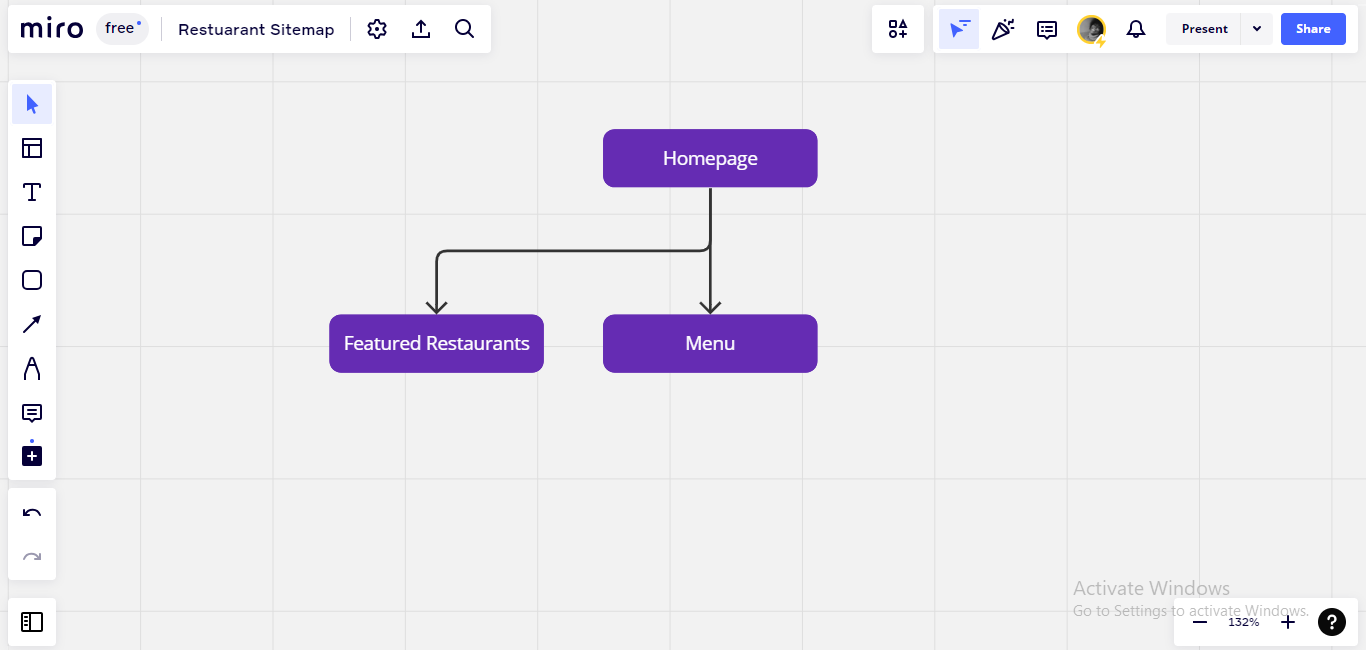
To draw the next shape, you can simply click on the edges of the first one, and the outline of the shape will be displayed.
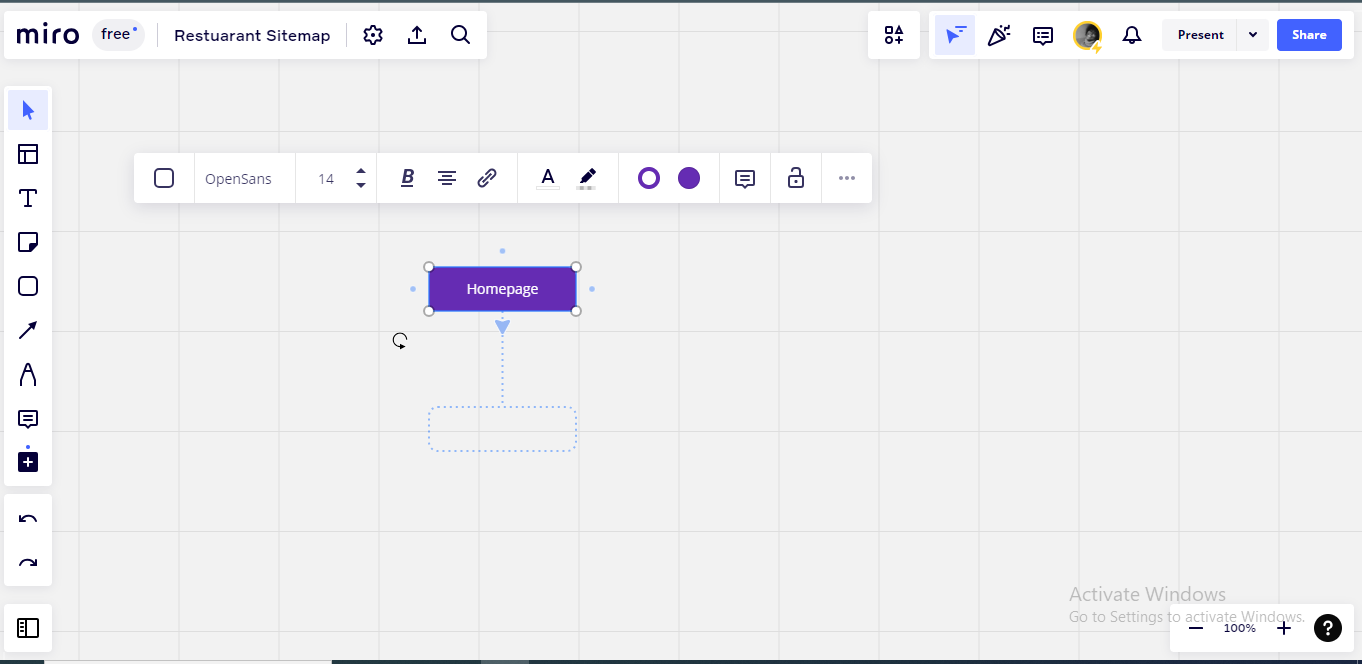 Sketching the next shape
Click on the outline to indicate that you want the shape to stay, and basically edit just like you did the first one.
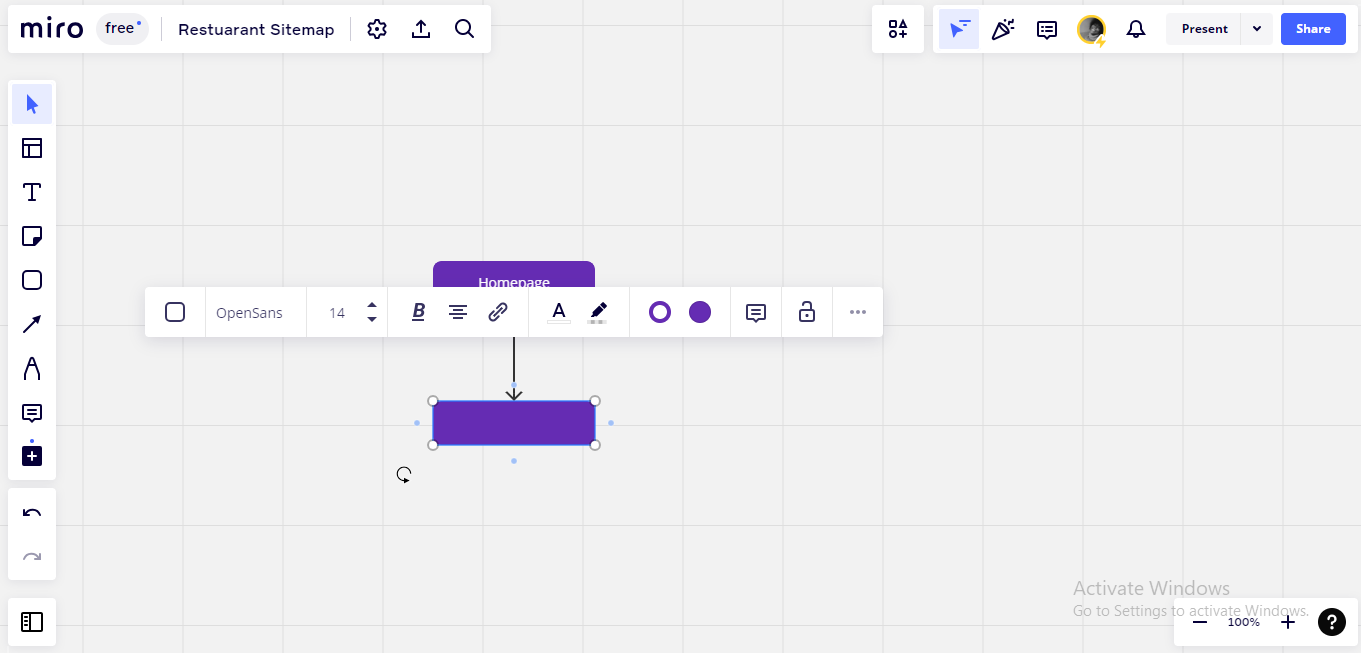
 Editing the second shape
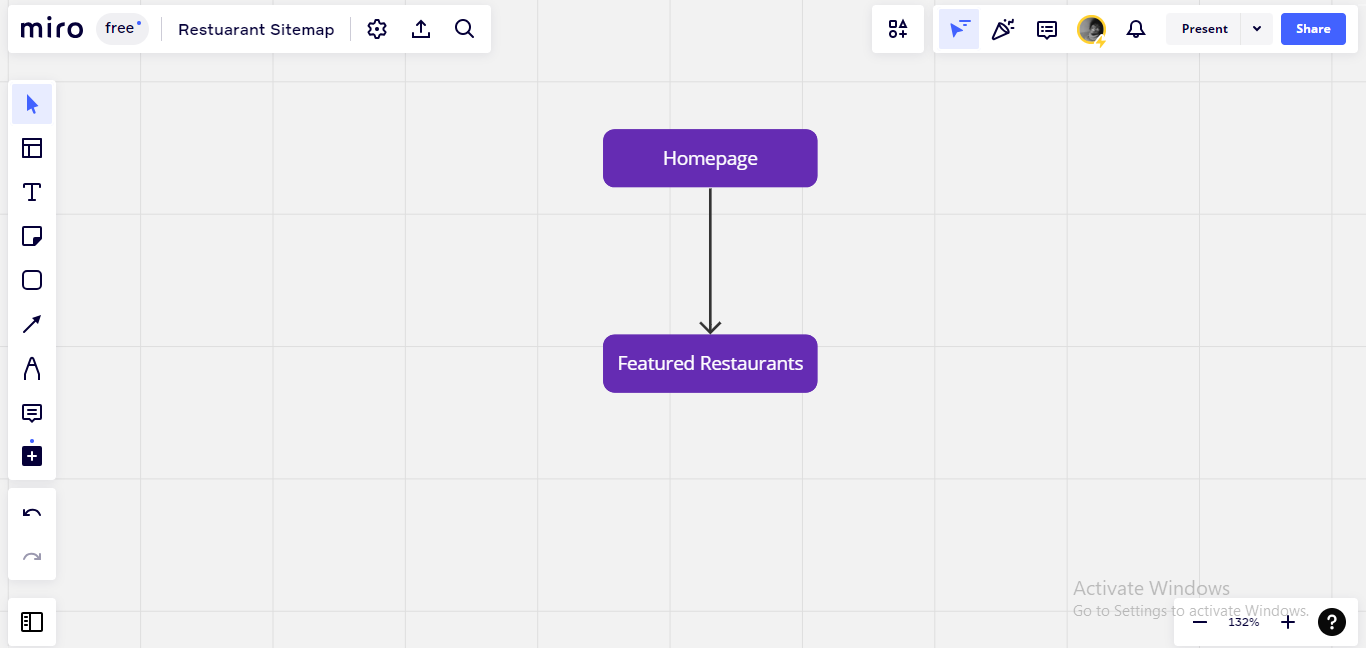
Next, you need to add other shapes that represent the subpages which the homepage branches out into. Just click on the first shape like you did when making the first sub-page shape.
 Adding other sub-pages
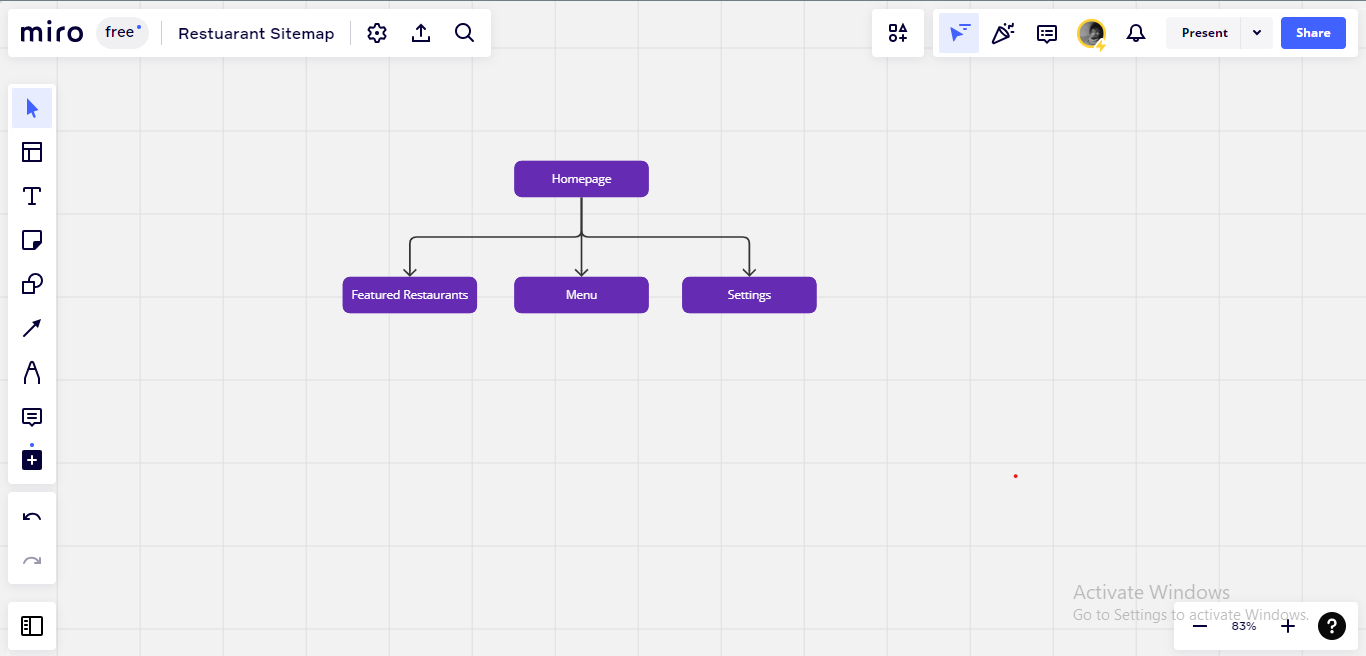
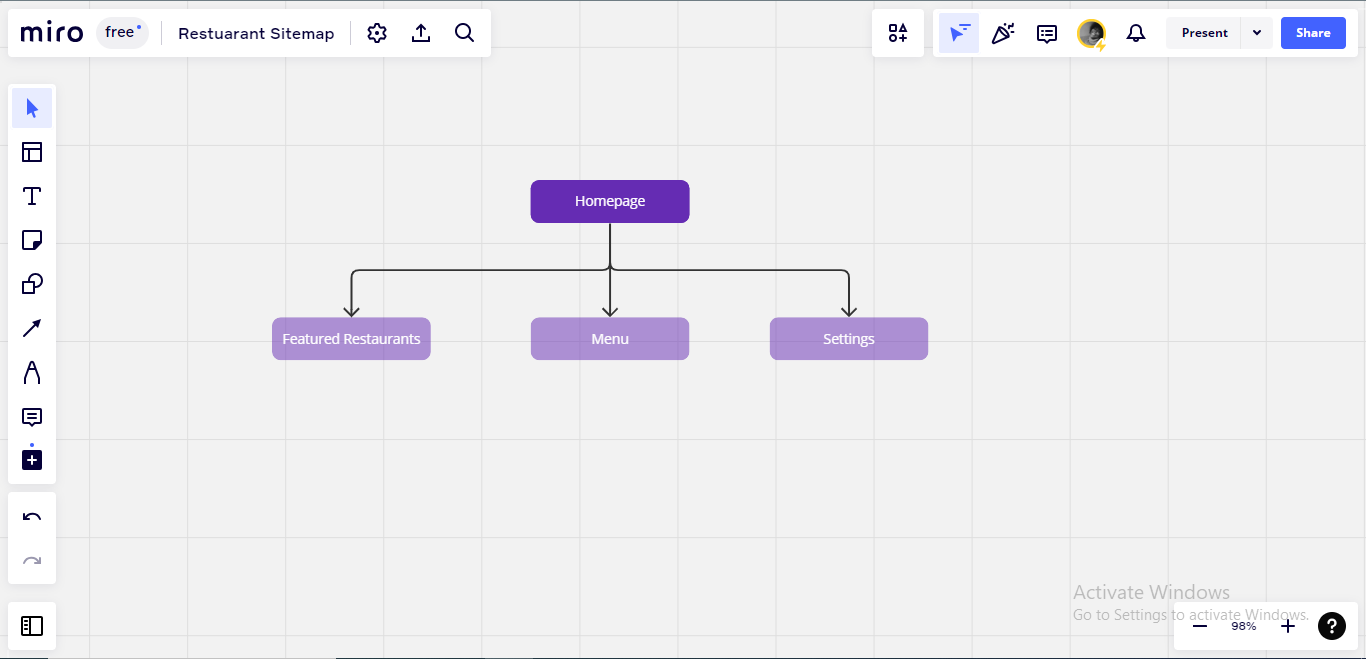
You can also change their colours to differentiate from the homepage and show hierarchy.
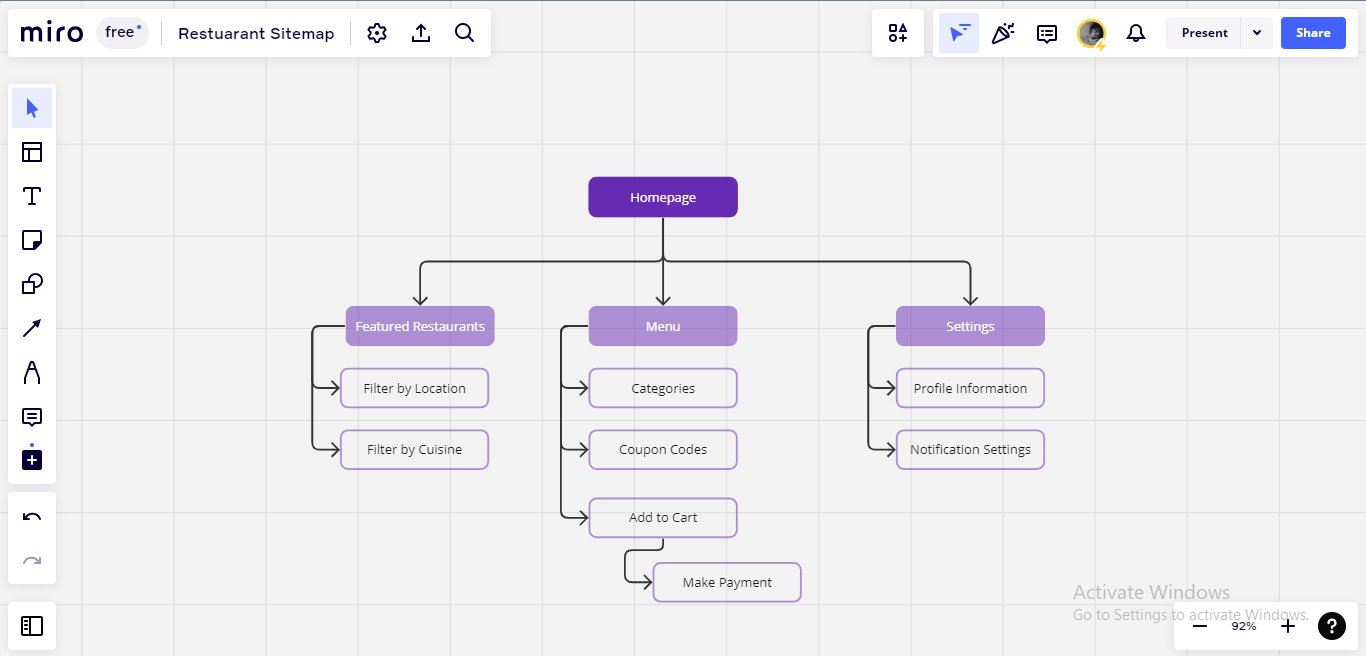
Step 5: draw more pages
Next, you draw shapes for the pages under the first set of sub-pages.
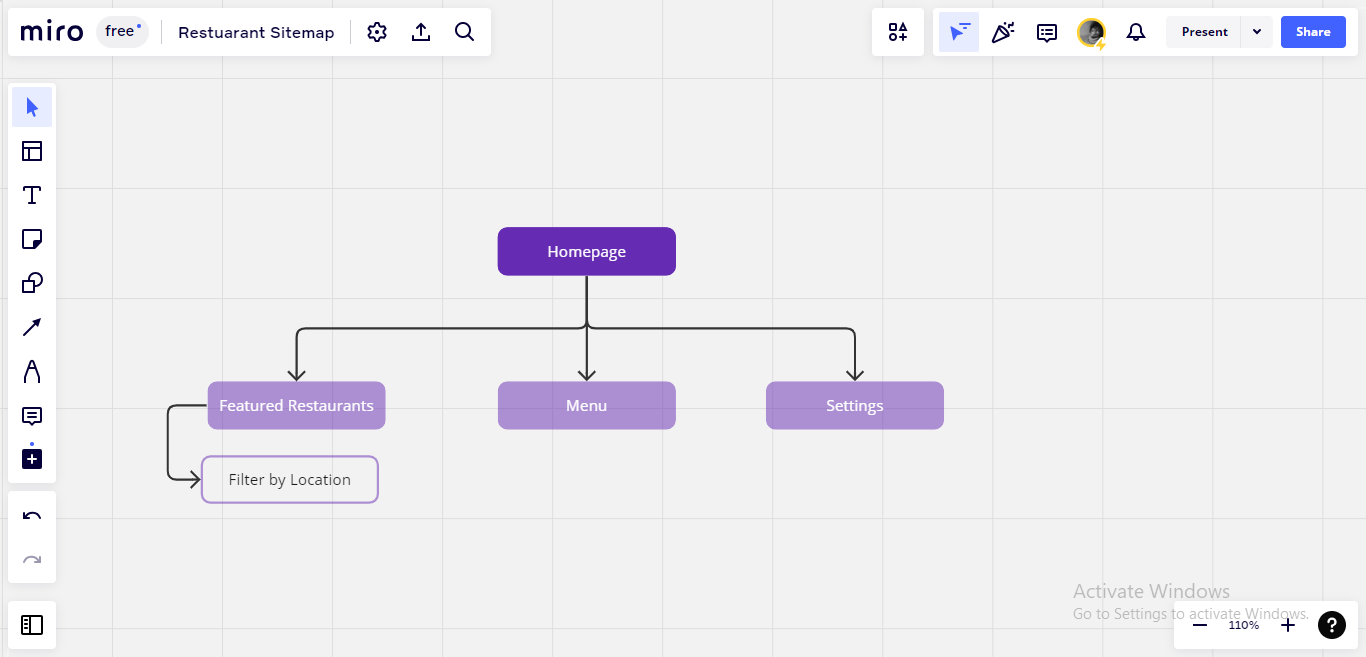
You just continue that way until you're done with your sitemap, and all the screens you want to design have been represented in it.
When you're done making your userflow and sitemaps, you can move on to your low-fidelity wireframes or your main design proper. The IA you've done informs your next step and decides what screens you should be designing in particular.
Conclusion
Information Architecture is very important for you to be able to organize the layouts of your designs and arrange them. This is helpful because it can really help improve the quality of your designs.
There are even templates on some softwares that could help you do your Information Architecture diagrams. Remember to practice as often as you can.
Thank you for reading!