The splice() method is a built-in method for JavaScript Array objects. It lets you change the content of your array by removing or replacing existing elements with new ones.
This method modifies the original array and returns the removed elements as a new array.
In this tutorial, you will learn how you can remove, add, or replace elements of an array using the splice() method. Let's start with removing elements from an array first.
How to remove array elements with splice()
For example, suppose you have an array named months but you have some day names in the array as follows:
let months = ["January", "February", "Monday", "Tuesday"];
You can use the splice() method to remove the day names from the months method and add it to a new array at the same time:
let months = ["January", "February", "Monday", "Tuesday"];
let days = months.splice(2);

console.log(days); // ["Monday", "Tuesday"]
The splice() method needs at least one parameter, which is the start index where the splice operation starts. In the code above, the number 2 is passed to the method, which means splice() will start removing elements from index 2.
You can also define how many elements you want to remove from the array by passing a second number argument known as removeCount. For example, to remove only one element, you can pass the number 1 like this:
let months = ["January", "February", "Monday", "Tuesday"];
let days = months.splice(2, 1);

console.log(days); // ["Monday"]
console.log(months); // ["January", "February", "Tuesday"]
When you omit the removeCount parameter, splice() will remove all elements from the start index to the end of the array.
How to remove and add array elements with splice()
The method also allows you to add new elements right after the delete operation. You just need to pass the elements you want to add to the array after the delete count.
The full syntax of the splice() method is as follows:
Array.splice(start, removeCount, newItem, newItem, newItem, ...)
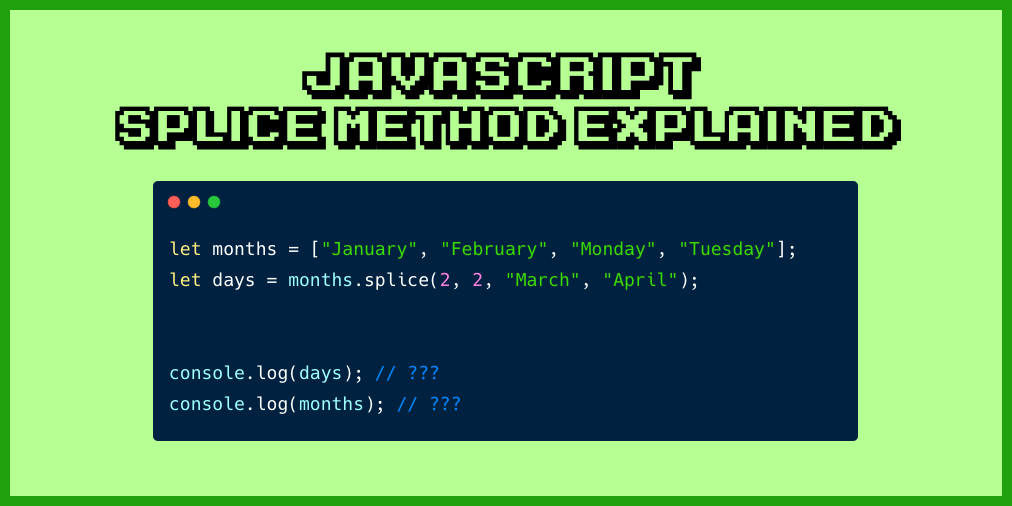
The following example shows how you can remove "Monday" and "Tuesday" while adding "March" and "April" to the months array:
let months = ["January", "February", "Monday", "Tuesday"];
let days = months.splice(2, 2, "March", "April");

console.log(days); // ["Monday", "Tuesday"]
console.log(months); // ["January", "February", "March", "April"]
How to add new array elements without removing any elements
Finally, you can add new elements without removing any by passing the number 0 to the removeCount parameter. When no elements are removed, the splice method will return an empty array. You can choose whether to store the returned empty array to a variable or not.
The following example shows how you can add a new element "March" next to "February" without deleting any elements. Since the splice() method returns an empty array, you don't need to store the returned array:
let months = ["January", "February", "Monday", "Tuesday"];
months.splice(2, 0, "March");

console.log(months);
// ["January", "February", "March", "Monday", "Tuesday"]
Conclusion
You've just learned how the splice() method works. Great job!
The splice() method is mostly used when you need to delete or add new elements to an array. In some situations, you can also use it to separate an array which has mixed content as in the case above.
When you remove 0 elements from the array, then the method will simply return an empty array. You're always free to either assign the returned array to a variable or ignore it.
Thanks for reading this tutorial
If you enjoyed this article and want to take your JavaScript skills to the next level, I recommend you check out my new book Beginning Modern JavaScript here.
The book is designed to be easy to understand and accessible to anyone looking to learn JavaScript. It provides a step-by-step gentle guide that will help you understand how to use JavaScript to create a dynamic application.
Here's my promise: You will actually feel like you understand what you're doing with JavaScript.
Until next time!


