By Logan Kilpatrick
Julia is a high-level, dynamic programming language, designed to give users the speed of C/C++ while remaining as easy to use as Python. This means that developers can solve problems faster and more effectively.
Julia is great for computational complex problems. Many early adopters of Julia were concentrated in scientific domains like Chemistry, Biology, and Machine Learning.
This said, Julia is general-purpose language and can be used for tasks like Web Development, Game Development, and more. Many view Julia as the next-generation language for Machine Learning and Data Science, including the CEO of Shopify (among many others):
How to Download the Julia Programming Language ⤵️
There are two main ways to run Julia: via a .jl file in an IDE like VS Code or command by command in the Julia REPL (Read Evaluate Print Loop). In this guide, we will mainly use the Julia REPL. Before you can use either, you will need to download Julia:
or just head to: https://julialang.org/downloads/
After you have Julia installed, you should be able to launch it and see:
 Julia 1.7 REPL after install
Julia Programming Language Basics for Beginners
Before we can use Julia for all of the exciting things it was built for like Machine Learning or Data Science, we first need to get familiar with the basics of the language.
We will start by going over variables, types, and conditionals. Then, we will talk about loops, functions, and packages. Last, we’ll touch on more advanced concepts like structs and talk about additional learning resources.
This is going to be a whirlwind tour so strap in and get ready! It is also worth noting that this tutorial assumes you have some basic familiarity with programming. If you don't, check out this course on an Intro to Julia for Nervous Beginners.
An Introduction to Julia Variables and Types ⌨️
In Julia, variables are dynamically typed, meaning that you do not need to specify the variable's type when you create it.
julia> a = 10 # Create the variable "a" and assign it the number 10
10

julia> a + 10 # Do a basic math operation using "a"
20
(Note that in code snippets, when you see julia> it means the code is being run in the REPL)
Just like we defined a variable above and assigned it an integer (whole number), we can also do something similar for strings and other variable types:
julia> my_string = "Hello freeCodeCamp" # Define a string variable
"Hello freeCodeCamp"

julia> balance = 238.19 # Define a float variable
238.19
When creating variables in Julia, the variable name will always go on the left-hand side, and the value will always go on the right-hand side after the equals sign. We can also create new variables based on the values of other variables:
julia> new_balance = balance + a
248.19
Here we can see that the new_balance is now the sum (total) of 238.19 and 10. Note further that the type of new_balance is a float (number with decimal place precision) because when we add a float and int together, we automatically get the type with higher precision, which in this case is a float. We can confirm this by doing:
julia> typeof(new_balance)
Float64
Due to the nature of dynamic typing, variables in Julia can also change type. This means that at one point, holder_balance could be a float, and then later on it could be a string:
julia> holder_balance = 100.34
100.34

julia> holder_balance = "The Type has changed"
"The Type has changed"

julia> typeof(holder_balance)
String
You may also be excited to know that variable names in Julia are very flexible, in fact, you can do something like:
julia> 😀 = 10
10

julia> 🥲 = -10
-10

julia> 😀 + 🥲
0
On top of emoji variable names, you can also use any other Unicode variable name which is very helpful when you are trying to represent mathematical ideas. You can access these Unicode variables by doing a \ and then typing the name, followed by pressing tab:
julia> \sigma # press tab and it will render the symbol

julia> σ = 10 # set sigma equal to 10
Overall, the variable system in Julia is flexible and provides a huge set of features that make writing Julia code easy while still being expressive. If you want to learn more about variables in Julia, check out the Julia documentation: https://docs.julialang.org/en/v1/manual/variables/
How to Write Conditional Statements in Julia 🔀
In programming, you often need to check certain conditions in order to make sure that specific lines of code run. For example, if you write a banking program, you might only want to let someone withdraw money if the amount they are trying to withdraw is less than the amount they have present in their account.
Let us look at a basic example of a conditional statement in Julia:
julia> bank_balance = 4583.11
4583.11

julia> withdraw_amount = 250
250

julia> if withdraw_amount <= bank_balance
           bank_balance -= withdraw_amount
           print("Withdrew ", withdraw_amount, " from your account")
       end
Withdrew 250 from your account
Let us take a closer look here at some parts of the if statement that might differ from other code you have seen: First, we use no : to denote the end of the line and we also are not required to use () around the statement (though it is encouraged). Next, we don't use {} or the like to denote the end of the conditional, instead, we use the end keyword.
Just like we used the if statement, we can chain it with an else or an elseif:
julia> withdraw_amount = 4600
4600

julia> if withdraw_amount <= bank_balance
           bank_balance -= withdraw_amount
           print("Withdrew ", withdraw_amount, " from your account")
       else
           print("Insufficent balance")
       end
Insufficent balance
You can read more about control flow and conditional expressions in the Julia documentation: https://docs.julialang.org/en/v1/manual/control-flow/#man-conditional-evaluation
How to use Loops in Julia 🔂
There are two main types of loops in Julia: a for loop and a while loop. As is the same with other languages, the biggest difference is that in a for loop, you are going through a pre-defined number of items whereas, in a while loop, you are iterating until some condition is changed.
Syntactically, the loops in Julia look very similar in structure to the if conditionals we just looked at:
julia> greeting = ["Hello", "world", "and", "welcome", "to", "freeCodeCamp"] # define greeting, an array of strings
6-element Vector{String}:
 "Hello"
 "world"
 "and"
 "welcome"
 "to"
 "freeCodeCamp"

julia> for word in greeting
           print(word, " ")
       end
Hello world and welcome to freeCodeCamp
In this example, we first defined a new type: a vector (also called an array). This array is holding a bunch of strings we defined. The behavior is very similar to that of arrays in other languages but it is worth noting that arrays are mutable (meaning you can change the number of items in the array after you create it).
Again, when we look at the structure of the for loop, you can see that we are iterating through the greeting variable. Each time through, we get a new word (in this case) from the array and assign it to a temporary variable word which we then print out. You will notice that the structure of this loop looks similar to the if statement and again uses the end keyword.
Now that we explored for loops, let us switch gears and take a look at a while loop in Julia:
julia> while user_input != "End"
           print("Enter some input, or End to quit: ")
           user_input = readline() # Prompt the user for input
       end
Enter some input, or End to quit: hi
Enter some input, or End to quit: test
Enter some input, or End to quit: no
Enter some input, or End to quit: End
For this while loop, we set it up so that it will run indefinitely until the user typed the word "End". As you have now seen it a few times, the structure of the loop should start to look familiar.
If you want to see some more examples of loops in Julia, you can check out the Julia Documentation's section on loops: https://docs.julialang.org/en/v1/manual/control-flow/#man-loops
How to use Functions in Julia
Functions are used to create multiple lines of code, chained together, and accessible when you reference a function name. First, let us look at an example of a basic function:
julia> function greet()
           print("Hello new Julia user!")
       end
greet (generic function with 1 method)

julia> greet()
Hello new Julia user!
Functions can also take arguments, just like in other languages:
julia> function greetuser(user_name)
           print("Hello ", user_name, ", welcome to the Julia Community")
       end
greetuser (generic function with 1 method)

julia> greetuser("Logan")
Hello Logan, welcome to the Julia Community
In this example, we take in one argument, and then add its value to the print out. But what if we don't get a string?
julia> greetuser(true)
Hello true, welcome to the Julia Community
In this case, since we are just printing, the function continues to work despite not taking in a string anymore and instead of taking a boolean value (true or false). To prevent this from occurring, we can explicitly type the input arguments as follows:
julia> function greetuser(user_name::String)
           print("Hello ", user_name, ", welcome to the Julia Community")
       end
greetuser (generic function with 2 methods)

julia> greetuser("Logan")
Hello Logan, welcome to the Julia Community
So now the function is defined to take in only a string. Let us test this out to make sure we can only call the function with a string value:
julia> greetuser(true)
Hello true, welcome to the Julia Community
Wait a second, why is this happening? We re-defined the greetuser function, it should not take true anymore.
What we are experiencing here is one of the most powerful underlying features of Julia: Multiple Dispatch. Julia allows us to define functions with the same name and number of arguments but that accept different types. This means we can build either generic or type specific versions of functions which helps immensely with code readability since you don't need to handle every scenario in one function.
We should quickly confirm that we actually defined both functions:
julia> methods(greetuser)
# 2 methods for generic function "greetuser":
[1] greetuser(user_name::String) in Main at REPL[34]:1
[2] greetuser(user_name) in Main at REPL[30]:1
The built-in methods function is perfect for this and it tells us we have two functions defined, with the only difference being one takes in any type, and the other takes in just a string.
It is worth noting that since we defined a specialized version that accepts just a string, anytime we call the function with a string it will call the specialized version. The more generic function will not be called when a string is passed in.
Next, let us talk about returning values from a function. In Julia, you have two options, you can use the explicit return keyword, or you can opt to do it implicitly by having the last expression in the function serve as the return value like so:
julia> function sayhi()
           "This is a test"
           "hi"
       end
sayhi (generic function with 1 method)

julia> sayhi()
"hi"
In the above example, the string value "hi" is returned from the function since it is the last expression and there is no explicit return statement. You could also define the function like:
julia> function sayhi()
           "This is a test"
          return "hi"
       end
sayhi (generic function with 1 method)

julia> sayhi()
"hi"
In general, from a readability standpoint, it makes sense to use the explicit return statement in case someone reading your code does not know about the implicit return behavior in Julia functions.
Another useful functions feature is the ability to provide optional arguments:
julia> function sayhello(response="hello")
          return response
       end
sayhello (generic function with 2 methods)

julia> sayhello()
"hello"

julia> sayhello("hi")
"hi"
In this example, we define response as an optional argument so that we can either allow it to use the default behavior we defined or we can manually override it when necessary. These examples just scratch the surface on what is possible with functions in Julia. If you want to read more about all the cool things you can do, check out: https://docs.julialang.org/en/v1/manual/functions/
How to use Packages in Julia 📦
The Julia package manager and package ecosystem are some of the most important features of the language. I actually wrote an entire article on why it is one of the most underrate features of the language.
With that said, there are two ways to interact with packages in Julia: via the REPL or using the Pkg package. We will mostly focus on the REPL in this post since it is much easier to use in my experience.
After you have Julia installed, you can enter the package manager from the REPL by typing ].
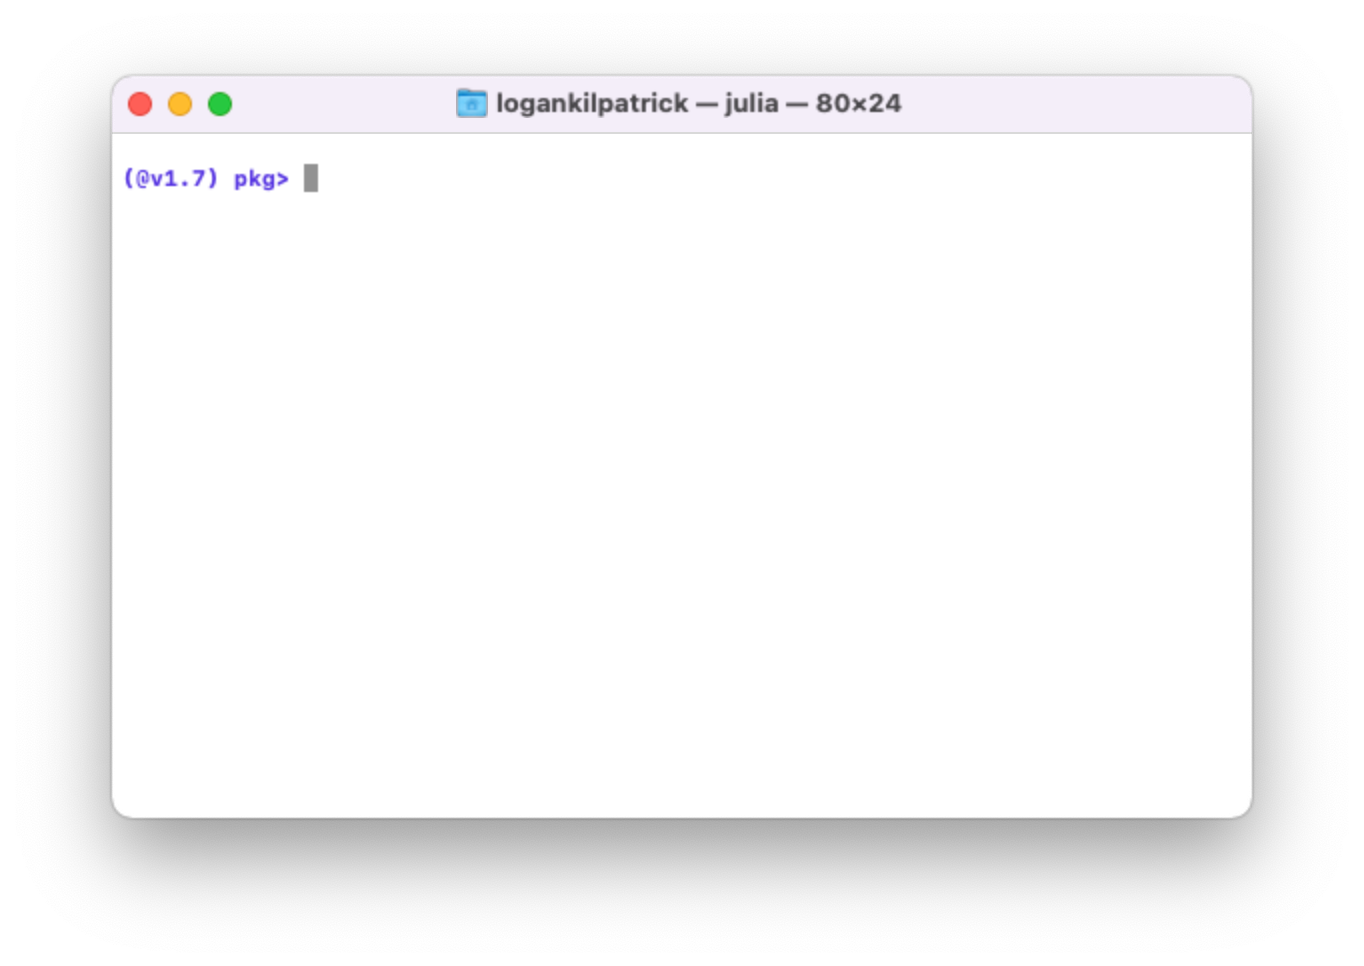 Pkg mode in the Julia REPL
Now that we are in the package manager, there are a few things we commonly want to do:
- Add a package
- Remove a package
- Check what is already installed
If you want to see all the possible commands in the REPL, simply enter Pkg mode by typing ] and then type ? followed by the enter / return key.
How to Add Julia Packages ➕
Let’s add our first package, Example.jl . To do so, we can run:
(@v1.7) pkg> add Example
which should provide output that looks something like:
(@v1.7) pkg> add Example
Updating registry at `~/.julia/registries/General`
Updating git-repo `https://github.com/JuliaRegistries/General.git`
Updating registry at `~/.julia/registries/JuliaPOMDP`
Updating git-repo `https://github.com/JuliaPOMDP/Registry`
Resolving package versions...
Installed Example ─ v0.5.3
Updating `~/.julia/environments/v1.7/Project.toml`
[7876af07] + Example v0.5.3
Updating `~/.julia/environments/v1.7/Manifest.toml`
[7876af07] + Example v0.5.3
Precompiling project...
1 dependency successfully precompiled in 1 seconds (69 already precompiled)
(@v1.7) pkg>
For space reasons, I will skip further outputs under the assumption that you are following along with me.
How to Check the Package Status in Julia 🔍
Now that we think we have a package installed, let’s doublecheck if it is really there by typing status (or st for shorthand) into the package manager:
(@v1.7) pkg> st
Status `~/.julia/environments/v1.7/Project.toml`
[7876af07] Example v0.5.3
[587475ba] Flux v0.12.8
Here we can see I have two packages installed, Flux and Example. It also gives me the path to the file which manages my current environment (in this case, global Julia v1.7) along with the package versions I have installed.
How to Remove a Julia package 📛
If I wanted to remove a package from my active environment, like Flux, I can simply type remove Flux (or rm as the shorthand):
(@v1.7) pkg> rm Flux
Updating `~/.julia/environments/v1.7/Project.toml`
[587475ba] - Flux v0.12.8
A quick status afterward shows this was successful:
(@v1.7) pkg> st
Status `~/.julia/environments/v1.7/Project.toml`
[7876af07] Example v0.5.3
We now know the very basics of working with packages. But we have committed a major programming crime, using our global package environment.
How to Use Julia Packages 📦
Now that we have gone over how to manage packages, let’s explore how to use them. Quite simply, you just need to type using packageName to use a specific package you want. One of my favorite new features in Julia 1.7 (highlighted in this blog post) is shown below:
 Image captured by Author
If you recall, we removed the Flux package, and of course, I forgot this so I went to use it and load it in by typing using Flux. The REPL automatically prompts me to install it via a simple "y/n" prompt. This is a small feature but saves a tremendous amount of time and potential confusion.
It is worth noting that there are two ways to access a package's exported functions: via the using keyword and the import keyword. The big difference is that using automatically brings all of the functions into the current namespace (for which you can think about as a big list of functions which Julia knows the definitions) whereas import gives you access to all of the functions but you have to prefix the function with the package name like: Flux.gradient() where Flux is the name of the package and gradient() is the name of a function.
How to use Structs in Julia?
Julia does not have Object Orientated Programming (OOP) paradigms built into the language like classes. However, structs in Julia can be used similar to classes to create custom objects and types. Below, we will show a basic example:
julia> mutable struct dog
           breed::String
           paws::Int
           name::String
           weight::Float64
       end

julia> my_dog = dog("Australian Shepard", 4, "Indy", 34.0)
dog("Australian Shepard", 4, "Indy", 34.0)

julia> my_dog.name
"Indy"
In this example, we define a struct to represent a dog. In the struct, we define four attributes which make up the dog object. In the lines after that, we show the code to actually create a dog object and then access some of its attributes. Note that you need not specify the types of the attributes, you could leave it more open. For this example, we defined explicit types to highlight that feature.
You will notice that similar to classes in Python (and other languages), we did not define an explicit constructor to create the dog object. We can, however, define one if that would be useful to use:
julia> mutable struct dog
           breed::String
           paws::Int
           name::String
           weight::Float64

           function dog(breed, name, weight, paws=4)
               new(breed, paws, name, weight)
           end
       end

julia> new_dog = dog("German Shepard", "Champ", 46)
dog("German Shepard", 4, "Champ", 46.0)
Here we defined a constructor and used the special keyword new in order to create the object at the end of the function. You can also create getters and setters specifically for the dog object by doing the following:
julia> function get_name(dog_obj::dog)
           print("The dogs's name is: ", dog_obj.name)
       end
get_name (generic function with 1 method)

julia> get_name(new_dog)
The dogs's name is: Champ
In this example, the get_name function only takes an object of type dog. If you try to pass in something else, it will error out:
julia> get_name("test")
ERROR: MethodError: no method matching get_name(::String)
Closest candidates are:
  get_name(::dog) at REPL[61]:1
Stacktrace:
 [1] top-level scope
   @ REPL[63]:1
It is worth noting that we also defined the struct to be mutable initially so that we could change the field values after we created the object. You omit the keyword mutable if you want the objects initial state to persist.
Structs in Julia not only allow us to create object's, we also are defining a custom type in the process:
julia> typeof(new_dog)
dog
In general, structs are used heavily across the Julia ecosystem and you can learn more about them in the docs: https://docs.julialang.org/en/v1/base/base/#struct
Additional Julia Programming Learning Resources 📚
I hope that this tutorial helped get you up to speed on many of the core ideas of the Julia language. With that said, I know that there are still gaps as this is an extended but non-comprehensive guide. To learn more about Julia, you can check out the learning tab on the Julia website: https://julialang.org/learning/ which has guided courses, YouTube videos, and mentored practice problems.
If you have other questions or need help getting started with Julia, please feel free to get in touch with me: https://twitter.com/OfficialLoganK