By Fabio Pacific
What is Vue.js?
Vue.js is a progressive JavaScript frontend framework written by Evan You. It's one of the most powerful and easy to learn frameworks, and it has over 9.5 million downloads per month.
In September 2020, Vue 3 core was released. The new Vue.js release introduces some cool new features but also some breaking changes.
Why should I migrate to Vue3?
As the tech industry evolves, so do libraries, languages, and frameworks. At each release, bugs are fixed and new features introduced. And often with any major release, your workflow is enhanced. New features can give you the opportunity to do things that were tedious before.
Vue 3 is still relatively new. You don't have to migrate all your projects over, but as time goes by, support for version 2 might end. Because of this it's a good idea to know the steps you'll need to take to migrate your projects.
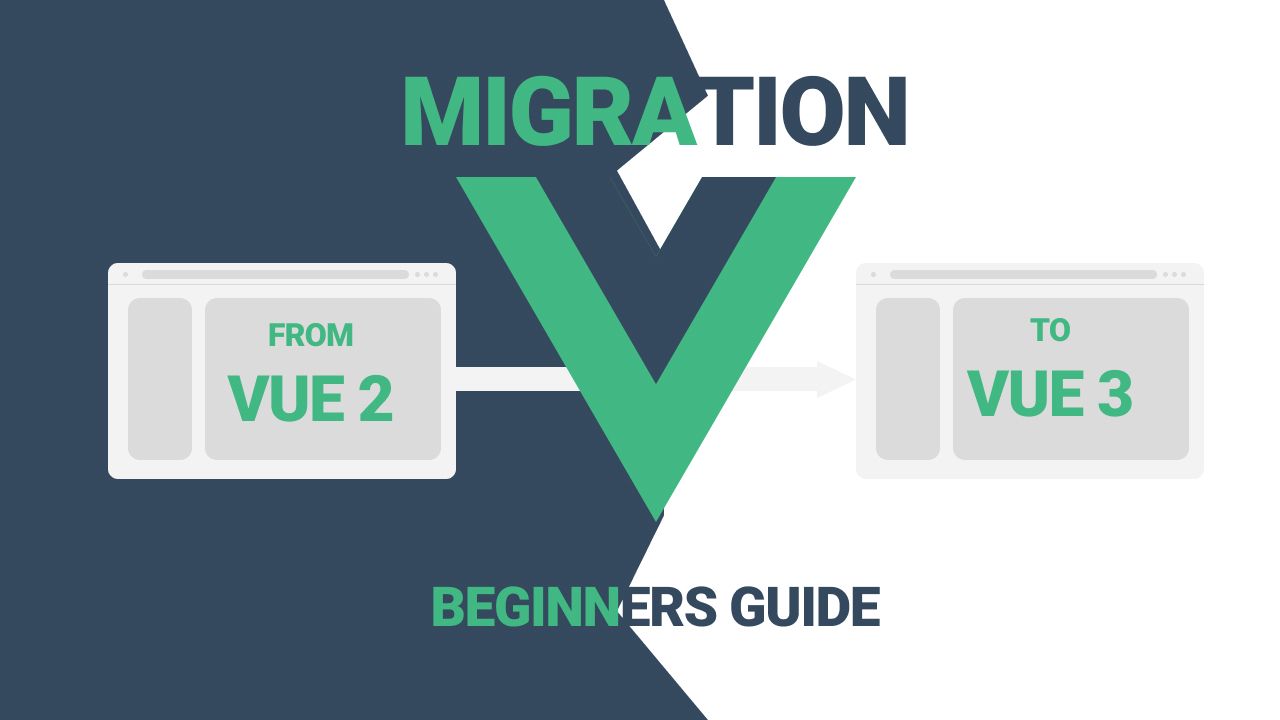
In this guide, I'll walk you through the basic steps you will need to follow to approach the migration. We will take a simple project and migrate it to Vue 3.
The project that we will use is intentionally simple, and so anyone can follow along. The more complex your project is, the more carefully you'll want to plan for the migration.
Intro
The new Vue.js version does come with quite a few breaking changes and new features. Also, popular libraries like Vue Router have been updated to support the new Vue version.
If you already know Vue 2, the basics are quite the same. But before you can migrate a project to Vue 3 there are changes you need to take into account.
Depending on the size of the project you want to migrate, make sure to consider all the changes introduced with the new release so that your application will still work after the migration.
For this tutorial, I'll keep things simple and show you how to migrate a Vue.js project that currently uses the Vue 2 CDN.
I'm taking the project from the book I wrote for freeCodeCamp, which you can find here.
In that project we used Vue Router, so we will also look at Vue router's changes in this article.
What you need to follow along with this article
To follow along you need a basic knowledge of Vue.js and Vue Router. If you don't have that. then I suggest you start by checking out my book available on freeCodeCamp.
You can also find the playlist with the full 8 hour course available for free on my YouTube channel.
What we'll cover in this article
This tutorial is organised into three main chapters. First, we will have a look at the changes in Vue.js v3.x then a quick overview of Vue Router v4.x. And finally, we will start planning the migration of a real project.
- Vue v3.x overview
- breaking changes
- Vue Router v4.x overview
- breaking changes
- Portfolio Project Migration
- Clone the Repo
- Update CDN scripts
- Update Vue instance
- Update Vue Router instance
Here's the video version of this article if you want to follow along there:
Watching the video will help you reinforce your learning while reading the steps below. Here you can find the final repository for the project.
Vue v3.x Overview
Vue 3 introduces a few new features and a bunch of breaking changes. Let's see how these changes will affect our application and consider them before migrating.
Vue V3.x Breaking Changes
In Vue 3 the breaking changes basically fall into seven categories:
- Global API (responsible for how Vue behaves) - it's highly likely that you want to look at these changes.
- Template Directives (Changes made to how v- directives work) - it's highly likely that you want to look at these changes.
- Components (Changes to how components work) - if your application uses components it's highly likely that you want to look at these changes
- Render Function (Lets you create HTML elements programmatically)
- Custom Elements (Tells Vue about the creation of custom HTML elements)
- Minor Changes (These might not affect you, but you'll still want to look into these)
- Removed APIs (Things that are no longer available in Vue 3)
Among all the changes there are some of them that any application will use, like the Global API and components. So you will need to take them into account if you want to start using the new Vue release.
And it's worth mentioning the following additional changes:
- The way you create Vue Applications and Component Instances has changed (Global API)
- You should always declare the data option as a function (minor change)
- Change of precedence when using v-if and v-for on the same element (template Ddrectives)
- You should declare an emits option for component events (components)
For a complete list of changes, you can head over to the documentation
Let's look at some of these changes in more detail now.
How to Create Application and Component Instances in Vue 3
In Vue 3 the way you create an app has changed. The Vue app now uses the new .createApp() method to create application instances.
The Vue application is now considered a root component, so the way you define its data options has changed as well.
The HTML root element hasn't changed, so inside an index.html file, you will still see something like this:
<div id="app"></div>
Inside the JavaScript file, there is an important change you need to understand: You will no longer use new Vue() to create a new app instance but instead you'll use a new method called createApp():
// Vue 3 syntax

const app = Vue.createApp({
    // options object
})
app.mounth('#app') // Vue Instance - Root component

// Vue 2 syntax
const app = new Vue({
    // options object
    el: '#app'
})
How to Define a Component in Vue 3
To define a component in Vue 3, you no longer use Vue.component(). Instead you now use the application root component, like so:
/* Vue 3 syntax */
const app = Vue.createApp({
    // options here
})

app.component('componenet-name', {
    // component code here
})


/* Vue 2 syntax*/
Vue.component('component-name', {
    // component code here
})
How to Use the Data Options Object in Vue 3
Given that the main app instance is now considered a root component, you can no longer specify the data property as an object. Instead, you need to define it as a function that returns an object like you usually do in components.
// Vue 3
const app = Vue.createApp({
    // options object
    data(){
        return {
            message: 'hi there'
        }
    }
})
app.mounth('#app') // Vue Instance - Root component

// Vue 2 syntax
const app = new Vue({
    // options object
    el: '#app'
    data: {
        message: 'hi there'
    }
})
Change of Precedence for v-if/v-for in Vue 3
In Vue 2 if you used both directives on the same element, the v-for directive would take precedence over v-if. But in Vue 3 v-if always takes precedence.
However, using both directives isn't a great idea. Make sure to visit the documentation here to learn more.
How to Use the Emits Property on Component Events in Vue 3 (breaking change/new feature)
Similar to the props property, now in Vue 3 there is also an emits property that a component can use to declare the events that it can emit to the parent component.
I strongly recommend using this property to avoid emitting events twice in components that need to re-emit native events, like a click event.
Here is an example from the official documentation:
<template>
  <div>
    <p>{{ text }}</p>
    <button v-on:click="$emit('accepted')">OK</button>
  </div>
</template>
<script>
  export default {
    props: ['text'],
    emits: ['accepted']
  }
</script>
The emits property can also accept an object.
I won't go in-depth into this just yet, but I'll tackle each of the features/changes in a dedicated video series sooner or later, I promise.
Vue Router v4.x Overview
With the new release of Vue.js, we also have a new version of Vue Router. The new release v4.x has some breaking changes that you'll need to consider if you want to migrate a project to the new Vue release.
Vue Router V4 Breaking Changes
Two breaking changes are especially worth mentioning, since they are at the base of a Vue Router application. You will need to know about them to migrate your application later.
- The Vue Router instance has changed
- Theres a new history option
The full list of changes is available here.
Let's look at these two changes in depth.
The Vue Router 4 Instance Has Changed
To create a new Vue Router instance, you no longer use the VueRuter function constructor.
Here is the Vue Router v.3x documentation so you can compare.
The code changes from this:
// 3. Create the router instance and pass the `routes` option
// You can pass in additional options here, but let's
// keep it simple for now.
const router = new VueRouter({
  routes // short for `routes: routes`
})

// 4. Create and mount the root instance.
// Make sure to inject the router with the router option to make the
// whole app router-aware.
const app = new Vue({
  router
}).$mount('#app')
To this:
// 3. Create the router instance and pass the `routes` option
// You can pass in additional options here, but let's
// keep it simple for now.
const router = VueRouter.createRouter({
  // 4. Provide the history implementation to use. We are using the hash history for simplicity here.
  history: VueRouter.createWebHashHistory(), // <-- this is a new property and it is mandatory!
  routes, // short for `routes: routes`
})

// 5. Create and mount the root instance.
const app = Vue.createApp({})
// Make sure to _use_ the router instance to make the
// whole app router-aware.
app.use(router)

app.mount('#app')
In the code above, to create a new Vue router instance you now have to use the VueRouter object and call the createRouter() method.
Also, the new history property is mandatory – history: VueRouter.createWebHashHistory(). You must define it or you will get a console error.
Next, you'll create the Vue instance using the createApp() method and use the variable app to call the .use() method. You pass the router instance there that you created in the previous step.
Finally, you can mount the root DOM element on the app instance using app.mount('#app').
You can read the Vue router v4.x documentation for more details.
How to Migrate a Portfolio Project from Vue 2 to Vue 3
You can see how to do this in the video on YouTube if you'd like to follow along.
Considering all the above, and after a careful review of the breaking changes, let's try to upgrade one of our projects my Vue course. I'll use the Portfolio, the final project of the course.
We'll need to:
- Clone the repo
- Update the CDN scripts
- Update the Vue instance
- Update the Vue Router instance
To migrate our app to Vue 3 we will definitely need to update the following:
- Vue Application instance
- Vue-Router instance
- CDN Links
Let's take it step by step.
Clone the Project Repository
First, make sure you clone the repo inside the current folder:
git clone https://bitbucket.org/fbhood/vue-folio/src/master/ vue-folio
Since our project still uses the CDN, the next step is to update its links.
Update the Project's CDN
In our project we're using both the Vue CDN and the Vue Router CDN, so let's update them both.
Open the index.html file and replace this:
    <!-- VueJS 3 production version -->
    <script src="https://cdn.jsdelivr.net/npm/vue@2.6.12"></script>
    <!-- Vue Router -->
    <script src="https://unpkg.com/vue-router@2.0.0/dist/vue-router.js"></script>
with this:
    <!-- VueJS 3 -->
    <script src="https://unpkg.com/vue@3"></script>

    <!-- Vue Router -->
    <script src="https://unpkg.com/vue-router@4"></script>
Update the Code
Now if you open the project with the live server and open the inspector, you will notice that the application doesn't show up and there are two errors in the console. Both seem related to the Vue router:
You are running a development build of Vue.
Make sure to use the production build (*.prod.js) when deploying for production.

Uncaught TypeError: window.Vue.use is not a function
    at vue-router.js:1832
    at vue-router.js:9
    at vue-router.js:10

Uncaught ReferenceError: VueRouter is not defined
    at main.js:185
Vue router?! Why?
Well, remember that when Vue was rewritten, its libraries had to update their codebases, too. So don't forget those breaking changes related to Vue-router since our application uses it.
Let's first update the main Vue instance to use the new syntax. Then we will look at what changes we need to make so that Vue Router works.
Update this code inside the main.js file from this:
// create and mount the Vue instance

const app = new Vue({
    router
}).$mount('#app')
to this:
// create and mount the Vue instance

const app = Vue.createApp({
    router
})
app.mount('#app')
Vue Router 4 Changes
Above we saw the new syntax to define the root Vue instance component. But now, since we are using the Vue router, we need to take into account its breacking changes too.
The way Vue Router is instantiated has changed
It changed from this:
// create the router instance
const router = new VueRouter({
    routes
})
to this:
// create the router instance
const router = VueRouter.createRouter({
    // Provide the history implementation to use. We are using the hash history for simplicity here.
    history: VueRouter.createWebHashHistory(),
    routes, // short for `routes: routes`
})
The code above deals with two major changes: new VueRouter() has been replaced by VueRouter.createRouter(), and the new history option now replaces mode.
Visit the documentation for Vue Router 4 to find out more.
Finally, let's make our app aware that we are using Vue Router. If we injected the router instance in the Vue app, now we need to instruct it to use the Vue router, use the .use() method to do so, and pass to it the router instance.
Change from this:
// create and mount the Vue instance

const app = Vue.createApp({
    router
})
app.mount('#app')
to this:
// create and mount the Vue instance

const app = Vue.createApp({})
app.use(router)
app.mount('#app')
And there you have it!
Conclusion
It doesn't really matter how complex your Vue application is – if you want to migrate to a new major release you will still need to plan for it, read the release notes, and go over all the breaking changes to make sure that you understand what will break.
The more complex the application is and more carefully you should plan your migration.
For our simple application that's all there is to do. But it's not always like that. So get ready and plan in advance.
If you enjoyed this guide please share the article and remember to subscribe to my YouTube channel. Thanks for reading!