

Mongoose is a library that makes MongoDB easier to use. It does two things:
- It gives structure to MongoDB Collections
- It gives you helpful methods to use
In this article, we'll go through:
- The basics of using Mongoose
- Mongoose subdocuments
- Mongoose population
By the end of the article, you should be able to use Mongoose without problems.
Prerequisites
I assume you have done the following:
- You have installed MongoDB on your computer
- You know how to set up a local MongoDB connection
- You know how to see the data you have in your database
- You know what "collections" are in MongoDB
If you don't know any of these, please read "How to set up a local MongoDB connection" before you continue.
I also assume you know how to use MongoDB to create a simple CRUD app. If you don't know how to do this, please read "How to build a CRUD app with Node, Express, and MongoDB" before you continue.
Mongoose Basics
Here, you'll learn how to:
- Connect to the database
- Create a Model
- Create a Document
- Find a Document
- Update a Document
- Delete a Document
Connecting to a database
First, you need to download Mongoose.
npm install mongoose --save
You can connect to a database with the connect method. Let's say we want to connect to a database called street-fighters. Here's the code you need:
const mongoose = require('mongoose')
const url = 'mongodb://127.0.0.1:27017/street-fighters'

mongoose.connect(url, { useNewUrlParser: true })
We want to know whether our connection has succeeded or failed. This helps us with debugging.
To check whether the connection has succeeded, we can use the open event. To check whether the connection failed, we use the error event.
const db = mongoose.connection
db.once('open', _ => {
  console.log('Database connected:', url)
})

db.on('error', err => {
  console.error('connection error:', err)
})
Try connecting to the database. You should see a log like this:

Creating a Model
In Mongoose, you need to use models to create, read, update, or delete items from a MongoDB collection.
To create a Model, you need to create a Schema. A Schema lets you define the structure of an entry in the collection. This entry is also called a document.
Here's how you create a schema:
const mongoose = require('mongoose')
const Schema = mongoose.Schema

const schema = new Schema({
  // ...
})
You can use 10 different kinds of values in a Schema. Most of the time, you'll use these six:
- String
- Number
- Boolean
- Array
- Date
- ObjectId
Let's put this into practice.
Say we want to create characters for our Street Fighter database.
In Mongoose, it's a normal practice to put each model in its own file. So we will create a Character.js file first. This Character.js file will be placed in the models folder.
project/
    |- models/
        |- Character.js
In Character.js, we create a characterSchema.
const mongoose = require('mongoose')
const Schema = mongoose.Schema

const characterSchema = new Schema({
  // ...
})
Let's say we want to save two things into the database:
- Name of the character
- Name of their ultimate move
Both can be represented with Strings.
const mongoose = require('mongoose')
const Schema = mongoose.Schema

const characterSchema = new Schema({
  name: String,
  ultimate: String
})
Once we've created characterSchema, we can use mongoose's model method to create the model.
module.exports = mongoose.model('Character', characterSchema)
Creating a document
Let's say you have a file called index.js. This is where we'll perform Mongoose operations for this tutorial.
project/
    |- index.js
    |- models/
        |- Character.js
First, you need to load the Character model. You can do this with require.
const Character = require('./models/Character')
Let's say you want to create a character called Ryu. Ryu has an ultimate move called "Shinku Hadoken".
To create Ryu, you use the new, followed by your model. In this case, it's new Character.
const ryu = new Character ({
  name: 'Ryu',
  ultimate: 'Shinku Hadoken'
})
new Character creates the character in memory. It has not been saved to the database yet. To save to the database, you can run the save method.
ryu.save(function (error, document) {
  if (error) console.error(error)
  console.log(document)
})
If you run the code above, you should see this in the console.

Promises and Async/await
Mongoose supports promises. It lets you write nicer code like this:
// This does the same thing as above
function saveCharacter (character) {
  const c = new Character(character)
  return c.save()
}

saveCharacter({
  name: 'Ryu',
  ultimate: 'Shinku Hadoken'
})
  .then(doc => { console.log(doc) })
  .catch(error => { console.error(error) })
You can also use the await keyword if you have an asynchronous function.
If the Promise or Async/Await code looks foreign to you, I recommend reading "JavaScript async and await" before continuing with this tutorial.
async function runCode() {
  const ryu = new Character({
    name: 'Ryu',
    ultimate: 'Shinku Hadoken'
  })

  const doc = await ryu.save()
  console.log(doc)
}

runCode()
  .catch(error => { console.error(error) })
Note: I'll use the async/await format for the rest of the tutorial.
Uniqueness
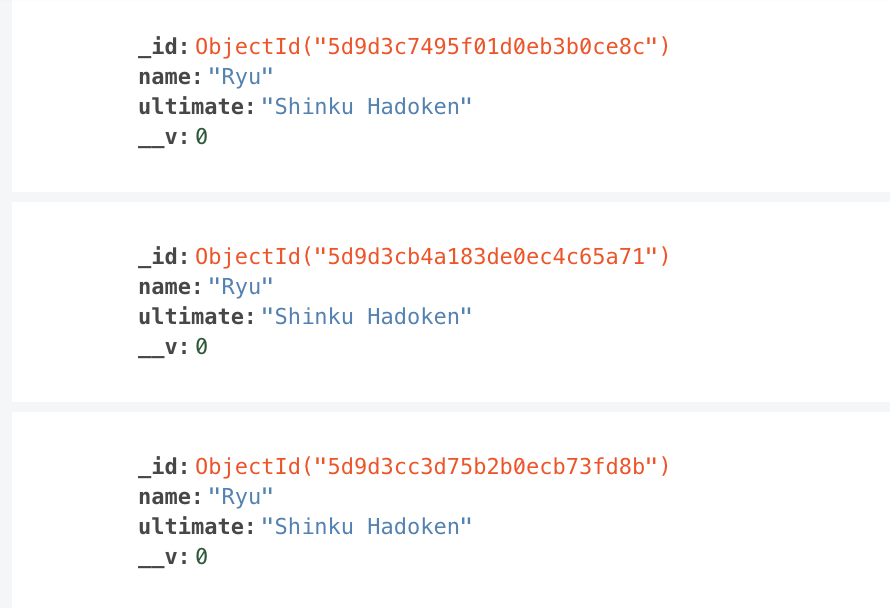
Mongoose adds a new character to the database each time you use new Character and save. If you run the code(s) above three times, you'd expect to see three Ryus in the database.
We don't want to have three Ryus in the database. We want to have ONE Ryu only. To do this, we can use the unique option.
const characterSchema = new Schema({
  name: { type: String, unique: true },
  ultimate: String
})
The unique option creates a unique index. It ensures that we cannot have two documents with the same value (for name in this case).
For unique to work properly, you need to clear the Characters collection. To clear the Characters collection, you can use this:
await Character.deleteMany({})
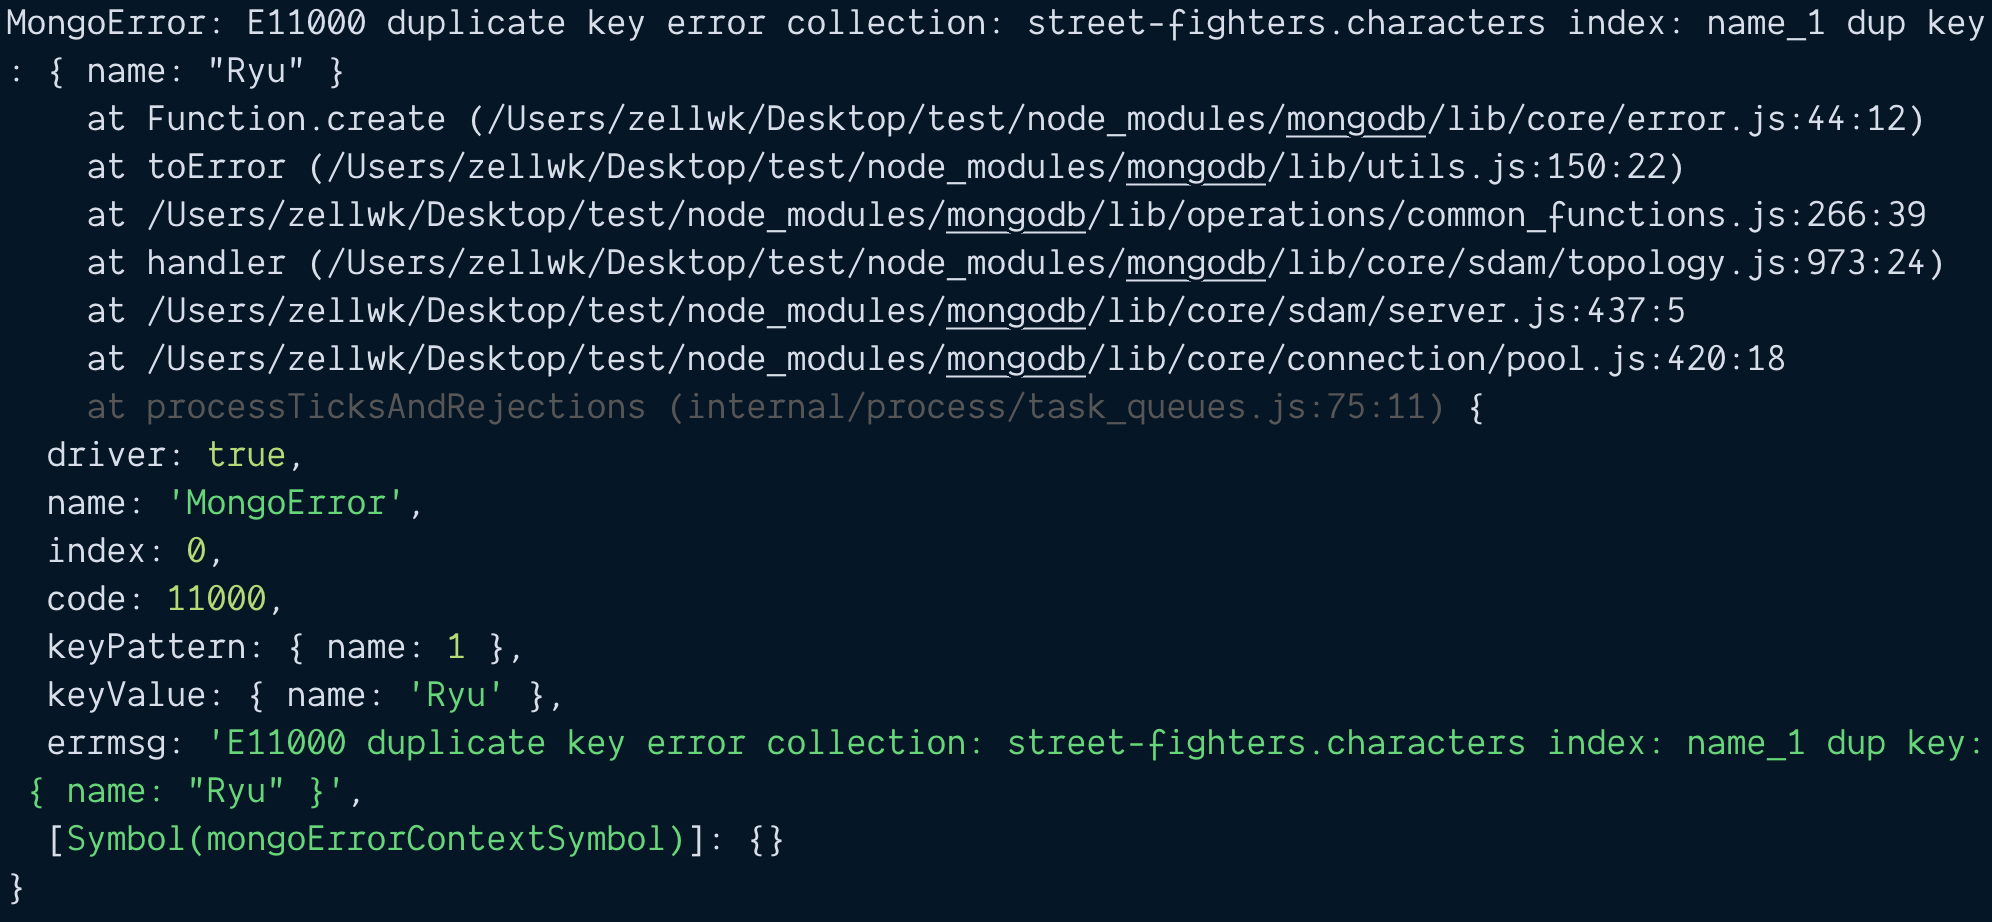
Try to add two Ryus into the database now. You'll get an E11000 duplicate key error. You won't be able to save the second Ryu.
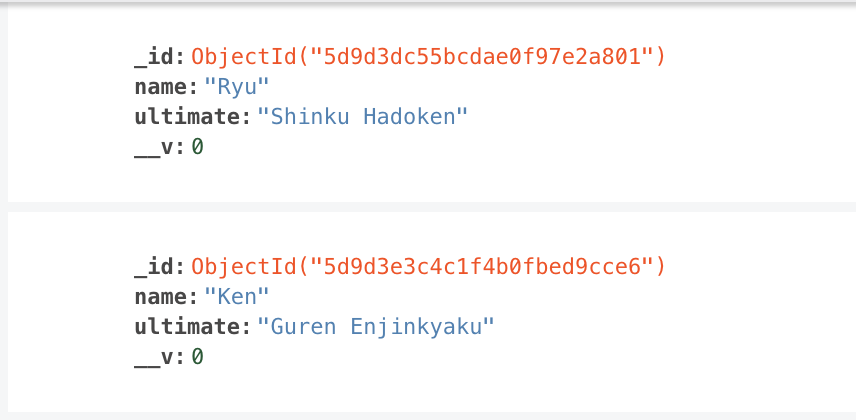
Let's add another character into the database before we continue the rest of the tutorial.
const ken = new Character({
  name: 'Ken',
  ultimate: 'Guren Enjinkyaku'
})

await ken.save()
Finding a document
Mongoose gives you two methods to find stuff from MongoDB.
findOne: Gets one document.find: Gets an array of documents
findOne
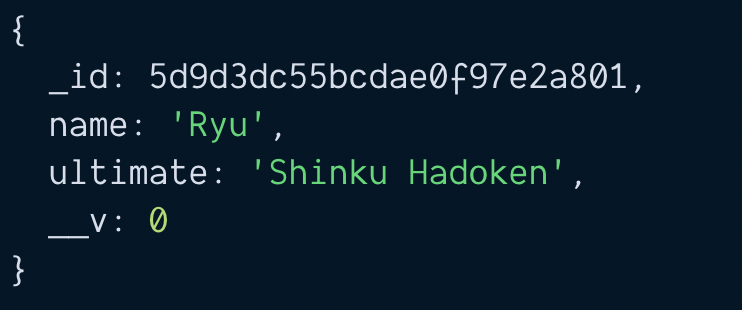
findOne returns the first document it finds. You can specify any property to search for. Let's search for Ryu:
const ryu = await Character.findOne({ name: 'Ryu' })
console.log(ryu)
find
find returns an array of documents. If you specify a property to search for, it'll return documents that match your query.
const chars = await Character.find({ name: 'Ryu' })
console.log(chars)

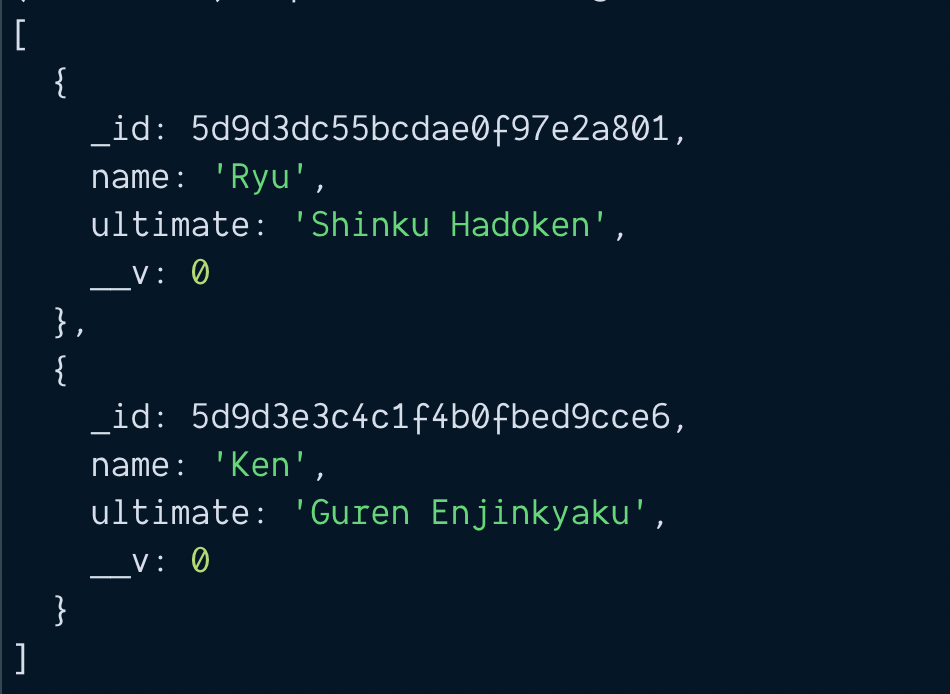
If you did not specify any properties to search for, it'll return an array that contains all documents in the collection.
const chars = await Character.find()
console.log(chars)
Updating a document
Let's say Ryu has three special moves:
- Hadoken
- Shoryuken
- Tatsumaki Senpukyaku
We want to add these special moves into the database. First, we need to update our CharacterSchema.
const characterSchema = new Schema({
  name: { type: String, unique: true },
  specials: Array,
  ultimate: String
})
Then, we use one of these two ways to update a character:
- Use
findOne, then usesave - Use
findOneAndUpdate
findOne and save
First, we use findOne to get Ryu.
const ryu = await Character.findOne({ name: 'Ryu' })
console.log(ryu)
Then, we update Ryu to include his special moves.
const ryu = await Character.findOne({ name: 'Ryu' })
ryu.specials = [
  'Hadoken',
  'Shoryuken',
  'Tatsumaki Senpukyaku'
]
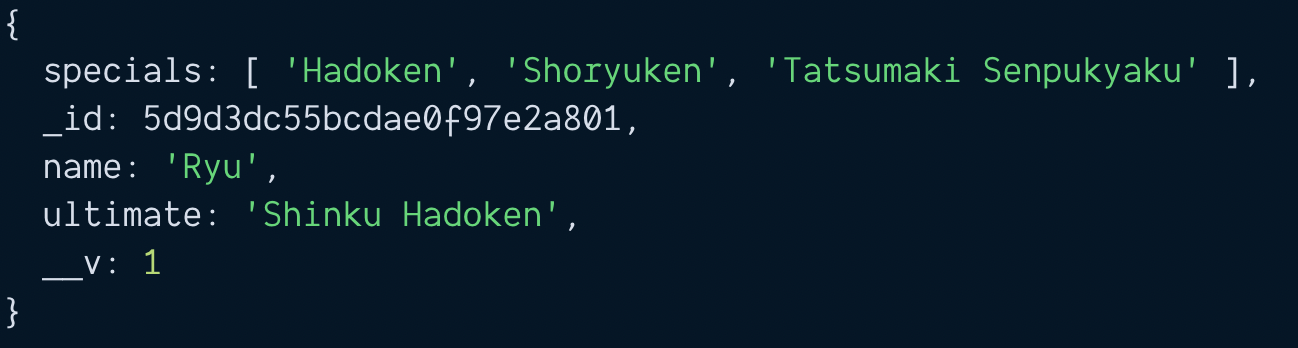
After we modified ryu, we run save.
const ryu = await Character.findOne({ name: 'Ryu' })
ryu.specials = [
  'Hadoken',
  'Shoryuken',
  'Tatsumaki Senpukyaku'
]

const doc = await ryu.save()
console.log(doc)
findOneAndUpdate
findOneAndUpdate is the same as MongoDB's findOneAndModify method.
Here, you search for Ryu and pass the fields you want to update at the same time.
// Syntax
await findOneAndUpdate(filter, update)
// Usage
const doc = await Character.findOneAndUpdate(
  { name: 'Ryu' },
  {
    specials: [
      'Hadoken',
      'Shoryuken',
      'Tatsumaki Senpukyaku'
    ]
  })

console.log(doc)
Difference between findOne + save vs findOneAndUpdate
Two major differences.
First, the syntax for findOne` + `save is easier to read than findOneAndUpdate.
Second, findOneAndUpdate does not trigger the save middleware.
I'll choose findOne + save over findOneAndUpdate anytime because of these two differences.
Deleting a document
There are two ways to delete a character:
findOne+removefindOneAndDelete
Using findOne + remove
const ryu = await Character.findOne({ name: 'Ryu' })
const deleted = await ryu.remove()
Using findOneAndDelete
const deleted = await Character.findOneAndDelete({ name: 'Ken' })
Subdocuments
In Mongoose, subdocuments are documents that are nested in other documents. You can spot a subdocument when a schema is nested in another schema.
Note: MongoDB calls subdocuments embedded documents.
const childSchema = new Schema({
  name: String
});

const parentSchema = new Schema({
  // Single subdocument
  child: childSchema,

  // Array of subdocuments
  children: [ childSchema ]
});
In practice, you don't have to create a separate childSchema like the example above. Mongoose helps you create nested schemas when you nest an object in another object.
// This code is the same as above
const parentSchema = new Schema({
  // Single subdocument
  child: { name: String },

  // Array of subdocuments
  children: [{name: String }]
});
In this section, you will learn to:
- Create a schema that includes a subdocument
- Create documents that contain subdocuments
- Update subdocuments that are arrays
- Update a single subdocument
Updating characterSchema
Let's say we want to create a character called Ryu. Ryu has three special moves.
- Hadoken
- Shinryuken
- Tatsumaki Senpukyaku
Ryu also has one ultimate move called:
- Shinku Hadoken
We want to save the names of each move. We also want to save the keys required to execute that move.
Here, each move is a subdocument.
const characterSchema = new Schema({
  name: { type: String, unique: true },
  // Array of subdocuments
  specials: [{
    name: String,
    keys: String
  }]
  // Single subdocument
  ultimate: {
    name: String,
    keys: String
  }
})
You can also use the childSchema syntax if you wish to. It makes the Character schema easier to understand.
const moveSchema = new Schema({
  name: String,
  keys: String
})

const characterSchema = new Schema({
  name: { type: String, unique: true },
  // Array of subdocuments
  specials: [moveSchema],
  // Single subdocument
  ultimate: moveSchema
})
Creating documents that contain subdocuments
There are two ways to create documents that contain subdocuments:
- Pass a nested object into
new Model - Add properties into the created document.
Method 1: Passing the entire object
For this method, we construct a nested object that contains both Ryu's name and his moves.
const ryu = {
name: 'Ryu',
specials: [{
name: 'Hadoken',
keys: '↓ ↘ → P'
}, {
name: 'Shoryuken',
keys: '→ ↓ ↘ → P'
}, {
name: 'Tatsumaki Senpukyaku',
keys: '↓ ↙ ↠K'
}],
ultimate: {
name: 'Shinku Hadoken',
keys: '↓ ↘ → ↓ ↘ → P'
}
}
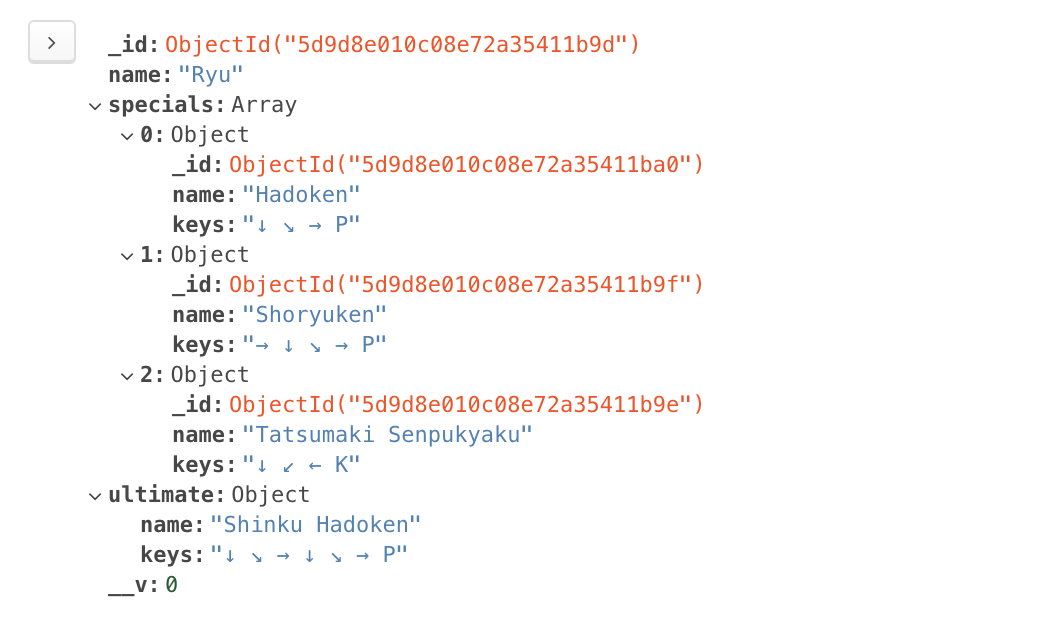
Then, we pass this object into new Character.
const char = new Character(ryu)
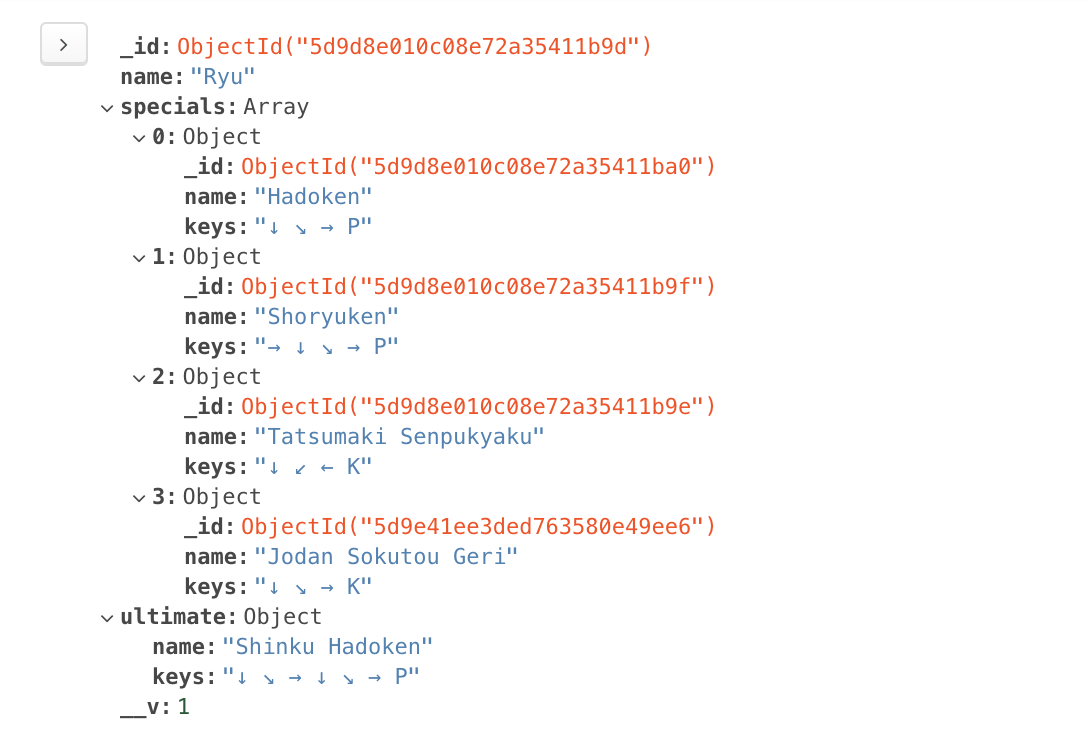
const doc = await char.save()
console.log(doc)
Method 2: Adding subdocuments later
For this method, we create a character with new Character first.
const ryu = new Character({ name: 'Ryu' })
Then, we edit the character to add special moves:
const ryu = new Character({ name: 'Ryu' })
const ryu.specials = [{
name: 'Hadoken',
keys: '↓ ↘ → P'
}, {
name: 'Shoryuken',
keys: '→ ↓ ↘ → P'
}, {
name: 'Tatsumaki Senpukyaku',
keys: '↓ ↙ ↠K'
}]
Then, we edit the character to add the ultimate move:
const ryu = new Character({ name: 'Ryu' })
// Adds specials
const ryu.specials = [{
name: 'Hadoken',
keys: '↓ ↘ → P'
}, {
name: 'Shoryuken',
keys: '→ ↓ ↘ → P'
}, {
name: 'Tatsumaki Senpukyaku',
keys: '↓ ↙ ↠K'
}]
// Adds ultimate
ryu.ultimate = {
name: 'Shinku Hadoken',
keys: '↓ ↘ → ↓ ↘ → P'
}
Once we're satisfied with ryu, we run save.
const ryu = new Character({ name: 'Ryu' })
// Adds specials
const ryu.specials = [{
name: 'Hadoken',
keys: '↓ ↘ → P'
}, {
name: 'Shoryuken',
keys: '→ ↓ ↘ → P'
}, {
name: 'Tatsumaki Senpukyaku',
keys: '↓ ↙ ↠K'
}]
// Adds ultimate
ryu.ultimate = {
name: 'Shinku Hadoken',
keys: '↓ ↘ → ↓ ↘ → P'
}
const doc = await ryu.save()
console.log(doc)
Updating array subdocuments
The easiest way to update subdocuments is:
- Use
findOneto find the document - Get the array
- Change the array
- Run
save
For example, let's say we want to add Jodan Sokutou Geri to Ryu's special moves. The keys for Jodan Sokutou Geri are ↓ ↘ → K.
First, we find Ryu with findOne.
const ryu = await Characters.findOne({ name: 'Ryu' })
Mongoose documents behave like regular JavaScript objects. We can get the specials array by writing ryu.specials.
const ryu = await Characters.findOne({ name: 'Ryu' })
const specials = ryu.specials
console.log(specials)
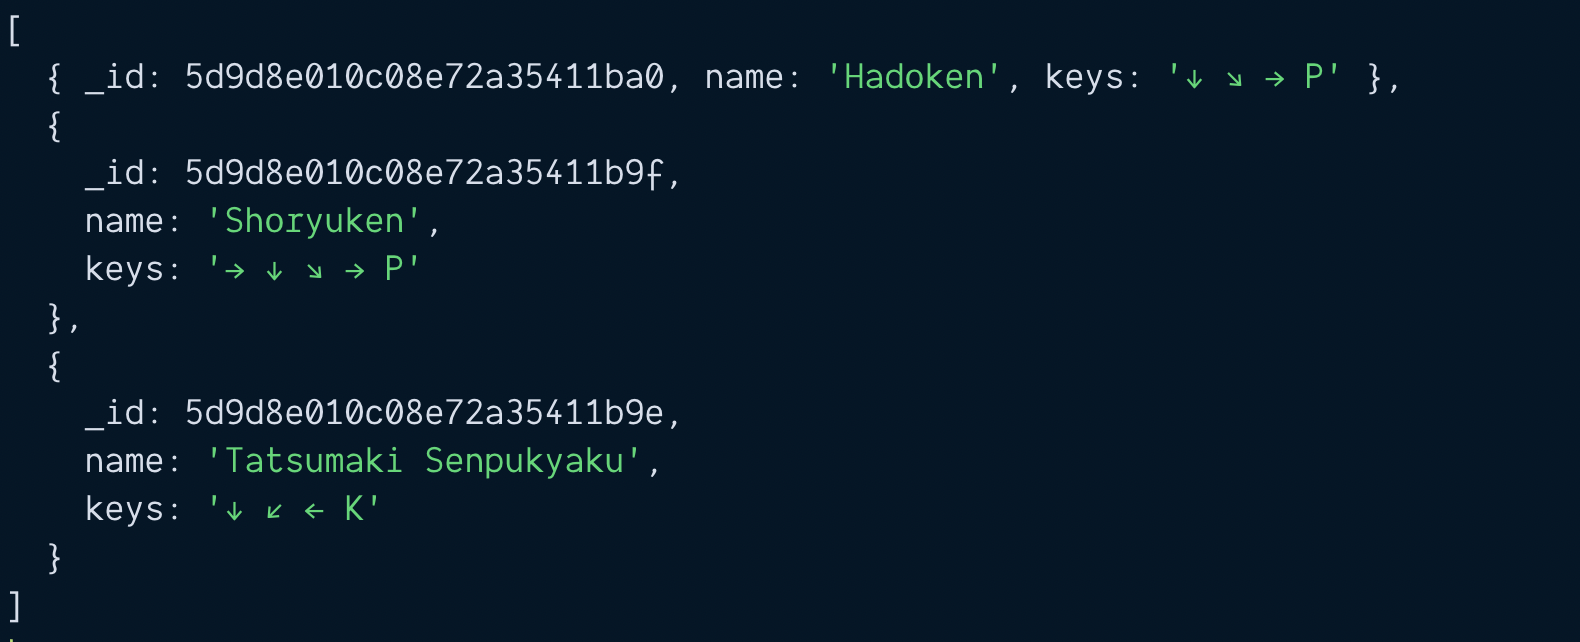
This specials array is a normal JavaScript array.
const ryu = await Characters.findOne({ name: 'Ryu' })
const specials = ryu.specials
console.log(Array.isArray(specials)) // true
We can use the push method to add a new item into specials,
const ryu = await Characters.findOne({ name: 'Ryu' })
ryu.specials.push({
  name: 'Jodan Sokutou Geri',
  keys: '↓ ↘ → K'
})
After updating specials, we run save to save Ryu to the database.
const ryu = await Characters.findOne({ name: 'Ryu' })
ryu.specials.push({
name: 'Jodan Sokutou Geri',
keys: '↓ ↘ → K'
})
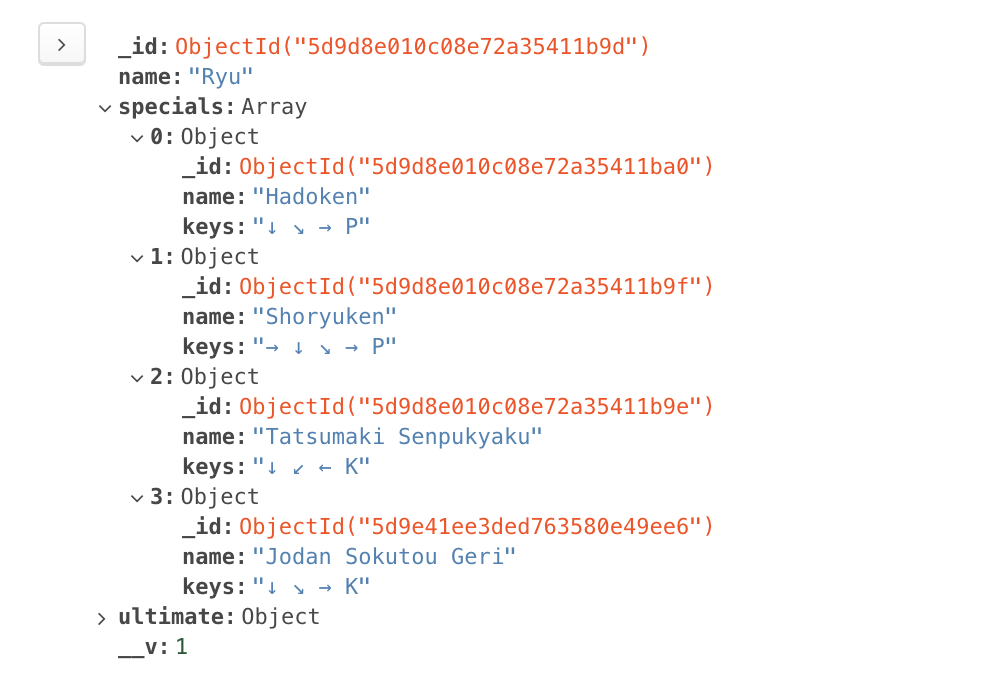
const updated = await ryu.save()
console.log(updated)
Updating a single subdocument
It's even easier to update single subdocuments. You can edit the document directly like a normal object.
Let's say we want to change Ryu's ultimate name from Shinku Hadoken to Dejin Hadoken. What we do is:
- Use
findOneto get Ryu. - Change the
nameinultimate - Run
save
const ryu = await Characters.findOne({ name: 'Ryu' })
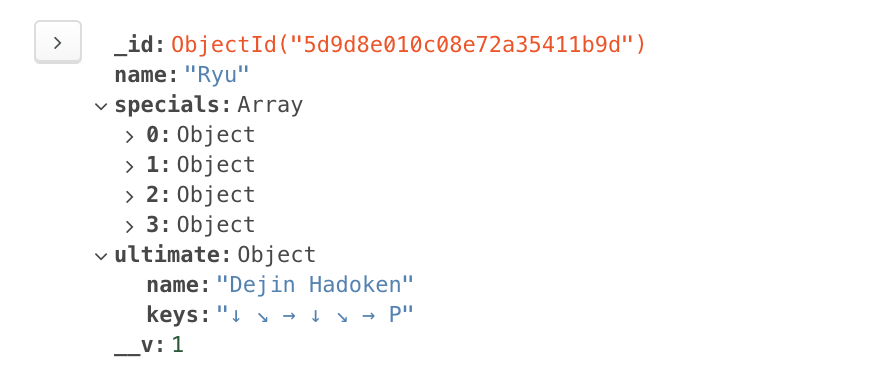
ryu.ultimate.name = 'Dejin Hadoken'
const updated = await ryu.save()
console.log(updated)
Population
MongoDB documents have a size limit of 16MB. This means you can use subdocuments (or embedded documents) if they are small in number.
For example, Street Fighter characters have a limited number of moves. Ryu only has 4 special moves. In this case, it's okay to use embed moves directly into Ryu's character document.
But if you have data that can contain an unlimited number of subdocuments, you need to design your database differently.
One way is to create two separate models and combine them with populate.
Creating the models
Let's say you want to create a blog. And you want to store the blog content with MongoDB. Each blog has a title, content, and comments.
Your first schema might look like this:
const blogPostSchema = new Schema({
  title: String,
  content: String,
  comments: [{
    comment: String
  }]
})

module.exports = mongoose.model('BlogPost', blogPostSchema)
There's a problem with this schema.
A blog post can have an unlimited number of comments. If a blog post explodes in popularity and comments swell up, the document might exceed the 16MB limit imposed by MongoDB.
This means we should not embed comments in blog posts. We should create a separate collection for comments.
const comments = new Schema({
  comment: String
})

module.exports = mongoose.model('Comment', commentSchema)
In Mongoose, we can link up the two models with Population.
To use Population, we need to:
- Set
typeof a property toSchema.Types.ObjectId - Set
refto the model we want to link too.
Here, we want comments in blogPostSchema to link to the Comment collection. This is the schema we'll use:
const blogPostSchema = new Schema({
  title: String,
  content: String,
  comments: [{ type: Schema.Types.ObjectId, ref: 'Comment' }]
})

module.exports = mongoose.model('BlogPost', blogPostSchema)
Creating a blog post
Let's say you want to create a blog post. To create the blog post, you use new BlogPost.
const blogPost = new BlogPost({
  title: 'Weather',
  content: `How's the weather today?`
})
A blog post can have zero comments. We can save this blog post with save.
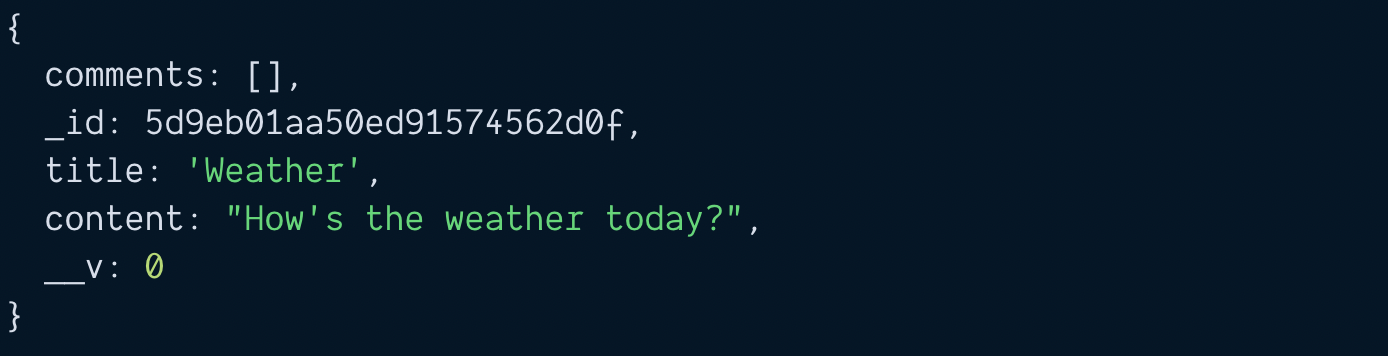
const doc = await blogPost.save()
console.log(doc)
Creating comments
Now let's say we want to create a comment for the blog post. To do this, we create and save the comment.
const comment = new Comment({
  comment: `It's damn hot today`
})

const savedComment = await comment.save()
console.log(savedComment)
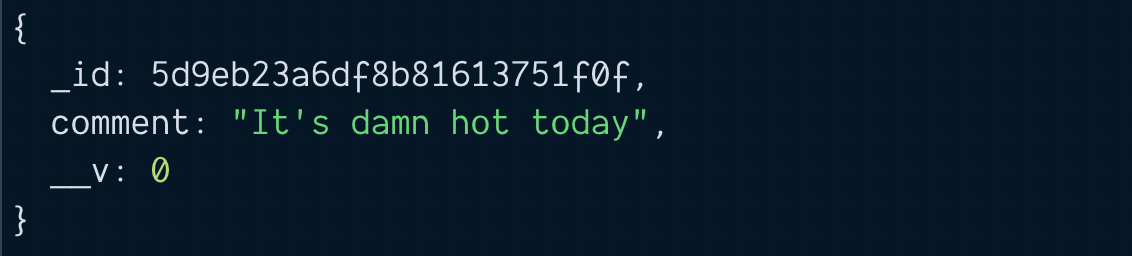
Notice the saved comment has an _id attribute. We need to add this _id attribute into the blog post's comments array. This creates the link.
// Saves comment to Database
const savedComment = await comment.save()

// Adds comment to blog post
// Then saves blog post to database
const blogPost = await BlogPost.findOne({ title: 'Weather' })
blogPost.comments.push(savedComment._id)
const savedPost = await blogPost.save()
console.log(savedPost)
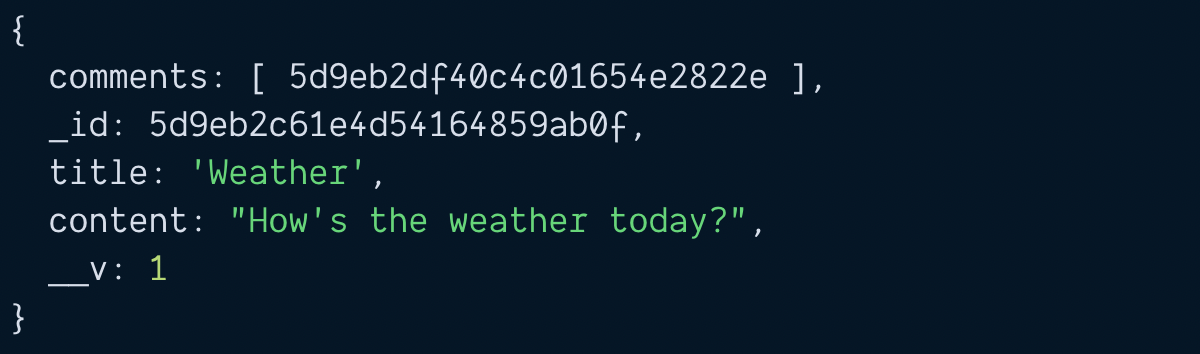
Searching blog posts and their comments
If you tried to search for the blog post, you'll see the blog post has an array of comment IDs.
const blogPost = await BlogPost.findOne({ title: 'Weather' })
console.log(blogPost)
There are four ways to get comments.
- Mongoose population
- Manual way #1
- Manual way #2
- Manual way #3
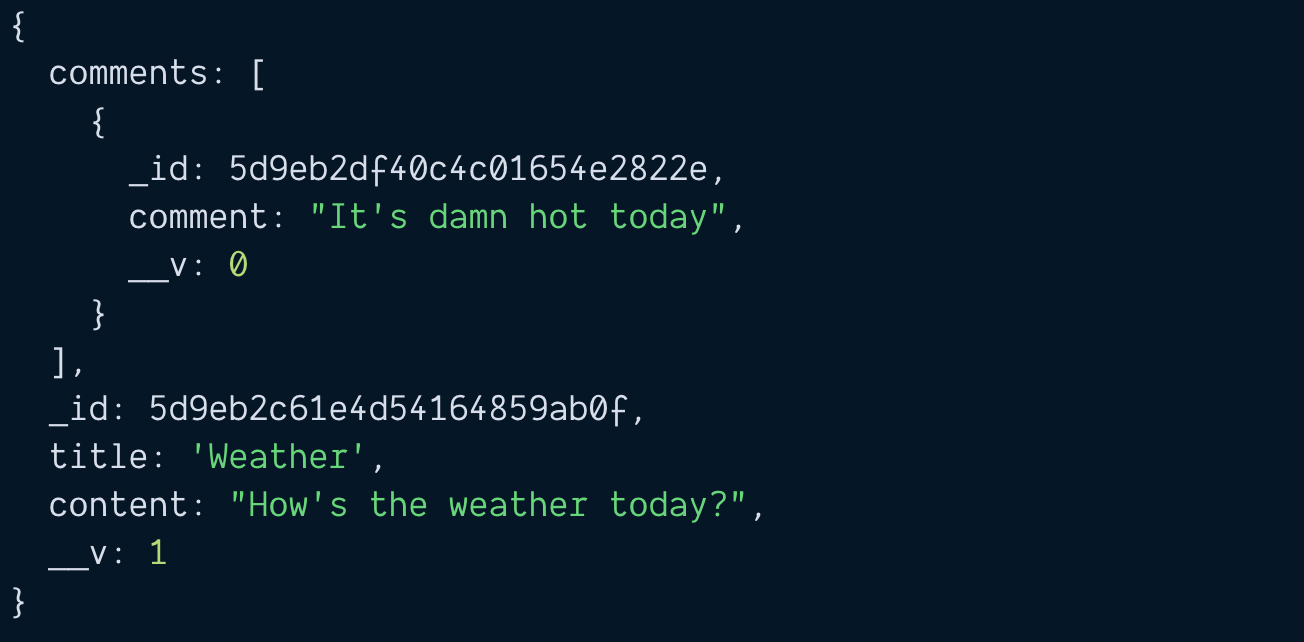
Mongoose Population
Mongoose allows you to fetch linked documents with the populate method. What you need to do is call .populate when you execute with findOne.
When you call populate, you need to pass in the key of the property you want to populate. In this case, the key is comments. (Note: Mongoose calls this key a "path").
const blogPost = await BlogPost.findOne({ title: 'Weather' })
  .populate('comments')
console.log(blogPost)
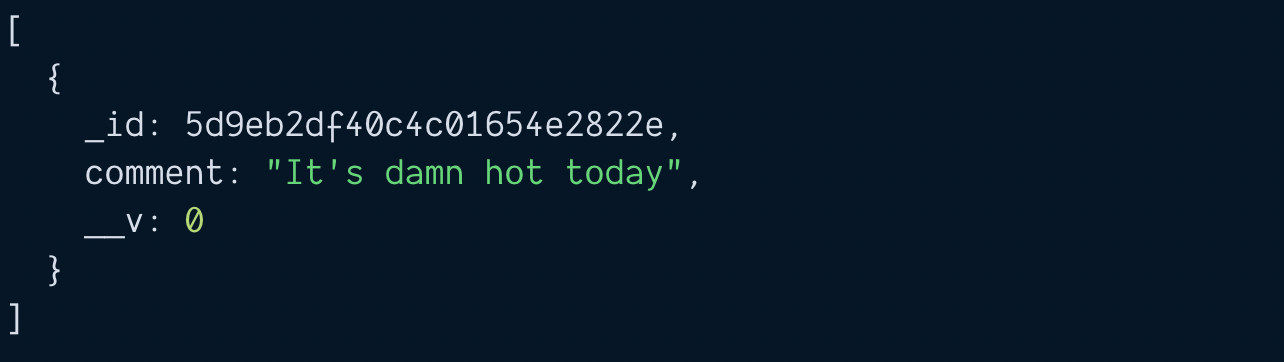
Manual way (method 1)
Without Mongoose Populate, you need to find the comments manually. First, you need to get the array of comments.
const blogPost = await BlogPost.findOne({ title: 'Weather' })
  .populate('comments')
const commentIDs = blogPost.comments
Then, you loop through commentIDs to find each comment. If you go with this method, it's slightly faster to use Promise.all.
const commentPromises = commentIDs.map(_id => {
  return Comment.findOne({ _id })
})
const comments = await Promise.all(commentPromises)
console.log(comments)
Manual way (method 2)
Mongoose gives you an $in operator. You can use this $in operator to find all comments within an array. This syntax takes a little effort to get used to.
If I had to do the manual way, I'd prefer Manual #1 over this.
const commentIDs = blogPost.comments
const comments = await Comment.find({
    '_id': { $in: commentIDs }
})

console.log(comments)
Manual way (method 3)
For the third method, we need to change the schema. When we save a comment, we link the comment to the blog post.
// Linking comments to blog post
const commentSchema = new Schema({
  comment: String
  blogPost: [{ type: Schema.Types.ObjectId, ref: 'BlogPost' }]
})

module.exports = mongoose.model('Comment', commentSchema)
You need to save the comment into the blog post, and the blog post id into the comment.
const blogPost = await BlogPost.findOne({ title: 'Weather' })

// Saves comment
const comment = new Comment({
  comment: `It's damn hot today`,
  blogPost: blogPost._id
})
const savedComment = comment.save()

// Links blog post to comment
blogPost.comments.push(savedComment._id)
await blogPost.save()
Once you do this, you can search the Comments collection for comments that match your blog post's id.
// Searches for comments
const blogPost = await BlogPost.findOne({ title: 'Weather' })
const comments = await Comment.find({ _id: blogPost._id })
console.log(comments)
I'd prefer Manual #3 over Manual #1 and Manual #2.
And Population beats all three manual methods.
Quick Summary
You learned to use Mongoose on three different levels in this article:
- Basic Mongoose
- Mongoose subdocuments
- Mongoose population
That's it!
Thanks for reading. This article was originally posted on my blog. Sign up for my newsletter if you want more articles to help you become a better frontend developer.