
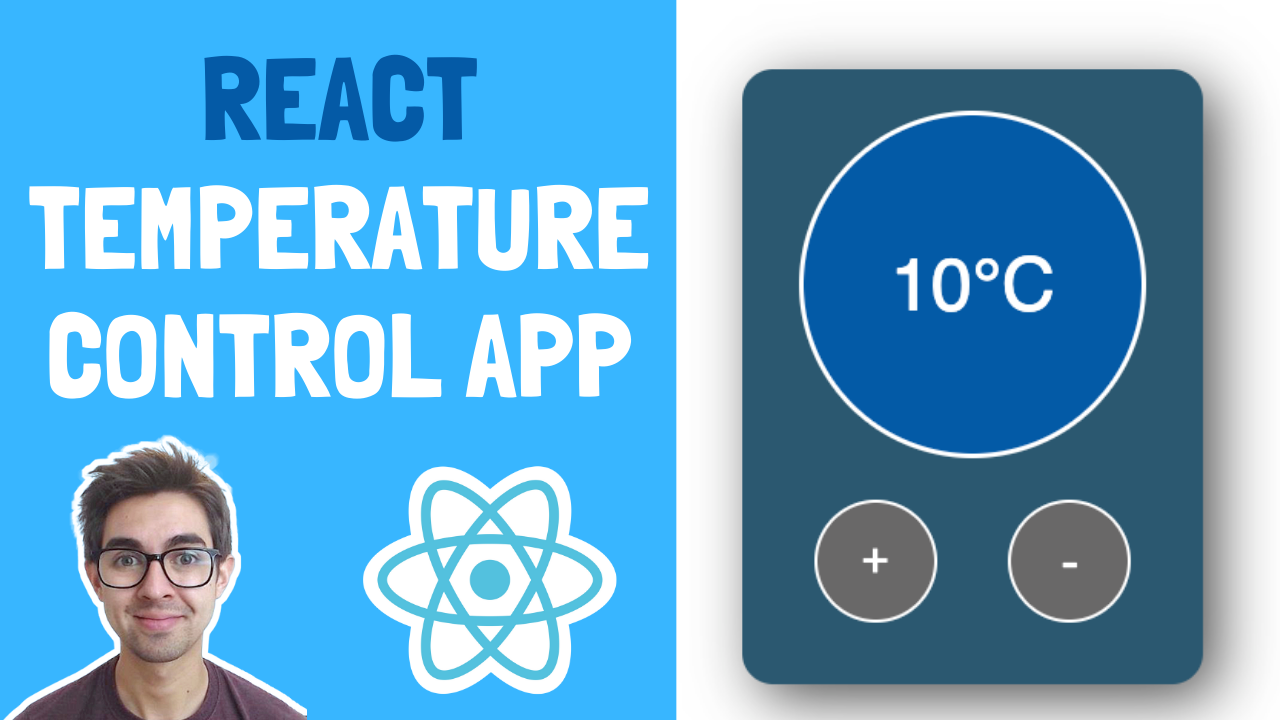
What we're building
In this beginner React project, we're going to learn how to use state hooks, handle events, apply CSS based on state, and more! Check it out:
Prefer Video Tutorials?
Check out the YouTube tutorial here.
Try it yourself
If you want to have a go yourself first, here are the scenarios (you can also grab the CSS/starter code below):
- When the user clicks the "increase button", the temperature should increase
- The temperature cannot go above 30
- When the user clicks the "decrease button", the temperature should decrease
- The temperature cannot go below 0
- When the temperature is 15 or above, the background color should change to red (HINT: I've included a style called "hot" you can use)
- When the temperature is below 15, the background color should be blue (HINT: I've included a style called "cold" you can use)
Setup/Starter code
NOTE: I'm assuming you have a React development environment setup. If not, check out this video to help you get started.
All we need to get started is to use create-react-app. Fire up a terminal and run:
npx create-react-app temperature-control
Let the terminal do its thing and open up the project in VS Code (or whatever you use).
Next, go into index.js, delete everything, and paste in the following:
import React from 'react';
import ReactDOM from 'react-dom';
import './index.css';
import App from './App';

ReactDOM.render(
    <React.StrictMode>
        <App />
    </React.StrictMode>,
    document.getElementById('root')
);
Go into index.css, delete everything, and paste in the following:
body {
    font-family: sans-serif;
    text-align: center;
    display: flex;
    flex-direction: column;
    justify-content: center;
    align-items: center;
    text-align: center;
    min-height: 100vh;
}

.app-container {
    height: 400px;
    width: 300px;
    background: #2b5870;
    border-radius: 20px;
    box-shadow: 10px 10px 38px 0px rgba(0, 0, 0, 0.75);
}

.temperature-display-container {
    display: flex;
    justify-content: center;
    align-items: center;
    height: 70%;
}

.temperature-display {
    display: flex;
    border-radius: 50%;
    color: #ffffff;
    height: 220px;
    width: 220px;
    text-align: center;
    justify-content: center;
    align-items: center;
    font-size: 48px;
    border: 3px #ffffff solid;
    transition: background 0.5s;
}

button {
    border-radius: 100px;
    height: 80px;
    width: 80px;
    font-size: 32px;
    color: #ffffff;
    background: rgb(105, 104, 104);
    border: 2px #ffffff solid;
}

button:hover {
    background: rgb(184, 184, 184);
    cursor: pointer;
}

button:focus {
    outline: 0;
}

.button-container {
    display: flex;
    justify-content: space-evenly;
    align-items: center;
}

.neutral {
    background: rgb(184, 184, 184);
}

.cold {
    background: #035aa6;
}

.hot {
    background: #ff5200;
}
Lastly, go into App.js, delete everything, and paste in the following:
import React from 'react';

const App = () => {
    return (
        <div className='app-container'>
            <div className='temperature-display-container'>
                <div className='temperature-display'>10°C</div>
            </div>
            <div className='button-container'>
                <button>+</button>
                <button>-</button>
            </div>
        </div>
    );
};

export default App;
Now we can open a terminal in VS Code and run the following:
npm start
If all went as planned, you should see the following:
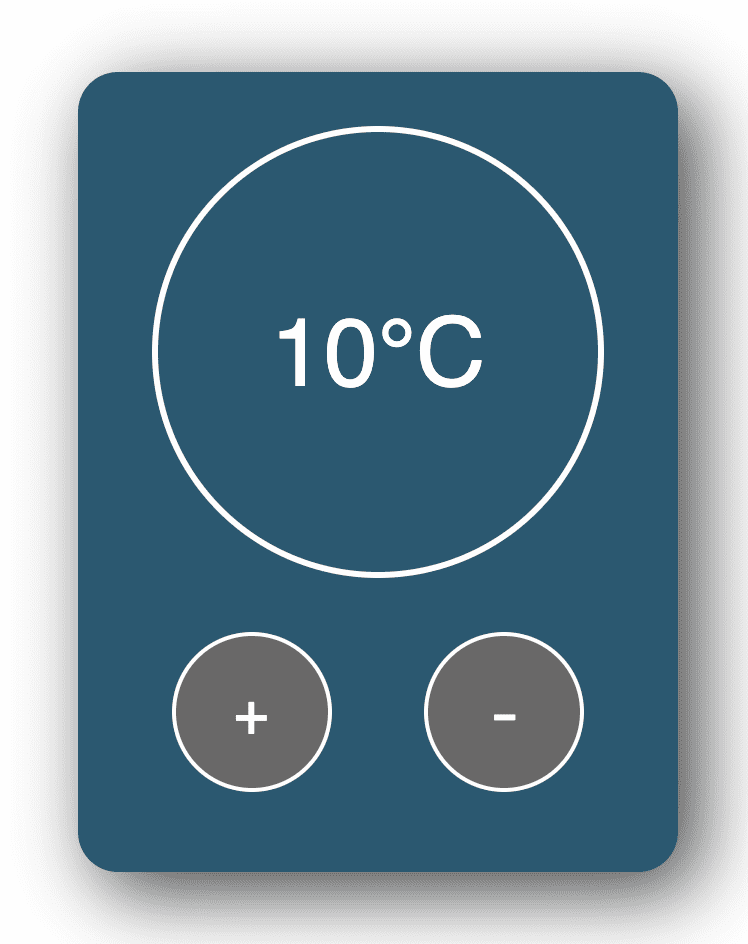
Hurray! This gives us a nice template to play with, without having to worry about any CSS.
Make the temperature value dynamic - using State
The first thing we'll do is make the temperature value dynamic. To do this, we'll store the temperature value in state. This makes it easier for us to get at the value later, and perform logic using it.
If something changes on your UI, it's a good idea to put it in state.
In App.js import the useState hook at the top of the file like so:
import React, { useState } from 'react';
Then, add the following within the App function:
const [temperatureValue, setTemperatureValue] = useState(10);
A quick refresher on useState - it allows us to hold data in component state. The useState hook gives us 2 things:
- a variable that holds the current state value
- a function to change the state value.
In this case, we've called our state variable temperatureValue and called our function setTemperatureValue. We've initialized our temperatureValue to have a value of 10, by passing the value 10 to the useState hook.
Now that we have a state value, it's time to use it in our code. Remember, the stuff we get from useState can use used just like any old JavaScript variable and function (since that's what they are).
Within our JSX, we want to replace the hardcoded temperature value using our fancy new state variable. Change this line:
<div className='temperature-display'>10°C</div>
So that it becomes this:
<div className='temperature-display'>{temperatureValue}°C</div>
Notice how we've used {} to render our temperatureValue variable. Now, when our temperature value changes, the component will rerender and display the new temperature value.
Our App.js file so far looks like this:
import React, { useState } from 'react';

const App = () => {
    const [temperatureValue, setTemperatureValue] = useState(10);

    return (
        <div className='app-container'>
            <div className='temperature-display-container'>
                <div className='temperature-display'>{temperatureValue}°C</div>
            </div>
            <div className='button-container'>
                <button>+</button>
                <button>-</button>
            </div>
        </div>
    );
};

export default App;
Now if you run the app, and look at the browser, you'll see that things look the same as before.
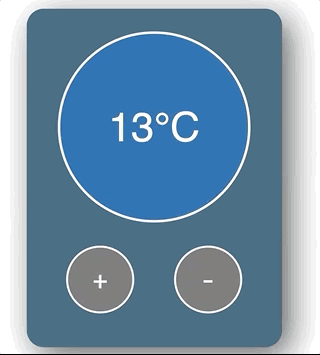
But if you change the initial value we pass to the useState hook from 10 to something else (e.g 15), you'll see that the app updates. This means our state hook is working!
Changing state on button click
Let's work on making the temperature value increase/decrease when the buttons are clicked.
As we know, the useState hook gives us a setTemperatureValue function that we can use to change the temperatureValue. So, it makes sense for us to wire this up to the button's onClick event.
We'll do the increase button first. Replace the increase button with the following:
<button onClick={() => setTemperatureValue(temperatureValue + 1)}>+</button>
Notice how this calls the setTemperatureValue function. We take the current temperatureValue, add 1 to it, and pass this as an argument.
So since temperatureValue starts at 10, adding 1 will set the state value to be 11. When the button is clicked again, the state is set to 12, and so on.
Next, we'll do the same with the decrease button. Replace the current decrease button with the following:
<button onClick={() => setTemperatureValue(temperatureValue - 1)}>-</button>
This is doing the same thing, except we're decreasing the temperatureValue this time.
Our code now looks like this:
import React, { useState } from 'react';

const App = () => {
    const [temperatureValue, setTemperatureValue] = useState(10);

    return (
        <div className='app-container'>
            <div className='temperature-display-container'>
                <div className='temperature-display'>{temperatureValue}°C</div>
            </div>
            <div className='button-container'>
                <button onClick={() => setTemperatureValue(temperatureValue + 1)}>+</button>
                <button onClick={() => setTemperatureValue(temperatureValue - 1)}>-</button>
            </div>
        </div>
    );
};

export default App;
Try running this in the browser and clicking the buttons. The values will increase/decrease.
Changing color based on state
Now let's do some fancy stuff. We want the background color of the display to change depending on how high (or low) the temperature is.
If the temperature is 15 degrees or over, we want to change the background color to red. If it's under 15, we want to change the background color to blue.
If you have a look at the CSS, I've provided 2 classes:
.coldwhich sets the background to blue.hotwhich sets the background to red
If we add either of these classes to the temperature display div, it changes the color. For example:
<div className='temperature-display cold'>{temperatureValue}°C</div>
will give the temperature display a blue background, while:
<div className='temperature-display hot'>{temperatureValue}°C</div>
will give the temperature display a red background.
Ok, so that's nice and all, but how do we dynamically add these classes based on state?
Remember, it's generally a good idea to put the things that can change on your UI into state. So state is a perfect place to hold the current CSS class we want to use.
Let's go ahead and create another state hook to hold the temperatureColor like so:
const [temperatureColor, setTemperatureColor] = useState('cold');
Notice that we initialize our temperatureColor state object with a value of "cold" (since our temperature value is initially 10 degrees, we want the background color to be blue).
We can then use template literals to dynamically add the classes we want using this state variable. Go ahead and update the code with the following:
<div className={`temperature-display ${temperatureColor}`}>{temperatureValue}°C</div>
This is a tricky syntax to understand, so don't worry if you don't understand straight away.
All this is doing is creating a string and dynamically applying the temperatureColor variable. Whenever the temperatureColor changes to "hot", the component will rerender and the CSS class "hot" will be added to the className string instead.
Our code so far looks like this:
import React, { useState } from 'react';

const App = () => {
    const [temperatureValue, setTemperatureValue] = useState(10);
    const [temperatureColor, setTemperatureColor] = useState('cold');

    return (
        <div className='app-container'>
            <div className='temperature-display-container'>
                <div className={`temperature-display ${temperatureColor}`}>{temperatureValue}°C</div>
            </div>
            <div className='button-container'>
                <button onClick={() => setTemperatureValue(temperatureValue + 1)}>+</button>
                <button onClick={() => setTemperatureValue(temperatureValue - 1)}>-</button>
            </div>
        </div>
    );
};

export default App;
Change the initial temperatureColor state variable to "hot" / "cold" and the background of the temperature display should change.
Now that we know this is working, all we have to do is change the state variable. But where do we do this?
Well, we already have an onClick handler that changes the temperatureValue, so it makes sense to add our new logic to this handler.
Up until now, we've been using an inline function for our click event handlers. And using inline functions is good when we have a one-line function.
But when we have a multi-line function with a bunch of logic, it's best to move the function outside the JSX. This makes our code a bit cleaner.
Go ahead and paste the following just below all the state stuff:
const increaseTemperature = () => {
    setTemperatureValue(temperatureValue + 1);
};

const decreaseTemperature = () => {
    setTemperatureValue(temperatureValue - 1);
};
Here we're defining 2 functions - one that increases the temperature and another that decreases the temperature.
Next, we want to change our button's onClick properties to call these functions instead of the inline functions we had previously:
    <button onClick={increaseTemperature}>+</button>
    <button onClick={decreaseTemperature}>-</button>
Now, instead of using an inline function, we are passing a reference to our increaseTemperature and decreaseTemperature functions. Our code so far looks like this:
import React, { useState } from 'react';

const App = () => {
    const [temperatureValue, setTemperatureValue] = useState(10);
    const [temperatureColor, setTemperatureColor] = useState('cold');

    const increaseTemperature = () => {
        setTemperatureValue(temperatureValue + 1);
    };

    const decreaseTemperature = () => {
        setTemperatureValue(temperatureValue - 1);
    };

    return (
        <div className='app-container'>
            <div className='temperature-display-container'>
                <div className={`temperature-display ${temperatureColor}`}>{temperatureValue}°C</div>
            </div>
            <div className='button-container'>
                <button onClick={increaseTemperature}>+</button>
                <button onClick={decreaseTemperature}>-</button>
            </div>
        </div>
    );
};

export default App;
Notice how nothing has changed just yet – we are just refactoring our code and getting ready for upcoming changes.
Now it is much easier to add code logic for either of the button click events - we just write our logic in the appropriate function and life is good.
OK! With refactoring fun out of the way, let's get back to business. So we've said that When the temperature is 15 degrees or over, we want to change the temperatureColor state value.
We can add this logic to our increaseTemperature function like so:
const increaseTemperature = () => {
    const newTemperature = temperatureValue + 1;
    setTemperatureValue(newTemperature);

    if (newTemperature >= 15) {
        setTemperatureColor('hot');
    }
};
What have we done?
- We've created a variable to hold the newTemperature value (we did this since we'll be using this variable in a few places)
- We set the temperatureValue, as we did before
- We wrote an if statement to check if the newTemperature value is more than or equal to, 15
- If yes, then we use the setTemperatureColor function to set to the temperatureColor state value to be "hot"
So whenever we click the button enough times that the temperatureValue is more than or equal to above 15, the temperatureColor variable changes, the component rerenders, and the "hot" class gets added to the temperature display like witchcraft.
But wait! We haven't handled the decrease yet. Which is basically similar to the increase function:
const decreaseTemperature = () => {
    const newTemperature = temperatureValue - 1;
    setTemperatureValue(newTemperature);
    if (newTemperature < 15) {
        setTemperatureColor('cold');
    }
};
This time we subtract one and check if the new value is below 15 before changing the temperature color
Our final app code looks like this:
import React, { useState } from 'react';

const App = () => {
    const [temperatureValue, setTemperatureValue] = useState(10);
    const [temperatureColor, setTemperatureColor] = useState('cold');

    const increaseTemperature = () => {
        const newTemperature = temperatureValue + 1;
        setTemperatureValue(newTemperature);

        if (newTemperature >= 15) {
            setTemperatureColor('hot');
        }
    };

    const decreaseTemperature = () => {
        const newTemperature = temperatureValue - 1;
        setTemperatureValue(newTemperature);
        if (newTemperature < 15) {
            setTemperatureColor('cold');
        }
    };

    return (
        <div className='app-container'>
            <div className='temperature-display-container'>
                <div className={`temperature-display ${temperatureColor}`}>{temperatureValue}°C</div>
            </div>
            <div className='button-container'>
                <button onClick={increaseTemperature}>+</button>
                <button onClick={decreaseTemperature}>-</button>
            </div>
        </div>
    );
};

export default App;
Run the app and everything should work - hurray!
A challenge to try
You may have noticed that our temperature control isn't very safe - the user can increase the temperature until they reach 100°C, boiling themselves into oblivion, or decrease the temperature until they reach -100°C, turning themselves into a massive ice cube.
The challenge, should you choose to accept it, is to prevent the temperature value from going over 30°C, and prevent it from going under 30°C.
HINT: The increaseTemperature and decreaseTemperature functions are perfect places to add this logic!