
By Bharath Kallur
Recently I came across a challenge to deploy a Python Flask web application to Heroku. The code of the App was hosted in GitLab.
Heroku supports deploying an App from GitHub, Dropbox along with the usual Heroku git. It had been quite a while since I used Heroku. I was wondering if I can deploy code directly from my GitLab repository instead of using any of the sources mentioned above.
I couldn’t find any information or documentation around deploying applications hosted in a GitLab repository to Heroku. I browsed a bit on GitLab and it turned out that apart from helping test and build your project, GitLab CI can also help deploy you App to your hosting infrastructure. I was now intrigued.
Before I delve into how I deployed the App, I’d like to explain the benefits of using GitLab or GitHub when you can easily get things done with Heroku Git.
- Easier code maintenance - With code repository hosting services like GitHub and GitLab, maintenance of code is easy.
- Customising pipelines - With GitLab, we can write our own yaml file and include the libraries required for running our application.
- For better understanding of Continuous Integration and Continuous Development (CI/CD) - For beginners, this setup helps you understand the coding workflow of testing -> version control -> code maintenance -> application deployment.
Here are the steps required to deploy your App hosted in GitLab to Heroku. The steps here assume you already have a good understanding of Python, Flask, version control, GitLab and Heroku. This write up is also helpful for someone who is just starting out. I have kept it as simple as possible to get things up and running.
Uploading the project to GitLab
- Create a Python virtual environment for us to use. Get into the virtual environment.
- Create a sample Python Flask application on your machine.
- Verify that everything is running fine.
- Run the command
pip freeze > requirements.txt from within the main application folder to catch all the requirements for running your application. - Create a Procfile which is used by Heroku to declare what commands are run by your application on the Heroku platform. Procfile usually consists of the web server used to run the application. In our case let us use Gunicorn, the default Python WSGI HTTP server. The content of your Procfile will be
web: gunicorn <name of the app.py file>:<app-name> where app-name is usually “app”. Place this file within the main application folder. - Now login (or signup) to GitLab and create a project. The moment you do this, you will get a standard set of instructions on how to “link” your code on your development machine to GitLab project. Just follow the commands, and after that you can do a git push or git pull to/from this project. This is a bit of an elaborate step and your last statement should look something like
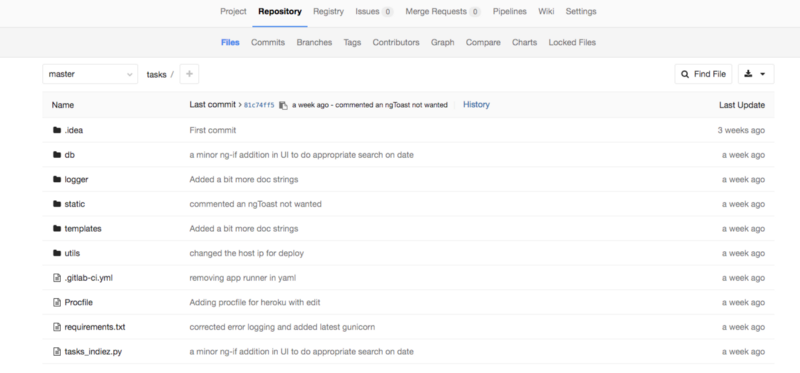
git push -u origin master. Once done, on refreshing the project page on GitLab, you should see all your code appear in GitLab.
Linking GitLab and Heroku
- Login to the Heroku web portal and create an application. Give it a nice name and runtime selection.
- Now within the my_app folder on your development machine, create a file called “.gitlab-ci.yaml” (note the ‘.’ in the beginning).
- This yaml file will have the following structure.
my_app_file_name:
script:
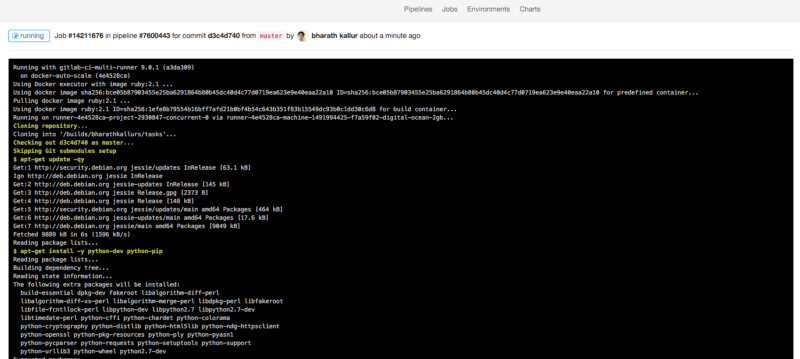
— apt-get update -qy
— apt-get install -y python-dev python-pip
— pip install -r requirements.txt
— export MONGOHQ_URL=$MONGO_URL
production:
type: deploy
script:
— apt-get update -qy
— apt-get install -y ruby-dev
— gem install dpl
— dpl — provider=heroku — app=task-mgmt-app — api-key=$HEROKU_SECRET_KEY
only:
— master
- Change my_app_file_name to the file name of your flask application. You need to set the HEROKU_SECRET_KEY variable in the project variables. You will get this key in the Heroku dashboard. To set it in your GitLab project, go to Settings > CI/CD Pipelines and search for Secret Variables. While using these variables in the yaml, we need to prepend the variable with the ‘$’ sign. It is a good practice not to share secret keys with anyone and also restrict access to them in the project.
- You are almost there. Run the command
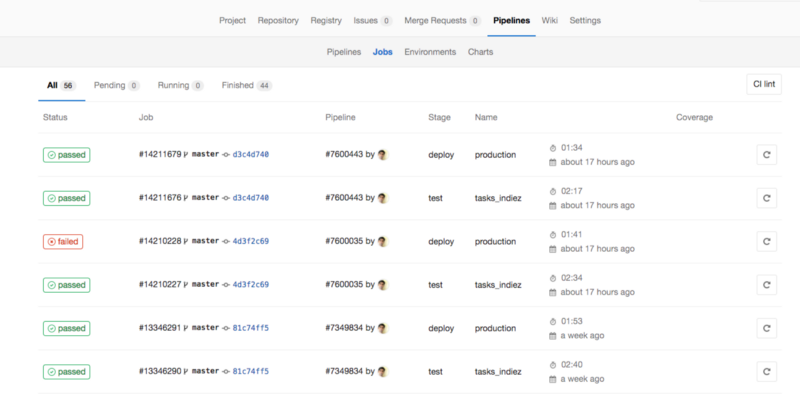
git add .gitlab-ci.ymlandgit commit -m <msg>andgit push -u origin master. You will see the file in the GitLab repository now. - On the GitLab “My Dashboard” page, click on Pipelines > Jobs to see the job which has started running.
- In case you are using a database in your App, you might want to link it to the App by placing the details in the .gitlab-ci.yaml file. Please check here for an example. I have used MongDB in my application. Heroku provides adding a set of free libraries/apps to your application. There is an mLab link for adding MongoDB.
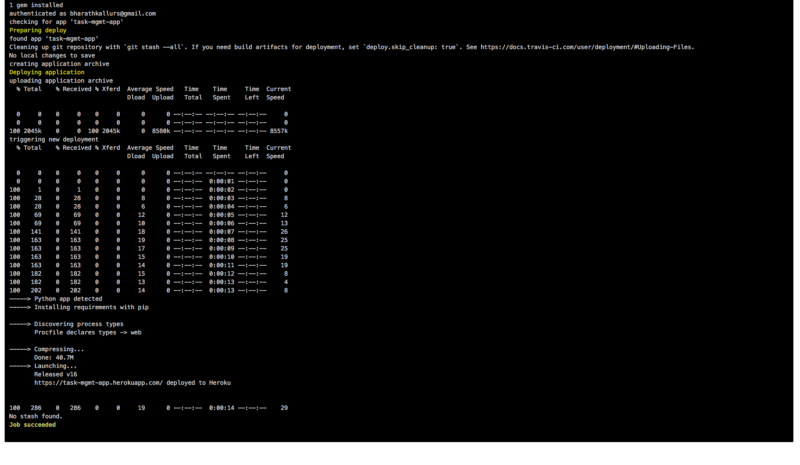
Yay! You have now successfully integrated your GitLab with Heroku with CI/CD configuration. Make all code changes you want in your repository, push it to the GitLab project, and see a job start every time there is a code push. For the current setup, I used GitLab public runners available here. You can set up a custom GitLab runner and set appropriate configuration.