
By Tarique Ejaz
It often happens that you come across a website and are forced to perform a set of actions to finally get some data. You are then faced with a dilemma: how do you make this data available in a form which can easily be consumed by your application?
Scraping comes to the rescue in such a case. And selecting the right tool for the job is quite important.
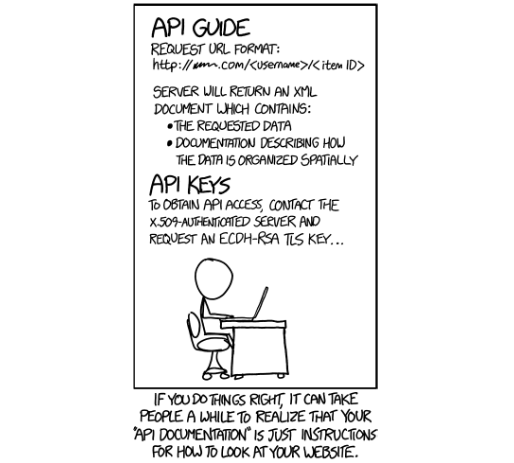 API is just a way to look at a Website after all (Source: XKCD Comics)
Puppeteer: Not Just Another Scraping Library
Puppeteer is a Node.js library maintained by the Chrome Devtools Team at Google. It basically runs a Chromium or Chrome (perhaps the more recognizable name) instance in a headless (or configurable) manner and exposes a set of high-level APIs.
From its official documentation, puppeteer is normally leveraged for multiple processes which are not limited to the following:
- Generating screenshots and PDFs
- Crawling an SPA and generating pre-rendered content (i.e. Server Side Rendering)
- Testing Chrome extensions
- Automation testing of Web Interfaces
- Diagnosis of performance issues through techniques like capturing the timeline trace of a website
For our case, we need to be able to access a website and map the data in a form which can be easily consumed by our application.
Sounds simple? The implementation is not that complex, either. Let's start.
Stringing the Code Along
My fondness for Amazon products prompts me to use one of their product listing page as a sample here. We will implement our use case in two steps:
- Extract data from the page and map it in an easily consumable JSON form
- Add a little sprinkle of automation to make our lives a little bit easier
You can find the complete code in this repository.
We will be extracting the data from this link: https://www.amazon.in/s?k=Shirts&ref=nb_sb_noss_2 ( a listing of the top searched shirts as shown in the image) in an API servable form.
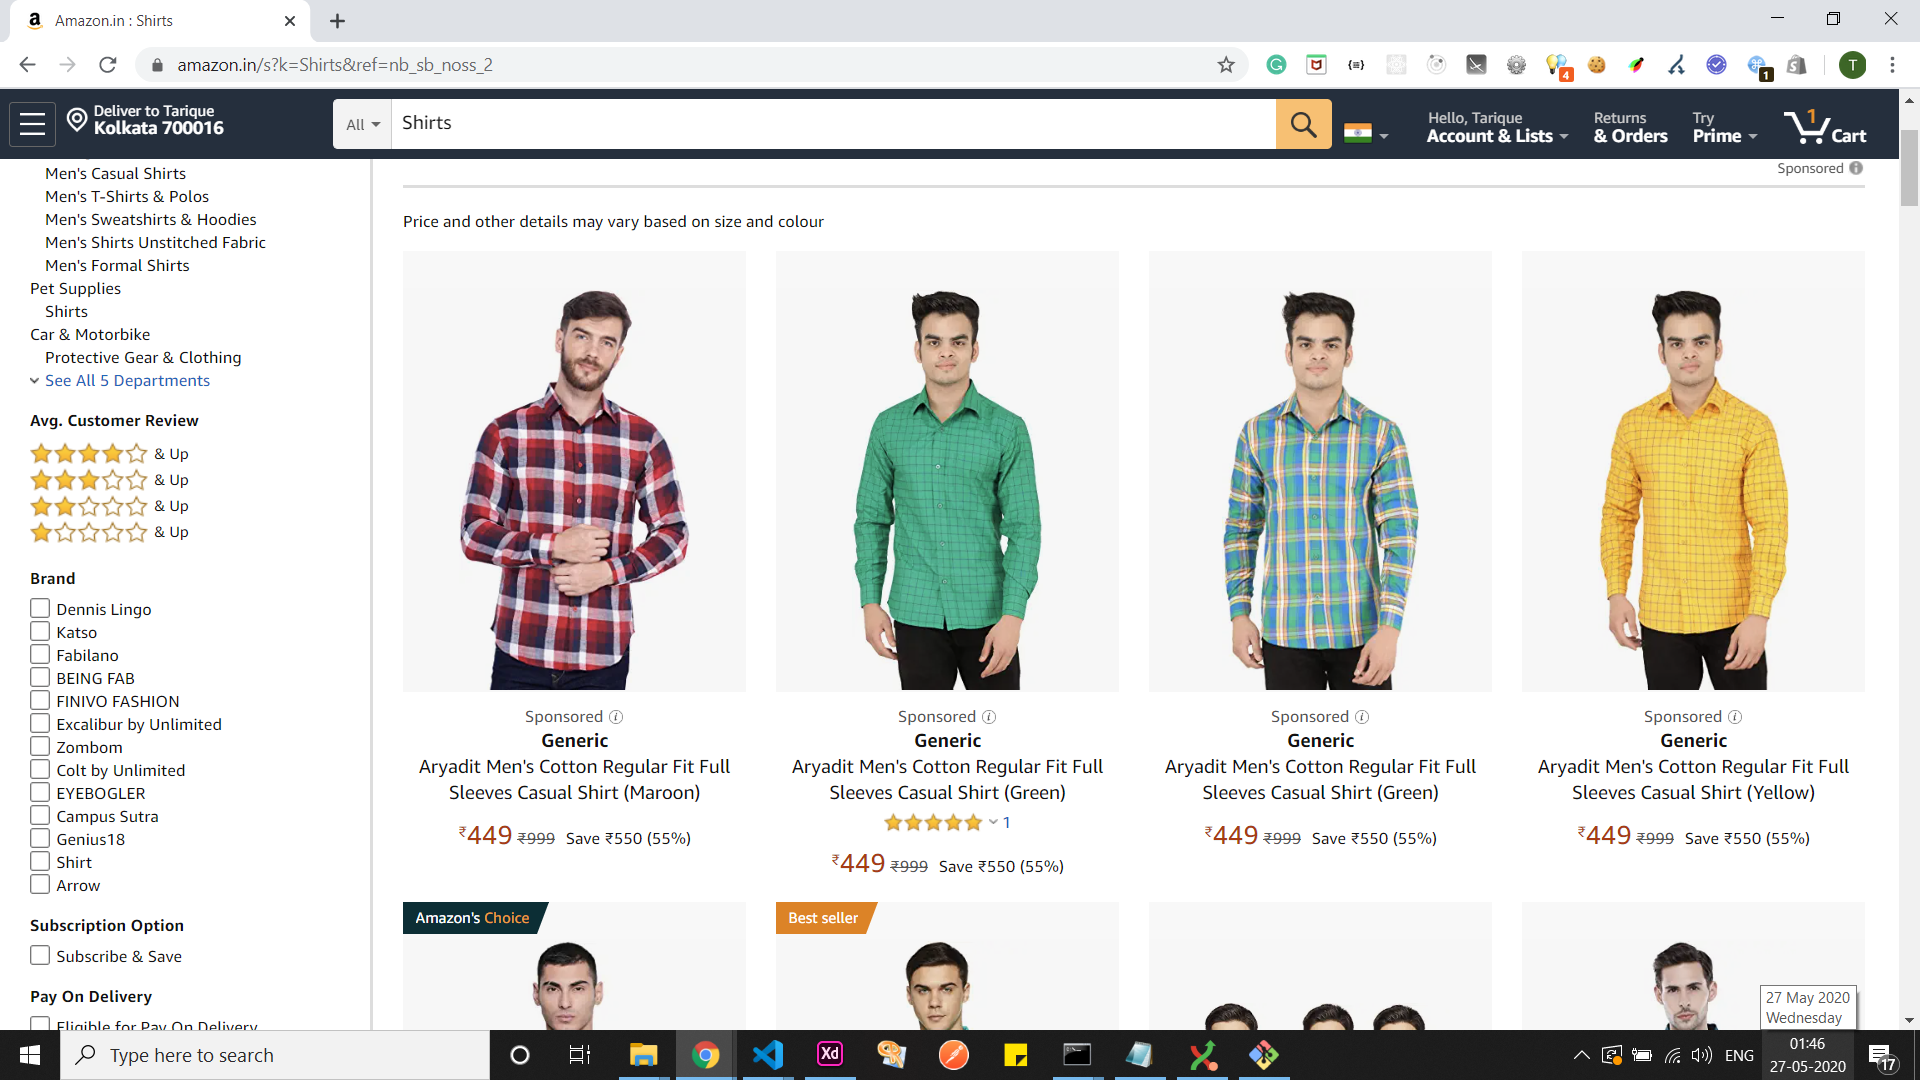 Amazon India - Shirts Listing Page
Before we get started using puppeteer extensively in this section, we need to understand the two primary classes provided by it.
- Browser: launches a Chrome instance when we use
puppeteer.launchorpuppeteer.connect. This works as a simple browser emulation. - Page: resembles a single tab on a Chrome browser. It provides an exhaustive set of methods you can use with a particular page instance and is invoked when we call
browser.newPage. Just like you can create multiple tabs in the browser, you can similarly create multiple page instances at a single time in puppeteer.
Setting Up Puppeteer and Navigating to the Target URL
We start setting up puppeteer by using the npm module provided. After installing puppeteer, we create an instance of the browser and the page class and navigate to the target URL.
const puppeteer = require('puppeteer');

const url = 'https://www.amazon.in/s?k=Shirts&ref=nb_sb_noss_2';

async function fetchProductList(url) {
    const browser = await puppeteer.launch({
        headless: true, // false: enables one to view the Chrome instance in action
        defaultViewport: null, // (optional) useful only in non-headless mode
    });
    const page = await browser.newPage();
    await page.goto(url, { waitUntil: 'networkidle2' });
    ...
}

fetchProductList(url);
We use networkidle2 as the value for the waitUntil option while navigating to the URL. This ensures that the page load state is considered final when it has no more than 2 connections running for at least 500ms.
Note: You do not need to have Chrome or an instance of it installed on your system for puppeteer to work. It already ships with a lite version of it bundled with the library.
Page Methods to Extract and Map Data
The DOM has already loaded in the page instance created. We will go ahead and leverage the page.evaluate() method to query the DOM.
Before we start, we need to figure out the exact data-points we need to extract. In the current sample, each of the product objects will look something like this.
{
    brand: 'Brand Name',
    product: 'Product Name',
    url: 'https://www.amazon.in/url.of.product.com/',
    image: 'https://www.amazon.in/image.jpg',
    price: '₹599',
}
We have laid out the structure we want to achieve. Time to start inspecting the DOM for the identifiers. We check for the selectors that occur throughout the items to be mapped. We will mostly use [document.querySelector](https://developer.mozilla.org/en-US/docs/Web/API/Document/querySelector) and [document.querySelectorAll](https://developer.mozilla.org/en-US/docs/Web/API/Document/querySelectorAll) for traversing the DOM.
...

async function fetchProductList(url) {
    ...

    await page.waitFor('div[data-cel-widget^="search_result_"]');

    const result = await page.evaluate(() => {
        // counts total number of products
        let totalSearchResults = Array.from(document.querySelectorAll('div[data-cel-widget^="search_result_"]')).length;

        let productsList = [];

        for (let i = 1; i < totalSearchResults - 1; i++) {
            let product = {
                brand: '',
                product: '',
            };
            let onlyProduct = false;
            let emptyProductMeta = false;

            // traverse for brand and product names
            let productNodes = Array.from(document.querySelectorAll(`div[data-cel-widget="search_result_${i}"] .a-size-base-plus.a-color-base`));

            if (productNodes.length === 0) {
                // traverse for brand and product names
                // (in case previous traversal returned empty elements)
                productNodes = Array.from(document.querySelectorAll(`div[data-cel-widget="search_result_${i}"] .a-size-medium.a-color-base.a-text-normal`));
                productNodes.length > 0 ? onlyProduct = true : emptyProductMeta = true;
            }

            let productsDetails = productNodes.map(el => el.innerText);

            if (!emptyProductMeta) {
                product.brand = onlyProduct ? '' : productsDetails[0];
                product.product = onlyProduct ? productsDetails[0] : productsDetails[1];
            }

            // traverse for product image
            let rawImage = document.querySelector(`div[data-cel-widget="search_result_${i}"] .s-image`);
            product.image =rawImage ? rawImage.src : '';

            // traverse for product url
            let rawUrl = document.querySelector(`div[data-cel-widget="search_result_${i}"] a[target="_blank"].a-link-normal`);
            product.url = rawUrl ? rawUrl.href : '';

            // traverse for product price
            let rawPrice = document.querySelector(`div[data-cel-widget="search_result_${i}"] span.a-offscreen`);
            product.price = rawPrice ? rawPrice.innerText : '';

            if (typeof product.product !== 'undefined') {
                !product.product.trim() ? null : productsList = productsList.concat(product);
            }
        }

        return productsList;
    });

    ...
}

...
// traverse for brand and product names
After investigating the DOM, we see that each listed item is enclosed under an element with the selector div[data-cel-widget^="search_result_"] . This particular selector seeks out all div tags with the attribute data-cel-widget that have a value starting with search_result_.
Similarly, we map out the selectors for the parameters we require as listed. If you want to learn more about DOM traversal, you can check out this informative article by Zell.
- total listed items:
div[data-cel-widget^="search_result_"] - brand:
div[data-cel-widget="search_result_${i}"] .a-size-base-plus.a-color-base(istands for the node number intotal listed items) - product:
div[data-cel-widget="search_result_${i}"] .a-size-base-plus.a-color-baseordiv[data-cel-widget="search_result_${i}"] .a-size-medium.a-color-base.a-text-normal(istands for the node number intotal listed items) - url:
div[data-cel-widget="search_result_${i}"] a[target="_blank"].a-link-normal(istands for the node number intotal listed items) - image:
div[data-cel-widget="search_result_${i}"] .s-image(istands for the node number intotal listed items) - price:
div[data-cel-widget="search_result_${i}"] span.a-offscreen(istands for the node number intotal listed items)
Note: We wait for
div[data-cel-widget^="search_result_"]selector named elements to be available on the page by using thepage.waitFormethod.
Once the page.evaluate method is invoked, we can see the data we require logged.
 It works! We have our API data ready to serve what we require
Adding Automation to Ease Flow
So far we are able to navigate to a page, extract the data we need, and transform it into an API-ready form. That sounds all hunky-dory.
However, consider for a moment a case where you have to navigate to one URL from another by performing some actions – and then try to extract the data you need.
Would that make your life a little trickier? Not at all. Puppeteer can easily imitate user behavior. Time to add some automation to our existing use case.
Unlike in the previous example, we will go to the amazon.in homepage and search for 'Shirts'. It will take us to the products listing page and we can extract the data required from the DOM. Easy peasy. Let's look at the code.
...

async function fetchProductList(url, searchTerm) {
    ...
    await page.goto(url, { waitUntil: 'networkidle2' });

    await page.waitFor('input[name="field-keywords"]');
    await page.evaluate(val => document.querySelector('input[name="field-keywords"]').value = val, searchTerm);

    await page.click('div.nav-search-submit.nav-sprite');

    // DOM traversal and data mapping logic
    // returns a productsList array
    ...
}

fetchProductList('https://amazon.in', 'Shirts');
We can see that we wait for the search box to be available and then we add the searchTerm passed using page.evaluate. We then navigate to the products listing page by emulating the 'search button' click action and exposing the DOM.
The complexity of automation varies from use case to use case.
Some Notable Gotchas: A Minor Heads Up
Puppeteer's API is pretty comprehensive but there are a few gotchas I came across while working with it. Remember, not all of these gotchas are directly related to puppeteer but tend to work better along with it.
- Puppeteer creates a Chrome browser instance as already mentioned. However, it is likely that some existing websites might block access if they suspect bot activity. There is this package called
[user-agents](https://www.npmjs.com/package/user-agents)which can be used with puppeteer to randomize the user-agent for the browser.
Note: Scraping a website lies somewhere in the grey areas of legal acceptance. I would recommend using it with caution and checking rules where you live.
const puppeteer = require('puppeteer');
const userAgent = require('user-agents');

...

const browser = await puppeteer.launch({ headless: true, defaultViewport: null });
const page = await browser.newPage();
await page.setUserAgent(userAgent.toString());

...
- We came across
defaultViewport: nullwhen launching our Chrome instance and I had listed it as optional. This is because it comes in handy only when you are viewing the Chrome instance being launched. It prevents the website's width and height from being affected when it is rendered. - Puppeteer is not the ultimate solution when it comes to performance. You, as a developer, will have to optimize it to increase its performance efficiency through actions like throttling animations on the site, allowing only essential network calls, etc.
- Remember to always end a puppeteer session by closing the Browser instance by using
browser.close. (I happened to miss out on it in the first try) It helps end a running Browser Session. - Certain common JavaScript operations like
console.log()will not work within the scope of the page methods. The reason being that the page context/browser context differs from the node context in which your application is running.
These are some of the gotchas I noticed. If you have more, feel free to reach out to me with them. I would love to learn more.
Done? Let's run the application.
Website to Your API: Bringing it All Together
The application is run in non-headless mode so you can witness what exactly happens. We will automate the navigation to the product listing page from which we obtain the data.

There. You have your own API consumable data setup from the website of your choice. All you need to do now is to wire this up with a server side framework like express and you are good to go.
Conclusion
There is so much you can do with Puppeteer. This is just one particular use case. I would recommend that you spend some time to read the official documentation. I will be doing the same.
Puppeteer is used extensively in some of the largest organizations for automation tasks like testing and server side rendering, among others.
There is no better time to get started with Puppeteer than now.
If you have any questions or comments, you can reach out to me on LinkedIn or Twitter.
In the meantime, keep coding.