
In this article, I'll explain what Dataproc is and how it works.
Dataproc is a Google Cloud Platform managed service for Spark and Hadoop which helps you with Big Data Processing, ETL, and Machine Learning. It provides a Hadoop cluster and supports Hadoop ecosystems tools like Flink, Hive, Presto, Pig, and Spark.
Dataproc is an auto-scaling cluster which manages logging, monitoring, cluster creation of your choice and job orchestration. You'll need to manually provision the cluster, but once the cluster is provisioned you can submit jobs to Spark, Flink, Presto, and Hadoop.
Dataproc has implicit integration with other GCP products like Compute Engine, Cloud Storage, Bigtable, BigQuery, Cloud Monitoring, and so on. The jobs supported by Dataproc are MapReduce, Spark, PySpark, SparkSQL, SparkR, Hive and Pig.
Apart from that, Dataproc allows native integration with Jupyter Notebooks as well, which we'll cover later in this article.
In the article, we are going to cover:
Dataproc cluster types and how to set Dataproc up
How to submit a PySpark job to Dataproc
How to create a Notebook instance and execute PySpark jobs through Jupyter Notebook.
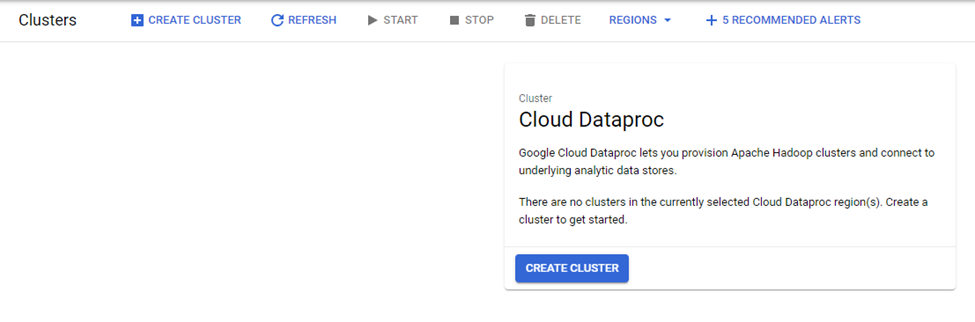
How to Create a Dataproc Cluster
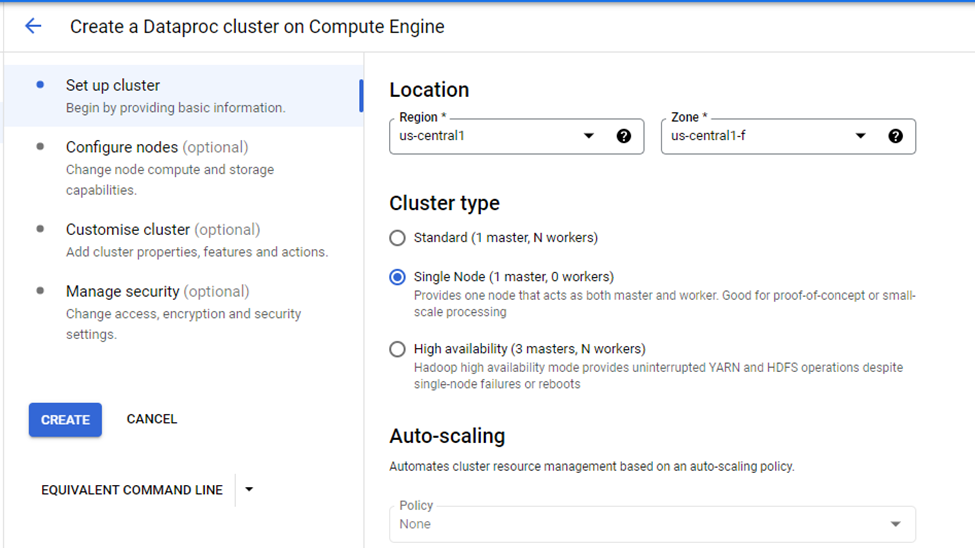
Dataproc has three cluster types:
Standard
Single Node
High Availability
The Standard cluster can consist of 1 master and N worker nodes. The Single Node has only 1 master and 0 worker nodes. For production purposes, you should use the High Availability cluster which has 3 master and N worker nodes.
For our learning purposes, a single node cluster is sufficient which has only 1 master Node.
Creating Dataproc clusters in GCP is straightforward. First, we'll need to enable Dataproc, and then we'll be able to create the cluster.
Start Dataproc cluster creation
When you click "Create Cluster", GCP gives you the option to select Cluster Type, Name of Cluster, Location, Auto-Scaling Options, and more.
Parameters required for Cluster
Since we've selected the Single Node Cluster option, this means that auto-scaling is disabled as the cluster consists of only 1 master node.
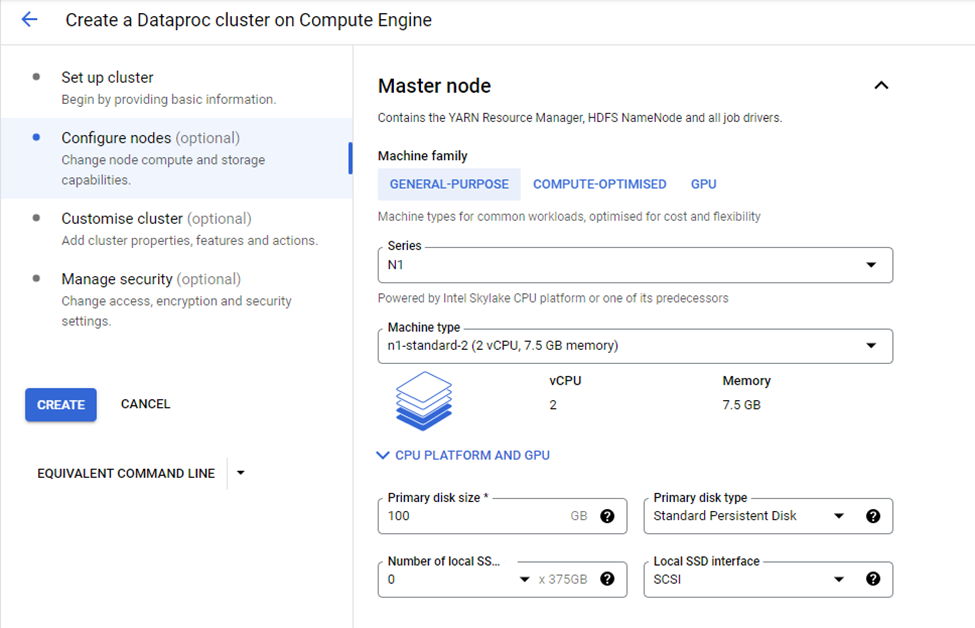
The Configure Nodes option allows us to select the type of machine family like Compute Optimized, GPU and General-Purpose.
In this tutorial, we'll be using the General-Purpose machine option. Through this, you can select Machine Type, Primary Disk Size, and Disk-Type options.
The Machine Type we're going to select is n1-standard-2 which has 2 CPU’s and 7.5 GB of memory. The Primary Disk size is 100GB which is sufficient for our demo purposes here.
Master Node Configuration
We've selected the cluster type of Single Node, which is why the configuration consists only of a master node. If you select any other Cluster Type, then you'll also need to configure the master node and worker nodes.
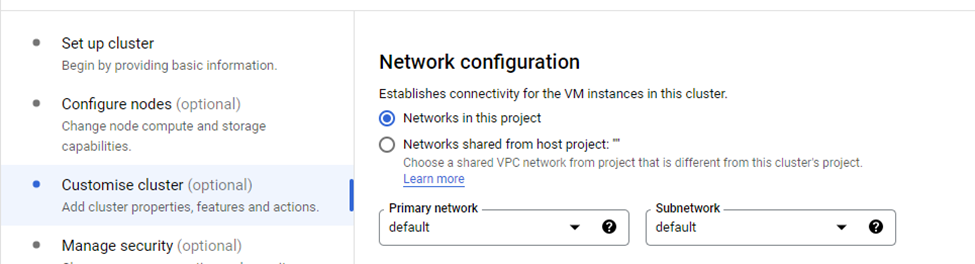
From the Customise Cluster option, select the default network configuration:
Use the option "Scheduled Deletion" in case no cluster is required at a specified future time (or say after a few hours, days, or minutes).
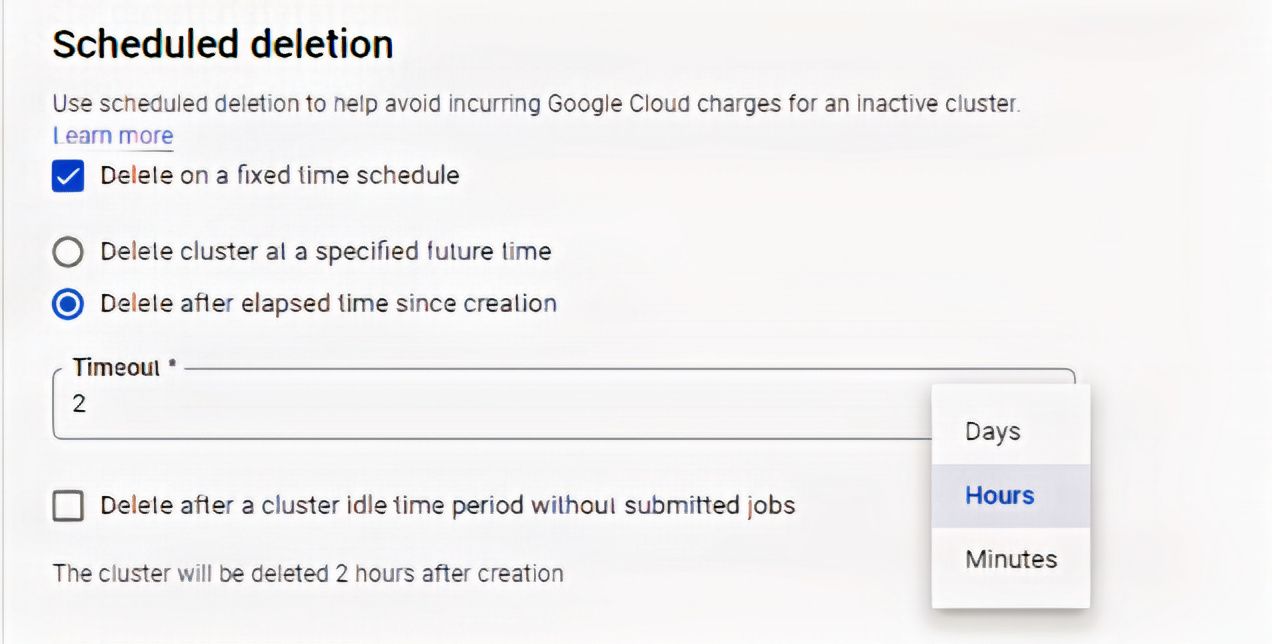
Schedule Deleting Setting
Here, we've set "Timeout" to be 2 hours, so the cluster will be automatically deleted after 2 hours.
We'll use the default security option which is a Google-managed encryption key. When you click "Create", it'll start creating the cluster.
You can also create the cluster using the ‘gcloud’ command which you'll find on the ‘EQUIVALENT COMMAND LINE’ option as shown in image below.
And you can create a cluster using a POST request which you'll find in the ‘Equivalent REST’ option.
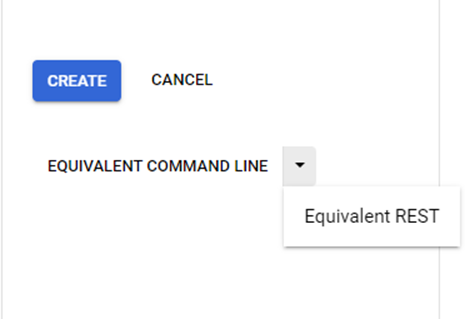
gcloud and REST option for Cluster creation
After few minutes the cluster with 1 master node will be ready for use.
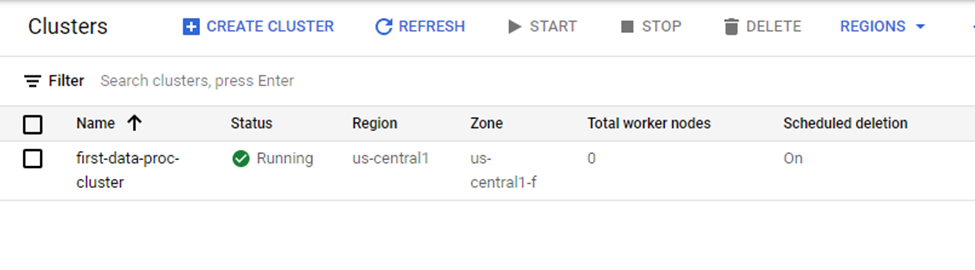
Cluster Up and Running
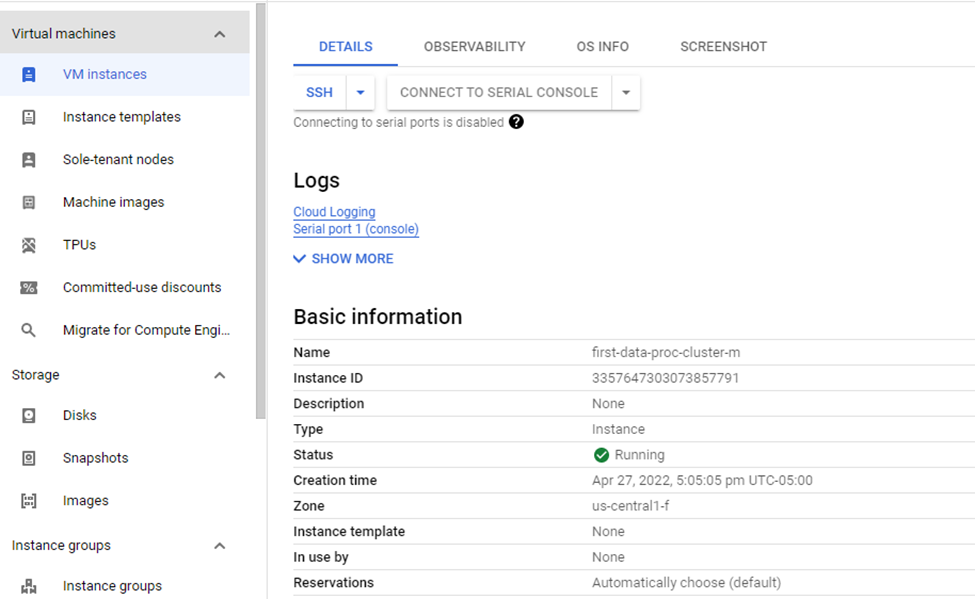
You can find details about the VM instances if you click on "Cluster Name":

How to Submit a PySpark Job
Let’s briefly understand how a PySpark Job works before submitting one to Dataproc. It’s a simple job of identifying the distinct elements from the list containing duplicate elements.
#! /usr/bin/python

import pyspark

#Create List
numbers = [1,2,1,2,3,4,4,6]

#SparkContext
sc = pyspark.SparkContext()

# Creating RDD using parallelize method of SparkContext
rdd = sc.parallelize(numbers)

#Returning distinct elements from RDD
distinct_numbers = rdd.distinct().collect()

#Print
print('Distinct Numbers:', distinct_numbers)
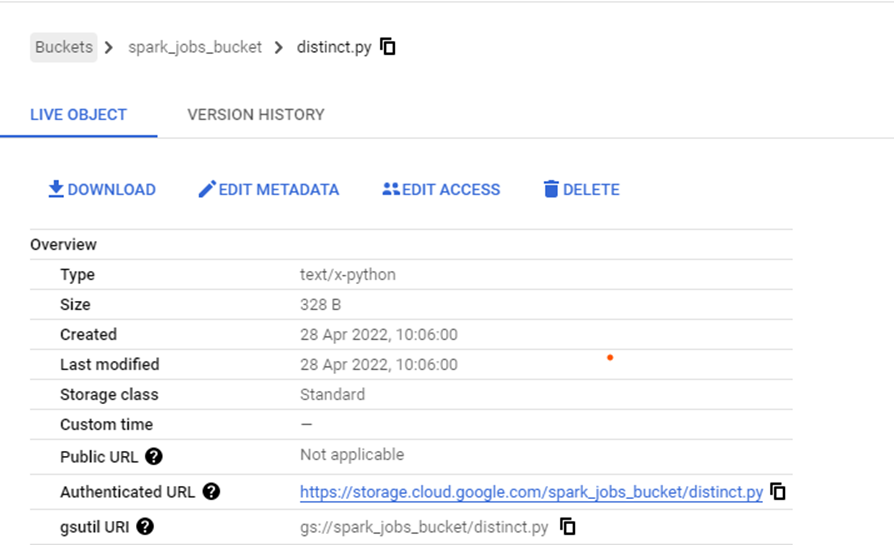
Upload the .py file to the GCS bucket, and we'll need its reference while configuring the PySpark Job.
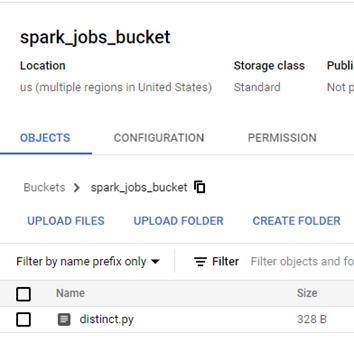
Job GCS Location
Submitting jobs in Dataproc is straightforward. You just need to select “Submit Job” option:
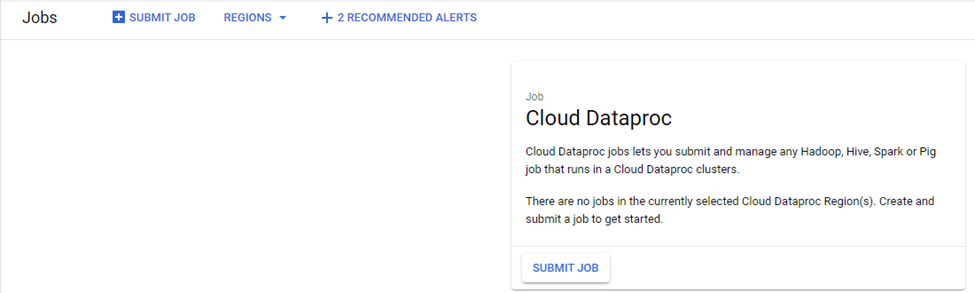
Job Submission
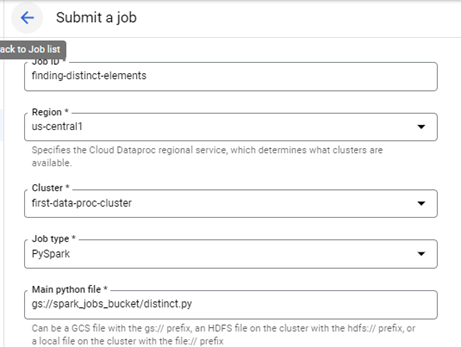
For submitting a Job, you'll need to provide the Job ID which is the name of the job, the region, the cluster name (which is going to be the name of cluster, "first-data-proc-cluster"), and the job type which is going to be PySpark.
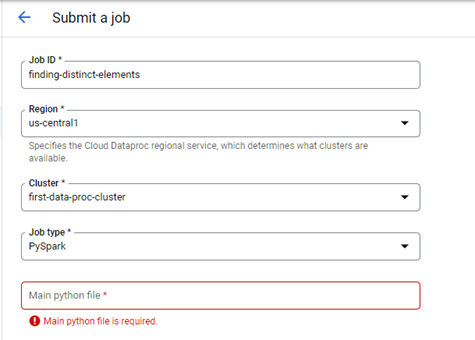
Parameters required for Job Submission
You can get the Python file location from the GCS bucket where the Python file is uploaded – you'll find it at gsutil URI.
No other additional parameters are required, and we can now submit the job:
After execution, you should be able to find the distinct numbers in the logs:
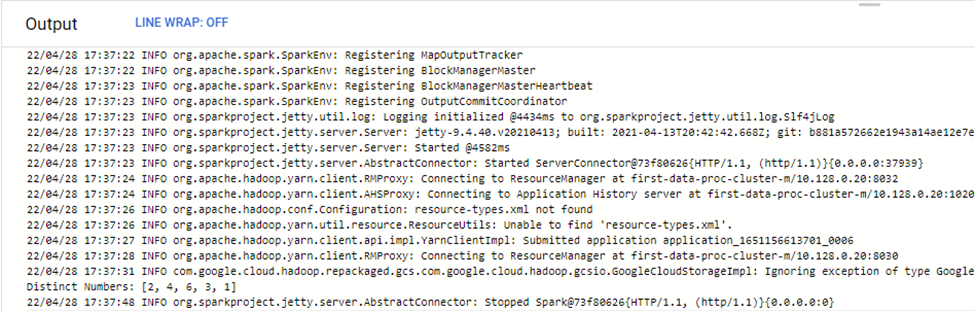
Logs
How to Create a Jupyter Notebook Instance
You can associate a notebook instance with Dataproc Hub. To do that, GCP provisions a cluster for each Notebook Instance. We can execute PySpark and SparkR types of jobs from the notebook.
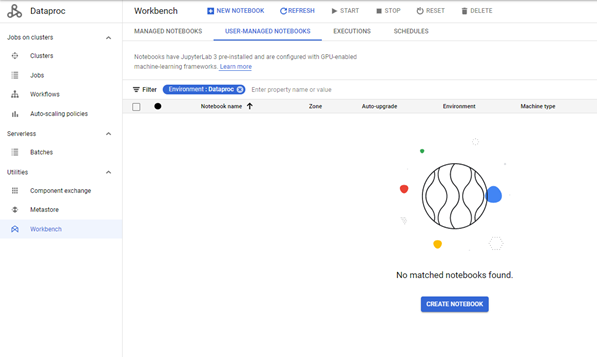
To create a notebook, use the "Workbench" option like below:
Make sure you go through the usual configurations like Notebook Name, Region, Environment (Dataproc Hub), and Machine Configuration (we're using 2 vCPUs with 7.5 GB RAM). We're using the default Network settings, and in the Permission section, select the "Service account" option.

Parameters required for Notebook Cluster Creation
Click Create:
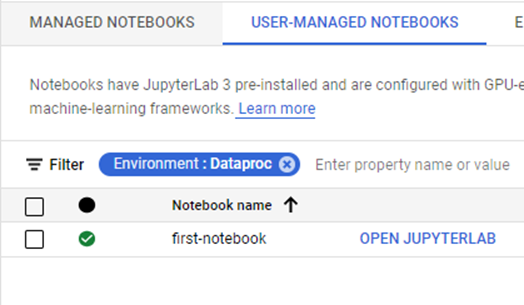
Notebook Cluster Up & Running
The "OPEN JUPYTYERLAB" option allows users to specify the cluster options and zone for their notebook.


Once the provisioning is completed, the Notebook gives you a few kernel options:
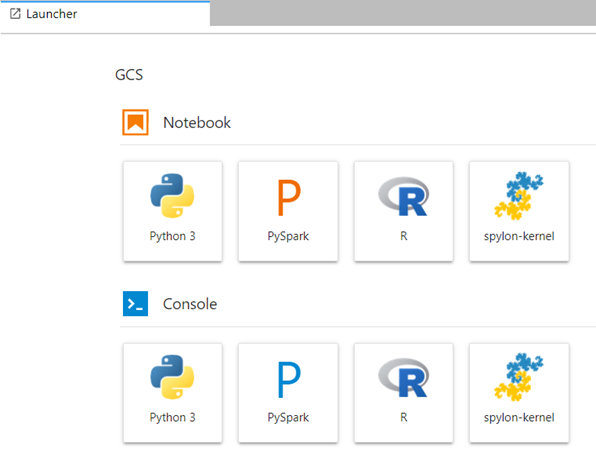
Click on PySpark which will allow you to execute jobs through the Notebook.
A SparkContext instance will already be available, so you don't need to explicitly create SparkContext. Apart from that, the program remains the same.
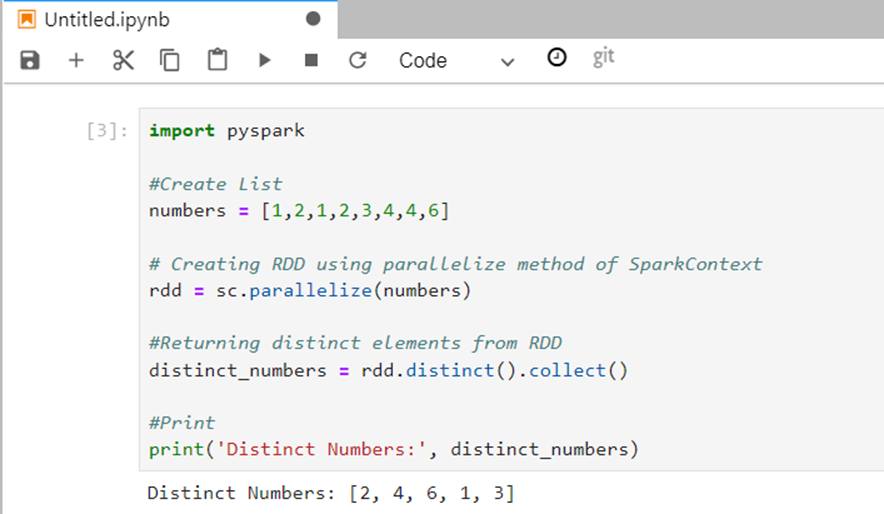
Code snapshot on Notebook
Conclusion
Working on Spark and Hadoop becomes much easier when you're using GCP Dataproc. The best part is that you can create a notebook cluster which makes development simpler.