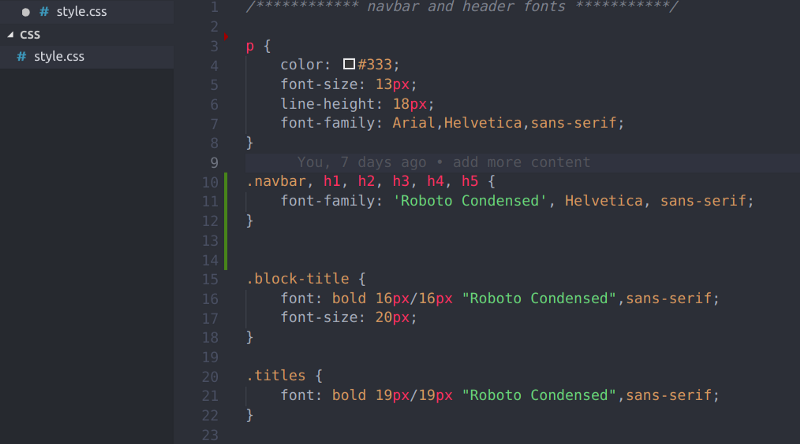
CSS is fun to write, but it can quickly get complicated. A typical example is having to scroll upwards to check the hexadecimal values of the colors you are using.
Typing a class or id selector several times within a single CSS file, or having to copy and paste every browser’s support prefix to your code each time for cross-browser compatibility can make your CSS file harder to maintain.

// cross-browser compatibility

-webkit-transform: $property
-ms-transform: $property
transform: $property

display: -ms-flexbox;
display: flex;

-ms-flex-wrap: wrap;
flex-wrap: wrap;
The next time you want to write CSS, try not “writing” in CSS at all.
Instead, try using CSS Preprocessors.
What are Preprocessors?
According to MDN, a CSS preprocessor is a program that lets you generate CSS from the preprocessor’s own unique syntax. You write your CSS code in them and then generate a corresponding CSS file to style your HTML.
Some of the popular preprocessors to use include SASS/SCSS, LESS, Stylus, and PostCSS. I use SASS, so my illustrations in this article are in SASS.
Though preprocessors have their own syntax, they are quite easy to catch up with, just a few differences from writing vanilla CSS.
6 Reasons Why You Should STOP Writing CSS in “CSS”
Preprocessors’ syntax gives room for some additional functionalities that deliver the following:
1. Variables
Preprocessors use variables to store reusable values. You can store any type of styling in a variable. It could be color, font-family, or even values for your padding, margin, width, or height.
When you define the variable, there is no need to remember the value. Recall the variable whenever you need the stored value.
// variables

$my_font: Helvetica, sans-serif
$my-color: #333

body
    font: 100% $my-font
    color: $my-color
2. Nesting
We write HTML by nesting child/children in parent elements like the ul, li, and a element in a nav. When using preprocessors, you don’t have to write out the parent CSS selector (nav tag in this case) each time.
Move to the next line and type the child element as shown below:
// navigation bar

nav
  	ul
        margin: 0
        padding: 0
        list-style: none

	li
		display: inline-block

 	a
		display: block
		padding: 6px 12px
		text-decoration: none
The ul, li, and a selectors are nested inside the nav selector.
Some developers believe this is coming to CSS. But hey, it’s not here yet, it doesn’t hurt to get used to it before its arrival in CSS. :)
3. Import
Preprocessors make CSS’s existing import better.
import lets you split your CSS into smaller files for readability and maintainability. It takes the file you are importing and adds it to the file you are importing into.
// _reset.sass

html, body, div, span, applet, object, iframe, h1, h2, h3, h4, h5, h6, p, blockquote
    margin: 0;
    padding: 0;
    border: 0;
    font-size: 100%;
    font: inherit;
    vertical-align: baseline;
You can import the reset.sass file as shown below:
// main.sass

@import reset

body
    font: 100% Helvetica, sans-serif
    background-color: #efefef
This means you can have the main.sass file, then others like reset.sass, header.sass, footer.sass, or variables.sass. You import other files into the main.sass using the preprocessor’s import syntax.
The imported file is then added to the end of the main.sass file (the file you imported into).
4. Extend
extend stores a styling or series of styling into a class. It works like a variable. It uses a placeholder class (%) to tell the compiler not to print the class unless extended.
When the class is extended into an element, then the element inherits all the styling properties saved in the placeholder class. You can still add unique styling if needed.
// This CSS will print because %message-shared is extended.
// "%" illustrates the placeholder class

%message-shared
    border: 1px solid #ccc
    padding: 10px
    color: #333

// This CSS won't print because %equal-heights is never extended.

%equal-heights
    display: flex
    flex-wrap: wrap

// This extends without adding any other styling

.message
	@extend %message-shared

// These extend with additional styling (green, red, yellow)

.success
	@extend %message-shared
	border-color: green

.error
	@extend %message-shared
	border-color: red

.warning
	@extend %message-shared
	border-color: yellow
This saves time and keeps your CSS clean.
5. Arithmetic Operations
Preprocessors allow you to run arithmetic operations in your CSS. It supports standard mathematical operators like +, -, *, /, and %.
// Arithmetic operations
.container
    width: 100%

article[role="main"]
    float: left
	width: 600px / 960px * 100%
6. Minification
Minification reduces your file size to speed up load time. It removes white spaces and unnecessary characters from your code (CSS in this case).
Preprocessors allow you to generate a compressed version of your CSS. I know there are several other ways to generate this, but hey, this is cool as well. :)
Conclusion
Having to use the terminal when compiling is the main downside of using preprocessors. However, there are other ways to compile, such as using CodeKit, Compass.app, and GhostLab. There are now some in-editor plugins (like Live Sass Compiler on Visual Studio Code) to help with this as well.
Try out any preprocessor of your choice. I bet you won’t ever write CSS in “CSS” anymore. If you have been using preprocessors, share your experience in comments.
Peace out and happy coding!
