
AI tools have become quite popular recently. Developers use these tools to help generate ideas, create simple code examples, and so on.
In 2023, ChatGPT and other Large Language Models found their way into many of our toolkits. And we can use them to be more productive and save time on repetitive tasks.
In this article, you'll discover other helpful tools besides GitHub Copilot.
Before we discuss alternatives, let's go over what GitHub Copilot is and what it does.
What is GitHub Copilot?
GitHub Copilot helps developers write code more quickly and efficiently. It's a tool developed by GitHub and OpenAI that employs a strong AI and Codex.
GitHub Copilot works with a variety of code editors, including Visual Studio Code, NeoVim, and JetBrains.
GitHub Copilot uses machine learning. It doesn't autocomplete – it suggests entire code snippets as you work in your text editor. It can also help you debug and refactor old code. The goal is to improve coding efficiency, decrease time spent on repetitive tasks, and increase productivity.
But GitHub Copilot has a downside: after the trial period, it costs $10 per month, which some users may consider too high.
So now let's look at some alternatives which are free to use.
Synk (DeepCode)
Synk, formerly known as DeepCode, is a tool that helps you keep your code safe. It works directly with your project file or repository, making it simple for teams to find and fix any security issues in their code, dependencies, containers, and infrastructure.
 Synk(DeepCode) Homepage
Use Cases
- Ideal for early-stage security reviews.
- Effective bug detection and resolution.
Features of Synk
- Scans your code early in development to help it pass security reviews. This helps avoid costly fixes later in the development cycle.
- Scans for vulnerabilities and presents results with security issues.
- Finds possible bugs in your code, helping you catch and fix issues early.
- Suggests how to make your code run better.
- Gets smarter by learning from different code examples. It gives better suggestions over time using algorithms.
Limitations of Synk
While Snyk is a powerful too, it has a couple limitations as well. First, it examines whole codebases, which could demand significant computing power, affecting the performance.
To help mitigate this issue, you can break down large codebases into smaller, manageable modules.
Also, there might be a bit of a learning curve for developers to understand how to get the most out of the tool.
But your team can offer training sessions or documentation to help you and other developers better understand how to use Synk effectively. Also, encourage your team to provide support resources, such as forums or documentation, to address common issues and questions.
Price
Using Synk in Visual Studio Code for individual code security testing is entirely free. This allows for checking your code's security before deploying it to production.
To collaborate within a team or for business purposes, upgrading the plan is necessary. You can find more information about the pricing plan here.
How to set up Synk in Visual Studio Code
To set up Snyk, select the "View" option in your text to reveal a dropdown menu.
 Select the "view" option in the editor
Then click on the "Extensions" option in that dropdown, and it will take you to the Visual Studio Code Marketplace.
In the marketplace, type "Synk Security" and hit enter, then go ahead and install it.
 Marketplace
How to authenticate in Snyk
After you've installed Snyk, you'll need to authenticate.
Click on the Synk icon in your editor. This will take you to the authentication page.
Click on the button to authenticate and connect. Once you're authenticated, go back to your editor. That's it!
 Authenticate and connect to so it works with your visual studio code
After completing this step, you can now use Snyk to examine, understand, and analyze your code before sending it in for production.
Example use case
To scan for possible vulnerabilities in the project file, just click on the sync icon on the left panel. This will analyze the code and highlight any potential issues that need attention.
 Example Synk in action
If you take a closer look, you'll see some letters indicating how vulnerable codes written is.
- "H" means it's really high and needs fixing ASAP.
- "M" means it's at the maximum vulnerability level.
- "L" means it's at a low vulnerability level.
If you click on a vulnerability, you'll get suggestions on how to fix it, which are displayed on the right side of the editor.
Swimm AI
Swimm is a coding assistance tool that helps you understand complex and large code bases.
Swimm, acting as an intelligent guide for developers, simplifies the process of understanding complex code by delivering quick insights. It also excels at automatically correcting and augmenting any documentation gaps that may emerge, resulting in a complete and well-documented development environment.
 Homepage of Swimm AI
Use Cases
- Document Creation.
- Workflow Organization.
- Automatic Generation of Code Snippet Explanations.
Features of Swimm AI
- Simplifies document creation.
- Transforms pull requests into user-friendly documents for easy knowledge sharing.
- Enhances workflow organization with rules for document visibility.
- Improves communication clarity through guided documentation enhancement, making information more understandable and accessible.
- Analyzes your code from multiple perspectives, creating easy-to-understand documents for complex code flows.
- Continuously updated knowledge base, that is it auto-syncs automatically to align your documentation and latest code changes.
Limitations of Swimm AI
As always when using AI tools, you should always double-check before finalizing your decisions based off the AI's output.
Price
When Swimm is incorporated into your development environment, it is free to use. But larger businesses might consider upgrading because enhanced plans give unlimited user access.
How to set up Swimm AI in Visual Studio Code
Visit your Integrated Development Environment (IDE)'s marketplace, type "swimm," and hit Enter.
Then, proceed with the installation from the marketplace, or you can go to their website to integrate it into your IDE.
Click the VSCode icon to initiate it. Then you'll need to login or sign-up – click the button that appears.
 Clicking of the icon
To sign up, simply follow the instructions provided by the website.
Since you are authenticated, you can now log in and use the application.
 Login direction
When the external website opens, synchronize your Integrated Development Environment (IDE).
 Authorizing with your IDE
Now let's go ahead and see how it works with a practical example.
 Swimm AI example
Cody AI
Cody AI is a smart coding assistant that uses advanced AI to understand and analyze your code. It helps you code more quickly and also improves your understanding of the codebase. It goes beyond basic functions, identifying patterns and suggesting improvements, making your coding experience more efficient and insightful.
 Cody Homepage
Use Cases for Cody AI
- Facilitating creativity in tasks and brainstorming.
- Resolving common issues with digital tools.
- Strengthening teamwork through quick information sharing.
Features of CodyAI
- Provides immediate responses to inquiries.
- Allows you to upload various data types to build a customized knowledge base.
- Cody's responses all have adequate source citations.
- Can help with email authoring, document translation, and marketing material generation.
- Assists teams in using digital technologies to diagnose and resolve problems.
- Based on previous encounters and contextual history, it makes suggestions and thoughts.
Limitations of Cody AI
As with any tool, there are limitations. First of all, the search capability of the AI isn't as powerful. It analyzes user queries using available information. As a result, the AI may give answers that lack your desired depth or specificity at times.
Also, Cody AI Bots can't do math or handle tables well. This means the AI might not give accurate answers when dealing with numbers or complex data.
Lastly, Cody AI Bots can't understand pictures, diagrams, or anything visual in documents. It only uses text to come up with responses, so it's not great at dealing with visual elements.
To help mitigate these issues, make sure you're as clear and specific as possible when formulating your queries to help Cody better understand your intentions.
You can also break down complex questions into simpler components to improve the chances of accurate responses.
Price
Installing Cody in your integrated development environment is free for personal use. However, for professionals or businesses looking to leverage Cody's capabilities, an upgrade is required.
How to set up Cody in Visual Studio Code
First, select the "View" option in your text editor to reveal a dropdown menu as shown above.
Click "Extensions", and it will take you to the Visual Studio Code Marketplace.
In the marketplace, type "Cody" and hit enter, then go ahead and install it.
 Cody Plugin
Now that the installation is complete, you can begin utilizing Cody in your editor.
Cody provides different command prompts to assist you with your code:
- It can help you generate documentation for your code
- If you're contributing to an open-source project and find the codebase confusing, Cody AI can provide explanations.
- It can tell you which programming language a piece of code is written in.
- You can ask Cody questions without leaving your coding environment.
- Cody can make edits to your code based on given instructions.
Now, I'll illustrate how Cody can help explain parts of your code with an example:
 One command prompt of Cody AI
Tabnine
Tabnine is a powerful AI assistant designed for developers, providing AI-driven code completions and suggestions to boost productivity.
It is compatible with a wide range of programming languages and major Integrated Development Environments (IDEs), enabling developers to leverage its smart code recommendations effectively.
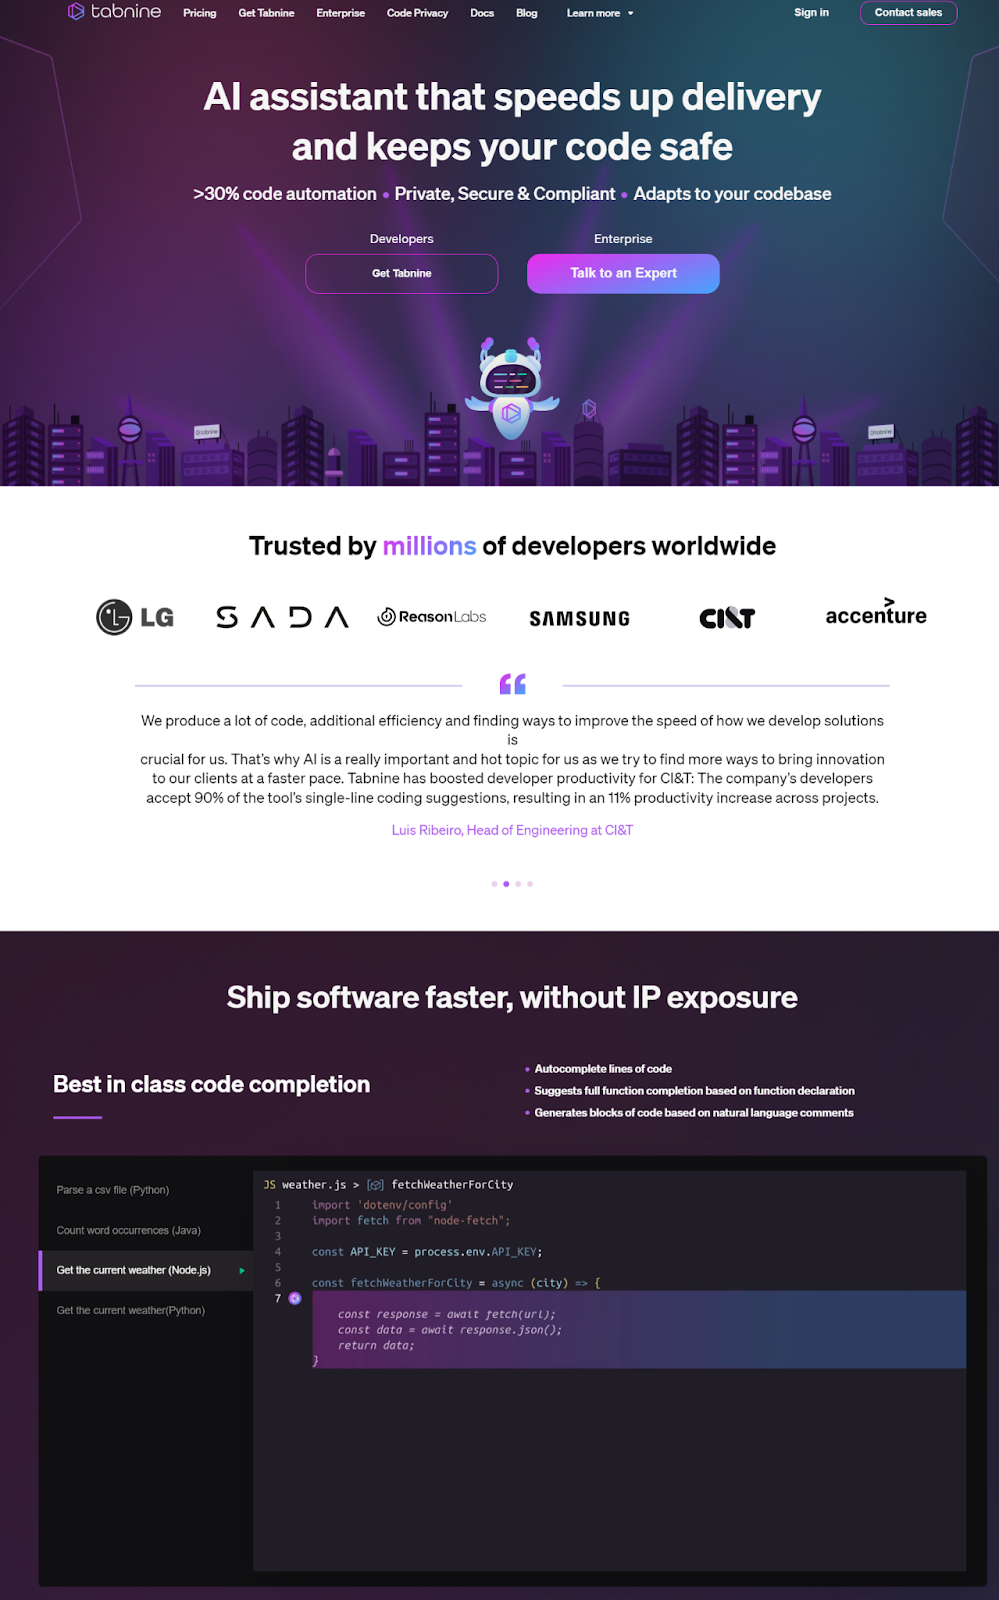 Tabnine Homepage
Use cases
- Speeding up Software Development: Facilitates faster and more efficient code writing.
- Ensuring Code Consistency: Maintains a consistent coding style among different team members.
Features of Tabnine
- Learns from the code you type and adjusts its suggestions to match your coding style.
- Cares about your privacy. It only learns from open-source and permissive code, so you always own your code.
- Awesome for developers because it works with many programming languages. It's like a handy tool for different tech stuff!
- Makes coding easier by giving smart suggestions, helping developers save time.
- It works well with popular code editors like Visual Studio code. Developers can use it in their coding environments.
Limitations of Tabnine
Tabnine learns from how you code over time, so it might take a little time to match your coding style. It helps if you actively use the tool and provide consistent input to help it learn your coding style faster.
Tabnine also suggests code, but it doesn't create entire sections. While this may seem like a limitation, it's actually best for code quality.
Finally, it might suggest code that is not quite right. Developers should double-check the suggestions for accuracy. To help Tabnine suggest better code, you can regularly review and accept/reject suggestions to fine-tune its understanding of your preferences.
You should also always double-check the suggested code for correctness and adherence to coding standards before finalizing it.
Price
Installation comes at no monthly cost, making it free. However, for larger organizations, it's recommended to consider upgrading. Upgraded plans for larger organizations provide unlimited user access while prioritizing security and privacy.
How to set up Tabnine in Visual Studio Code
To begin, select the "View" option in your text editor to reveal a dropdown menu as shown above.
Click "Extensions" and it will take you to the Visual Studio Code Marketplace.
In the marketplace, type "Tabnine" and hit enter, then go ahead and install it.
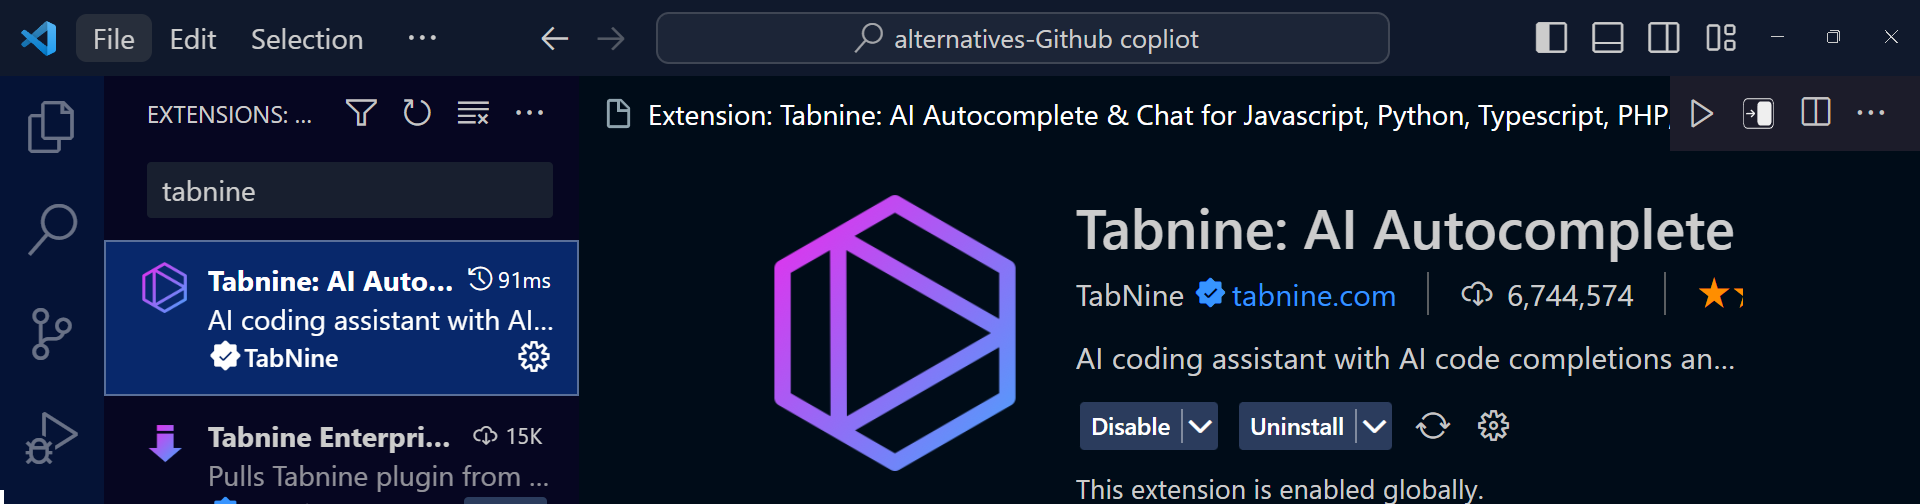 Extension (marketplace in IDE)
Now that we've got it installed, you can start using Tabnine in your editor. Here's an example:
 Example in the editor
And here's the code:
const add = (a, b) => {

 return a + b;

}

console.log(add(5,9))// output 14
Code Whisperer
CodeWhisperer is a smart helper for coding. It uses AI to suggest bits of code or whole functions as you work in your coding environment. Made by AWS, it makes coding easier with features like autocomplete and code restructuring.
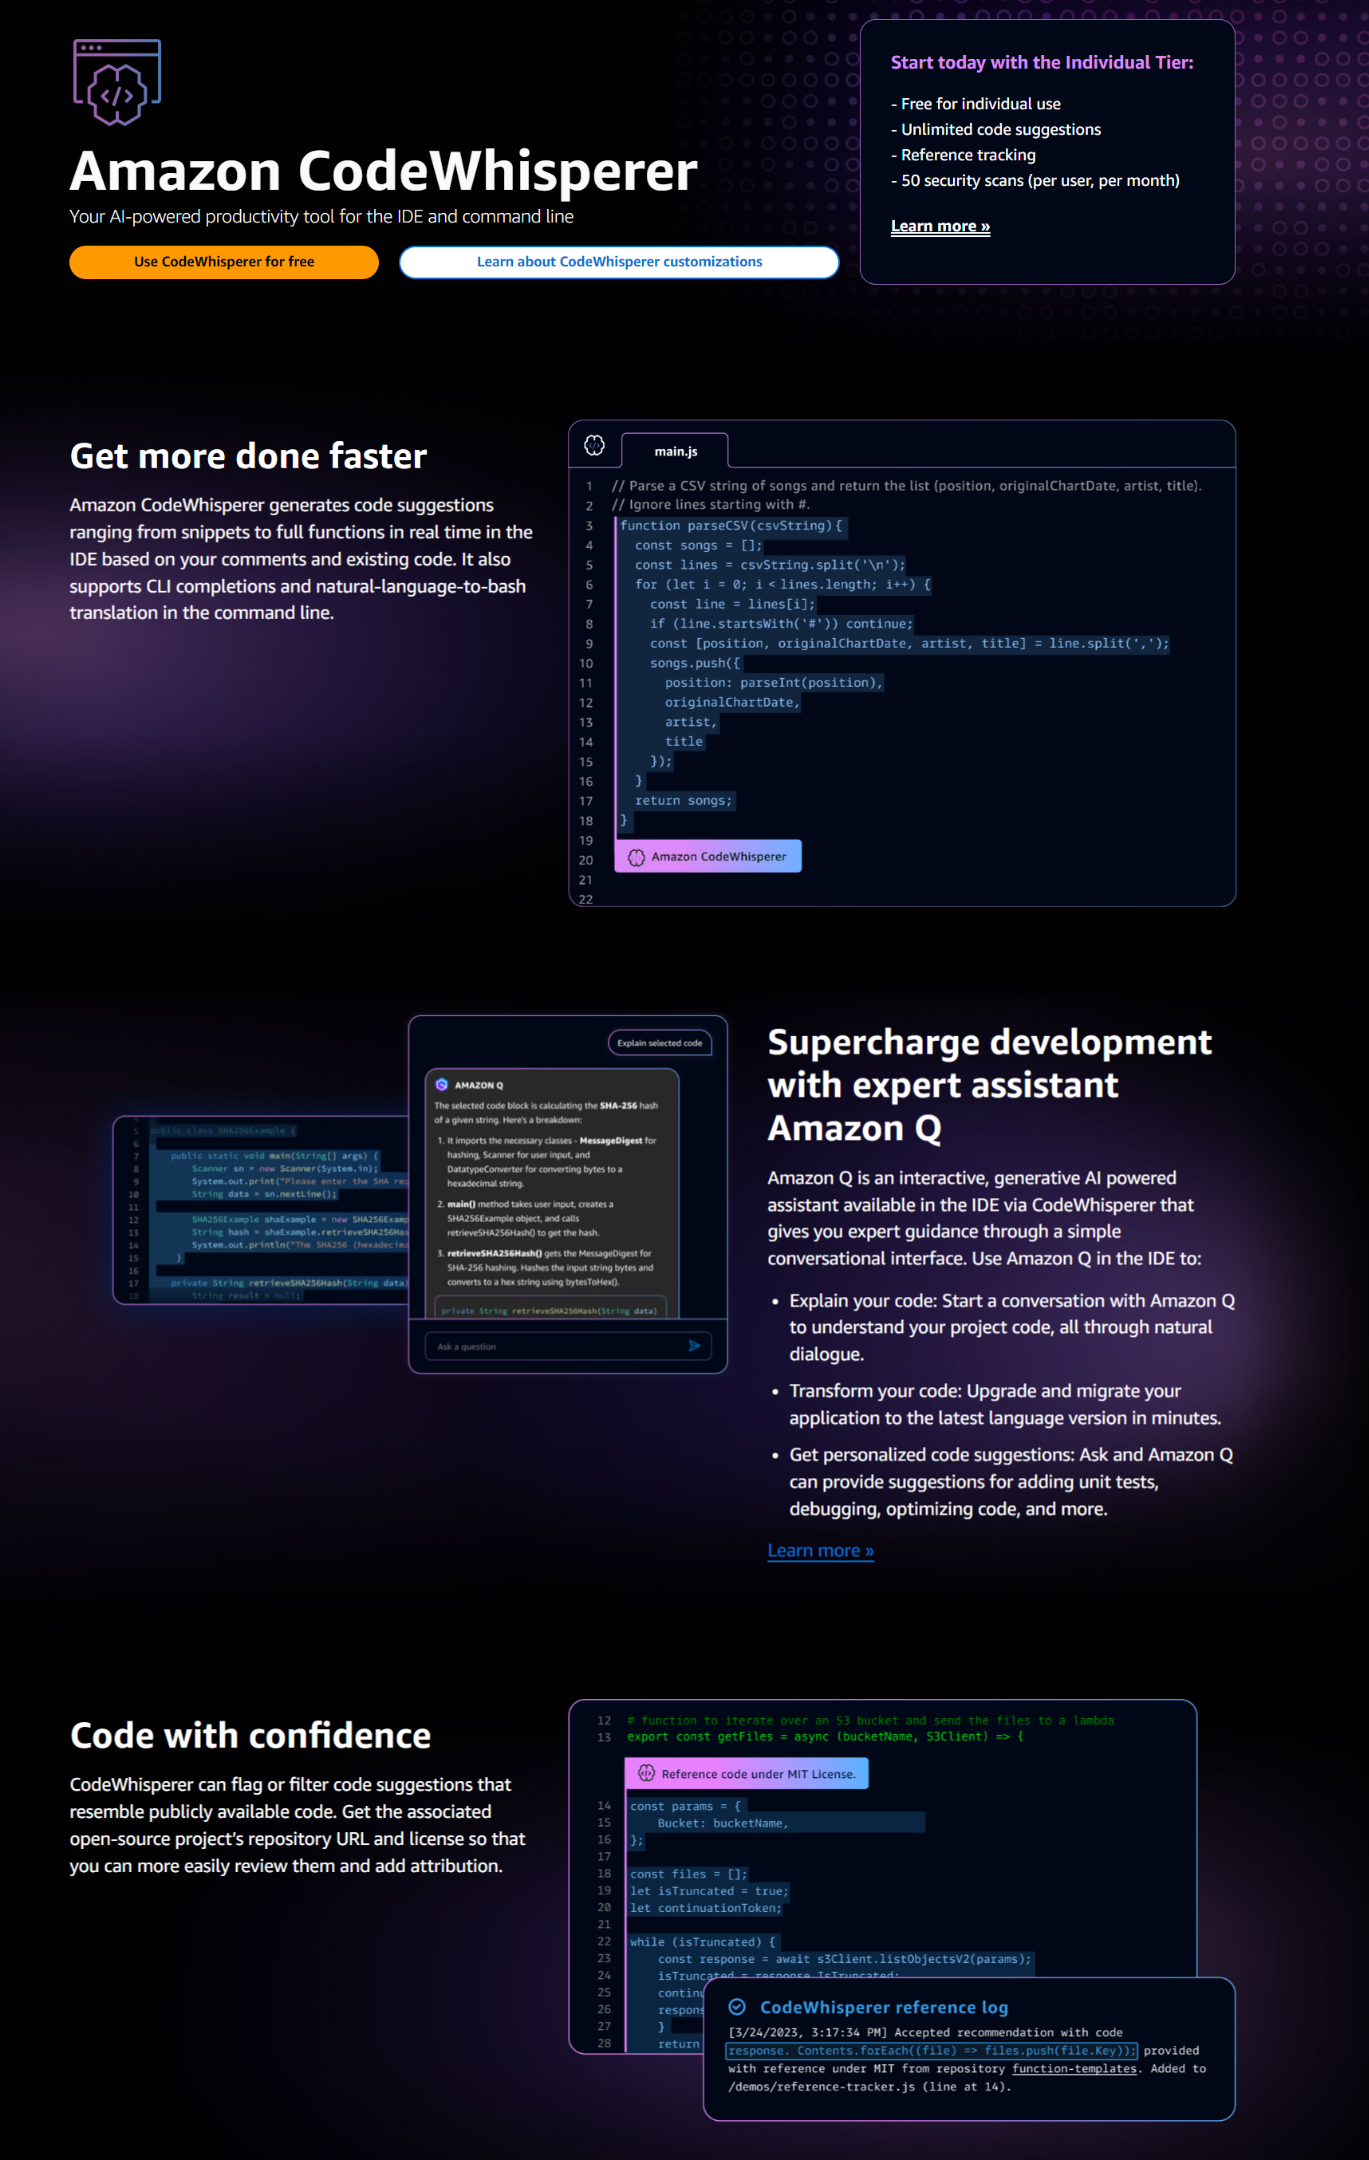 Code Whisperer Homepage
Features of Code Whisperer
- Code Whisperer suggests code in real-time as you write.
- Integrates with your Integrated Development Environment (IDE).
- Helps enhance code readability and efficiency by assisting in improving and restructuring.
- Supports a diverse range of programming languages.
- Offers valuable help in generating and understanding code documentation.
Limitations of Code Whisperer
CodeWhisperer might find it hard to handle new coding tasks that need creativity.
Also, errors in its training data/models may lead to inaccurate code suggestions.
With these in mind, you should primarily use CodeWhisperer as a tool for generating routine or repetitive code, leaving more complex and creative tasks to human expertise.
Also make sure to review and verify any suggestions from CodeWhisperer often and don't just take the information at face value.
How to set up Code Whisperer in Visual Studio Code
First, select the "View" option in your text editor to reveal a dropdown.
Click on "Extensions" and it will take you to the Visual Studio Code Marketplace.
In the marketplace, type "AWS Toolkit" and hit enter, then go ahead and install it.
 Extension(marketplace in IDE)
Now that the extension is installed, let's put it to use in our Integrated Development Environment (IDE).
Here's the code:
// create a greet function
function greet(name) {
    return "Hello " + name;
}
// export the greet function
module.exports = greet;
CodeGeex AI
CodeGeeX is a helpful tool for coding that creates comments, suggests code, and provides AI-powered chat help. It can also translate your code into different languages and works well with many programming languages and tools.
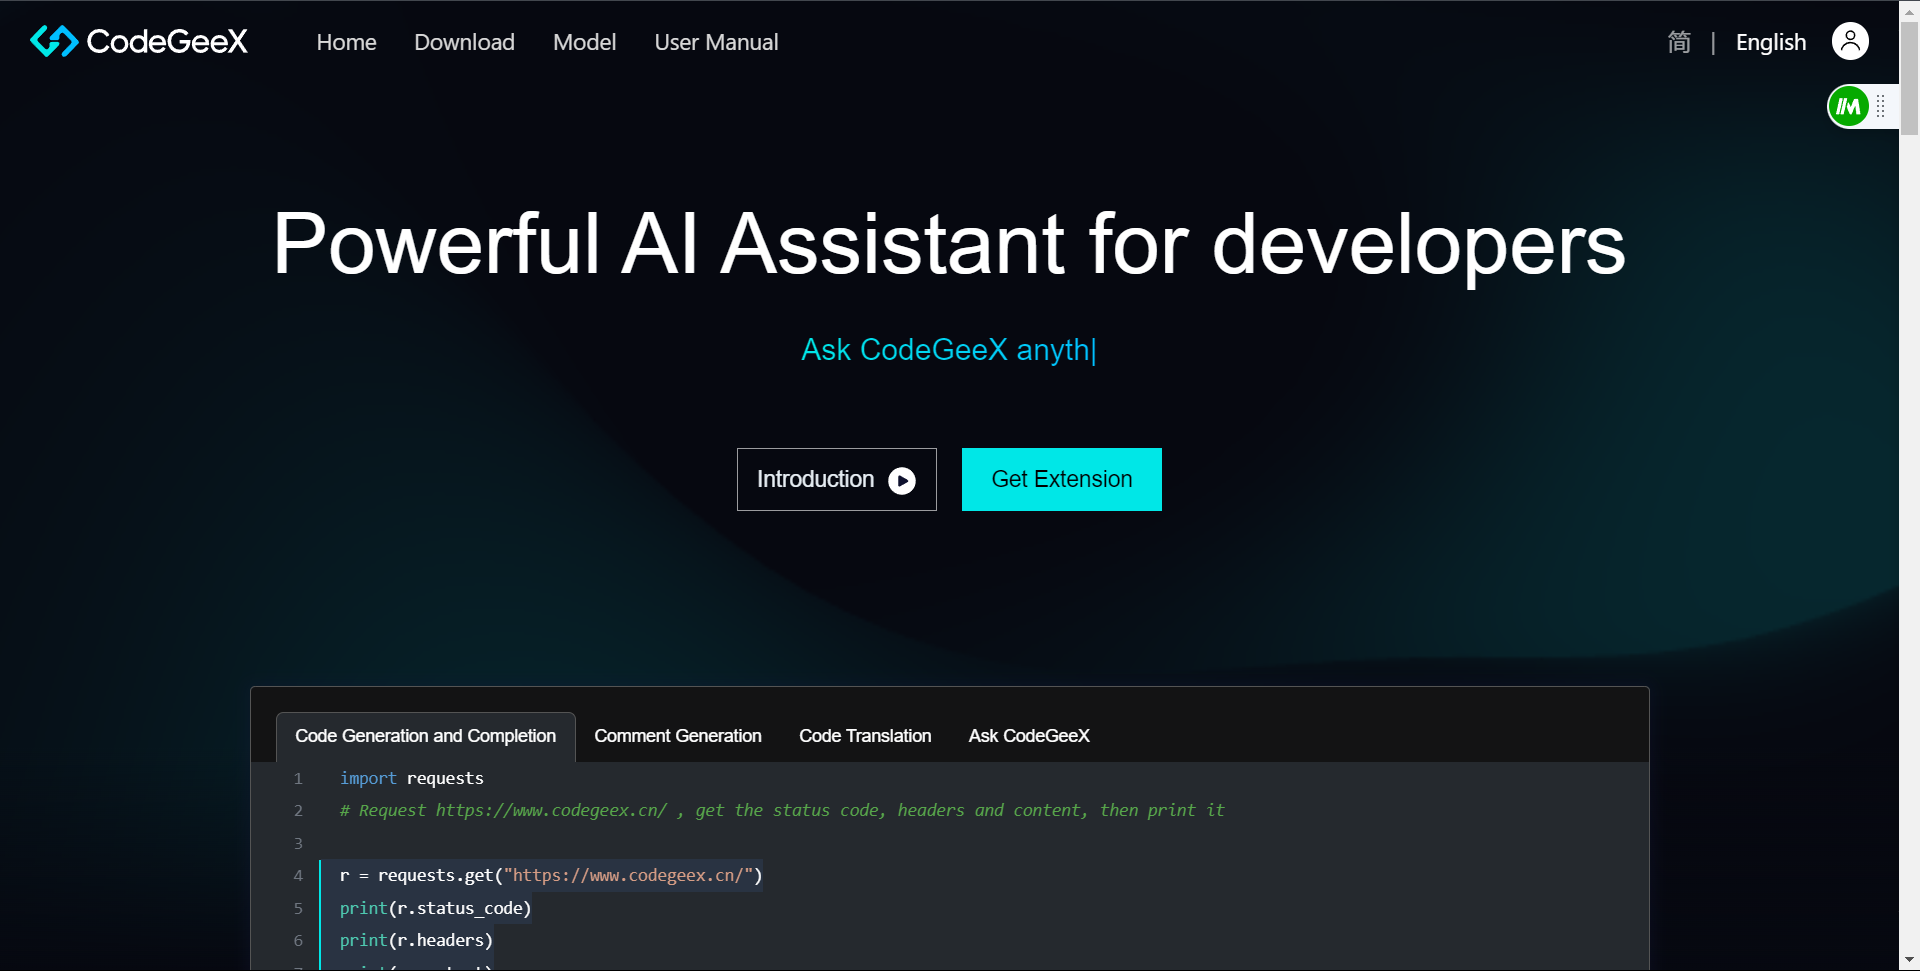 CodeGeex Homepage
Use Cases
- Make coding faster.
- Guides new developers through big code with auto comments and explanations.
Features of CodeGeex AI
- Great at finishing code. It helps by autocompleting and generating lines based on existing code or comments.
- Creates comments for both methods and lines in the code, saving time and making it easy to understand unfamiliar code.
- Helps change code from one programming language to another – like turning Python into Java.
- Developers can ask CodeGeeX coding questions and get quick answers without searching the web.
- CodeGeeX does more than suggesting code. It can interpret selected code, fix bugs, summarize code, and more.
Limitations of CodeGeeX AI
When you're using CodeGeeX, keep in mind that it's a research prototype, so it might not always create perfect code for every situation.
It also might misunderstand some language descriptions or code snippets, leading to possible mistakes.
As always, make sure you carefully verify the generated code for accuracy and adherence to coding standards.
Also, when providing language descriptions or code snippets, be as clear and detailed as possible.
Price
CodeGeex is free to install on Visual Studio Code, and for an upgrade, it starts at $9/month.
How to set up CodeGeeX AI in Visual Studio Code
Select the "View" option in your text editor to unveil a dropdown menu.
Click on "Extensions" in your text editor, and it will take you to the Visual Studio Code Marketplace.
In the marketplace, type "CodeGeex" and hit enter, then proceed to install it.
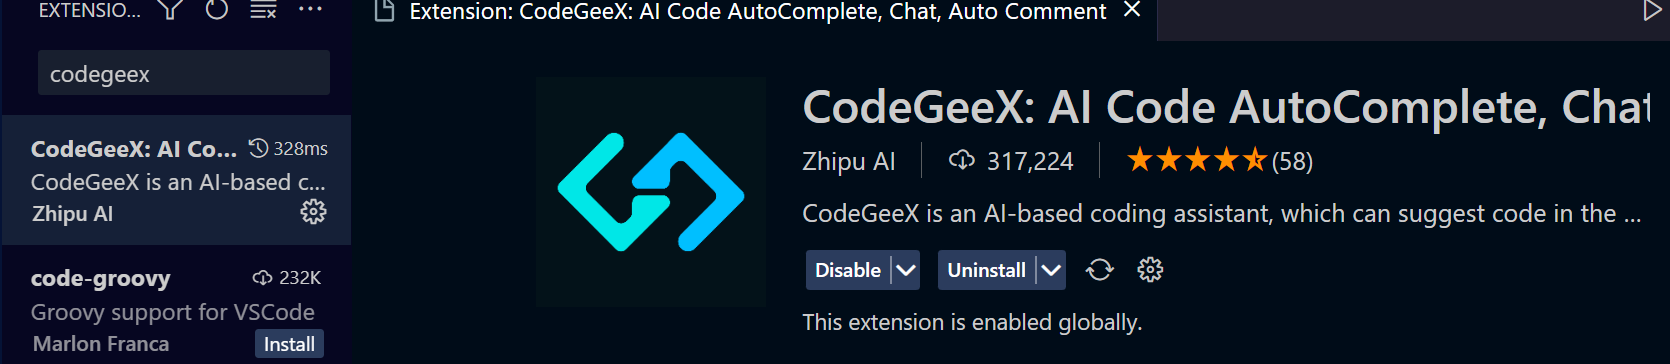 Install CodeGeex
After installation, click on the icon, and it will take you back to a page where you can log in or sign up.
 Login page in CodeGeex
Once you've completed this step, you'll be able to interact with the AI in your IDE.
To trigger it, navigate to your IDE, highlight the desired code, and right-click. A dropdown menu will appear, allowing you to choose the specific command you want the AI to execute for you.
Here's an example:
 Example of using CodeGeex
The GIF example showed one thing CodeGeex AI can do.
To learn more about its abilities, visit the docs: CodeGeeX: AI Code AutoComplete, Chat, Auto Comment.
Code:
const colors = ['pink', 'blue', 'purple', 'green'];

colors.forEach(color => {
    console.log(color);
});
Codeium
Codeium is a free and powerful tool that makes coding faster using advanced AI. It's like a superhero for coding, with a tool that helps you complete code in over 70 languages. It's super speedy and gives top-notch suggestions, making coding much more efficient. You can use Codeium as a Google Chrome extension.
 Codeium Homepage
Just keep in mind that, because of its power, using Codeium makes it easy to over-rely on AI-generated suggestions. This could lead to errors in your code if you're not vigilant and don't keep up your skills. So make sure you still check/run your code, learn new topics as you need to, and keep your own code-writing abilities sharp.
You can read more about Codeium here.
Price
The AI is initially free to install in your Integrated Development Environment (IDE) but may require an upgrade which starts at $12/month with team usage.
How to set up Codeium in Visual Studio Code
To start, visit Codeium's website and select the sign-in option.
 Sign-in user
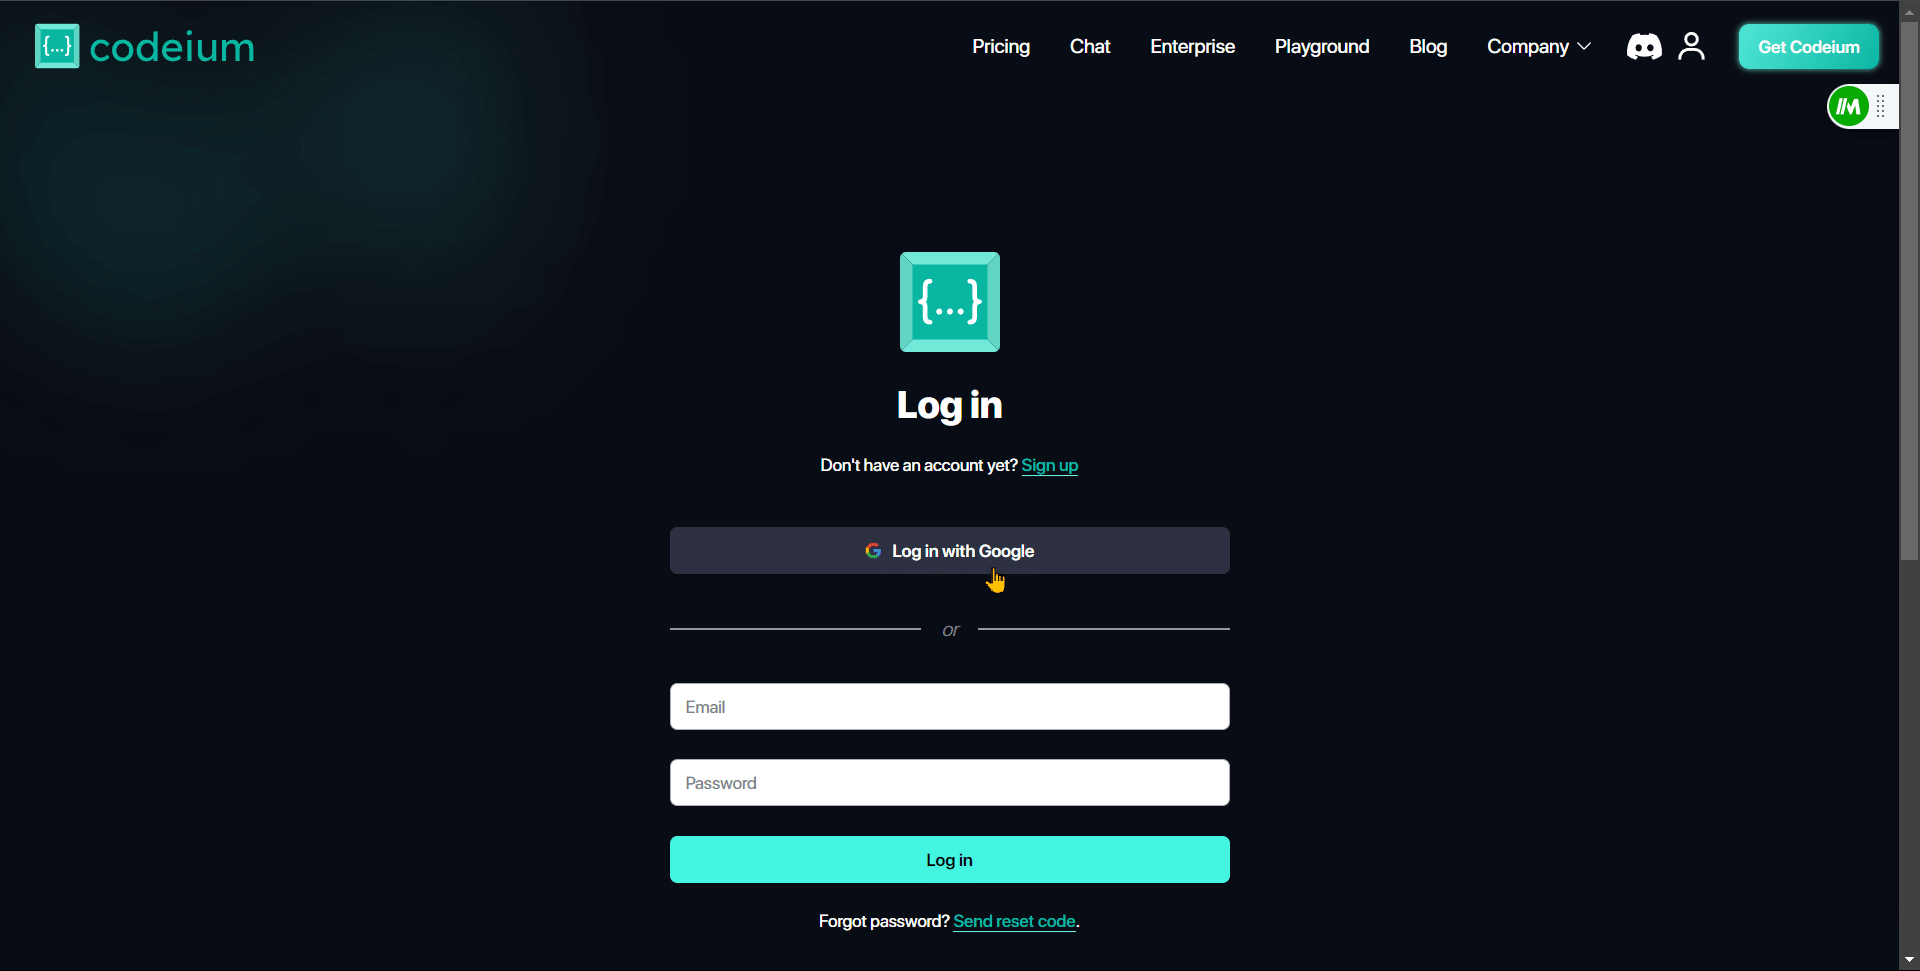
Clicking on this will redirect you to the login page.
 Login page
Sign in using either your email or Google account.
 Authenticate
Once you've completed the login, you'll encounter various integrated development environments (IDEs). Choose the one that aligns with your preferences – for instance, I use Visual Studio Code.
 Choosing your IDE
Go ahead and install it in your Visual Studio Code IDE.
After installation, click on the account sign-in option in Visual Studio Code to authenticate with the website.
 Authenticate
Once completed, you can now use Codeium within your IDE.
Now, let's see a practical example:
 Codeium example
Conclusion
The article discusses various AI tools that you can use to speed up development. Some developers think only about GitHub Copilot. But there are other AI tools with different features that can help you too.
If you've found value in this tutorial, consider sharing it with fellow developers who might also benefit.
To stay updated with my latest projects by following me on Twitter and LinkedIn or check out my BioDrop.
If you'd like to show your support, you can also Buy me a coffee☕
Thank you for taking the time to read💖