By John Saddington (Do not publish)
So, my 12-year old decided that she needed a more powerful computer for her favorite video game, Fortnite. And I promised her, years ago, that we’d find a time to custom-build her own computer.
Finally, I’ve been able to make good on my word!
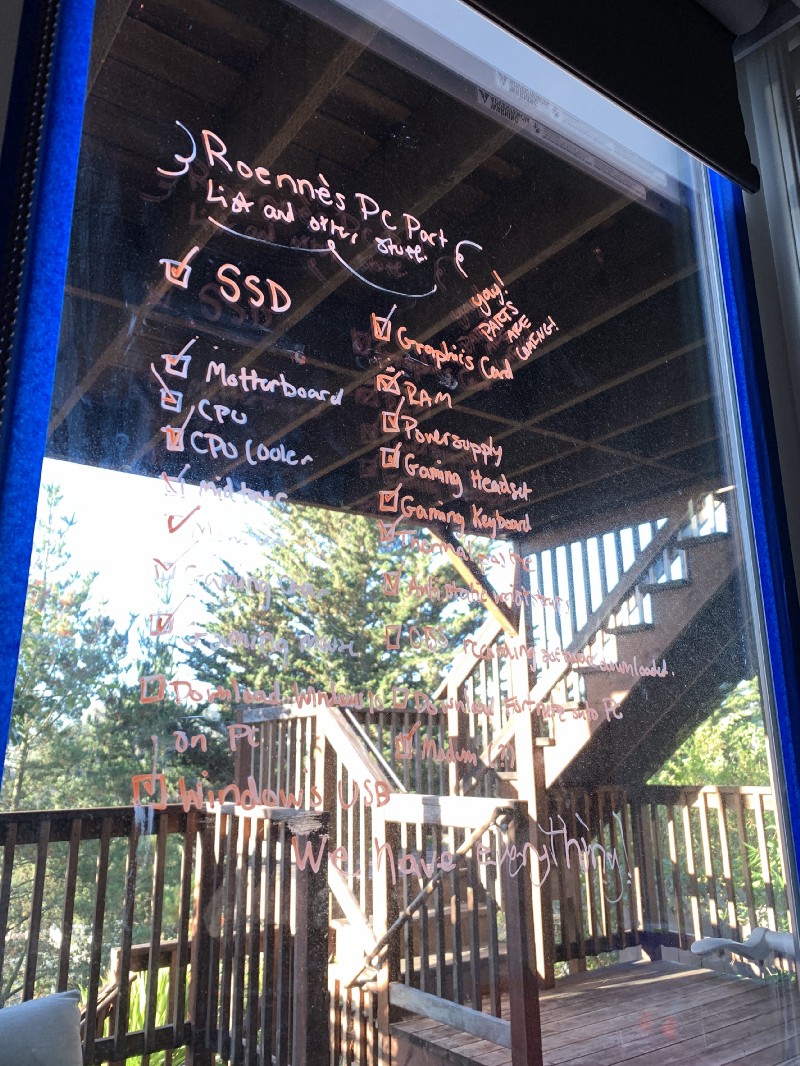
I wanted my daughter to lead the process end-to-end, so she was responsible for not only finding the right parts but also price-comparing them and making her ultimate “purchase list” so that we could talk through it.
We discussed the pros and cons of larger motherboards to allow for larger expansion opportunities and power consumption requirements for smaller (or more powerful) components, like the CPU or GPU.
A little bit of math was required to ensure that we got the right PSU (Power Supply Unit) to handle her components, but it wasn’t that hard to put the master list together. What was the most fun was talking through each part and the reasons for it and why, as well as trying to maximize expected experience (such as — the end result) and the budget that I had outlined for her.
Our Goal and Budget
What we wanted to do was build an “epic gaming rig” specifically for Fortnite that would be able to handle near-maximum graphic settings @ 60FPS for less than $1,000. We ended up spending a bit more on peripherals like a gaming mouse and keyboard as well as headset and a nice 24" widescreen monitor. But the core computer (mid-tower) we wanted to keep below $1,000 if we could.
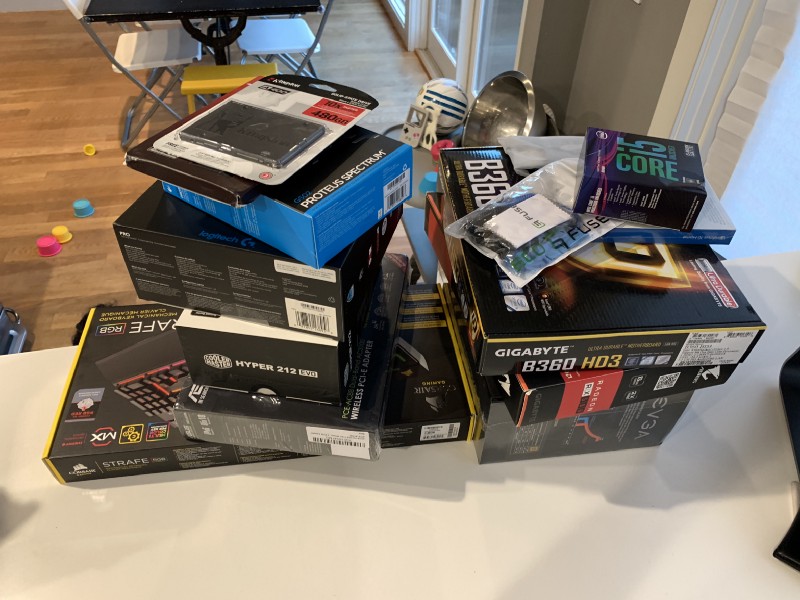
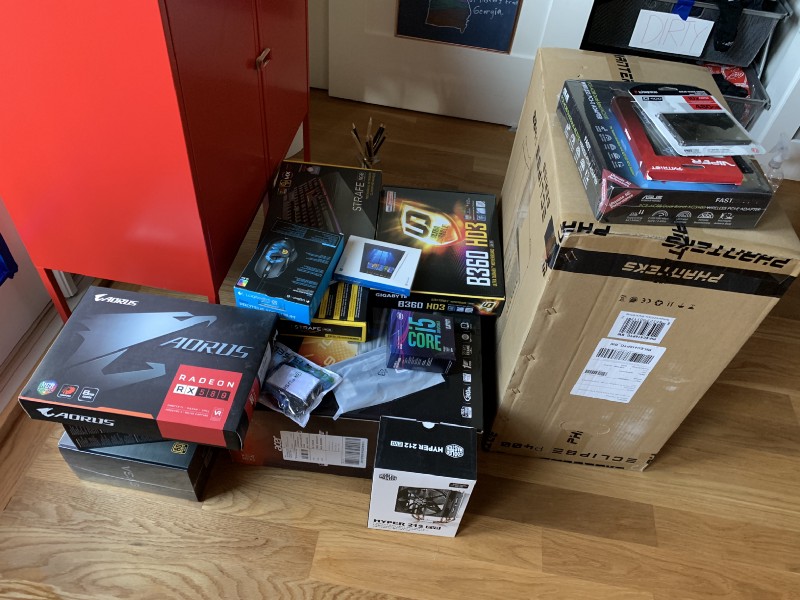
Here’s the master list of core components that we purchased…
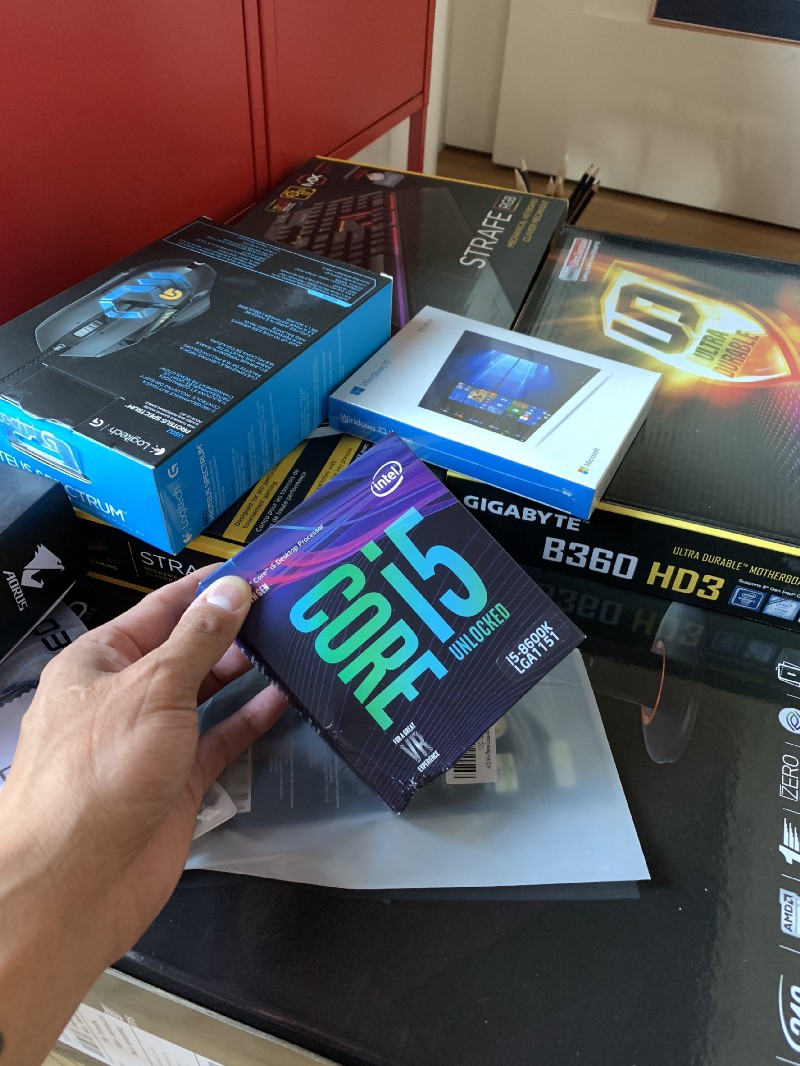
- CPU: Intel Core i5–8600K Desktop Processor 6 Cores up to 4.3 GHz unlocked LGA 1151 300 Series 95W
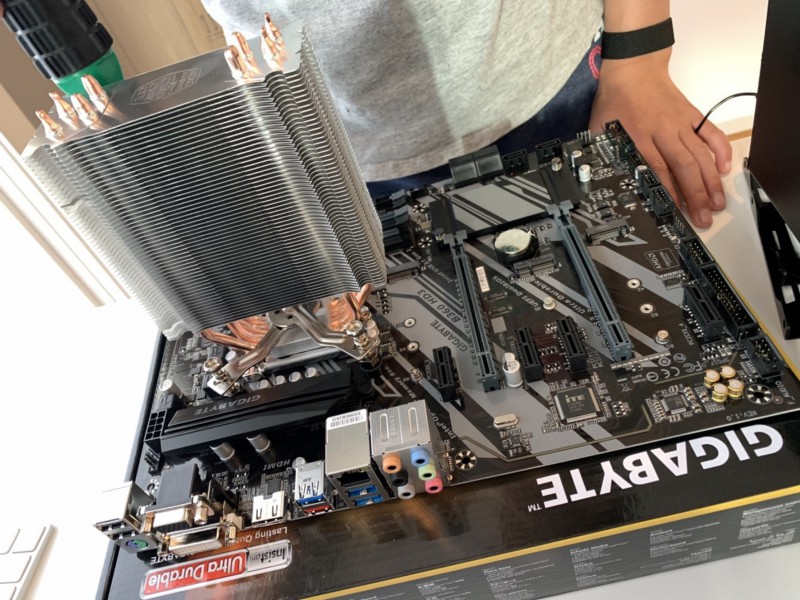
- CPU Cooler: Cooler Master Hyper 212 Evo (RR-212E-20PK-R2) CPU Cooler with PWM Fan, Four Direct Contact Heat Pipes
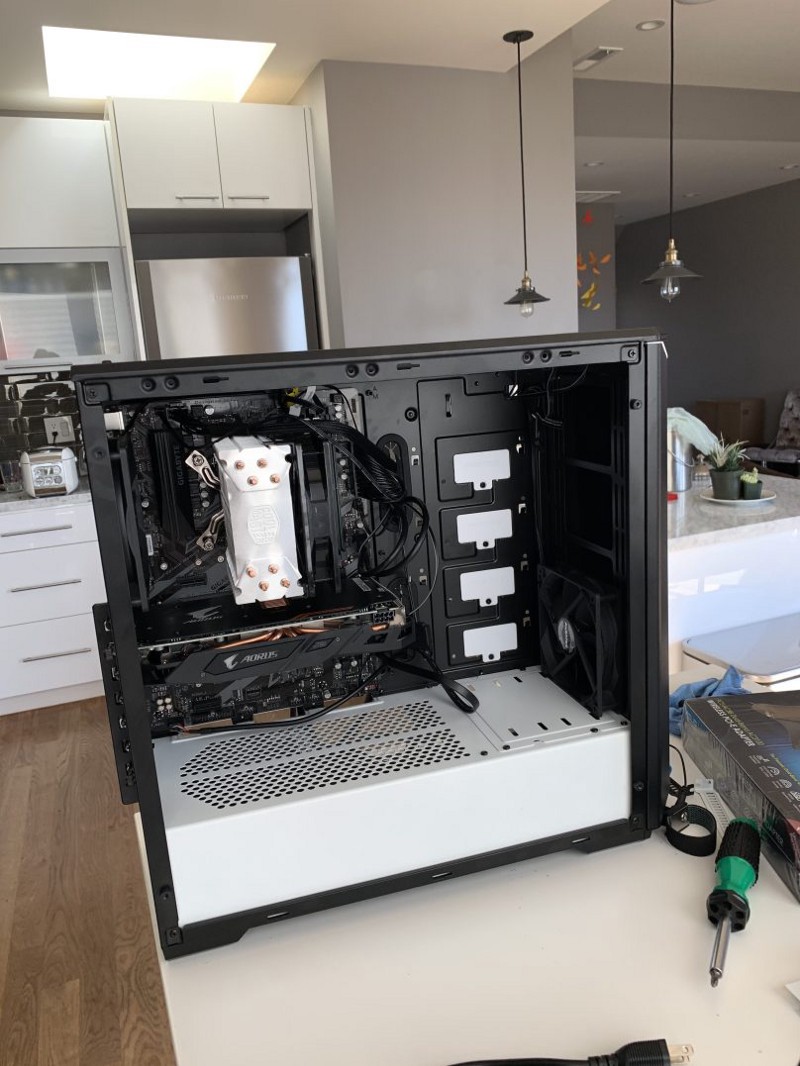
- Graphics: Gigabyte AORUS Radeon RX 580 8GB Graphic Cards GV-RX580AORUS-8GD
- Motherboard: GIGABYTE B360 HD3 (LGA1151/Intel/B360/ATX/USB 3.1 Gen 2 (USB3.1) Type A/DDR4/Motherboard)
- RAM: Patriot Viper Elite Series DDR4 16GB (2x8GB) 2666MHz PC4–21300 Dual Memory Kit (Black/Grey)
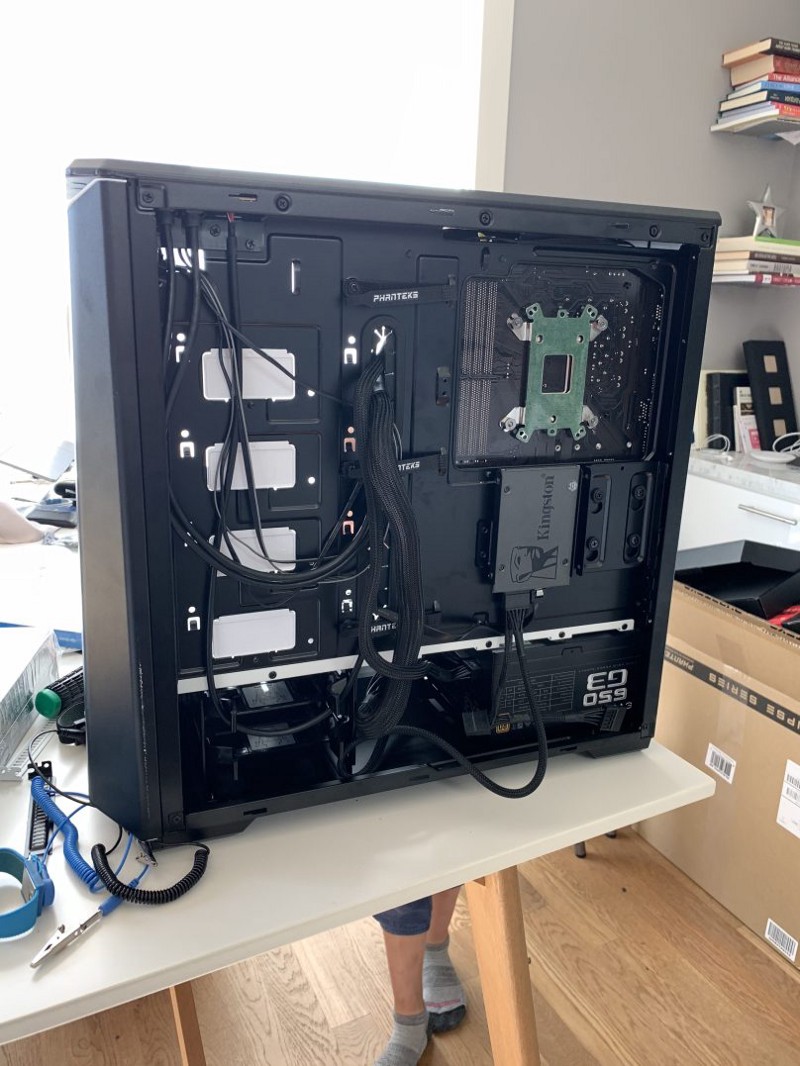
- SSD: Kingston A400 SSD 480GB SATA 3 2.5” Solid State Drive SA400S37/480G — Increase Performance
- Power Supply: EVGA Supernova 650 G3, 80 Plus Gold 650W
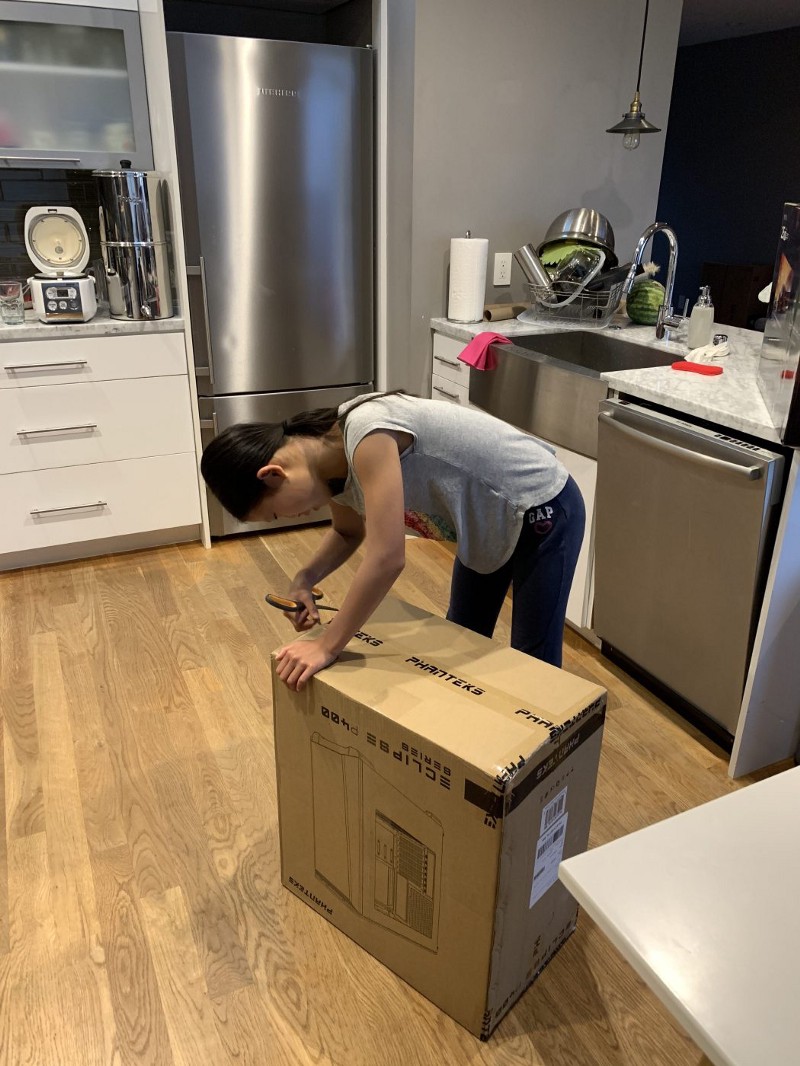
- Case: Phanteks PH-EC416PTG_BW Eclipse P400 Steel ATX Mid Tower Case Black/White,Tempered Glass Edition Cases
Most builds suggest getting a HDD, like a 1TB 7200RPM but we opted to maximize boot and load times with the SSD first. She may end up getting a more typical HDD sooner rather than later as she wants to start capturing her gameplay and even live-streaming as well.
The total cost of these 8 components ended up being $1,001!
Of course, she also needed some sweet peripherals which added to the total cost of ownership:
- Keyboard: CORSAIR Strafe Mechanical Gaming Keyboard — Red LED Backlit — USB Passthrough — Linear and Quiet — Cherry MX Red Switch
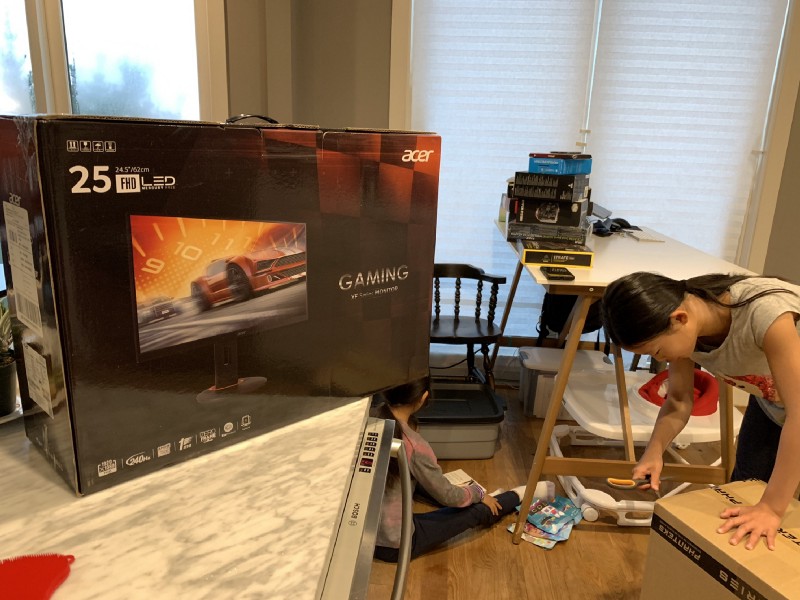
- Monitor: Acer XF250Q Cbmiiprx 24.5" Full HD (1920 x 1080) Zero Frame TN Gaming Monitor with AMD FREESYNC Technology — 1ms | 240Hz Refresh (Display, HDMI 2.0, HDMI 1.4 ports)
- Mouse: Logitech G502 Proteus Spectrum RGB Tunable Gaming Mouse, 12,000 DPI On-The-Fly DPI Shifting, Personalized Weight and Balance Tuning with (5) 3.6g Weights, 11 Programmable Buttons
- Headphones: Logitech G Pro Gaming Headset with Pro Grade Mic for Pc, PC VR, Mac, Xbox One, Playstation 4, Nintendo Switch
- Gaming Chair: Homall Gaming Chair Racing Style High-Back PU Leather Office Chair Computer Desk Chair Executive and Ergonomic Style Swivel Chair with Headrest and Lumbar Support (White) — We ended up returning this because it wouldn’t fit in our current setup… she’ll have to figure out another seating system.
Oh, and finally, we purchased these three important things that we would definitely need:
- Anti Static Wrist Straps — 3 Pack — Reusable Anti-Static Wrist Straps equipped with Grounding Wire and Alligator Clip — Enables you to Ground Yourself while working on Sensitive Electronics
- ARCTIC MX-4 Thermal Compound Paste, Carbon Based High Performance, Heatsink Paste, CPU for All Coolers, Interface Material, 4 Grams with Tool
- Windows 10 Home USB — Make sure you get the USB so you can boot to it on installation!
You’ll obviously also need some screwdrivers and a bunch of other small-ish tools that most folks already have.
Now, it was time to build:

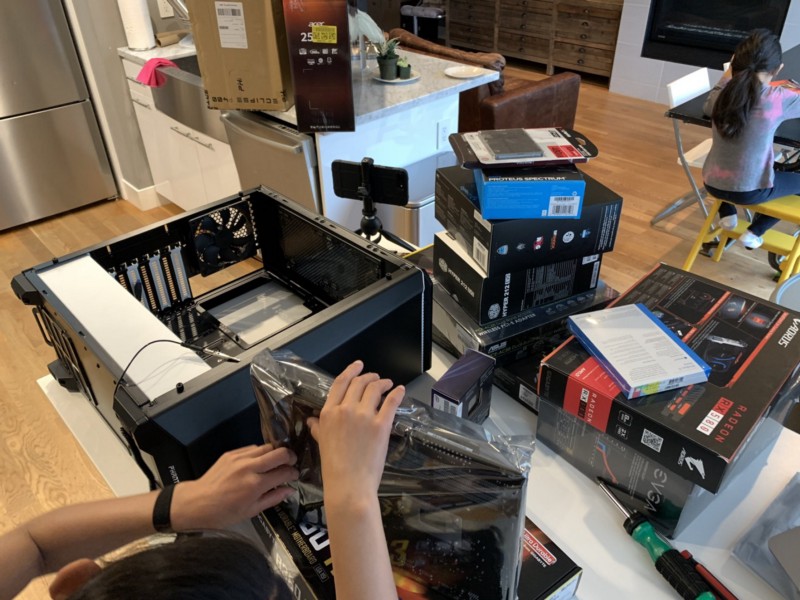
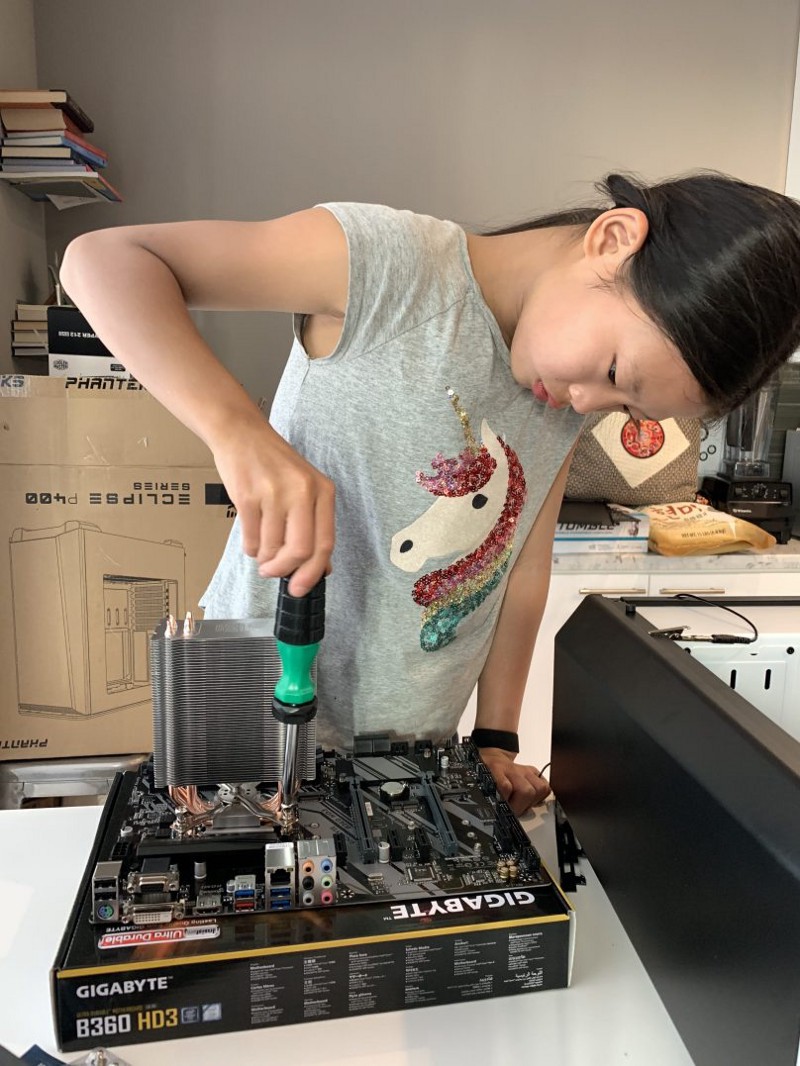
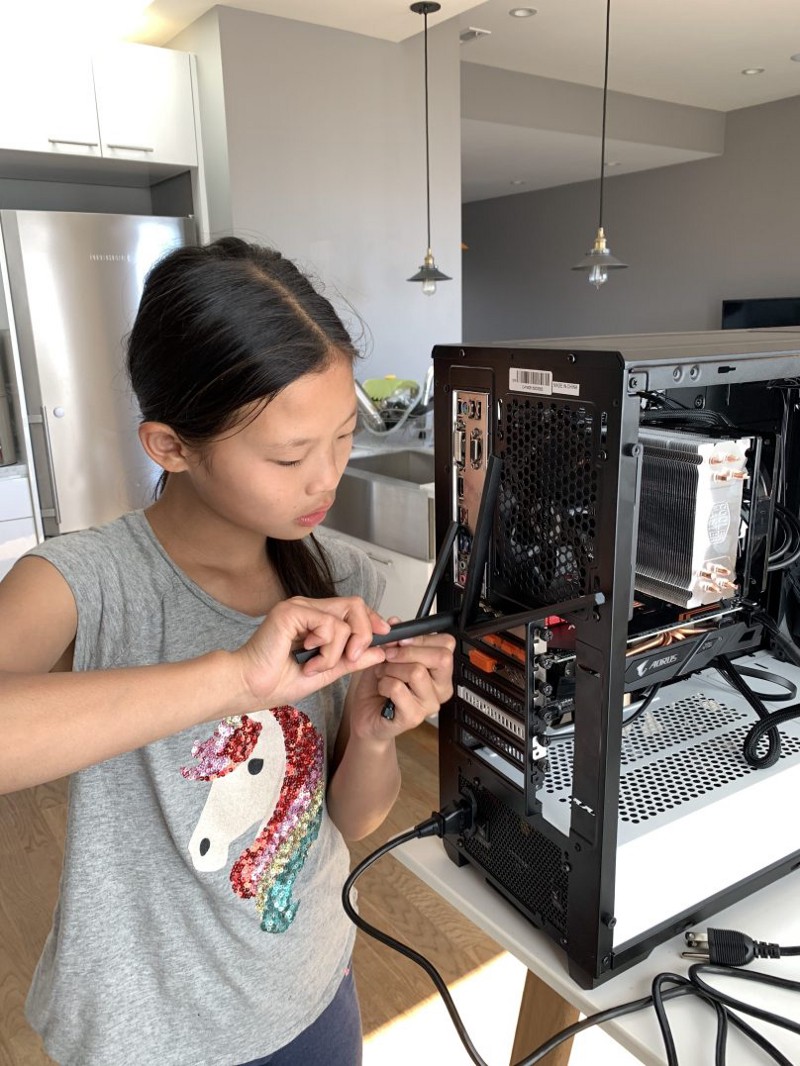
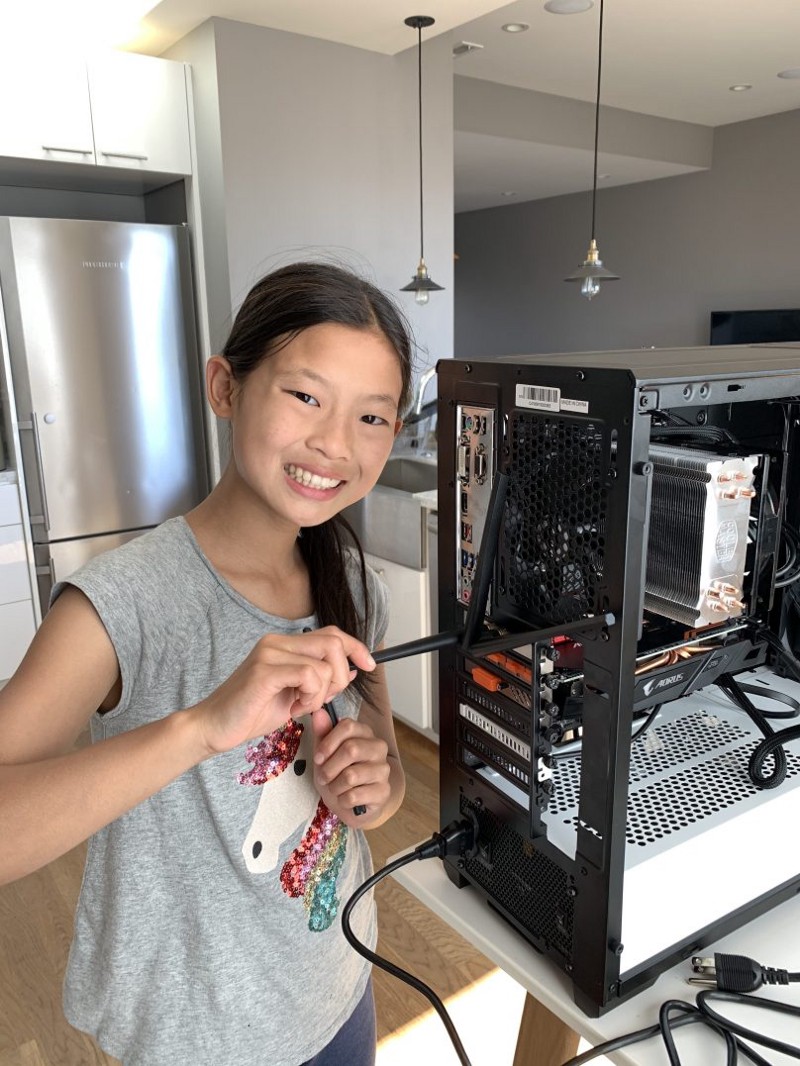

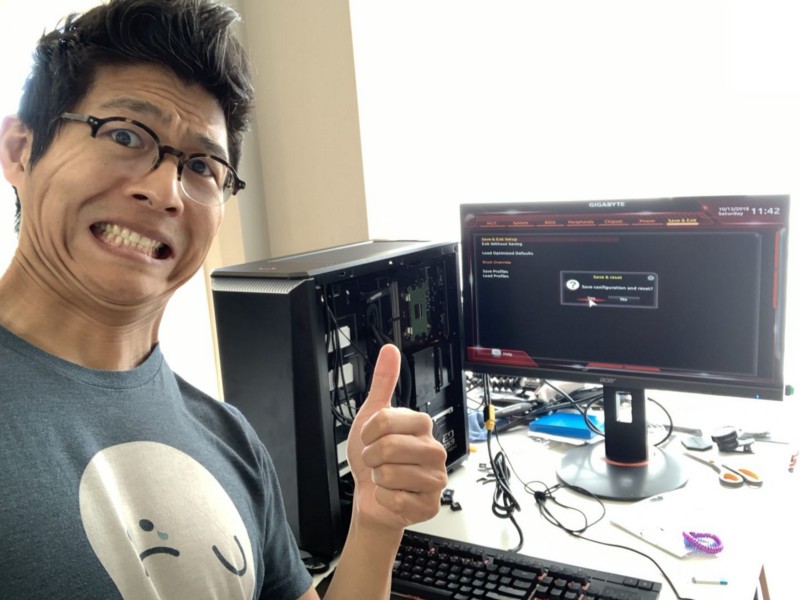
The entire process took about 6 hours, from start to finish, which surprised me. I had planned to take most (if not all) of the morning to put it together. And, there were definitely a few moments where I thought we were either missing a component or I had thought that we had possibly purchased parts that wouldn’t work together, but, the last above was perfectly configured.
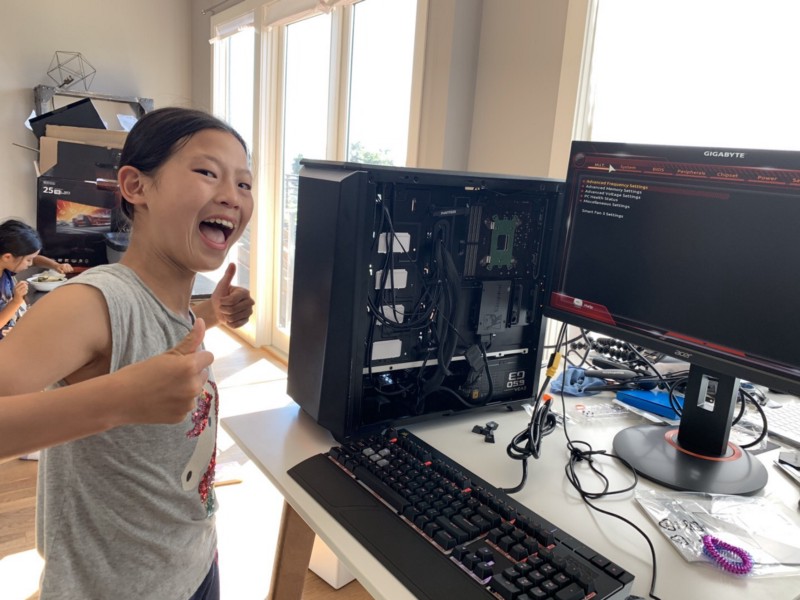
And… it booted the first time!
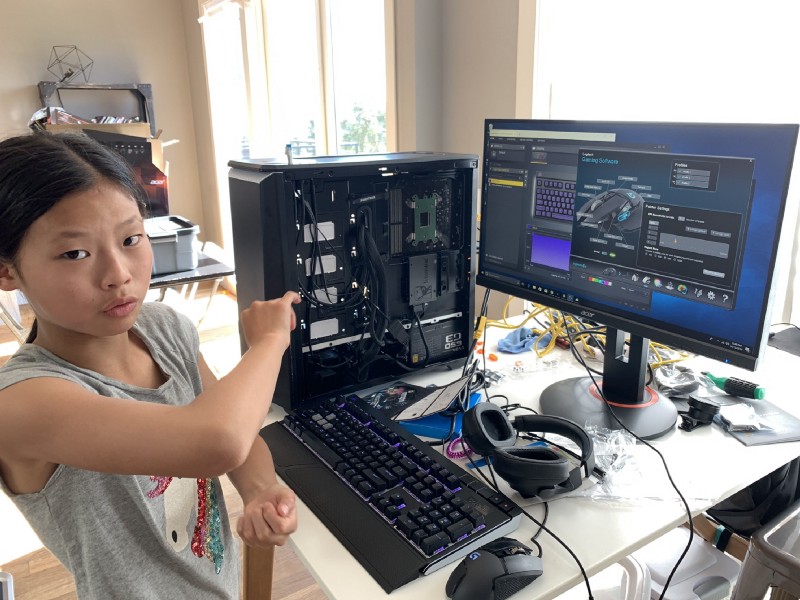
I’m really proud of her and she’s now having the time of her life playing her favorite game at max settings @ 60FPS and I couldn’t be happier because there’s nothing like building your own computer and then using it for the things that you love!
And yes… she learned a ton about computer hardware and software and I definitely consider this part of her hackschooling education. What a win… and seriously fun stuff.
PS: Feel free to follow my daughter on YouTube!
Originally published at John Saddington.