
By Nishant Kumar
ngIf and ngFor can help you keep your Angular code clean, simple, and effective. So, let's learn what ngFor and ngIf are all about.
What is *ngFor?
Let's talk about ngFor first. You use the ngFor directive to traverse over an array object and display the data in the UI.
Let me give you an example of how it works:
import { Component } from '@angular/core';

@Component({
  selector: 'app-root',
  templateUrl: './app.component.html',
  styleUrls: ['./app.component.css']
})
export class AppComponent {
  title = 'angular-project';
  friendslist = [
    {
      name: 'Nishant',
      age: 25
    },
    {
      name: 'Shailesh',
      age: 45
    },
    {
      name: 'Abhishek',
      age: 36
    },
    {
      name: 'Akshay',
      age: 65
    },
    {
      name: 'Ashish',
      age: 12
    },
    {
      name: 'Uday',
      age: 31
    },
    {
      name: 'Mayank',
      age: 45
    },
    {
      name: 'Raju',
      age: 74
    },
  ]

}
I have an array of objects here that contains people's names and their ages.
Now, we will use *ngFor to display these names in the interface.
First, create an Unordered List tag, and inside that create a List tag, like this:
<ul>
  <li>

  </li>
</ul>
Then, we will use *ngFor in the List tag, just like in the example below:
<ul>
  <li *ngFor="let item of friendslist">
    The name and age is here
  </li>
</ul>
In this example, we are creating an item using the let keyword of the friendlist array. It will iterate over each item in the array, and will print out the item name and item age, or any other object key we have in the array object.
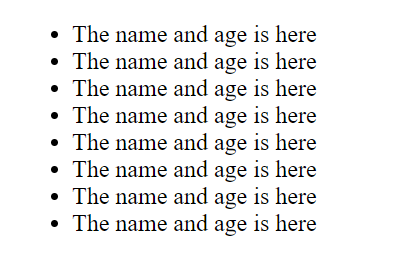
You will see the above output when you save. That is because we have 8 items in the array. So, we we get 8 items in our list tag. But it is static data, so let's change it to dynamic.
<ul>
  <li *ngFor="let item of friendslist">
    {{ item.name }} {{ item.age }}
  </li>
</ul>
Here, we are using item.name and item.age in two curly brackets. This is called interpolation, and it's how we show data in the HTML template.
Save the file, and you will see the following:
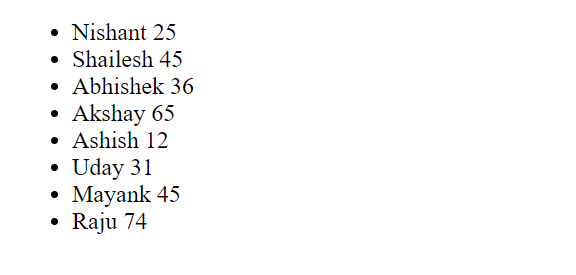 Displaying the array objects as List
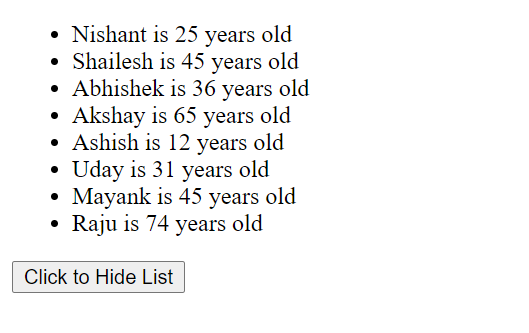
We can also do something like this:
<ul>
  <li *ngFor="let item of friendslist">
    {{ item.name }} is {{ item.age }} years old
  </li>
</ul>
So, in this example, we are showing the list in a different format. If you save, you will see the following output:

What is *ngIf?
You use the *ngIf directive in Angular to show some data or item based on some condition.
Let's say we are calling an API. We show some message that the data is loading while the application fetches the data from the API, because it can take some time depending on the server. And when the API call finishes, we show the data.
In this case, we can use *ngIf.
Let me give you an example of how this works:
<ul>
  <li *ngFor="let item of friendslist">
    {{ item.name }} is {{ item.age }} years old
  </li>
</ul>
Here, we show the array data in the template.

Now, let's create a button and give it a title of Click to Hide List.
<ul>
  <li *ngFor="let item of friendslist">
    {{ item.name }} is {{ item.age }} years old
  </li>
</ul>

<button>
  Click to Hide List
</button>
Now, in the TypeScript file, create a boolean variable called isVisible:
isVisible: boolean = true;
Initially, the value of isVisible is true. Also, create a function called hideList() that will change the value of isVisible to false if triggered.
hideList(){
    this.isVisible = false;
}
On the click of the button that we created, we will run this function:
<button (click)="hideList()">
  Click to Hide List
</button>
So, every time the button is clicked, this function will run. This will change the value of hideList to false from true.
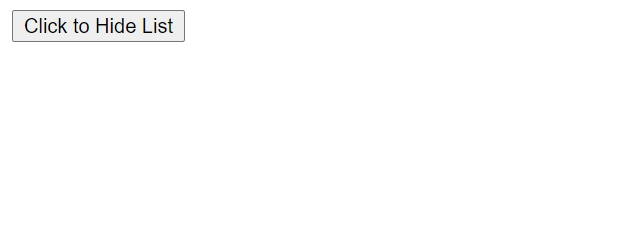
Now, let's use *ngIf to show our array list when isVisible is true.
<ul *ngIf="isVisible">
  <li *ngFor="let item of friendslist">
    {{ item.name }} is {{ item.age }} years old
  </li>
</ul>

<button (click)="hideList()">
  Click to Hide List
</button>
If you click the Hide List button, the list will hide, and you will see only the button.
We can also change the value to something like this:
hideList(){
    this.isVisible = !this.isVisible;
}
So, if the value is true, it will change to false. And if the value is false, it will change to true. In other words, this function will toggle the value of isVisible.
 If the value of isVisible is true
 If the value of isVisible is false
Conclusion
Congratulations! Now we have learned how to use ngFor and ngIf in Angular.
So go ahead, and experiment with it a bit. There are tons of things you can do.
You can check out my video on Angular ngFor and ngIf explained in 10 Minutes, which is on my YouTube channel.
Feel free to download the code here: https://github.com/nishant-666/Angular-ngFor-and-ngIf
Happy Learning.