

Axios is an HTTP client library based on promises. It makes sending asynchronous HTTP requests to REST endpoints easier and helps you perform CRUD operations.
This REST endpoint/API could be an external API like the Google API, GitHub API, and so on – or it could be your own backend Node.js server.
In this guide, we will learn how to make Axios GET, POST, and DELETE API requests in React. This simply refers to how we retrieve data from an API, add data to the API, and then delete data from our API.
Get, Post, and Delete API requests are among the most common daily requests made by developers. After all, we will always need to fetch data to display on our application or perform certain operations, as well as add and delete data to/from our API.
Here's an interactive scrim about how to make Axios GET, POST, and DELETE API requests in React:
Why Axios?
The next question you might have is why we are using Axios, given that we will need to install an additional library. Here are some reasons:
Axios uses XMLHttpRequest under the hood, and it is widely supported by most browsers, including older ones like Internet Explorer 11. Fetch(), on the other hand, is only compatible with Chrome 42+, Firefox 39+, Edge 14+, and Safari 10.3+ (you can see the full compatibly table on CanIUse.com).
When sending requests, Axios automatically signifies the data, unlike fetch(), which requires us to do it manually.
Unlike the Fetch API, which requires you to check the status code and throw the error yourself, Axios has better error handling and can throw 400 and 500 range errors.
How to Get Started with Axios in React
To get started with Axios in your React application, first install React into your project with the following command:
npm install axios
Once that is completed, we will be using the JSONPlacholder Posts API to learn how to fetch these posts into our React application, add new posts, and finally delete a specific post with Axios.
Because this is a React application, we will use React hooks to gain access to states and other features. The hooks we'll be using are useEffect() and useState().
Essentially, we'll use the useEffect() hook to fetch posts as soon as the app renders/mounts, while the useState() hook will help us create a local storage for our data.
How to Create the Axios Instance
Once you've successfully installed Axios, it's a good idea to create an Axios instance. It's not required, but it saves us time.
To create an instance, we'll use the .create() method, which lets us specify information such as the URL and possibly headers:
import axios from "axios";

const client = axios.create({
  baseURL: "https://jsonplaceholder.typicode.com/posts"
});
How to Make a GET Request with Axios in React
You can use GET requests to get data from an endpoint, and it'll happen as soon as the app renders thanks to the useEffect() hook.
We'll use the variable and then attach the .get() method to make a GET request to our endpoint/API. Then we'll use a .then() callback to get back all the response data, because we already have an Axios instance that holds the baseURL assigned to a variable (client).
Using the .data property, we obtain the response data, which is the actual data from the response object.
const App = () => {
   const [posts, setPosts] = useState([]);

   useEffect(() => {
      client.get('?_limit=10').then((response) => {
         setPosts(response.data);
      });
   }, []);

   return (
      // ...
   );
};

export default App;
We set the data to the state we created, so it can be consumed within our application.
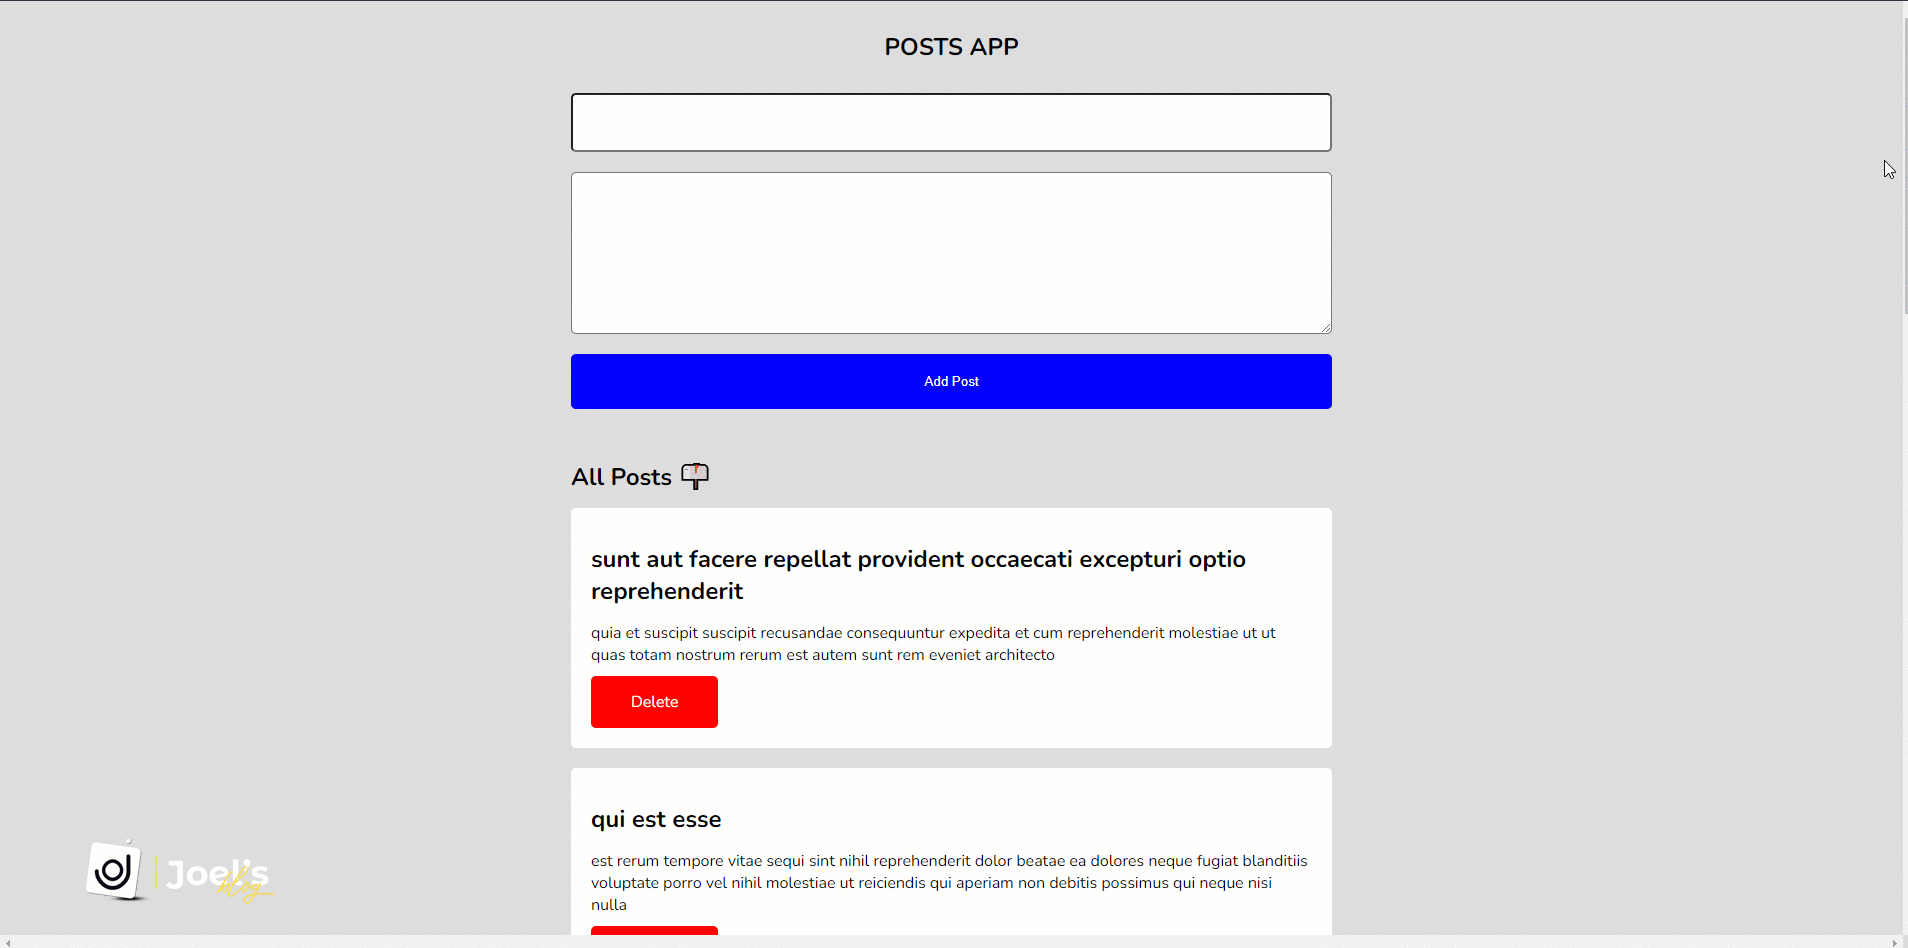
How to Consume a GET Request
After successfully implementing the GET request, the next step is to consume the data stored in the posts state.
Because we are querying for an array of ten posts, we will have to loop through this state to get these ten posts into our application:
// ...

return (
  <div className="app">
    <h2>All Posts 📫</h2>
    {posts.map((post) => {
       return (
          <div className="post-card" key={post.id}>
             <h2 className="post-title">{post.title}</h2>
             <p className="post-body">{post.body}</p>
             <div className="button">
                <div className="delete-btn">Delete</div>
             </div>
          </div>
       );
    })}
  </div>
);

// ...
How to Make a POST Request with Axios in React
You use a POST request to send data to an endpoint. It works similarly to a GET request, except that the function created to perform this task will be triggered when the form is submitted or otherwise.
This takes an object to send the data in and also adds the data to the state by spreading the previous data and then adding the new data:
const App = () => {
   const [title, setTitle] = useState('');
   const [body, setBody] = useState('');
   const [posts, setPosts] = useState([]);

   // ...

   const handleSubmit = (e) => {
      e.preventDefault();
      addPosts(title, body);
   };

   const addPosts = (title, body) => {
      client
         .post('', {
            title: title,
            body: body,
         })
         .then((response) => {
            setPosts([response.data, ...posts]);
         });
      setTitle('');
      setBody('');
   };

   return (
      // ...
   );
};

export default App;
When the form is submitted, we call the handleSubmit() function, which prevents the page from reloading. It also calls the main function addPosts() by passing the data entered into the form as a parameter.
How to Perform a DELETE Request in React
As the name implies, you use this to delete specific data from your endpoint/API as well as your UI – DELETE can handle both.
For this, we will use the DELETE method in conjunction with the client variable where we initialized Axios. This is how the request will look:
const App = () => {
   const [posts, setPosts] = useState([]);

   // ...

   const deletePost = (id) => {
      client.delete(`${id}`);
      setPosts(
         posts.filter((post) => {
            return post.id !== id;
         })
      );
   };

   return (
      // ...
   );
};

export default App;
Basically, there is a onClick"=() =>"deletePost"("post."id) method on the delete button that triggers the deletePost() method. We passed it the ID of the particular post we are attempting to delete so we can identify the post.
We delete it from the UI after we delete it from the endpoint/API by using the filter method to return an array that does not contain that element.
How to Make Requests in React with Async/Await
So far, we've seen how to make Axios requests with the promise syntax. Now, let's see how we can use async/await to write less code and avoid the .then chaining, which is much more difficult to understand.
To use async/await, first call async in the function. Then add the await syntax in front of the function when making a request and expecting a response to wait until the promise settles with the result.
When we use async/await, all of our Axios requests will look like this:
const App = () => {
   const [title, setTitle] = useState('');
   const [body, setBody] = useState('');
   const [posts, setPosts] = useState([]);

    // GET with Axios
   useEffect(() => {
      const fetchPost = async () => {
         let response = await client.get('?_limit=10');
         setPosts(response.data);
      };
      fetchPost();
   }, []);

   // DELETE with Axios
   const deletePost = async (id) => {
      await client.delete(`${id}`);
      setPosts(
         posts.filter((post) => {
            return post.id !== id;
         })
      );
   };

   // handle form submission
   const handleSubmit = (e) => {
      e.preventDefault();
      addPosts(title, body);
   };

   // POST with Axios
   const addPosts = async (title, body) => {
      let response = await client.post('', {
         title: title,
         body: body,
      });
      setPosts([response.data, ...posts]);
      setTitle('');
      setBody('');
   };

   return (
      // ...
   );
};
How to Handle Errors in Axios
When consuming data from an API, it is always recommended that we handle errors to help show the type of error we get. These errors may occur as a result of us passing incorrect data, making a request to the incorrect API, or experiencing a network error.
We can handle errors in Axios by using the .then() and .catch() methods, or by using the try...catch block for async/await Axios requests.
How to Handle Errors in Axios with the .catch Method
You can implement this by attaching a .catch() method to the .then() method to handle errors. Suppose the .then() method fails:
useEffect(() => {
  client
     .get('?_limit=10')
     .then((response) => {
        setPosts(response.data);
     })
     .catch((error) => {
        console.log(error);
     });
}, []);
How to Handle Errors in Axios with the try…catch Block
For the async/await scenario, the try...catch block will look like this:
useEffect(() => {
  const fetchPost = async () => {
     try {
        let response = await client.get('?_limit=10');
        setPosts(response.data);
     } catch (error) {
        console.log(error);
     }
  };
  fetchPost();
}, []);
You can read more about handling errors with Axios here.
Conclusion
In this tutorial, you learned how to use Axios, one of the most powerful HTTP client libraries, to perform the three basic API requests.
You can see the full implementation of how I built the post's application using React and Axios in this repository.