

Authentication is an important feature and basic requirement in web applications these days. And developers spend lots of time building authentication modules for every application they create.
But this manual approach can get tiring and is a bit unproductive. This is where Laravel really shines. It, along with Laravel Breeze, lets you worry about core application features and it takes care of authentication for you.
Before we get started, I assume that you know some basic PHP if you are reading this article. It could very well be your first Laravel article, but knowledge of PHP will come in really handy.
What is Laravel Breeze?
You might be wondering - what is this Laravel Breeze and what does it do? From the docs:
Laravel Breeze is a minimal, simple implementation of all of Laravel’s authentication features, including login, registration, password reset, email verification, and password confirmation.
Laravel Breeze automatically scaffolds your application with the routes, controllers, and views you need to register and authenticate your application’s users.
In older versions of Laravel, there were other ways to generate the authentication scaffolds easily too.
- In Laravel 7, there was the
[laravel/ui](https://laravel.com/docs/7.x/authentication). Unlike Laravel Breeze, it used Bootstrap instead of Tailwind CSS. - In versions earlier than 6, you could generate the scaffolds using
php artisan make:auth.
So Laravel Breeze is basically just the most recent development over previous versions.
You can save a lot of development time by using Laravel Breeze, and your application will become less error-prone. This is because the scaffolds Laravel Breeze generates have been confirmed to be the best by Laravel professionals.
Before we get started, you should have composer and Laravel installed to continue. You can install composer here and Laravel here. Let's dive in.
How to Install Laravel Breeze
composer require laravel/breeze --dev
After the installation finishes, you should run the breeze:install command to publish the authentication views, routes, controllers, and other resources to your application.
Laravel Breeze gives you full control over your features and implementation by publishing its code to your application.
php artisan breeze:install
After running this command, you should see a few changes to your files. Here are some that you should take note of:
- It has created auth controllers (quite a few of them) to handle registration, login (authentication) and logout, password confirmation, email verification, and password reset and update (it even sends an email).
- It has also created views to match all controller actions using Tailwind CSS.
- There's a dashboard view where users get redirected to on successful authentication.
- It has modified the landing page to include links to authentication pages.
- It has created CSS and JavaScript files too, which need to be compiled later.
- There are now authentication-related routes that are stored in the
auth.phproutes file. - Tests are also included in the
testsdirectory.
How to Compile Static Assets
We'll want to minify the CSS and JavaScript files that were generated in the css and js folders in the resources folder, respectively.
This will give us faster load time and will also result in a reduced number of HTTP requests (since all JavaScript and CSS files have been compiled down to one file each).
Also, since Laravel gives you the freedom to use your own CSS pre-processor, you will want to compile your code down to what the browser can interpret.
Now, we need to compile our static assets to complete the installation. Do so by running these commands:
npm install
npm run dev
Just keep in mind that this might take a while depending on your internet speed.
 Successful Compilation
Notice also that in your public folder you now have css and js directories that hold compiled files that you can use in your code.
How to Configure the Database and Migrate
As a final step, you need to configure your database and run migrations, since whatever data you've gotten from your users cannot currently be stored.
DB_CONNECTION=mysql
DB_HOST=127.0.0.1
DB_PORT=3306
DB_DATABASE=breeze
DB_USERNAME=root
DB_PASSWORD=
php artisan migrate
Now you’re all set, and you can run your application:
php artisan serve
Head on over to http://localhost:8000 to see your application running.
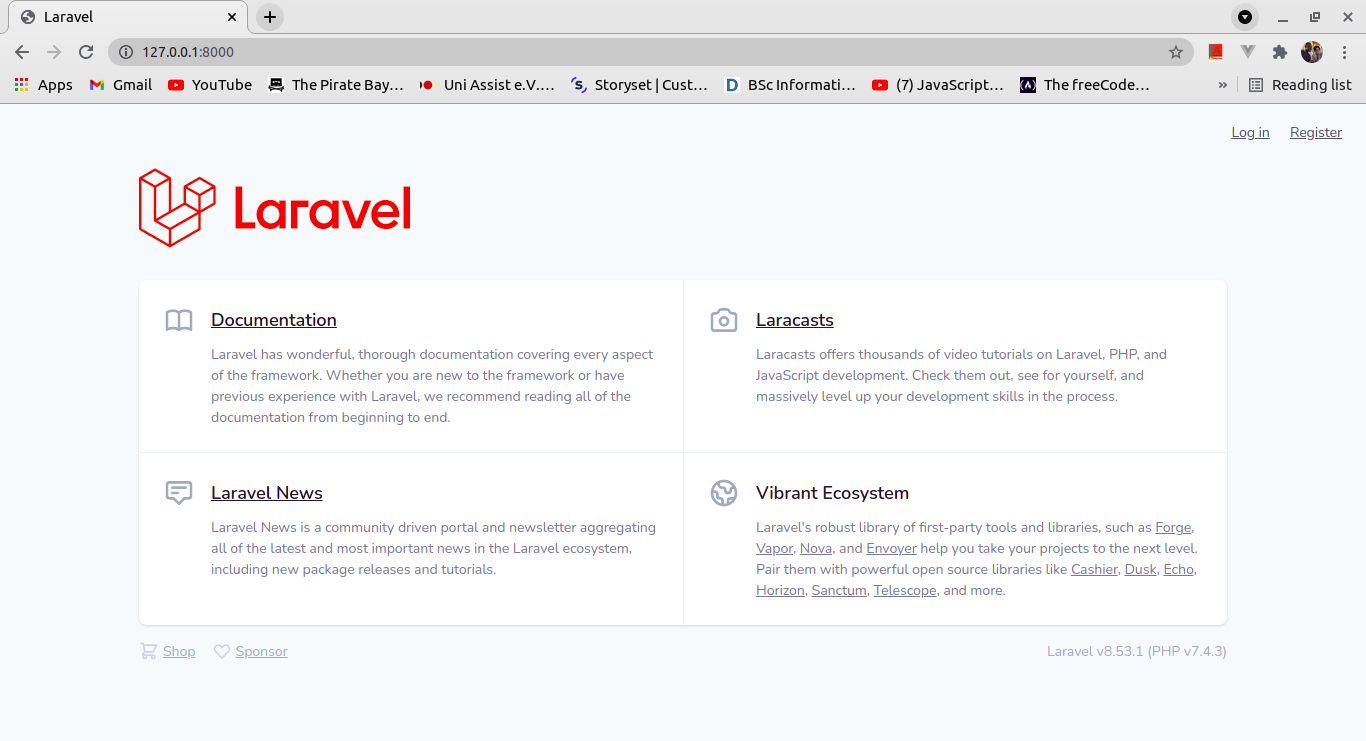 Landing page
You can see all the various pages like the Login page, Forgot Password page, Register page, and Dashboard:
 Login Page
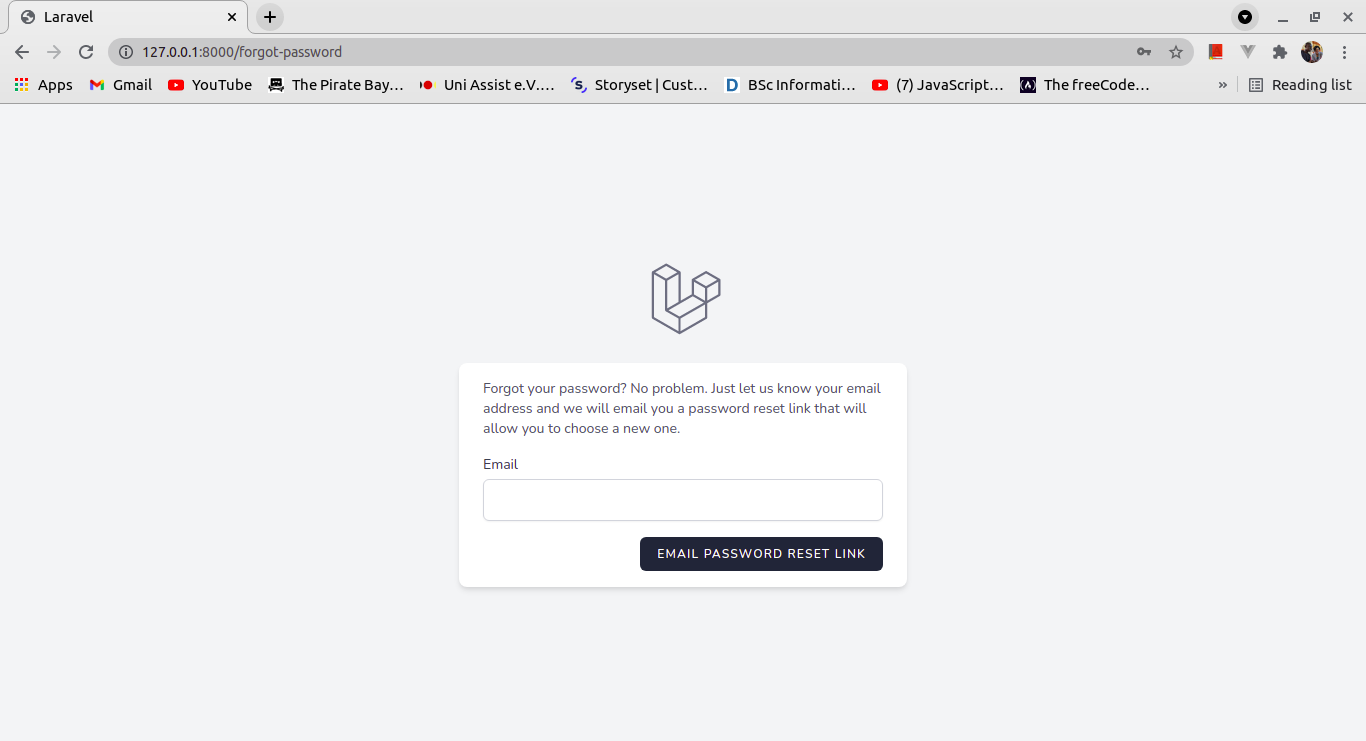 Forgot Password Page
 Register Page
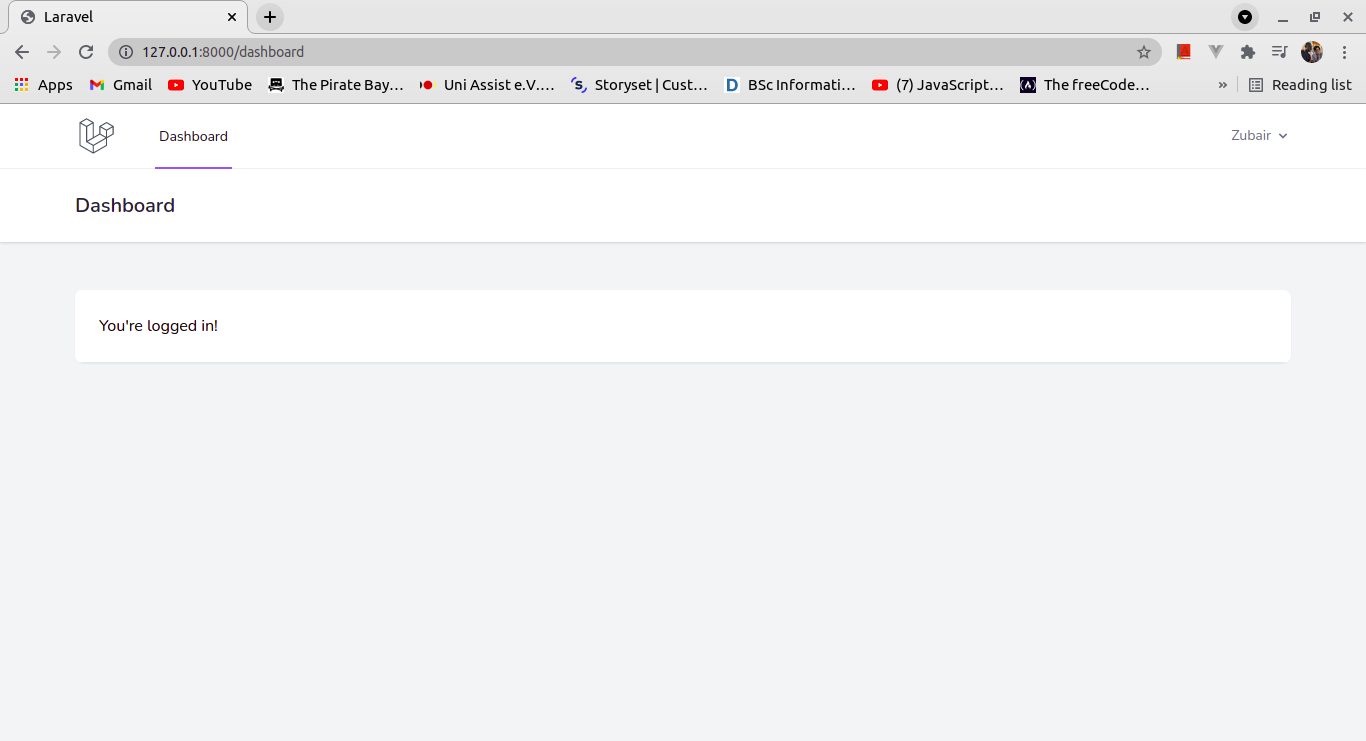 Dashboard
And there you have it. You've successfully installed and setup Laravel and Laravel Breeze. 🎊
How to Add a Front End Framework
The benefits of Laravel Breeze are not limited to blade templates only. Laravel allows you build Single Page Applications (SPAs) with these benefits too.
Laravel Breeze lets you use inertia.js (powered by either Vue or React), which you can easily install to generate these scaffolds if you want.
If you already installed Laravel Breeze without a front-end framework, the previously generated authentication files (mostly blade files) will need to be re-written by Laravel Breeze to use the framework.
php artisan breeze:install vue

// Or
php artisan breeze:install react
Don’t forget to compile your assets again.
npm install && npm run dev
Summary
Laravel helps you save time while also helping you maintain good code quality. It lets you scaffold authentication views, controllers, and routes using Laravel Breeze.
You can find all the code for this article here.
If you have any questions or relevant advice, please get in touch with me to share them.
To read more of my articles or follow my work, you can connect with me on LinkedIn, Twitter, and Github. It’s quick, it’s easy, and it’s free!