

At the beginning of 2021, I decided to revamp my portfolio site, as I do every other year.
If you've never deployed a website before, it can be quite confusing figuring out how to get your website online. Things like getting a domain name, uploading the necessary files and choosing where to host your site can be overwhelming.
I remembered how difficult I found it to setup my website the first time and I wanted to help other people avoid the mistakes I made, so I sent out this tweet:
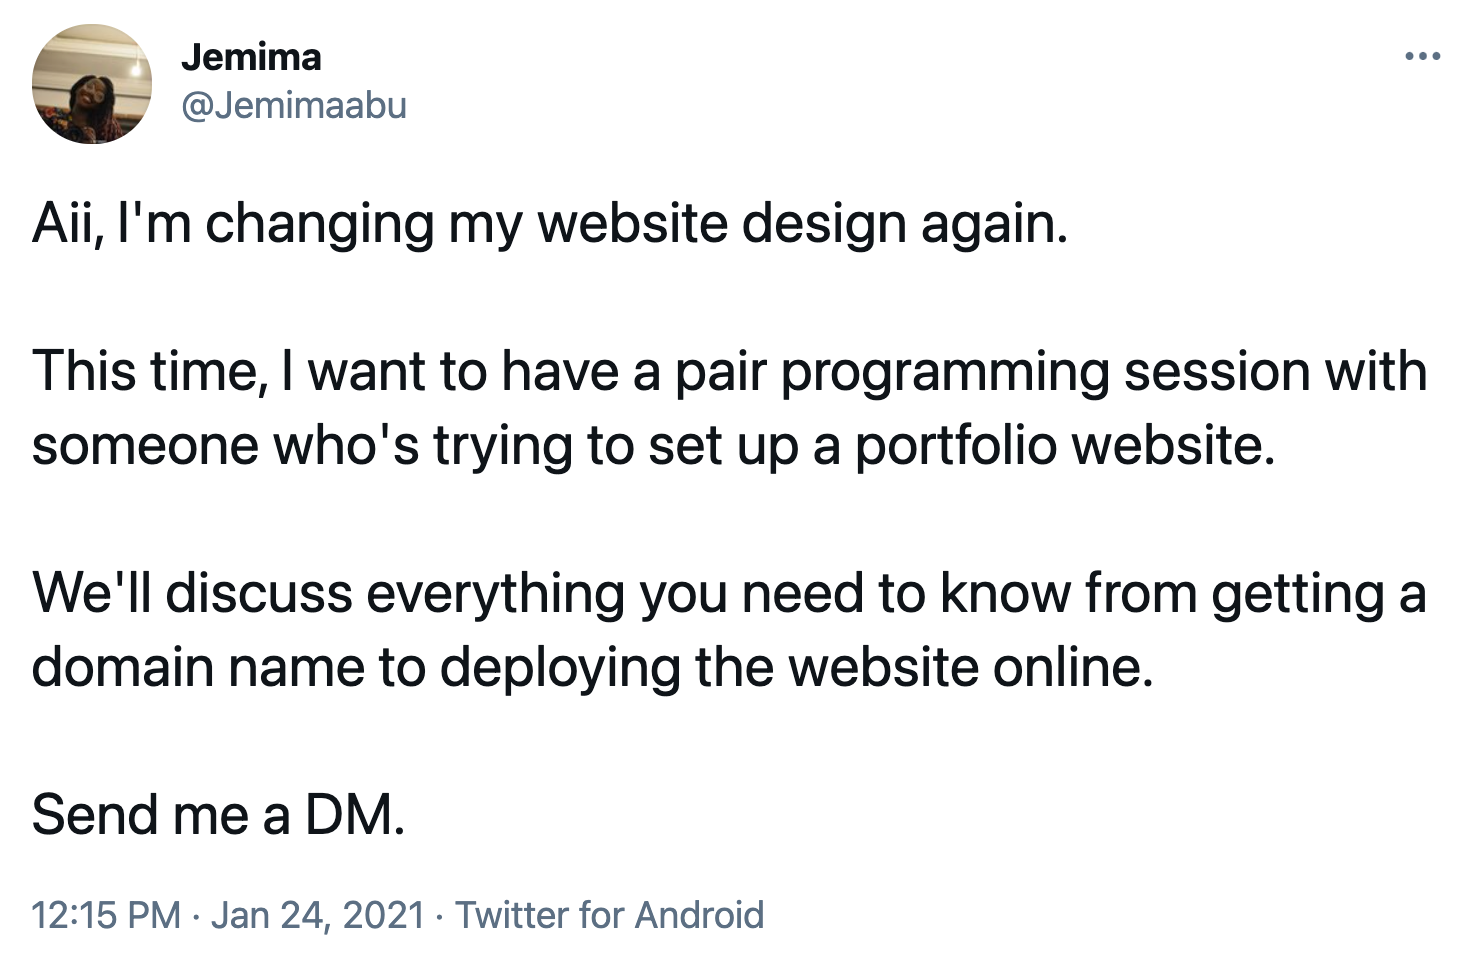
I got more responses than I expected, so I ended up scheduling 9 sessions of 2 hours each for every weekend in February.
The idea was, at the end of February, I should have completed my portfolio design since I assumed helping other people would ensure I stayed on track with my plan. That plan didn't work out, but I did learn a lot in the process.
At the end of February, I successfully helped 6 developers (ranging from entry to mid level, and a 1:2 female-to-male ratio from 3 different countries) set up their portfolio website in one form or the other. I'll be documenting the main lessons from each session here.
In this article, we'll cover everything you need to know about setting up your portfolio site – from buying a domain name to deploying the site online. So let's get started.
1) How to Get a Domain Name
A domain name is the location of your site online. It's like having a username for the world wide web which visitors type into the URL bar to go to your site.
A domain name consists of a name (like google) and an extension (like .com) and it points to a specific IP address for the site you're deploying.
Purchasing a domain name from a registry allows you determine what location that domain points to. There are multiple registries where you can purchase a domain from, so you should do your research and decide which one works for you.
Here are some domain registries I'd recommend based on their features:
- NameCheap – This is one of the more popular platforms, so it comes with a lot of customer support and hassle-free setup. They also offer free domain privacy. I'd recommend using this if you want to purchase a domain quickly.
- Bluehost – Bluehost offers great hosting choices and comes with an inbuilt WordPress platform. I've personally used Bluehost for some client sites in the past and I really like the clean interface and onboarding guide it provides. I'd recommend using Bluehost for hosting WordPress sites.
- NameSilo – A major benefit of NameSilo is that they offer free add-ons such as WHOIS Privacy (keeping your registration details safe) and Email Forwarding (sending emails from
me@mysite.comto your actual email address). I'd recommend using this if you need a lot of extra add-ons on your domain. - Netim – I'd recommend using Netim for purchasing geographical domains such as
.euor.me. A fun option is to purchase a domain that ends with the last characters in your name e.g.www.jemi.ma.
Watch out for hidden fees when purchasing a domain. Lots of registries tend to offer very cheap or even free domain names but there are usually extra charges in the renewal method. Look out for the add-ons which you might not need.
A couple of the developers in the pair programming sessions had paid for .com domain names but the majority didn't own a domain name and weren't interested in purchasing one, at least for the time being.
The benefits of having a custom domain name are:
- it improves your SEO rankings
- it looks more professional when you're sending a link to a prospective employer or client.
Domain providers charge for domain names annually, and a .com domain might cost you $10 to $30 dollars per year, depending on any extra additions.
If you aren't comfortable with paying for a domain name yet, you can opt for a free domain option. We'll explore free domain options in the next section.
2) How to Choose a Hosting Platform
When you build a website, you can access it on your machine by going to localhost or index.html. However, if you want other people to be able to access your website on the internet, you need to upload it to a hosting platform.
A hosting platform is the localhost of the internet – it's a server that can be accessed by everyone.
Most domain registries also offer hosting options but it's not necessary to have your domain and hosting from the same place, as most registries charge an extra fee for hosting. Once you've purchased a domain name, you can use any hosting platform you'd like.
There's a number of hosting platforms that offer free hosting and domain names (with the platform domain attached) and you can choose any platform depending on how you'd like to structure your portfolio.
Let's explore the following options.
How to host a portfolio site without writing code
Platform: webflow.com
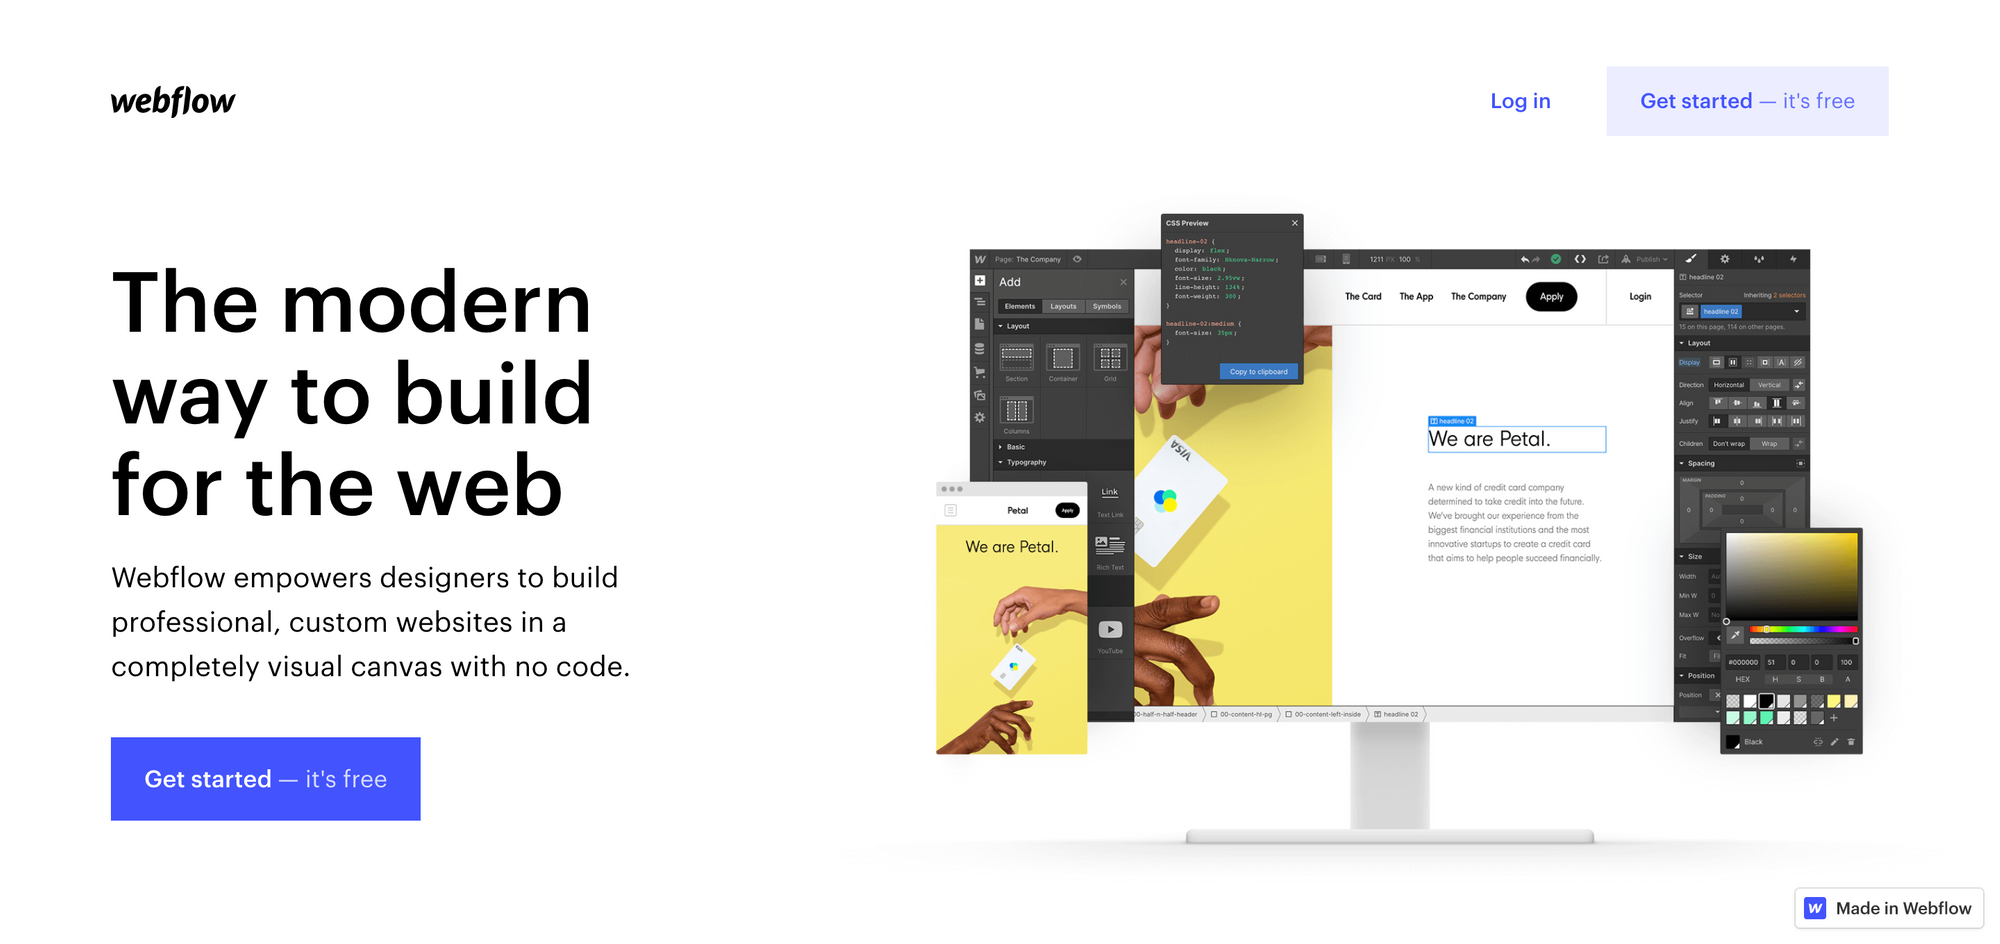
Webflow is a drag-and-drop site that allows you create great looking websites by writing little to no code.
With Webflow, you can create amazing layouts and animations by using the HTML and CSS functions on their dashboard, and it comes with an inbuilt CMS so you don't have to worry about updating content or storing images.
Webflow offers a free domain option with a webflow.io extension, for example myportfolio.webflow.io. With this option, you can create a static site with 2 pages. They also have a showcase of projects you can clone from and an online forum where you can get most of your questions answered.
I'd recommend Webflow to designers and developers who have knowledge of CSS layouts and animations and want to quickly setup their site.
How to host a static portfolio built with HTML and CSS
Platform: GitHub Pages
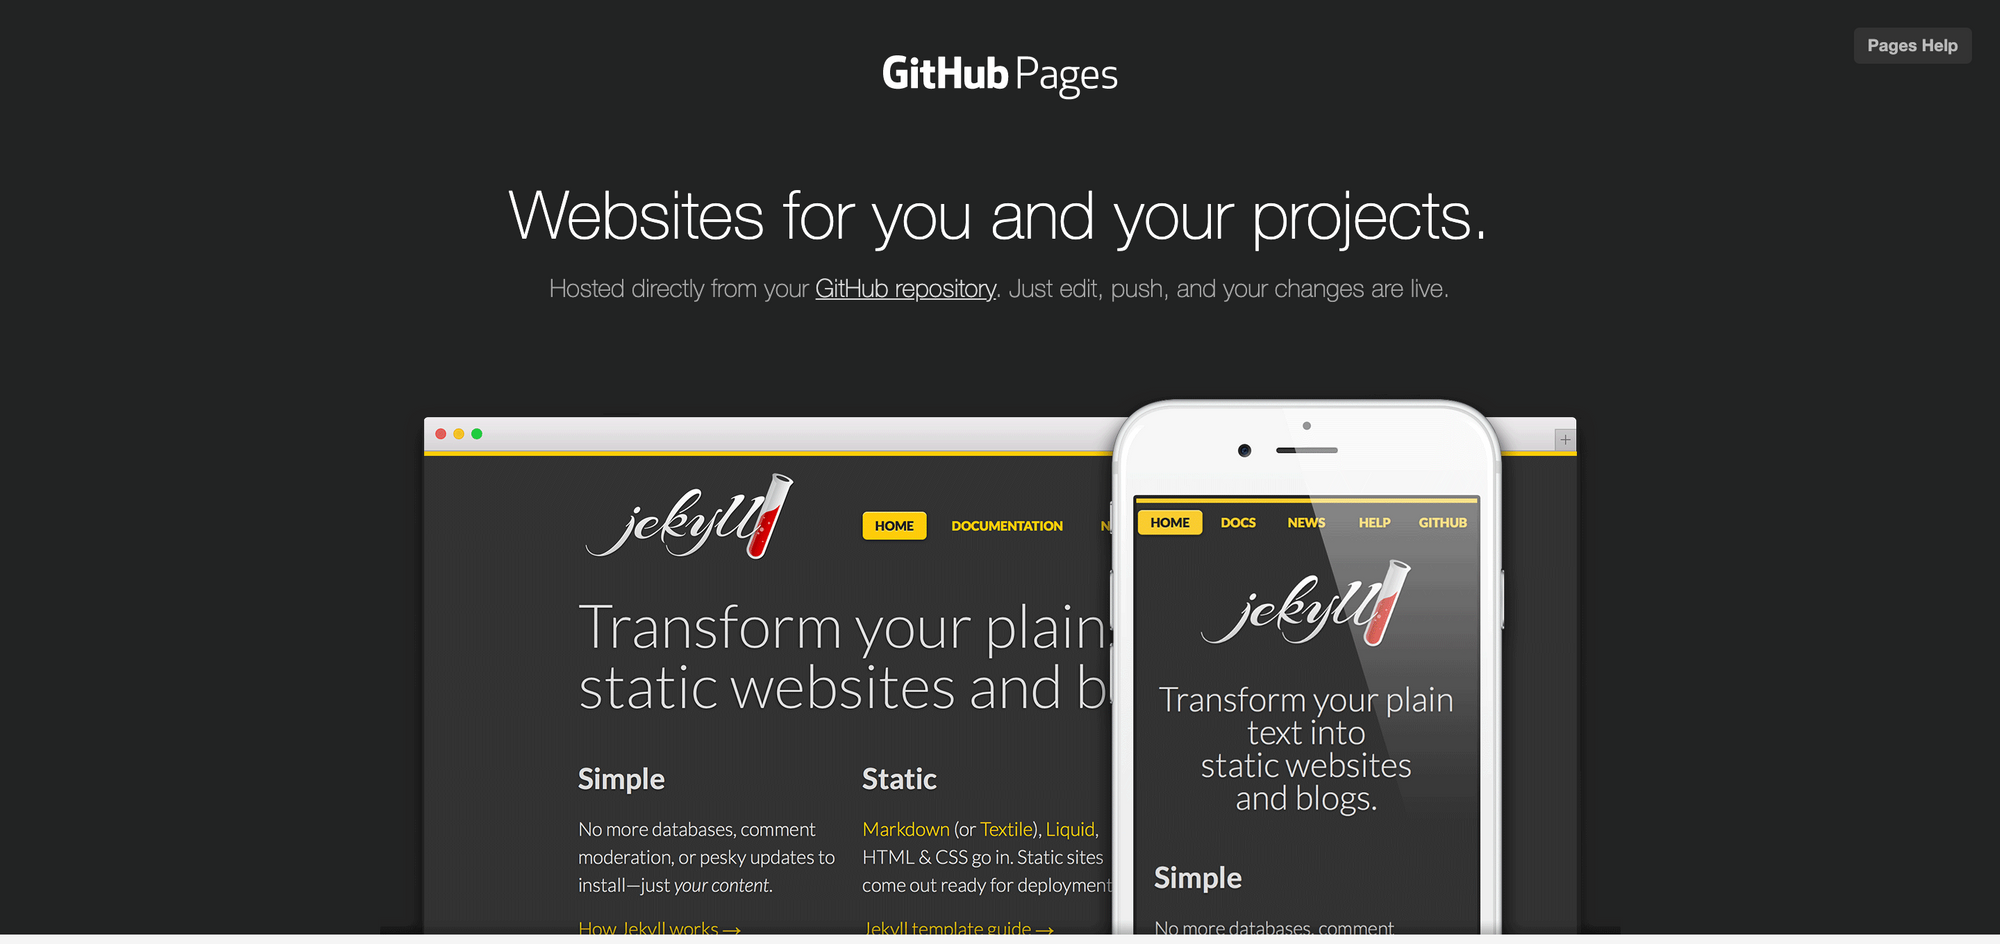
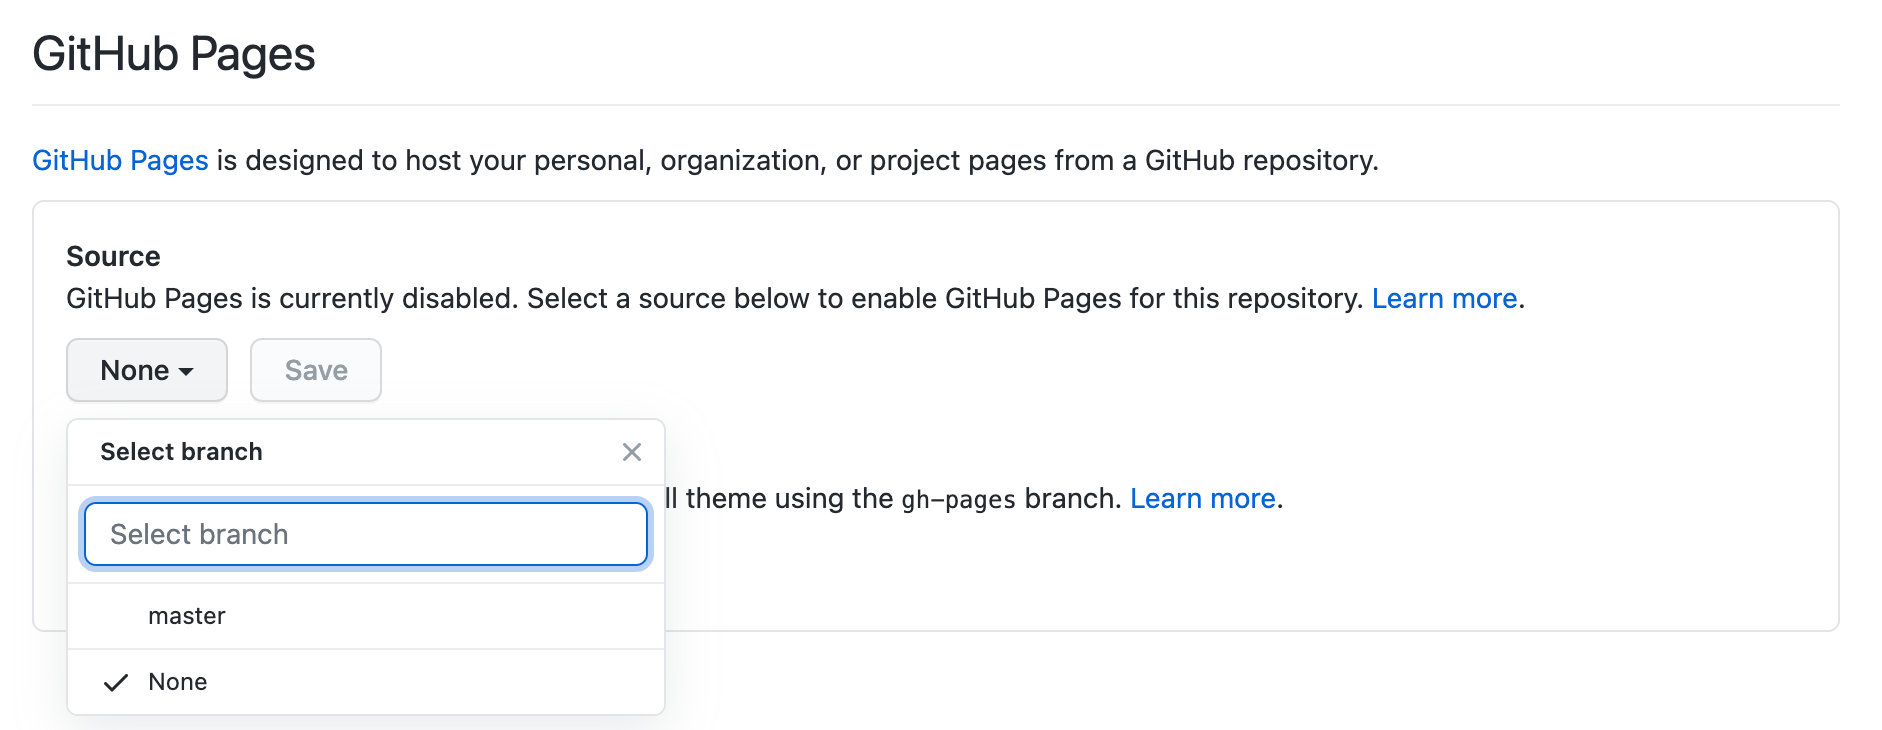
GitHub Pages is a feature from the GitHub platform that allows you display the code from your repository on a github.io site – so the URL would look like my-portfolio.github.io
GitHub pages are best suited for static websites (that is, a site built with HTML and CSS with fixed content and no server interaction or build process needed). It's also very simple to set up and can take as little as 10 minutes to get your site up and running.
To create a GitHub Page, your repository should include an index.html file in the root folder. Then, go to the Settings page of your repository and select your master branch as the source in the Github Pages section.
This was the method most of the developers used during the pair programming sessions as it took the least amount of time and had little to no complications. I'd recommend Github Pages for beginner developers who want to deploy their static sites quickly.
How to host a site that uses a framework like React or Vue
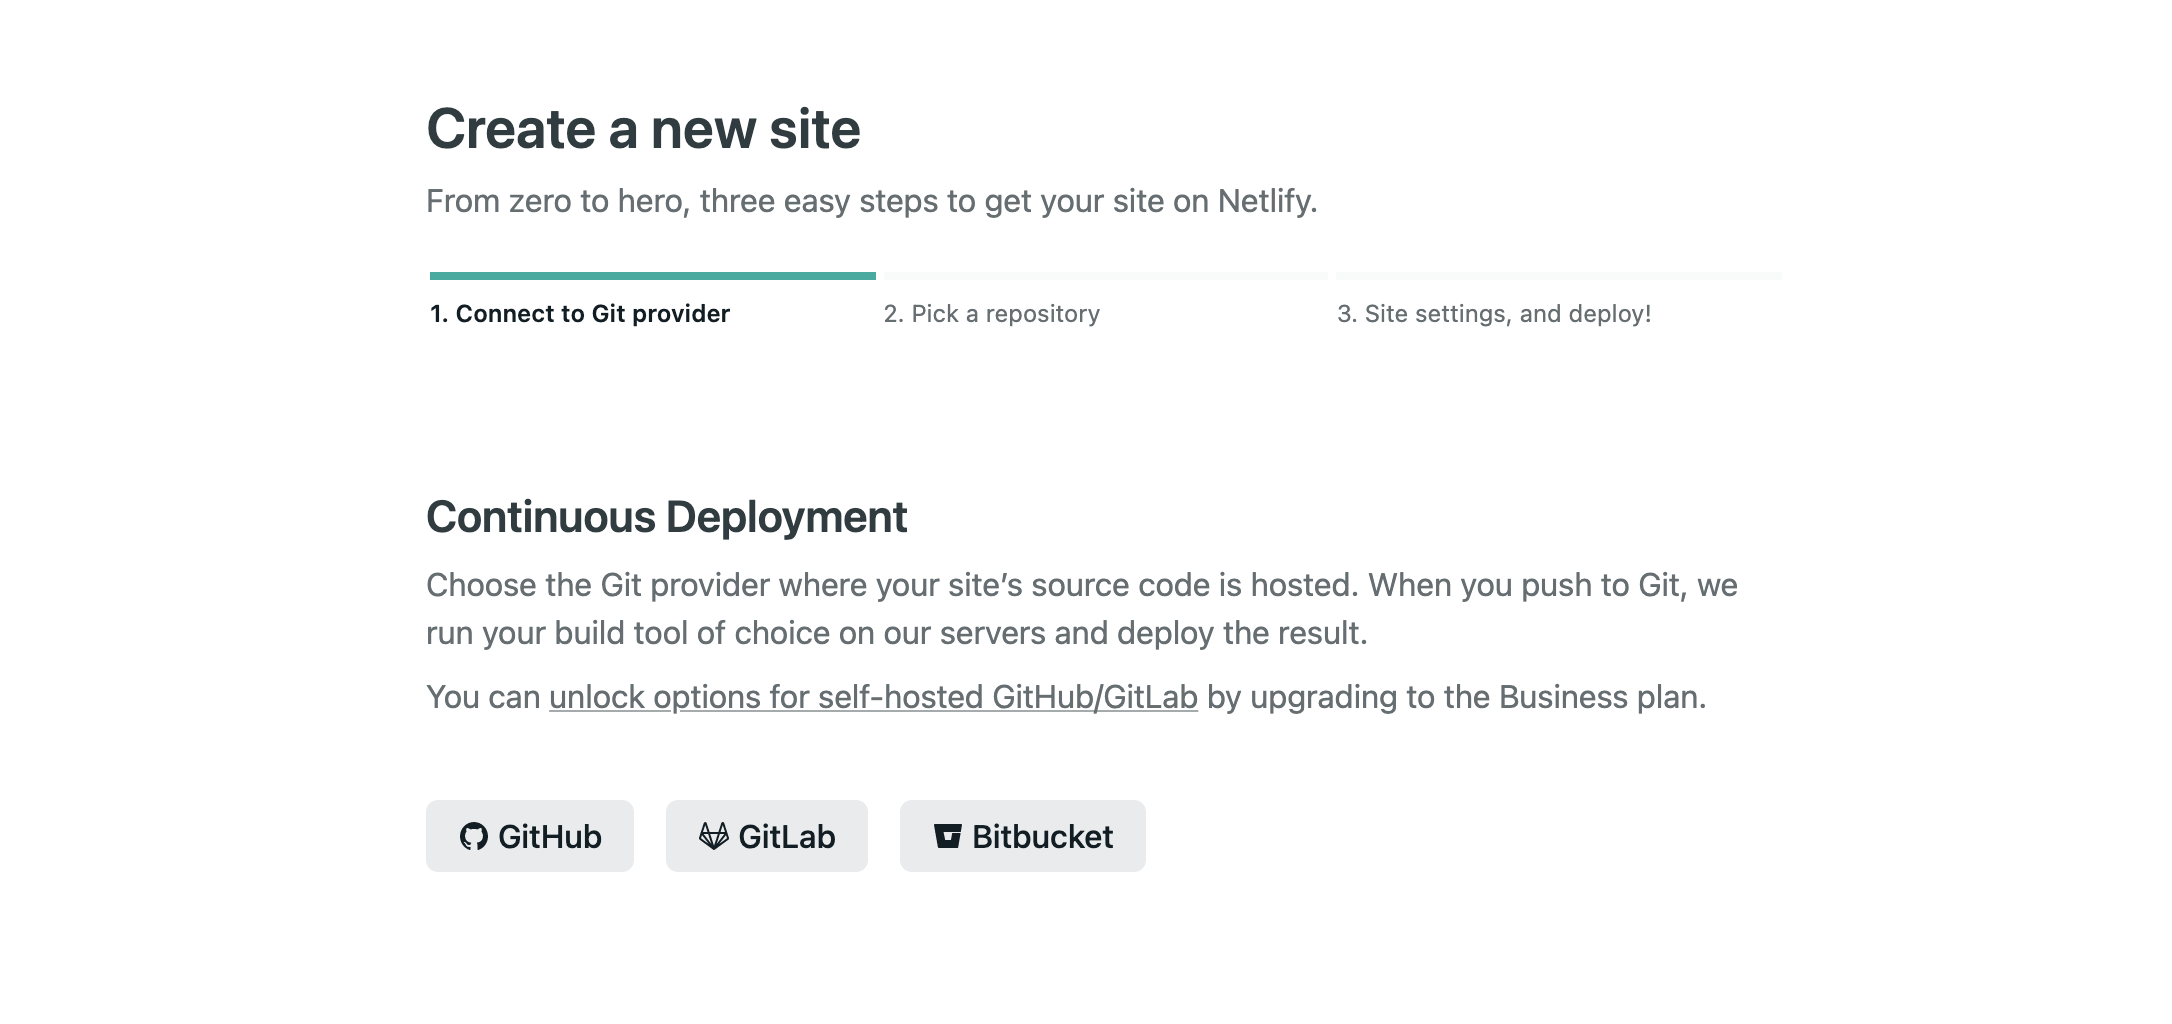
Platform: Netlify
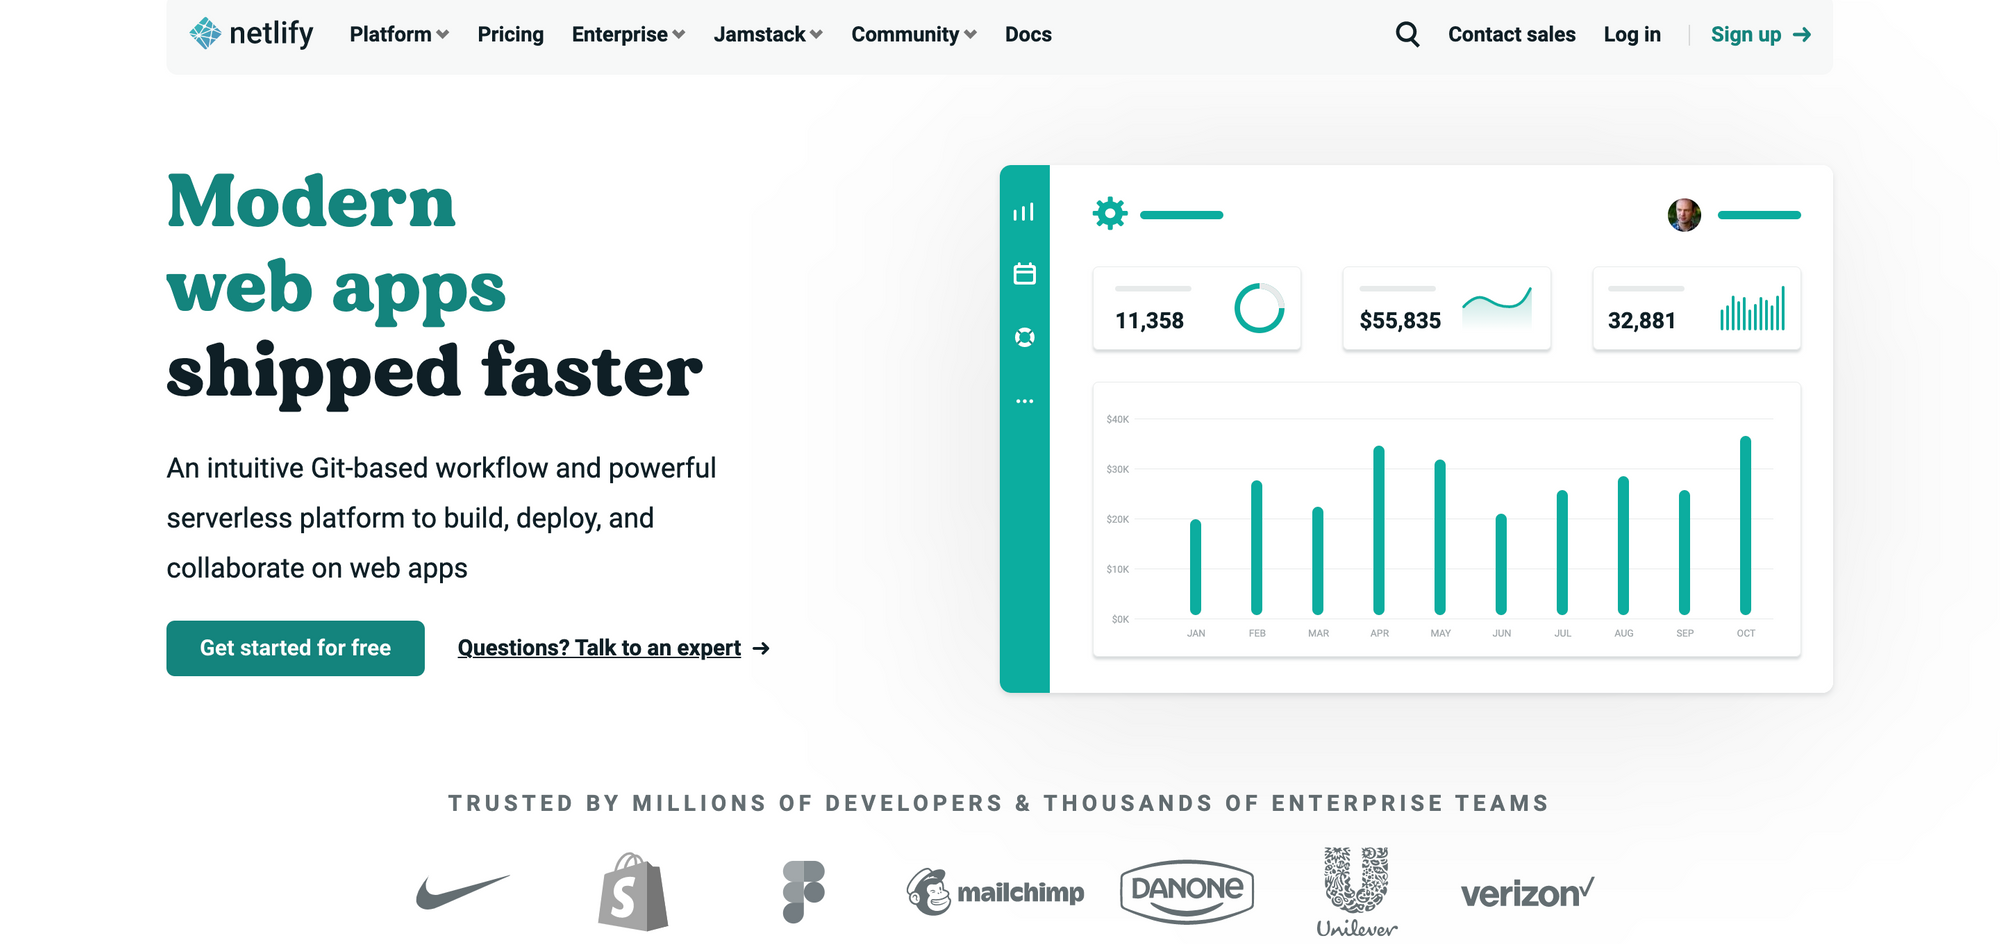
If you're building your website with a front-end framework which requires a build process, Netlify is your best bet. It's perfect for dynamic sites (that is, a site that generates content from a server or has functionality that requires scripting – like sending messages through a contact form) and it also works with static sites.
Netlify has great documentation that provides information on any questions you might have related to using the site. It also has key features for improving your site like Netlify Forms which allow you set up a contact form on your site with no server-side code needed.
I currently use Netlify for hosting my site and it's been my favorite platform so far. I'd recommend it for developers who want to get their site (static or dynamic) up and running without any hassle in setting up a build process.
How to host a site with a backend server
Platform: Heroku
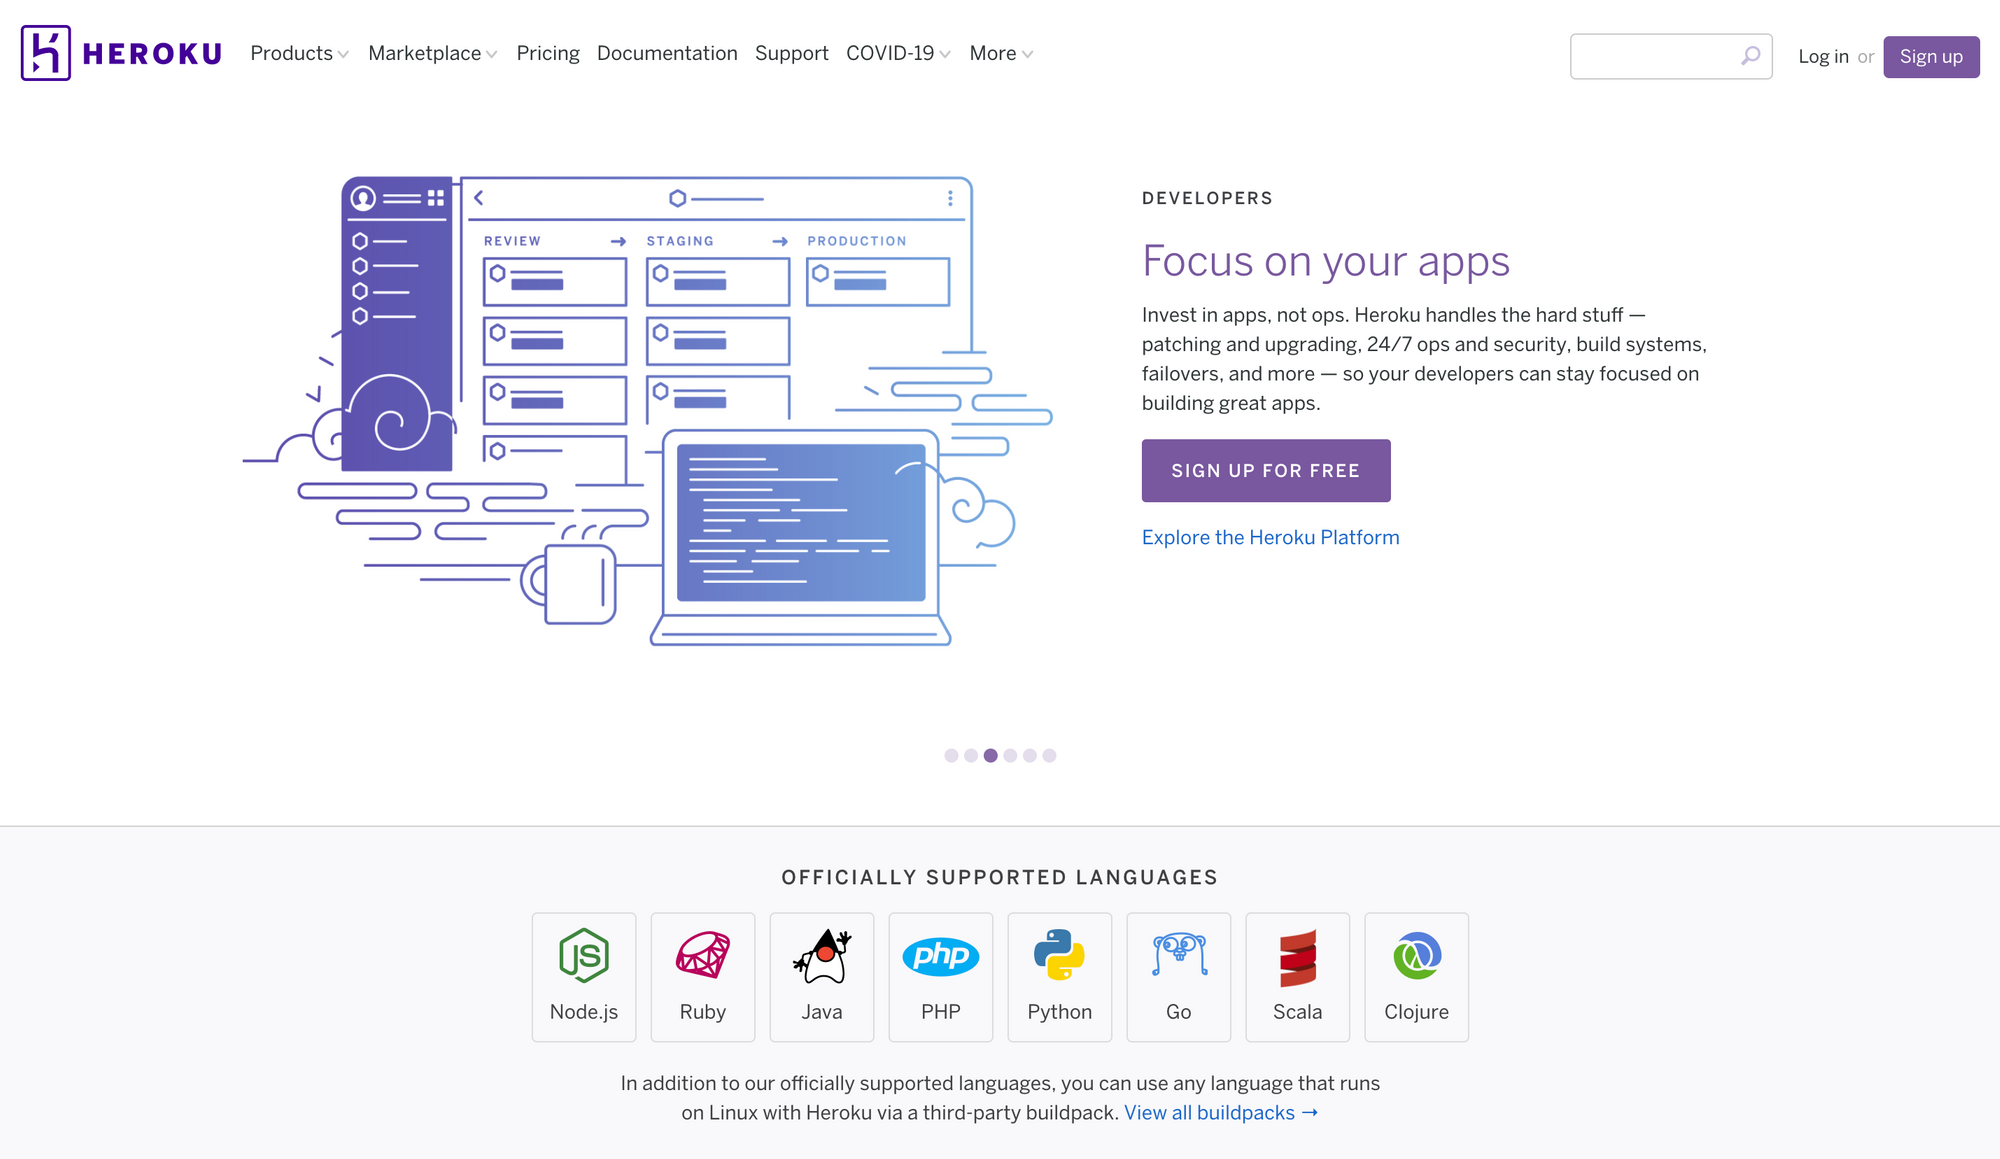
If your portfolio site requires data from a backend server (like getting a list of your projects from a RESTful app), then you'll also need to deploy that server so the frontend can access it.
Heroku is a platform that lets you deploy backend apps from eight supported languages (including Node.js and Python). It also allows you deploy static and dynamic front end sites so you can create two projects – one for your frontend code and the other for the backend app.
You can visit the Heroku Dev Center for more information on getting started with Heroku.
I haven't personally used the Heroku platform for deploying backend apps before, but one of the programmers in the pair programming session did so I thought I'd include it as well. I'd recommend it for full-stack developers who want to display their frontend and backend skills on their portfolio.
3) How to Deploy Your Site
Deploying a site means placing the code you've written on the hosting platform. In older platforms, you'd have to upload the code and all resources to a cPanel (which is basically File Explorer for hosting platforms).
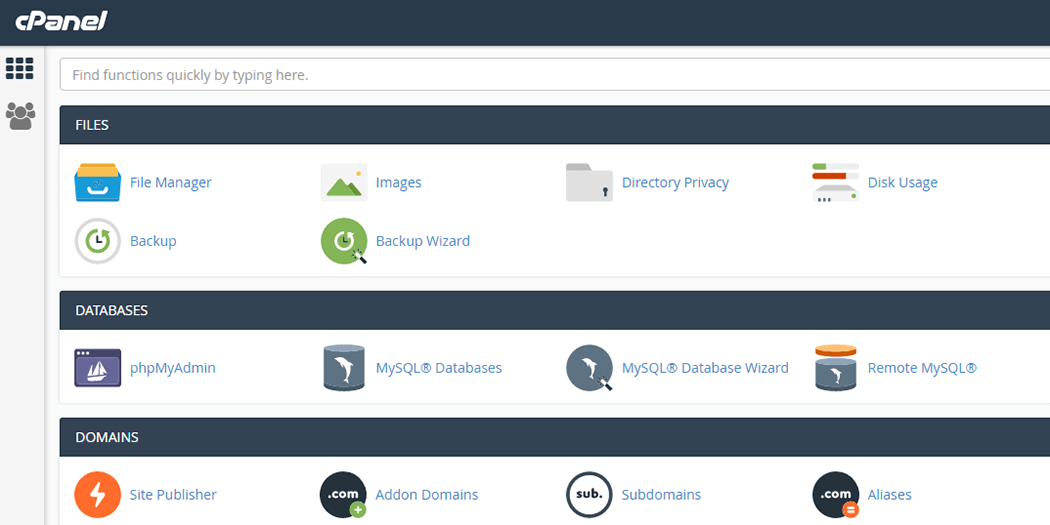 Source: What Is cPanel Used For And Why Do I Need It? - A2Hosting
Nowadays, websites have become a lot more complicated than just .html files so they require different deployment methods.
If you have a React app, for example, the project will need to be built (like how you run npm start on your laptop to view the app) every time it's deployed to the domain.
Depending on the hosting platform you've chosen, the method of deployment is different. You can set up continuous deployment from a Github repository on Netlify (documentation here) and Heroku (documentation here). This means every time you push a new change to your repository, the change is reflected in your site.
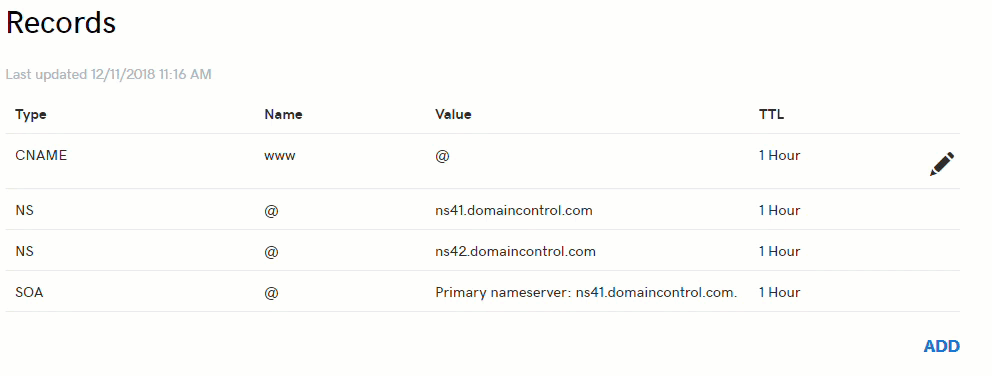
If you're choosing to use a custom domain name, you'll need to link that domain name to your site. For example, on Netlify, your app is created with a netlify.app extension by default so it looks like myportfolio.netlify.app, but you can set a custom domain name. You can also set a custom domain name on Heroku.
Linking a custom domain on these platforms means you'll need to update the DNS (Domain Name System) records from your domain provider. DNS is what allows users access your site with your domain name, for example portfolio.com instead of an IP address like 127.0.0.1. You can read more on DNS here.
 Source: Add an A record - GoDaddy
4. How to Choose a Design for Your Site
Another topic we covered during the sessions was choosing a design. Some of the developers already had their sites built, but some had no idea what sort of layout to go for.
When it comes to choosing a portfolio design, I recommend viewing other developers' portfolios for inspiration and ideas on how to structure your site. This articles shows 15 Web Developer Portfolios or, if you need some more inspiration, try 63 Examples.
You can also read this article on 5 Projects To Include in Your Front End Portfolio for project ideas.
It's important to determine the purpose of your portfolio and make sure that purpose is evident in every part of your site.
For example, if you're trying to use your portfolio to get a job, make sure you highlight your skills and experience on the main page and include call-to-actions to allow people view your résumé or send you a message.
If your portfolio is meant to get you clients for freelance purposes, then focus on previous projects you've built and reviews from other clients.
 Source: https://www.bmediagroup.com/news/employ-adam/
Conclusion
Let's summarise what we've covered in this article. To deploy your site online, you'll have to:
- Purchase a domain from a domain provider.
- Choose a hosting platform, depending on how you want to build your site.
- Link your domain to your hosting platform by updating your DNS records on your domain provider.
- Set up deployment of your site from your hosting platform according to their documentation.
I wrote this article and offered the pair programming sessions because I remember how complicated it was to deploy my first website. I also remember how I made a lot of mistakes I could have avoided (like paying 10 times the original fee on renewal of one of my domains thanks to a bunch of add-ons I didn't need) so I hope you found it helpful.
If you did, or you have any other questions, you can let me know on Twitter or send me a message on my website.