
Docker is a platform that helps you build, run, and ship applications in a seamless and error-free way.
You've likely come across a scenario where the code is running on your machine, but is somehow throwing errors on someone else's machine.
Well, Docker was created to solve this very problem.
 image source: internet
In this article, we will cover four major concepts:
- How to setup, install, and configure Docker
- How to add Docker to your project
- How to install and configure AWS CLI on your system
- How to use AWS ECR to host a Docker image in a remote location
Prerequisites
Here's what you'll need to follow along with this tutorial:
- A Docker account
- Basic knowledge of Docker: use case, commands
- AWS account
- Basic knowledge of AWS: console, IAM, users, ECS, ECR
- A simple web app that we can use for this project
If you don't have a web app or just want to give it a try, you can clone this project:
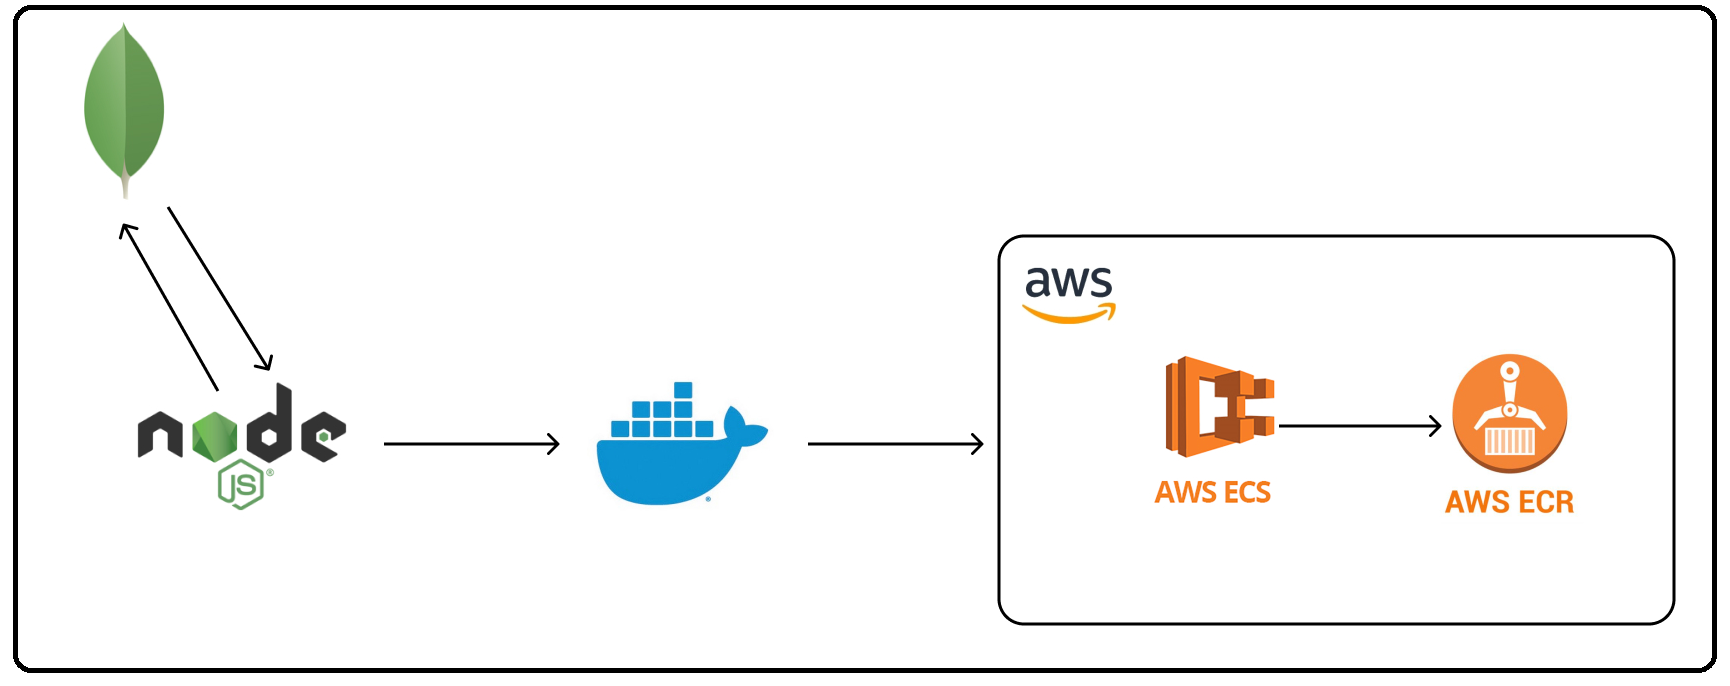
The above application is an Express.js application with MongoDB Compass as the database. We will create a Docker image of the project, push it to AWS ECR, and access it through AWS ECS.
Docker Setup
The only thing you need to do if you're using Windows or Mac is install the Docker desktop application. It installs everything you need and gives a nice GUI for interaction.
Go to the official website and install the setup. You also need to create a Docker account for further usage. If you're on Linux, this page or a simple YouTube search will help you get it done.
To check if the installation is successful, execute docker --version in the terminal. It should prompt with the version and build installed in your system.
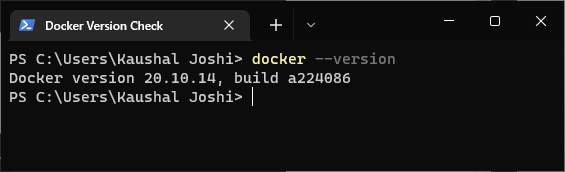 Checking if the Docker installation is successful
Docker Login
Go to hub.docker.com/signup and create your account. To connect your system with your Docker account, execute docker login in the terminal.
You will see Login succeeded prompted in the terminal.
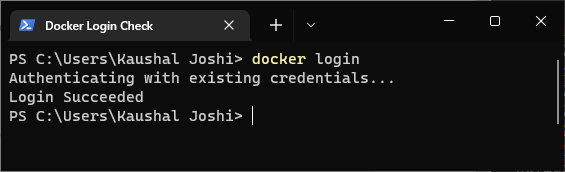 Checking if the Docker login is successful
Once Docker is installed and configured in your system, let's move to the next section.
How to Dockerize Your Project
By Dockerize, I mean setting up your existing project with Docker and containerizing it.
Create a file named Dockerfile without any extension in the root of your project directory. It contains the code required to build a Docker image and run the dockerized app as a container.
If you are using VS Code, the Docker extension will come in handy.
How to Configure the Dockerfile
As a bare minimum configuration, paste the following code in the Dockerfile.
FROM node:12.17.0

WORKDIR /app

COPY package*.json ./

RUN npm install

COPY . .

ENV PORT=3000

EXPOSE 3000

CMD [ "npm", "start" ]
Before understanding these instructions, create a .dockerignore file and add node_modules in it. It works the same as .gitignore.
Now let's go through that code:
FROM: Sets the base image for further instructions. For the sake of simplicity, we will use an officially supported Node.js image. I am using the exact version mentioned in mypackage.json, so change it accordingly if you're using a different node version.WORKDIR: Adds source code from our current working directory to the image.COPY: Copy files and folders from source to destination in the image filesystem. We are copyingpackage.jsonandpackage-lock.json. This command ensures that we have a list of dependencies to install in our docker container.RUN: Executes the given command. As we havepackage.jsonfrom the previous step, we can install dependencies in our container.COPY: Now, we are copying everything from project directory to our container. Since both are in the same directory, we are using.which indicates the current working directory.node_modulesdoesn't get copied since we have added it in.dokcerignore.ENV: Sets an environment variable for the docker container.EXPOSES: When we are running this container, we want to listen our app on a particular port.EXPOSESallows us to access the containerized application publicly. It doesn't need to be the same asENV, but it reduces complexity :)CMD: There can be only oneCMDcommand in one image, which tells the container how to start the application. Notice we have passed as array and the necessary command as elements. This is called as exec form and it allows us to run the command without starting a shell session.
We have setup everything we need to create a Docker file. Let's create a Docker image now!
How to Create a Docker Image
You use the docker build command to create a build of Docker image. There are a bunch of parameters we can pass with the command. But one we are going to use here is -t. This gives your image a name tag which makes it easy to remember as well as access.
There is no standardized way to name your image, but normally you would see this: Docker user name followed by a slash (/) and then version number separated by a colon(:).
docker build -t <name-tag> .
The second argument is the location of the Dockerfile. Since ours are in the same directory, we can put a period(.).
When you run the command, you will see that steps are being executed in the same order as they are written in the Dockerfile. Once done, it will prompt Successfully built in the terminal.
You can use baseID to access the particular Docker image instead of using its name tag.
You can verify this by looking at the Images section in the Docker app. Also you can see the local container in Containers/ Apps section.
For the time being, let's run our Docker image in our local system.
docker run -p 3000:3000 <name-tag>
Remember, you can also use <baseID> instead of <name-tag>.
Port Forwarding
If you run the above command without -p 3000:3000, you won't see anything on the port 3000. This is because even if we have exposed port 3000 in Dockerfile, if have not made it accessible to the outside world,
The -p flag allows us to do port forwarding from the container to our local machine.
Port forwarding is actually a huge concept, but this is everything we need to know for now.
Visit http://localhost:3000/ in your browser. Well, you have created a Docker container and are running it on your local machine. Kudos!
Usually, you push this image to some kind of container registry to use it in real world scenarios. It could be a Docker Hub or anything else. We are using Amazon Elastic Container Service provided by AWS.
For smooth communication between local Docker image and ECS, we need to set up AWS CLI in our system. Let's see how to do it.
How to Set Up AWS CLI
AWS Command Line Interface is a command line tool that enables us to use AWS resources through our terminal. Anything that we can do in AWS console or web GUI can also be done with CLI.
We have to setup and configure AWS CLI in our system in order to use ECS services locally. To check if you already have AWS CLI installed, execute this command in the terminal:
aws cli
If the command doesn't respond with anything, CLI is not configured. If it does, feel free to jump to the next section.
How to Install AWS CLI
I am using Windows 10 with WSL2. But the procedure is similar for Mac OS and Linux Debian.
Go to this website and follow the steps for your distribution. For Windows, you have to download an MSI. Then an installer prompt will show up. Just follow along and it will be installed in a few minutes.
Now restart the terminal and execute aws cli again. Let's setup a user for this local profile.
How to Set Up a Local User for AWS CLI
Go to the IAM section of AWS console on the web. Follow this GIF to create a new user:
 create a user with appropriate rights
Remember:
- Access Key - Programmatic Access is checked when you enter the name of new user.
- Add a user policy that gives full access of ECS. The name of the policy is
AmazonECS_FullAccess. - Note down
access key IDandSecret access key, as we'll have to use these later.
Let's go back to our good ol' terminal. Execute the configuration command in the terminal and enter your access key, secret access key, and preferred region. Skip the default output format for now.
aws configure
Verify the configuration by executing aws configure list command.
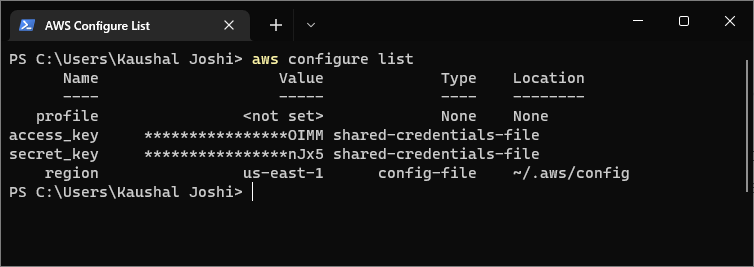 Verifying AWS CLI Configuration
Congratulations! We have successfully setup AWS CLI with our local terminal. Now it's time to push our Docker image to Amazon ECR.
AWS Elastic Container Services
It's been so long since we talked about Docker. We have created a local Docker image and container. We have to publish it from our local Docker repository to AWS ECR. It is done through ECS
What is ECS? You might ask.
Amazon Elastic Container Services aka ECS is a fully managed container orchestration service that makes it easy for you to deploy, manage, and scale containerized applications.
And Elastic Container Registry or ECR is the registry for Docker containers stored in ECS. We will be using ECS to push our Docker container to ECR.
How to Create a Repo in ECR
For simplicity, I suggest keeping the same name as your project.
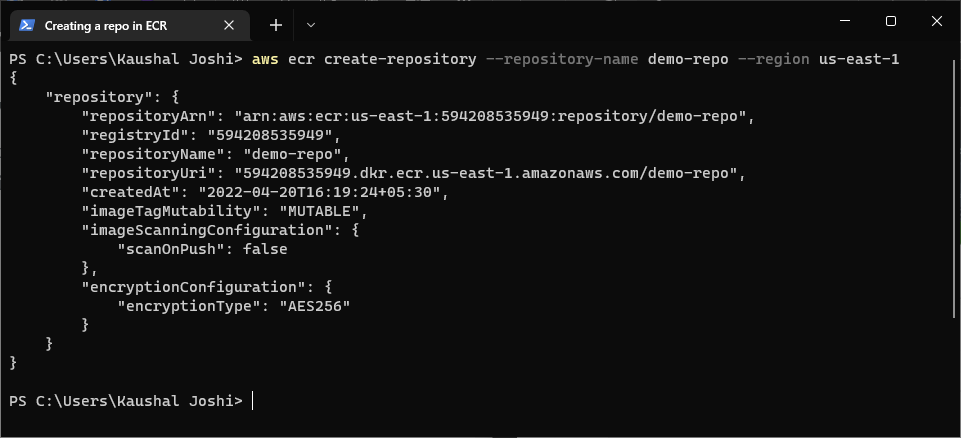
aws ecr create-repository --repository-name <repo_name> --region <region_name>
If you are not sure about region_name, put us-east-1. This would create your repo in US EAST-1 region. Once finished, it will prompt a JSON object like response in the terminal.
For a safer side, check AWS console and see if a repository is created:
 verifying if a repo is created
Remember:
- You won't see any images under repository. Because we haven't pushed any image yet.
- Note down
URIof your repo. We'll have to use it soon.
How to Push a Docker Image to ECR
Every piece has been individually created so far. It's time to join each and every piece and complete the puzzle.
For Docker to push the image to ECR, first we have to authenticate our Docker credentials with AWS. We use the get-login-password command that retrieves and displays an authentication token using the GetAuthorizationToken API that we can use to authenticate to an Amazon ECR registry.
aws ecr get-login-password --region <region_name>
Use the same region_name that you used while creating a repo. Store the encrypted token somewhere for a moment.
Take a deep breath now. We need two things I told you to save somewhere. The first is the token I just mentioned and second is the repository URI from the previous step.
Did you get that? Lessgooo!
aws ecr --region <region> | docker login -u AWS -p <encrypted_token> <repo_uri>
Needless to say, put the same region where your repository exists.
We are querying the ECR API provided by AWS CLI. Later we are pipelining Docker login.
-u AWS: Default user provided by AWS.-p <encrypted_token>: Password we retrieved in the last step.repo_uri: URI of our repository.
If the login is successful, Login Succeeded will be shown in the terminal.
How to Tag a Local Docker Image
This command tags a local Docker image with the ECR Repo.
docker tag <source_image_tag> <target_ecr_repo_uri>
source_image_tag: The name you gave for thedocker buildcommand. If you are following along, it isusername/image_name:tag.target_ecr_repo_uri: ECR Repository URI.
How to Push the Docker Image to ECR
The final step – the last piece of the puzzle!
The following command pushes the local Docker file to the remote ECR repository. Depending on the image size, it will take some time to finish.
docker push <ecr-repo-uri>
Hurray! We have made it 🎉
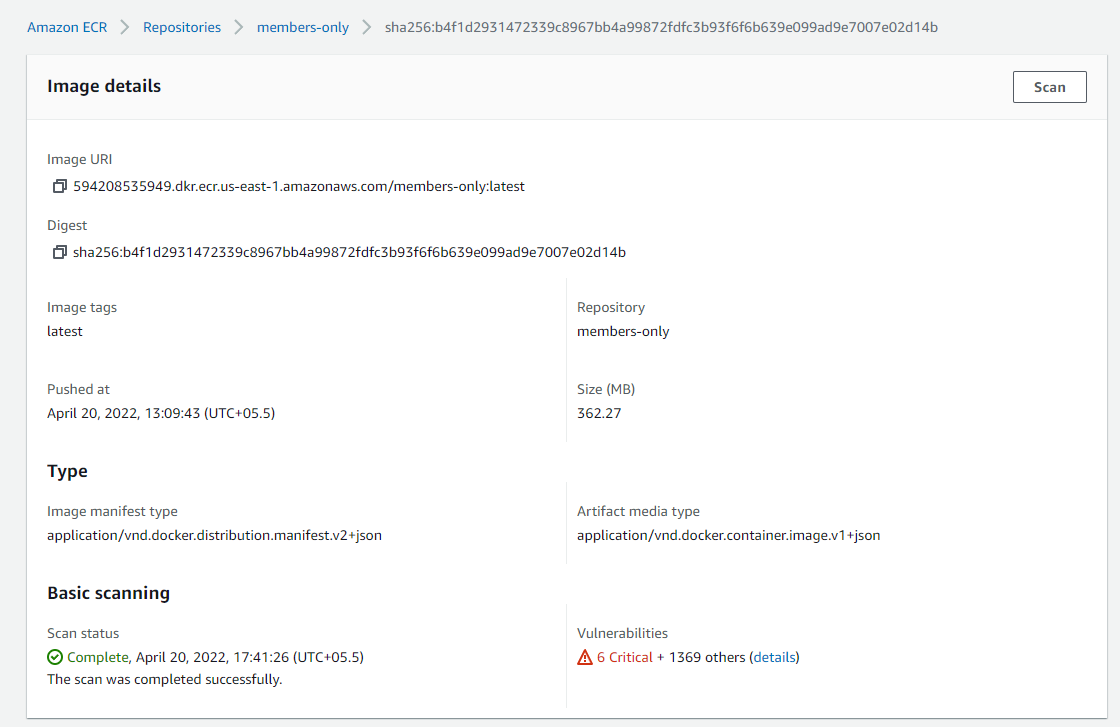
You can see the uploaded image in the AWS console. Go to ECR, click on repositories, and open ECR repo we uploaded a few minutes back. Copy Image URI if you want to use it further.
Wrapping Up
In this article, we covered how to deploy a Docker image on AWS ECS. You can use this Docker container resting inside ECR to host your application on the server. It could be AWS EC2 or anything else.
Docker and AWS are widely used to develop large scale applications. Having an idea how these things work together should help you build large scale applications in the future.
Having said that, I hope this article has helped you in your work, studies or learnings. If it did, you might also find my other articles helpful.
I mainly write on my personal blog and freeCodeCamp. If you want to say hi, I am most active on Twitter, LinkedIn and Showwcase.
Happy shipping! 🐳🚢