
By Abdulwahab Ashimi
Laravel's simplicity and MVC architecture make it an ideal PHP framework for building web applications.
In this article, I will show you how to set up Laravel on your Windows machine and configure it to run on a custom domain name.
This guide is best suited for a beginner trying to get Laravel up and running quickly and easily. But even as an advanced programmer, you'll likely find fresh insights into how you can simplify the process of configuring a Laravel project. So let's dive in!
How to Install and Start Xampp
Xampp is an open-source tool that allows you to run an Apache server, MySQL database, and other tools from a single interface for development.
You can download and install Xampp from here: https://www.apachefriends.org/download.html.
First, launch your Xampp Interface and start your Apache and MySQL Server.
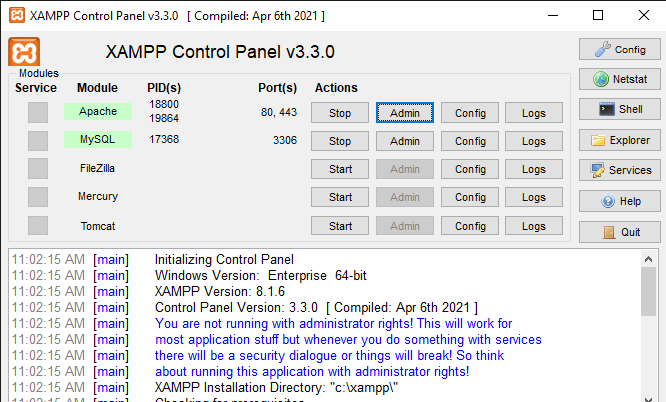 The Xampp Interface
Next, click on Explorer to launch your Xampp htdocs folder. Delete the files and folders inside the folder. Now you can setup your Laravel application.
How to Set Up Laravel
Inside the htdocs folder, you can clone your existing Laravel application or set up a fresh installation using composer create-project laravel/laravel example-app. In this case, "example-app" is your project name but you can replace it with your preferred name for the project.
 The Laravel Directory Structure on htdocs
Open the htdocs folder in your preferred code editor. I will be using VScode for my example.
Replace the APP_URL value in the .env file of your Laravel project with the custom domain name:
APP_URL=https://project.test
You can replace "project.test" with your prefered test domain name.
How to Configure Your Hosts File
In your Windows file explorer, navigate to the "hosts" file located at C:\Windows\System32\drivers\etc\hosts and open it with VSCode (or whatever editor you're using). I'd advise that you use VSCode with admin privileges.
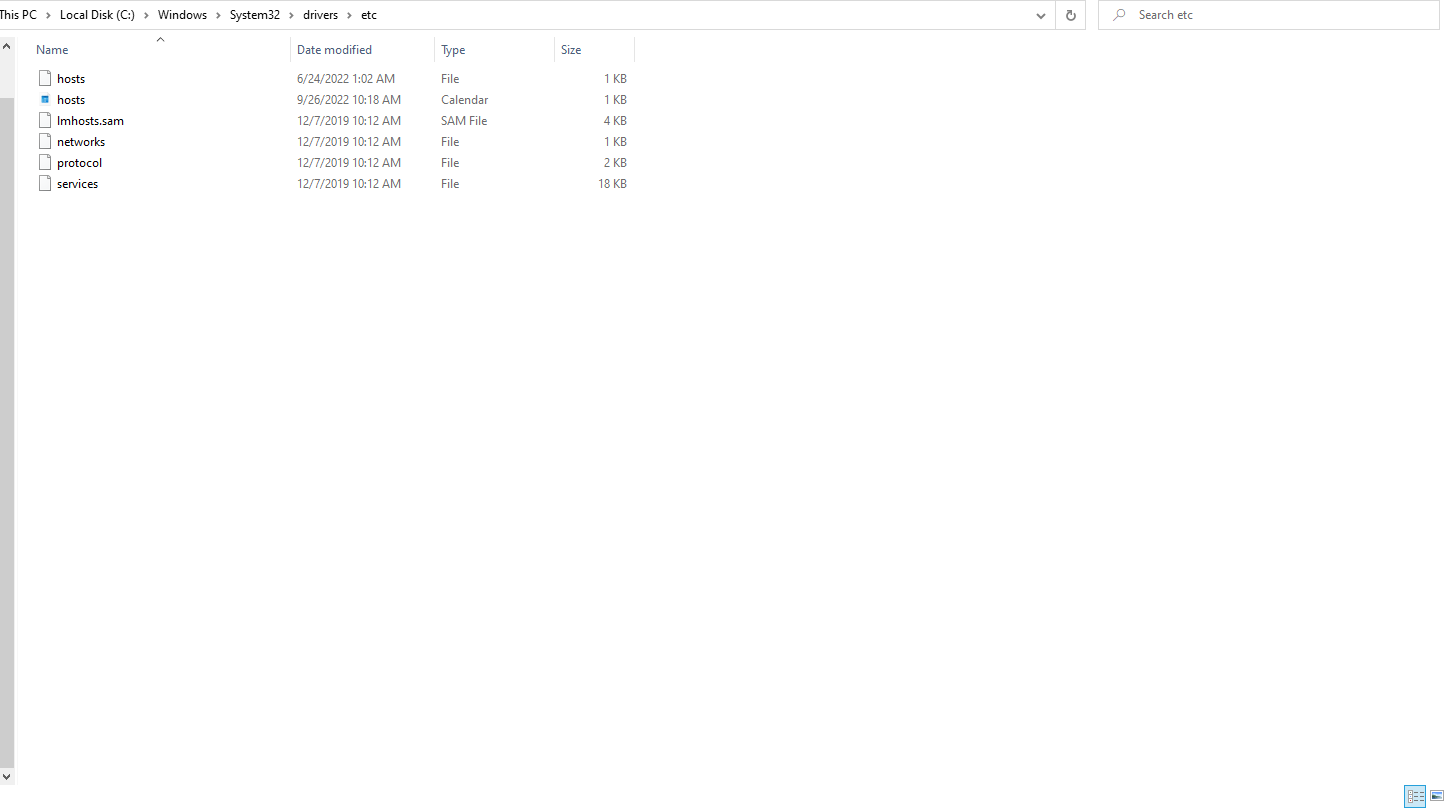 etc directory containing the hosts file and other files
Add the following line to the file:
127.0.0.1 project.test
This will map the hostname "project.test" to the local IP address "127.0.0.1".
Now, if you launch your Apache server and visit project.test on your browser, it loads the "index of" project.
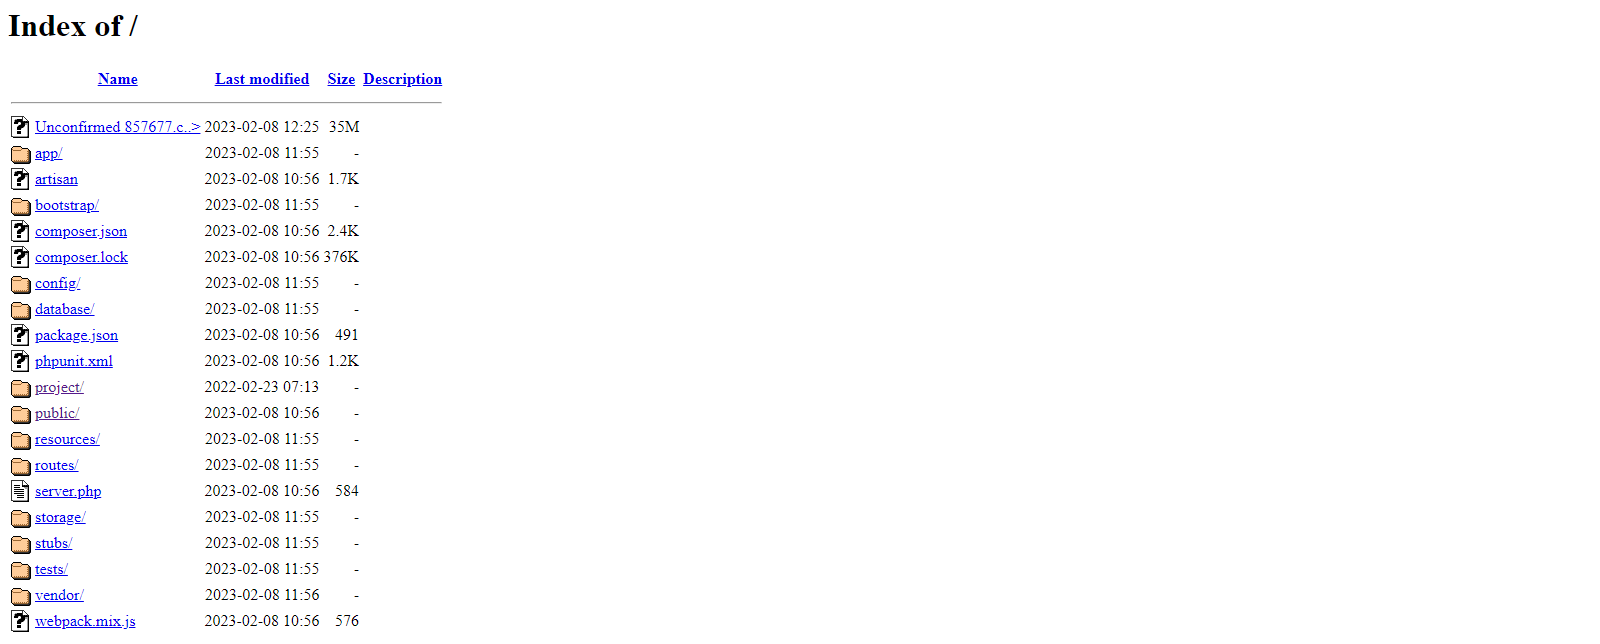 Index of' The Laravel Directory on Browser
This is because for your Laravel application to work, it needs to load the public folder. If you can load public.test/public on your browser, you will be redirected to the Laravel project. To fix that, you can configure the Apache root directory.
How to Configure Your Apache Root Directory
In your Windows file explorer, navigate to and open the "httpd.conf" file which contains the Apache configuration. It's located at C:\xampp\apache\conf\httpd.conf . You should also use VSCode with admin privileges in this case.
Right below # Virtual hosts, add the following:
<VirtualHost *:80>
    ServerName project.test
    DocumentRoot "C:/xampp/htdocs/project/public"
    <Directory "C:/xampp/htdocs/project/public">
        Options Indexes FollowSymLinks Includes ExecCGI
        AllowOverride All
        Require all granted
    </Directory>
</VirtualHost>
Note: Replace project.test with your custom domain name and C:/xampp/htdocs/project/public with the path to your public folder.
Stop and restart the Apache server from your Xampp interface and try visiting "http://project.test" on your browser to see the Laravel project's homepage.
Conclusion
You can have multiple projects with their own custom domains by setting them up in different directories inside the htdocs directory and specifying their individual Apache configurations.
If this article was helpful to you. Share it with friends or drop me a shout out on Twitter @adebowale1st.