
Developers love productivity. When it comes to coding, we want to do things fast and we look out for opportunities to re-use things as much as possible.
Say, you are getting started with a ReactJS project and want to use TailwindCSS for the same. The first time, it would be fine for you to create a project using the ViteJS tool, and then configure TailwindCSS on top of it.
But the next time (and many more times after that), if you want to start a new React project, would you like to repeat these same steps over and over? A clever developer wouldn't do that. Instead, they'd create a "template" and use it every time they needed something similar in the future.
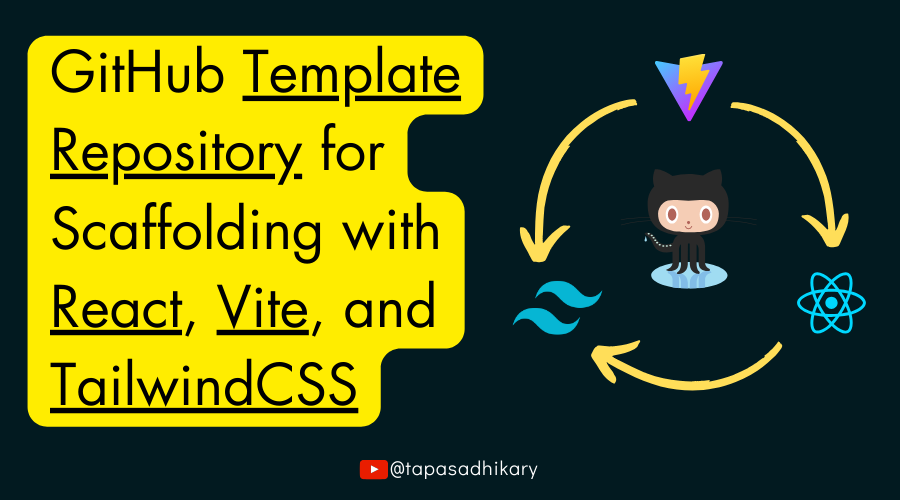
In this article, we are going to learn how to create a GitHub template repository for scaffolding a new React project with Vite and TailwindCSS. The steps explained in this article will also help you to set up React using Vite, and configure TailwindCSS with it, even if you have reasons not to create the template repository. So, read on.
If you like to learn from video content as well, this article is also available as a video tutorial here: 🙂
What is Vite?
Vite (aka ViteJS) is a next generation frontend tooling system that helps developers get started with local development quickly and easily. It supports super fast hot module replacement (HMR) so that there's hardly any lag between changing the source code and seeing it rendered on the browser.
Vite is way faster in starting the dev server than its predecessors like create-react-app (CRA) which was a go-to option for scaffolding React applications. Vite supports JSX, TypeScript, and CSS out-of-the box. It creates optimized builds and manages dependencies in an efficient manner.
Vite comes with templates available for all modern web technologies like vanilla JavaScript/TypeScript, React, Vue, Preact, Lit, Svelte, Solid, and Qwik.
At this moment, Vite is the most viable tooling system available to get started with React development.
How to Set Up a React Project with Vite
To get started, make sure you have Node.js version 18+ installed. You can check this by executing the following command from your command prompt (terminal):
node -v
This will print the Node.js version you have installed. If you do not have Node.js installed or you have a lower version than v18, go ahead and download and install it from here.
You can use the --template option of the vite library to create a React project using the template. Just copy-paste the following command on your terminal and press enter to execute it:
npm create vite@latest your_app_name -- --template react
Note that you need to replace the your_app_name with the name of your project/application. The vite tool will create a directory with the same name with the generated source code under it.
Next, change directory to your project:
cd your_app_name
Now, install the dependencies using this command:
npm install
Once successful, run the app locally using the following command:
npm run dev
Vite will run the app locally on the URL http://localhost:5173 by default.
 Vite running the app locally at
 http://localhost:5173
You can now open a browser tab and try the URL to see your React application up and running.
 React app up and running
Congratulations! You have now successfully set up a React app with Vite. Feel free to make any changes to the src/App.jsx source code file to see the changes reflected instantly on the browser.
How to Configure TailwindCSS with Vite
TailwindCSS is a utility-first CSS framework that can help make you more productive with its rapid development cycle. It provides utility classes you can use to translate any design into markup effortlessly.
Tailwind works quite well with React, and the two have become a modern combo for building fast websites and web applications.
Install TailwindCSS
We will now install and configure TailwindCSS with the React application we have created so far with Vite. You can now stop the Vite server if it's running locally for you.
First, let's install tailwindcss, postcss, and autoprefixer as the dev dependencies of the project:
npm install -D tailwindcss postcss autoprefixer
A few points worth mentioning about the postcss and autoprefixer here:
- The
tailwindcssframework doesn't provide us the CSS styles that the bowser understands directly. It provides us the utility classes that some tool has to translate to regular CSS that the browser understands. - Also, the produced CSS from the utility classes must work across all browsers (Edge, Chrome, Firefox, Safari, and so on).
So we need to have PostCSS and Autoprefixer along with TailwindCSS to set up the expected CSS output at the build phase.
Configure TailwindCSS
Now create the configuration file for Tailwind and PostCSS using this command:
npx tailwindcss init -p
It will create two files for you:
tailwind.config.js: the configuration file for TailwindCSS. We will have to change this file to provide some basic configuration to start with. The same file must be edited with additional settings when you want to extend TailwindCSS for any advanced use cases.postcss.config.js: the configuration file for PostCSS. In most cases you do not have to change anything in this file.
Open the tailwind.config.js file and replace the existing content with the following:
/** @type {import('tailwindcss').Config} */
export default {
  content: [
    "./index.html",
    "./src/**/*.{js,ts,jsx,tsx}",
  ],
  theme: {
    extend: {},
  },
  plugins: [],
}
Note that we have added a couple of entries to the content array value to tell TailwindCSS what to consider for its utility classes to work. In our case, it must be the index.html file and any .js | .ts or .jsx | .tsx files under the src/ directory.
Now open the ./src/index.css file and add the @tailwind directives for each of Tailwind’s layers:
@tailwind base;
@tailwind components;
@tailwind utilities;
That's it. We have done all the required configuration for TailwindCSS to run with a Vite app.
Let's Run Things Together
It's time to run things together. Start the Vite server back up locally using the command:
npm run dev
Now edit the src/App.jsx file to replace its content with the following code snippet:
function App() {

  return (
    <>
      <h1
        className="text-3xl text-center text-red-700"
      >Welcome to Vite with TailwindCSS and React</h1>
    </>
  )
}

export default App
Here, the JSX of the App component returns a heading tag (h1) with some welcome text. Notice the class names used with the <h1> tag. These are all utility classes from the TailwindCSS framework. You can even read them like plain English. We asked TailwindCSS to render a bigger text (3XL), that should be center aligned, and in a shade of red.
Now access the app like before using the URL http://localhost:5173. You should see the output as expected:
 Welcome screen in your React/Vite app
Congratulations, again! You have now set up React and TailwindCSS with Vite and everything is working as expected.
How to Create the Template Repository on GitHub
All the hard work is done. Now we want to save this work somewhere so you can use it like a template every time you want to start a React project with TailwindCSS. There is no better place than GitHub to store and manage the source code.
Login to your GitHub account and create a new repository by clicking the New button from the repositories tab.
 Creating a new repo on GitHub
Now, provide a repository name and description and create the repository.
 Enter your repo details and click "create repository"
Next, commit, and push the entire project code to this repository. After pushing the project code, go to the Settings of the repository. Under the general settings, you will find a checkbox with a label Template repository. Check that checkbox to make this repository a template repository.
 Make this repo a template repository by checking the checkbox
Great! Now you have created a template repository that'll let you create a React and TailwindCSS project with a single-click in the future.
Now, you will find a new button called Use this template at the top-right corner of your repository. You can click on it to create a new project repository from this template. If your template repository is public, anyone else from the developer community can use it to create their project repository. Amazing, isn't it?

I've created a template repository using the same steps we discussed in this article. Please feel free to check it out and if you like the work, give the repository a star ⭐.
https://github.com/atapas/vite-tailwind-react
Wrapping Up
That's all for now. I hope you found this article informative and insightful. I regularly publish meaningful posts on my GreenRoots Blog, and I think you'll find them helpful, too.
Let's connect.
- I am an educator on my YouTube channel,
tapaScript. Please SUBSCRIBE to the channel if you want to learn JavaScript, ReactJS, Next.js, Node.js, Git, and all about Web Development in the fundamental way. - Follow me on X (Twitter) or LinkedIn if you don't want to miss the daily dose of Web Development and Programming Tips.
- Find all my public speaking talks here.
- Check out and follow my Open Source work on GitHub.
See you soon with my next article. Until then, please take care of yourself, and stay happy.