
Creating a React application requires you to set up build tools such as Babel and Webpack. These build tools are required because React's JSX syntax is a language that the browser doesn't understand.
To run your React application, you need to turn your JSX into plain JavaScript, which browsers understand.
Create React App (CRA) is a tool to create single-page React applications that is officially supported by the React team.
The script generates the required files and folders to start the React application and run it on the browser. This allows you to focus on coding your application without having to bother with build configurations.
The dependencies that create-react-app uses
Although you can't see Babel or Webpack listed as dependencies in the generated package.json file, CRA still uses Babel and Webpack under the hood. It's just that the configurations are hidden from you inside the react-scripts package.
When you look into the package.json file of react-scripts, you'll see all the packages needed to make React works in the browser. It has 58 packages, from line 31 to 88:
That's a lot of packages! Let's break it down a little to understand what these packages are used for.
Please note that this article was written using Create React App version 4.0.1 as the reference. This article will help you understand what happens under the hood when you use Create React App NPM scripts.
Babel
The main purpose of Babel is to make your code readable by older browsers. Since the release of ES 2015, browsers have seen slow but steady progress to implement new JavaScript APIs and features.
The most advanced browsers like Chrome and Safari may support new JavaScript versions, but JSX is a React-only feature that's not a part of ES versions.
Babel transforms your modern JavaScript code into the older version, and then adds polyfills, a piece of code that implements features missing in the browser but needed by your app.
ESLint
ESLint is a JavaScript linter that will scan your code and flag any code errors. The library will warn you from the console if you have any errors. It also plays well with a modern code editor like VSCode.
Jest
Jest is a testing library by Facebook that plays very well with React. The dependencies for Jest allow you to write test scripts for your application without having to install another testing library.
PostCSS
PostCSS is a JavaScript plugin to transform your CSS. PostCSS plugins can lint your CSS, support variables and mixins syntax, transpile future CSS syntax, and many more things depending on its configs.
Webpack
Webpack is a module bundler for JavaScript that puts everything needed by your application together. This library can also run tasks like running Babel, Jest, ESLint, and PostCSS on top of your code.
Now that you have an idea what the dependencies are used for, let's continue with understanding what react-scripts really do behind the scene.
What react-scripts do
react-scripts are simply scripts to run the build tools required to transform React JSX syntax into plain JavaScript programmatically.
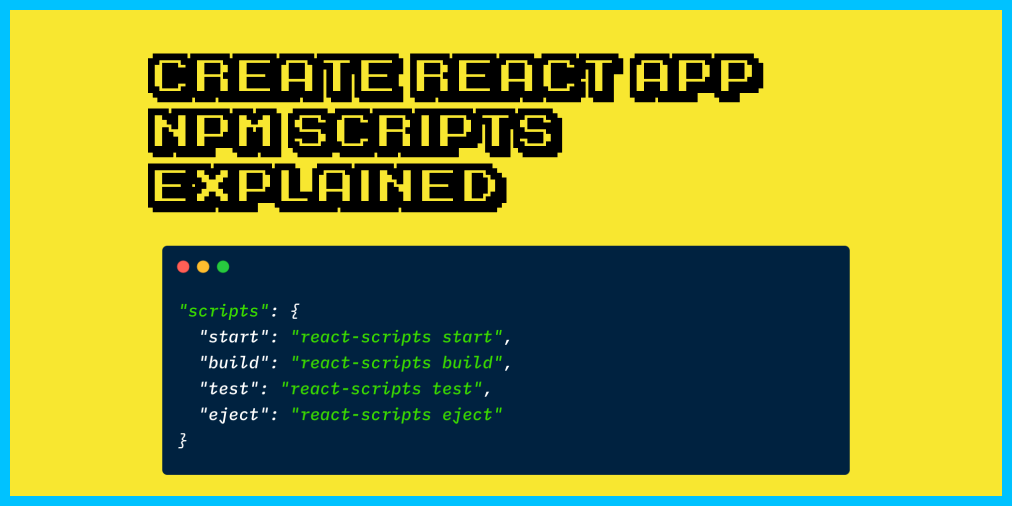
There are four scripts provided by this package:
"scripts: {
  "start": "react-scripts start",
  "build": "react-scripts build",
  "test": "react-scripts test",
  "eject": "react-scripts eject"
},
When you run one of the scripts, the /bin/react-scripts.js will be executed to start the process. This script will look into the arguments that you passed into the call. It only accepts start, build, test, and eject arguments.
Any other argument you passed will cause the script to return an unknown script to the log:
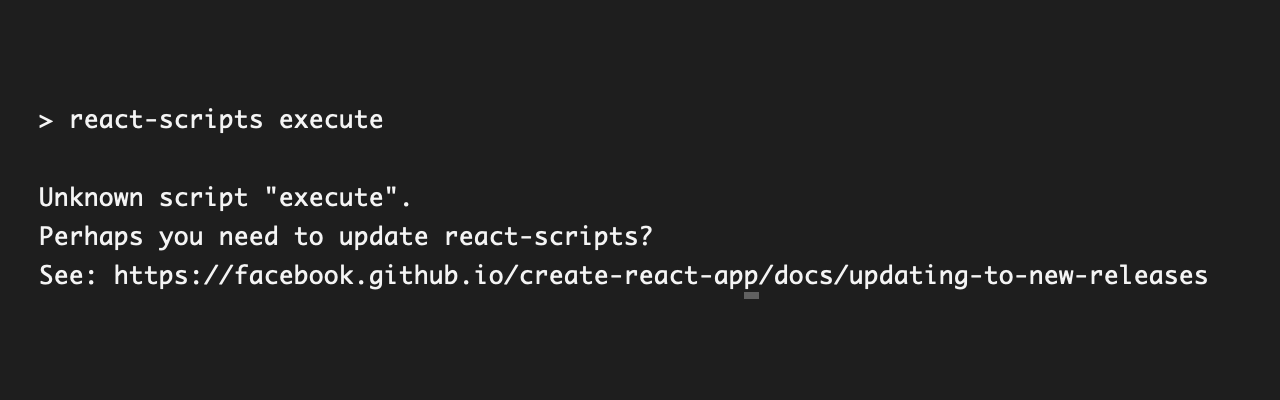 CRA unknown script console output
When you pass a valid argument, it will run the scripts located inside the /scripts folder. Let's start by looking at the start.js script.
How the react-scripts start process works
With the start argument, NPM will begin the process to make a development server available for your React application. Here's a list of tasks for this script:
- Set the build environment into
developmentfor Node and Babel - Ensure environment variables are read for the build process
- Verify the packages installed in your project are not outdated
- Check whether the code is in TypeScript or not
- Import required packages for the process, mostly Webpack-related modules
- Check for available port and host IP, defaults to 0.0.0.0:3000
- Run the compiler and listen for any messages from Webpack. Webpack will take care of using Babel, ESLint, and any other tools to prepare your code
- While Webpack is running, the script will open your browser and start the development server
The development server created by WebpackDevServer will also create a listener for changes in your JavaScript file. When you make changes and save your JavaScript file, the development server will recompile your code and quickly refresh the browser.
How to use the react-scripts build command
The build command will start the process of creating a production-ready React app for you. Mostly, it does the same step as a start command, except that it sets the build environment to production.
Instead of checking for available ports and running a development server, the script will run the build function, which will bundle all your separate files into one bundle.js file. The production build will also ensure that your code is optimized and minified to make sure it has the best performance.
If you've already run the build command before, the script will take your current file size and compare it with the next build. It will show you how much the file size has changed:
 React shows comparison after gzip in the console
The final output of this command can be found in the build/ folder, which is generated at your project's root.
How to use the react-scripts test command
The test command will run any test scripts that you've written using Jest. Your tests will be run under a Node environment. Jest will run under the interactive watch mode, which means every time you save a file, it will re-run the tests, like how the start command recompiles the code.
You can save your test files anywhere inside the src/ folder, and the script will find and execute any file with .test.js or .spec.js extensions. It will also run any .js file under the __tests__/ folder.
You can see the test result from the terminal:
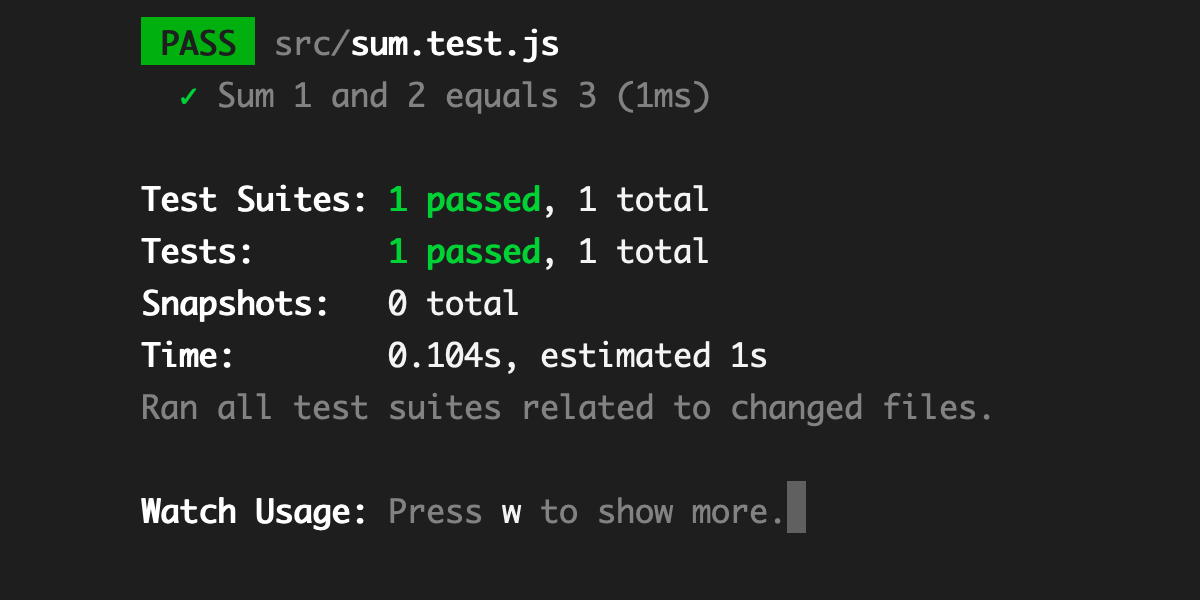 Console log of react-scripts test command result
Keep in mind that CRA's test command only covers testing your component and business logic under a stable environment. To run an end-to-end test in the browser, you need to use another testing library.
How to use the react-scripts eject command
The last command, eject, is used to remove the dependency on react-scripts and expose the build tools and configurations for you to modify.
All the configuration files from react-scripts will be copied into your project root's config/ folder, and the scripts to run the build will be copied into the scripts/ folder. The dependencies will also be moved into your root's package.json file.
This command is a one-way operation. Once you have ejected from CRA set up, you can't undo it. If you have committed your code into a source code management system like Git, you can undo the changes with git checkout or git reset.
Generally, you don't need to run this command because CRA has already provided sensible configurations suitable for small and mid-sized projects. If you're interested to learn more, I have written a post about ejecting your React App here:
Should you eject your Create React App?
Conclusion
As more people use CRA, the development team will receive more feedback about how the tool is used in real projects. The insights gained by the development team will ensure that CRA will stay updated with the latest tools and has best practices for building React apps.
If you enjoyed this article and want to take your JavaScript skills to the next level, I recommend you check out my new book Beginning Modern JavaScript here.
The book is designed to be easy to understand and accessible to anyone looking to learn JavaScript. It provides a step-by-step gentle guide that will help you understand how to use JavaScript to create a dynamic application.
Here's my promise: You will actually feel like you understand what you're doing with JavaScript.
Until next time!