

If you have a website, it's only a matter of time before you feel the irrepressible urge to gather information about your site's users.
The most direct way to do that is to ask them some questions. And, in the HTML world, the best tool for recording the answers to those questions is the simple HTML form.
In this guide, I'm going to show you how that's done using basic HTML and just a dash of PHP.
As you'll soon see, the HTML you'll need to present a form is, in fact, pretty straightforward. But that'll only solve half of your problem.
A form will prompt users to enter whatever information you're asking for. But, if we leave it there, nothing will actually happen when they hit the Submit button. And that's because we don't have anything running on our server to collect and process that information.
Building the back end that'll integrate your form with a database engine or an associated application can get really complicated and is way beyond our scope here. But, once we understand the HTML form here, I will show you how you can add some PHP code to handle the code in a basic way.
This article comes from my Complete LPI Web Development Essentials Study Guide course. If you'd like, you can follow the video version here:
How to Prepare Your Linux Server Environment
I'm running a Linux virtual container that's got both PHP and the Apache HTTPD server installed. You can install those packages on an Ubuntu machine this way:
$ sudo apt install apache2 php
I'll start by navigating to the web root directory which is /var/www/html. The ls command will list all the files in the directory.
$ pwd
/var/www/html
$ ls
form.html    index.html    submit.php
That index.html file is the default place holder that's created when Apache is installed. I would replace that with my own home page file if this website was a real project.
How to Create an HTML Form
For now, though, I'll let you see what's inside that form.html file:
<!DOCTYPE html>
<html>
<head>
    <title>Example Form</title>
</head>
<body>
    <h1>Example Form</h1>
    <form action="submit.php" method="post">
        <label for="name">Name:</label>
        <input type="text" id="name" name="name" required><br><br>

        <label for="email">Email:</label>
        <input type="email" id="email" name="email" required><br><br>

        <label for="message">Message:</label>
        <textarea id="message" name="message" rows="5" cols="30" required></textarea><br><br>

        <input type="submit" value="Submit">
    </form>
</body>
</html>
We start with the standard tags and then some <h1> text for a title. But then we open a <form> tag where the action points to a file called submit.php and the method specifies post. "Post" means that any text that's been entered into the form will be posted – or sent – to the submit.php file once the form is submitted.
The <input> tag down at the bottom of the code right before we close out the <form> uses the submit type to send our data.
<input type="submit" value="Submit">
The Submit value attribute is there to print the word "Submit" on the button we'll see on the form. That'll make figuring out how to use the form easier for users.
Now the code used by the form itself is broken down into three pairs of lines:
<label for="name">Name:</label>
<input type="text" id="name" name="name" required><br><br>

<label for="email">Email:</label>
<input type="email" id="email" name="email" required><br><br>

<label for="message">Message:</label>
<textarea id="message" name="message" rows="5" cols="30" required></textarea><br><br>
The first line here is a <label> tag that prints the word "Name:" on the first entry field. The accompanying <input> tag has a type attribute of "text", an id attribute of "name" and is a required field. That means the form submission won't be successful unless this field has a value.
The next pair does the same thing for an email address. But as we see from the type attribute, this field expects the input to conform to the properties of a valid email address. This field is also required.
The final pair – "Message" – takes a <textarea> tag and has a maximum number of rows and columns specified. This field, as you might expect, allows free-form text, but only up to a maximum number of characters.
That's our code. Let's see what it looks like in a browser. First, though, you'll need to get the container's public IP address.
There are a few ways to do that, but the one that involves the fewest keystrokes is to run ip a inside the container.
$ ip a
[...]
12: eth0@if13: <BROADCAST,MULTICAST,UP,LOWER_UP> mtu 1500 qdisc noqueue state UP group default qlen 1000
    link/ether 00:16:3e:81:57:1b brd ff:ff:ff:ff:ff:ff link-netnsid 0
    inet 10.0.3.216/24 metric 100 brd 10.0.3.255 scope global dynamic eth0
       valid_lft 3154sec preferred_lft 3154sec
    inet6 fd42:e265:3791:64f9:216:3eff:fe81:571b/64 scope global mngtmpaddr noprefixroute
[...]
The IP I got was 10.0.3.216. Just add form.html to the value you got and pop it into your browser URL bar and the site will load. This is, by the way, a local NAT IP, so it won't be accessible outside of my home network.
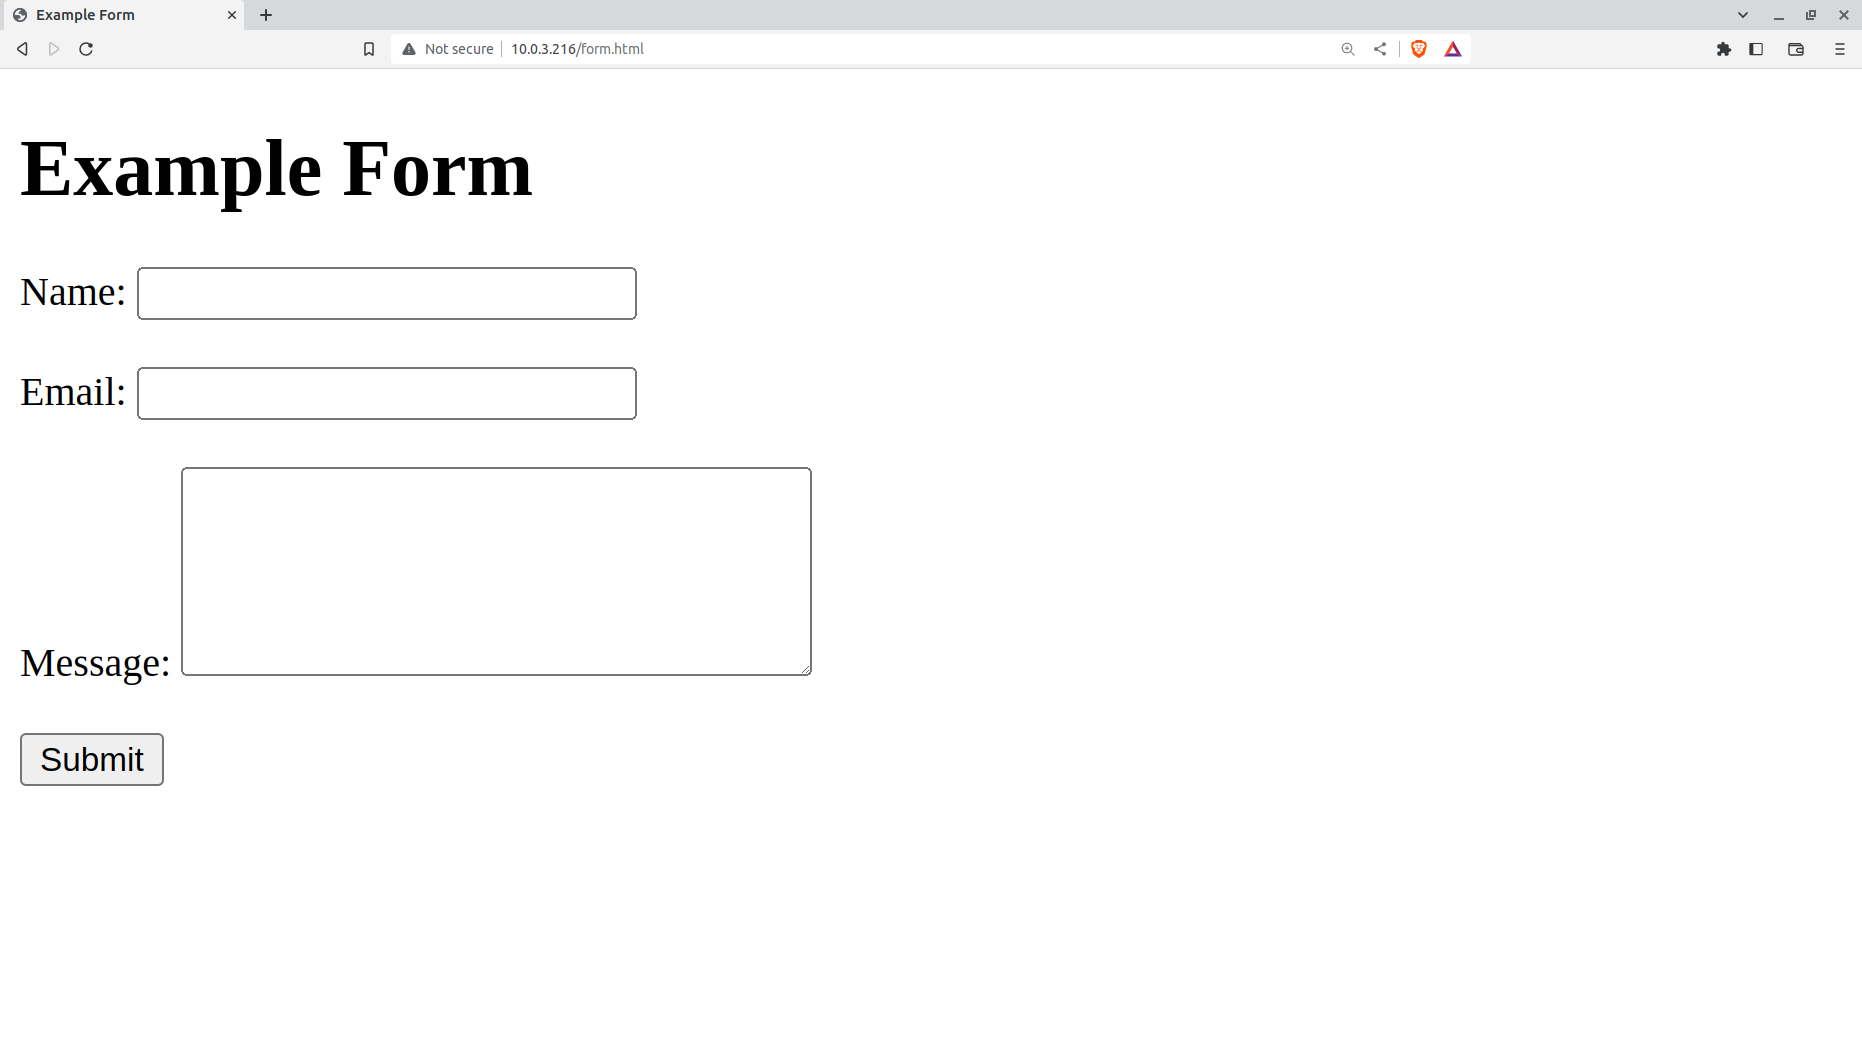
Feel free to type something into the Name, Email, and Message fields, but there's no point hitting the Submit button just yet. That's because, without some PHP magic, nothing will happen. And I haven't shown you that PHP yet.
How to Write a PHP Script to Capture User Inputs
PHP, by the way, is a web-friendly scripting language that's a popular choice for adding programmed functionality to web pages. In fact, you can even incorporate PHP code directly into your HTML code. But here's how it'll look on its own, in a file called submit.php:
<?php
if ($_SERVER["REQUEST_METHOD"] == "POST") {
    // Retrieve form data
    $name = $_POST["name"];
    $email = $_POST["email"];
    $message = $_POST["message"];

    // Display the submitted data
    echo "Name: " . $name . "<br>";
    echo "Email: " . $email . "<br>";
    echo "Message: " . $message . "<br>";
}
?>
Remember how our HTML post method sent the form data to this file? Well here's what PHP is going to do with it. The if block looks for posted data and then organizes it by field: name, email, and message. Normally, you'd probably send that data along to a database but, for simplicity, this code will just print it back to the page to prove that we actually had it.
Let's see what that'll look like. I click the Submit button and the form is replaced by the text I'd entered. Nothing spectacular, but it does nicely illustrate how forms work with PHP.

With this simple code, you're now able to create your own HTML forms that collect and process user input.
Your next step will be to connect with a back end database so you can save and manipulate that data. For for now, enjoy this accomplishment!
This article comes from my Complete LPI Web Development Essentials Study Guide course. And there's much more technology goodness available at bootstrap-it.com