
React is a popular framework for building web applications. It's is one of the best options for frontend engineering because of its declarative approach to user interface design and component-based architecture.
But it can be difficult to make sure your React application functions as intended in various different scenarios.
Cypress is an end-to-end testing framework that you can use to test your React apps. And in this tutorial, I'll explain how to create efficient end-to-end tests for your web application using Cypress and React.
Table of Contents
What is Cypress?
Cypress is a straightforward open-source end-to-end testing framework designed for modern web development. It's based on JavaScript.
The tool operates within the browser, which sets it apart from other testing tools like Selenium. The concise, uncomplicated API that Cypress provides for interacting with your application makes it easy to create and manage tests.
You can create and manage tests that mimic user interactions with Cypress. You can also examine your web application for expected behavior and troubleshoot any concerns that arise.
How to Set Up Your Environment
Before we begin writing tests, you'll want to set up your environment. You must have Node.js and npm (Node Package Manager) installed in order to use Cypress with your React application.
You can visit https://nodejs.org/en/ to download to install Node.js on your computer if it isn't already installed. To get started using Cyprus after installing Node, you can follow these steps:
1) Create a React Application
We'll utilize Vite to develop our React application, as it helps us quickly and efficiently create web apps.
To get started, create a React app on Vite by entering the following code in your console:
npm create vite@latest
Vite will ask you to give your project a name. Choose whatever name you like.
Following that, Vite will give you the choice of framework. Just make sure you select React for this lesson.
It'll then ask you to select between TypeScript and JavaScript when you select React. Pick JavaScript.
Then go to your project directory and choose your project.
Finally, type npm install after that, and then npm start dev to launch your project.
Your project will be hosted by Vite at http://localhost:5173/. To view your project in a browser, click the link that's provided.
2) Install cypress
You can install Cypress in your project by using this code install cypress –-save-dev in your terminal. This code installs Cypress in your React application.
3) Initialize Cypress
Run npx Cypress open from the directory of your React project. This command should launch Cypress Test Runner, a graphical tool for creating and managing tests. You will now have two alternatives for automated testing:
End-to-End Testing: End-to-end testing involves a browser using an automated tool like Cypress, so you can make tests consisting of functions like pressing buttons, typing in inputs, and so on. This helps make sure everything’s working perfectly.
Component Testing: This involves testing individual components instead of the entire React application.
What is the Cypress Test Runner?
The test runner opens up once you pass in npx cypress open. It is a graphical tool for creating and managing tests, it also allows you to write and execute your test cases in Cypress.
After selecting what type of testing you want to do, the next section of the test runner helps you specify what script you want to execute, and gives you the option to select the browser you want to use and validate your tests as expected.
4) Folder Structure
Cypress will automatically save its test files and configurations inside of your project in a subfolder named cypress.
How to Write Your First Cypress Test
We'll use JavaScript to write our Cypress tests which are executed within the browser. Here's how to create your React application's first test.
Suppose we wish to check to see if the Document Object Model (DOM) displays our h2 element. To accomplish this using Cypress, take the following actions:
Step 1: In your Cypress folder, go to the e2e file and there you’ll see a line of code similar to this:
describe('template spec', () => {
    it('passes', () => {
        cy.visit('https://example.cypress.io')
    })
    })
Step 2: Now, in cy.visit, update the default http address to your React app's address (http://localhost:5173/, if you recall).
Step 3: We wish to check to see if the DOM has our h2 element. Navigate to the element you wish to test and add data-testid as an attribute to accomplish this. Next, assign a name to the attribute. Example: <h2 data-testid="cypress-h1"> Leo Website </h2>.
Step 4: Make a space and add this piece of code to your cypress folder to see if the attribute exists.
cy.get(‘[data-testid=”cypress-header”]’).should(“exists”):
Since Cypress is configured to execute tests upon save, as soon as you save anything in your code editor, the test ought to instantly start in Cypress.
How to Interact With React Components
You'll want to be familiar with the vast array of commands used to imitate user interactions in order to write more insightful tests.
With its extensive command set for interacting with and testing online elements, Cypress is designed specifically for webpages and web applications.
To imitate user interactions and assert certain behaviors of the application, test scripts employ these instructions. Because Cypress maintains a promise chain on your behalf, you can chain commands together. Until the chain breaks and an error occurs, each command yields a "subject" to the following command.
Cypress commands can be classified into the following groups: queries, assertions, actions, and others.
Cypress Queries
These are Cypress commands that retrieve your application's current status. They retry as necessary to ensure that the DOM element or other data they offer is constantly current. They return a subject for additional commands to act upon or assert.
Here are some ways you can organize and run tests:
Using the .children() method
To choose and work with a parent element's direct child elements in Cypress, use the .children() method. It enables you to access particular child elements of a given parent element by navigating the DOM tree.
Here are some examples of how to use .children() in Cypress:
Example 1: Assuming you have this sort HTML structure in your jsx file:
<div class="parent-element">
  <div class="child">Child 1</div>
  <div class="child">Child 2</div>
  <div class="child">Child 3</div>
</div>
To choose and work with the child elements inside the .parent element, use the .children() function like this:
cy.get('.parent').children('.child').should('have.length', 3);

// Click on the second child element
cy.get('.parent').children('.child').eq(1).click();
Example 2: you can perform a whole range of tasks using .children() combined with other Cypress functions. You can, for instance, recognize certain child objects and define their properties:
// Ensure that the first child element contains the text "Child 1"
cy.get('.parent').children('.child').first().should('contain', 'Child 1');

// Verify that all child elements have a specific class
cy.get('.parent').children('.child').each(($child) => {
  cy.wrap($child).should('have.class', 'child');
});
Example 3: Many Cypress instructions may be chained together to perform more complex interactions. Using .children(), you can select the parent element, select its child elements, and then operate with the child elements as demonstrated by this example:
cy.get('.parent')
  .children('.child')
  .first()
  .click()
  .next()
  .type('I'm Leo');
To interact with the next child element in this example, we first pick the .parent element, then use .children('.child') to select its child elements, click on the first child element, and then chain more instructions to type "I'm Leo."
These examples show you how to pick and work with child items inside of a parent element in Cypress using the .children() function. Depending on your unique HTML structure, you can modify the CSS selector inside .children() to match the child elements you wish to target.
Now you should have an have an idea of how .children() works and how you can use queries as a type of Cypress command. There are more query commands but you can always refer to the documentation on cypress.io to learn more on them.
Using the cy.get() command
cy.get() is a fundamental command in the Cypress framework. You use it to choose and perform actions on DOM elements inside a web application, including those created using React.
To choose one or more DOM elements from your React application for testing, use the cy.get() command. It lets you pick elements with CSS selectors or other Cypress-compatible methods.
The fundamental syntax of cy.get() is cy.get(selector).
selector is an instance of a CSS selector. There are alternative ways for choosing components based on attributes like ID, class name, or data.
Suppose you have a React component like this:
<button data-testid="Leo-button">Click</button>
You can use cy.get() to select the button element:
cy.get(‘[data-testid=”Leo-button”]’);
cy.get('#Leo-button') in this case chooses the button element with ID "Leo-button."
Cypress Assertions
These are Cypress commands that make assertions about the state of your application. They stop your test when they reach the time limit or the specified condition is fulfilled.
There are only two types of assertion commands: .and() and .should(). I'll discuss .should() here.
In Cypress, statements concerning the states of particular elements are made using the .should() command. It enables you to specify requirements that components must fulfill. In the event that the requirements are not satisfied, the test will fail.
Fundamental Use of .should()
The basic syntax of .should() is as follows:
cy.get('selector').should('condition', expectedValue);
The DOM element(s) that you wish to make assertions against are chosen by
cy.get('selector')..should('condition', expectedValue)indicates what conditions and values the chosen element(s) must satisfy.
You can also chain .should() assertions. Chained .should() statements are used to verify different conditions on the same element:
cy.get('input#username')
  .should('be.visible')
  .should('have.attr', 'placeholder', 'Enter your username')
In this example, we verify that the username input element is there and that the placeholder content is appropriate.
.should() also allows you to use custom assertions by passing a callback function as the expected value:
cy.get('.my-element').should(($element) => {
  expect($element).to.have.class('active');
  expect($element).to.have.css('color', 'rgb(255, 0, 0)');
});
In this code, we're using custom assertions within .should() to check if the element has the class "active" and if its text color is red.
Negating assertions with .should()
.should('not.condition', expectedValue) can be used to refute the following claims:
cy.get('#error-message').should('not.exist');
This code verifies that there isn't an element with the ID "error-message".
Combining .should() with Other Commands
To create testing scenarios with greater complexity, you can combine .should() with other Cypress commands. For instance, you can use it to assert the element's final state following a .click() or .type() command.
cy.get('button').click().should('be.disabled');
cy.get(‘[data-testid=”search-input”]’).type('Leonard').should('have.value', 'Leonard');
In these instances, we interact with the elements first (by clicking a button or entering text into an input box), and then we use the resultant states of the elements' states as determined by using .should().
When constructing relevant assertions to confirm the behavior and state of items in your web application during end-to-end testing, Cypress's .should() command is a potent tool.
Cypress Actions
Cypress commands that interact with your program like a user would are called actions. They do not interact with the page until components or elements are actionable. There are numerous examples, but for now I'll use the .click() command.
To mimic a click on a DOM element in Cypress, use the .click() command. It's among the most typical and basic things you'll do in your end-to-end tests.
Let's look at an example of some code to demonstrate how to use .click():
Basic .Click() Usage
The following is the syntax of .click():
cy.get('selector').click();
To choose the DOM element you want to click, use cy.get('selector'). .click() replicates a click event on the element that is chosen.
Managing Clicks During User Interaction
Sometimes, you may need to interact with things before clicking. For instance, you may want to complete a form field and press the submit button afterward. You can use .type() to communicate with input fields before continuing on to the submit button, .click():
cy.get(‘[data-testid=”username”]’).type('okosaleo');
cy.get(‘[data-testid=”password”]’).type('password');
cy.get(‘[data-testid=”Leo-button”]’).click();
First, in this case we employ .type() to input values in the password and username fields, and then click .click() to click the login button and submit the form.
Managing Dynamic Elements
You can utilize .click() while working with dynamic elements, or elements that emerge following an action. In order to make sure the element is there and prepared for interaction, you can use .click() in conjunction with other commands.
For instance, clicking a dynamic element. Assume you have a list of items and that you wish to click on a certain item that pops up following a certain amount of user interaction:
cy.get(‘[data-testid=”Leo-button”]’).click();
cy.get('.dynamic-item').should('have.length.gt', 5);
cy.get('.dynamic-item').eq(4).click();
In this example, to load new things dynamically, we first click the "Leo-button" button. After making sure that at least six things are shown using .should('have.length.gt', 5), we click the fifth item using .eq(4).
Other commands
Cypress has many other commands which we haven't discussed here but that you can use to write other tests. You can check them out in the Cypress docs here.
How to Organize and Run Your Cypress Tests
Your application may accumulate a number of tests over time. Cypress offers several methods for setting them up and managing them effectively.
Plugins
To assist with tasks such as creating code coverage reports and simulating APIs, Cypress offers a number of extensions and plugins.
Plugins are specially designed JavaScript modules that let you modify and add new features to the Cypress testing framework. With the use of plugins, you can increase Cypress's capabilities and customize it to suit your unique requirements.
Cypress plugins include:
Integrations: Cypress may be integrated with other programs, services, and systems by the creation of plugins. Examples of these include deployment pipelines, version control systems, and platforms for continuous integration (CI).
Custom Commands: To encapsulate and reuse routine test procedures or user interactions with your application, you may define custom commands using plugins. This improves the organization and maintainability of your test code.
There are many more plugin features that Cypress offers. Plugins are a flexible way to customize your testing framework to the specific needs of your project, increase the power of your testing, and organize and maintain your test code better.
Describe Blocks
The Mocha testing framework, which is integrated with Cypress to help you organize and structure your test suites, includes describe blocks. These describe blocks provide your tests a clear structure and help you group related test cases.
You can use describe blocks to categorize and explain the functionality and behavior of the program you are evaluating.
Purpose of Describe Blocks in Cypress
Organize Test Cases: You can organize relevant test cases together by using the describe blocks. A description block can be made for a particular application feature, part, or functionality.
Enhance Test framework: They give your tests a hierarchical framework that makes the test suite easier to explore and comprehend. Developers and testers can find certain tests more quickly with the aid of this structure.
Clarity and Documentation: You can give titles for your tests that are both human-readable and descriptive by using describe blocks. This functions as a type of test documentation.
A describe block is structured like this:
describe('Description of the Test Suite or Feature', function () {
  // Your test cases (it blocks) go here
});
"Description of the Test Suite or Feature": This is a string that contains a description of the test suite or feature. It acts as the group of test cases title.function () { /*... */ }: This function holds the various test cases that are related to thisdescribeblock and are written withinitblocks.
How to Use Describe Blocks Custom Commands
Let's say you are evaluating a web application's login functionality. The following is how you could structure your tests using describe blocks:
describe('Login Feature', function () {
  // This is the outermost describe block for the Login Feature

  it('should display the login form', function () {
    // Test case logic to check if the login form is displayed
  });

  it('should show an error message on invalid login', function () {
    // Test case logic to check error message display
  });

  it('should log in successfully with valid credentials', function () {
    // Test case logic to check successful login
  });

  describe('Password Reset', function () {
    // Nested describe block for Password Reset functionality

    it('should allow users to request a password reset', function () {
      // Test case logic for password reset request
    });

    it('should reset the password with a valid reset token', function () {
      // Test case logic for password reset with a valid token
    });
  });
});
In this instance:
All of the test cases for the login feature are grouped together in the outermost describe block.
Tests pertaining to the password reset feature are grouped together in a describe block nestled within it.
You can easily identify related tests thanks to this hierarchical structure, which also aids in clarifying the goals of each set of test cases.
Effective use of describe blocks in Cypress allows you to write well-structured and easily accessible test suites, which will facilitate test management and maintenance as your project expands.
Custom Commands
To simplify repetitive tasks and improve the readability of your tests, you can create custom Cypress commands.
To encapsulate and reuse common test processes or interactions with the application being tested, you may develop and add custom commands—user-defined JavaScript functions—to your Cypress test suite. These can help augment the built-in Cypress commands and improve the readability, organization, and maintainability of your test code.
You need to define your custom command in one of your test files, usually the commands.js file. Often, you may find this file in the cypress/support directory.
On the other hand, you can arrange your customized commands in different files or folders according to the features of your program.
Here's an example:
Cypress.Commands.add('customCommandName', (arg0, arg1, ...) => {
  // Define the custom command logic here
});
customCommandName: This is the name that you'll use in your test scripts to identify your custom command.(arg0, arg1,...): These are the parameters or arguments that you can give to the custom command in order to alter how the program behaves.// Custom command logic }: Here you provide the precise operations you wish to be carried out by your custom command.
How to Use Custom Commands
Once your custom command is defined, you can use it in your test scripts in the same way as any other Cypress command that is built-in.
Using the following syntax, you can invoke a custom command:
cy.customCommandName(arg0, arg1, ...);
Advantages of Custom Commands
Cypress custom commands have a number of advantages:
Reusability: You can encapsulate intricate or commonly used interactions with your application using custom commands. This lessens redundancy in your test scripts and encourages the reuse of code.
Readability: Your test scripts become more accessible and understandable when typical tasks are abstracted into custom commands. Your test code will be more self-explanatory with custom commands.
Maintenance: Rather than having to look for and update each instance of an action in several test scripts, you just need to change the custom command once when you need to update a common action or interaction.
Consistency: Using custom commands guarantees that your test suite's common interactions are carried out in a consistent manner. This keeps the testing process consistent.
This is a basic illustration of a custom command that allows a user to log in by filling out a login form with their username and password:
Cypress.Commands.add('login', (username, password) => {
  cy.get(‘[username-input”]’).type(username);
  cy.get(‘[data-testid=”password-input”]’).type(password);
  cy.get(‘[data-testid=”Leo-button”]’).click();
});
Cypress Dashboard
This tool lets you monitor films of text executors, organize test runs, and discuss outcomes with your team. You can find the Cypress dashboard in the test runner window.
To see the history of your test runs, click the "Runs" tab. The Runs tab will include a "View Dashboard" link at the top. When you click the "View Dashboard" link, your web browser will launch the Cypress Dashboard.
Cypress offers the dashboard as a web-based service. The goal of the Cypress Dashboard is to improve and streamline the web application testing and test management process. It provides a single platform to monitor, analyze, and manage your test runs using Cypress.
The Cypress Dashboard's main attributes and capabilities are as follows:
Real-Time Test Execution: You can watch the test execution process in real time when you use the Cypress Dashboard service to execute Cypress tests. It offers a real-time view of your testing, including with videos and live browser screenshots. This tool is useful for tracking test progress and troubleshooting problems.
Collaboration and Sharing: The development and QA teams can work together thanks to the dashboard. Test results may be accessed and reviewed by developers, testers, and other stakeholders with ease when test runs are shared with team members.
Centralized Test Management: You can store and manage your Cypress test results centrally using the Cypress Dashboard. Test runs can be accessed and arranged from a single location.
The Cypress Dashboard facilitates the concurrent running of tests across many computers and web browsers. This can speed up the test execution process considerably and provide you the results you need more quickly.
Test Insights and Analytics: By tracking test results over time, you can learn more about your test runs. Comprehensive analytics, including execution times, pass/fail statuses, and more, are available in the Cypress Dashboard. You can use this data to find trends and patterns in your test results.
Test Automation and Scheduling: You can automate the testing process by scheduling tests to run at predetermined times or intervals. Running regression tests and maintaining ongoing test coverage can both benefit from this.
These are some of the functions and attributes the Cypress dashboard offers.
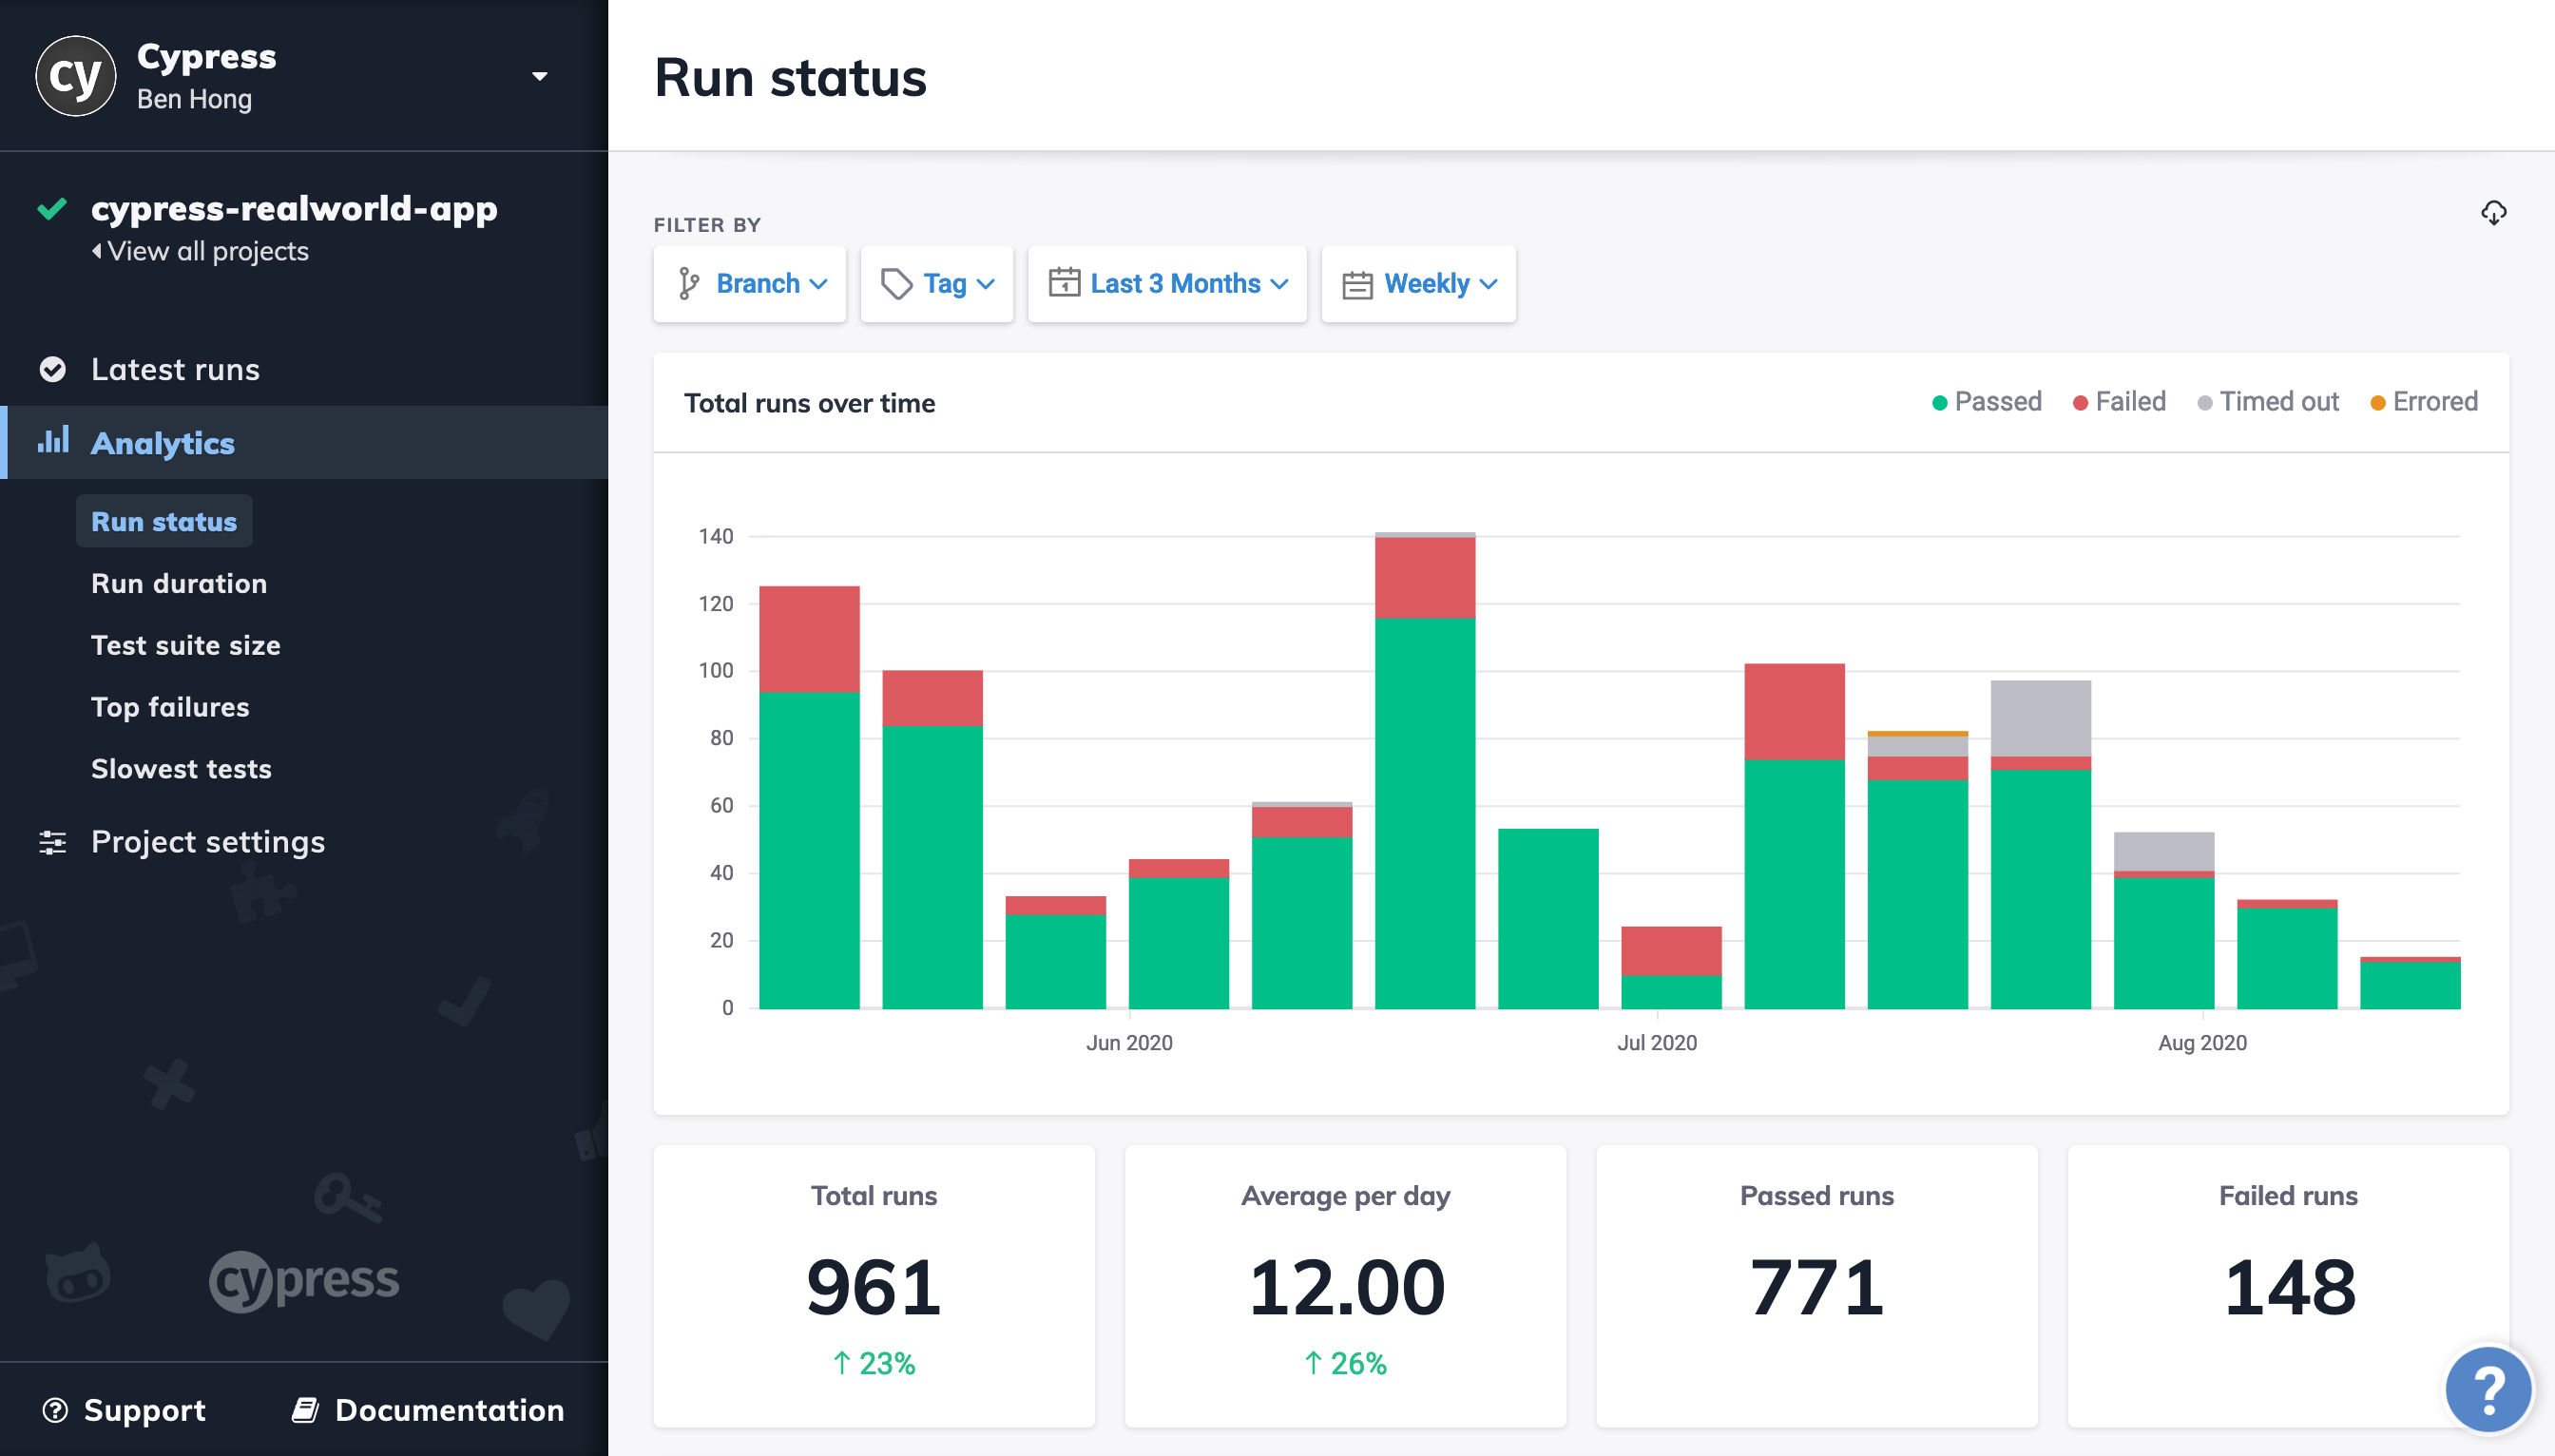
Here's an example of what the cypress dashboard looks like
How to Debug Your Code With Cypress
It's simple to debug your tests with Cypress. To halt test execution and view an application's status in the browser, add cy.debug(). Let's look at an example of how to use cy.debug in Cypress:
describe('Cypress Debug Example', () => {
  it('performs a login and checks the user profile', () => {
    cy.visit('/login');
    cy.get('#username-input').type('testuser');

    // Pause the test execution to inspect the application state
    cy.pause();

    cy.get('#password-input').type('password123');
    cy.get('#login-button').click();

    // Continue with assertions
    cy.url().should('include', '/profile');
    cy.get('.user-info').should('contain', 'Welcome, testuser');
  });
});
In this example, the test will halt when it reaches the cy.pause() command, and the Cypress Test Runner will prompt you to view the DevTools console.
After that, you may interact with the program, examine the DOM, verify variables, and execute more Cypress commands interactively for debugging reasons via the console.
Time Travel Debugging
Cypress also has a powerful capability known as "Time Travel Debugging." This feature allows you to see the current state of your application at any time while it is being tested. This greatly simplifies the diagnosis process.
Using this feature, you can record and replay test execution stages to troubleshoot your Cypress tests. By giving you a visual depiction of the test execution process step-by-step, it assists you in identifying and resolving problems with your tests and application. Using Test Driven Development (TTD), you may see your application's state interactively at various stages of the test run.
This is how Cypress's Time Travel Debugging works:
You must first record a test run in order to use TTD. You may do this using the Cypress Dashboard service or by running your tests locally with the --record parameter.
This is an example of how to conduct testing while recording:
npx cypress run --record
The test is launched in the Electron browser by default.
Then you can use the Cypress Dashboard web interface once the test run is finished and the results are submitted to the Cypress Dashboard.
Next, find the test run you wish to debug in the Cypress Dashboard and click on it. This will direct you to the page with test specifics.
You may see a timeline representation of your application's state at each Cypress command execution on the test details page.
To see the state of the application at a certain moment in time, click on a snapshot on the timeline. You may browse console logs, work with the DOM, and even run Cypress commands in the context of that snapshot.
To examine the condition of the application at various test phases, you can either go to particular points in the timeline or walk through each command in the timeline one at a time.
This is an illustration of how to apply TTD in a Cypress test:
describe('Time Travel Debugging Example', () => {
  it('performs a login and checks the user profile', () => {
    cy.visit('/login');
    cy.get(‘[username-input”]’).type('testuser');
    cy.get(‘[password-input”]’).type('password');
    cy.get(‘[login-input”]’).click();

    // At this point, we may want to perform TTD to inspect the application's state
    // and ensure the user is returned to the profile page.

    cy.url().should('include', '/profile');
    cy.get('.user-info').should('contain', 'Welcome, testuser');
  });
});
In this scenario, you may run into a problem that you wish to diagnose after entering your login information and hitting the login button.
To make sure the user is on the profile page and that their name is shown appropriately, you may use TTD to halt at the cy.url() assertion and verify the status of the application.
With TTD, you can examine the status of the application at different times to interactively debug and troubleshoot your Cypress tests, which will help you find and address problems more efficiently.
Continuous Integration
Cypress tests can be integrated into your continuous integration (CI) workflow using solutions like as Travis CI, GitHub actions, Jenkins, or CircleCI. Let's talk about continuous integration using Github actions:
Cypress Continuous Integration Using GitHub Actions
You can automate the testing of your web apps with Cypress as part of your development workflow with Continuous Integration (CI) using GitHub Actions.
You can create workflows using GitHub Actions that automate a variety of processes, such as Cypress test runs, whenever changes are made to your source. Let's walk through how to get it set up.
Prerequisites:
GitHub Repository: The Cypress tests and application code should be located in a GitHub repository.
Cypress Setup: Verify that Cypress is installed in your project and that your Cypress test configurations are accurate. Cypress Open may be used to set up and execute your tests locally.
Step 1: Establish a Workflow Configuration:
Create a file in your GitHub repository called workflow configuration. The CI workflow is defined in this file, which is usually named .github/workflows/cypress.yml. It also provides instructions on when and how to execute Cypress tests.
This is an example of a simple configuration file:
name: Cypress Tests

on:
  push:
    branches:
      - main # Align to your repository's default branch

jobs:
  cypress:
    runs-on: ubuntu-latest

    steps:
    - name: Checkout code
      uses: actions/checkout@v2

    - name: Install dependencies
      run: npm install

    - name: Run Cypress tests
      run: npm run cypress:run
Every time a push is made to the main branch, a process to execute Cypress tests is established by this configuration file. This may be altered to meet your needs.
Step 2: Describe the npm Scripts:
Define npm scripts in your package.json file so that Cypress tests may be executed. For instance:
"scripts": {
  "cypress:run": "cypress run",
  "cypress:open": "cypress open"
}
While cypress:open is used to run tests interactively during development, cypress:run is used to execute Cypress tests in headless mode.
Step 3: Add to GitHub Repo
Add your application code and the GitHub Actions configuration file (cypress.yml) to your GitHub repository. Send the modifications to GitHub.
Step 4: Switch on GitHub Actions:
If you haven't already, go to your GitHub repository, choose the "Actions" tab, and activate GitHub Actions for your repository.
Step 5: Manage Your Process:
GitHub Actions will launch the specified process, which includes your Cypress tests, automatically each time you post changes to your repository.
Step 6: Examine the Results:
The "Actions" page on your GitHub repository is where you can view the status and outcomes of your Cypress tests. Test results and logs will be displayed to you, allowing you to diagnose and look for any issues.
Headless Option
Cypress offers a headless option for continuous integration (CI) testing. Without the Cypress test runner, you can still run Cypress headlessly. By using the command npx cypress run this simply means there is no graphical user interface involved so the test runner isn't being deployed, here we mostly write scripts to use Cypress.
Web browsers that function without a graphical user interface, or headless browsers, are appropriate for automated testing in server contexts such as continuous integration/continuous delivery systems.
When you run Cypress tests in headless mode, no visible browser window is displayed during test execution. This is very helpful when testing without a user interface in an automated continuous integration and delivery pipeline.
To use this put the command npx cypress run in your terminal.
Cypress will launch your test in an electron browser when you execute this command.
Upon completion, Cypress will automatically provide a video clip of the test run and screenshots in the event that a test fails, facilitating easy debugging.
The user can adjust screenshots and videos. The folder labeled "screenshots and videos" contains both screenshots and videos cypress produces.
Another way of running tests is through adding scripts to your package.json file. You can add scripts which consist of the key and value pair that work as objects. with key being the name of the command and value being the command that's being run.
Let's run a test headlessly using a key value pair:
"script": {
    "cypress:run": "cypress run",
    "cypress:open": "cypress open"
},
In this code "cypress:run" and "cypress:open" are the keys and "cypress open" and "cypress open" are the commands. To run the command we need the npm run followed by the key used example: npm cypress:run.
Hopefully you now understand how to run tests headlessly in Cypress.
Conclusion
Cypress is an effective tool you can use to test your web apps. You can use it to write end-to-end tests that make sure your React projects function as intended and identify any issues.
Cypress is a useful addition to your testing toolkit because of its interactive Test Runner, easy-to-use API, and robust debugging features. Now go ahead and use Cypress to test your React applications to make sure the user experience is seamless and error-free.
If you want to learn about Cypress in more detail, you can check out their documentation at cypress.io. Cheers to your testing!