By Wiki Chaves
In an ideal world, consumer-facing product development teams should have one designer for every four to six engineers. In reality this rarely happens. So I wrote some tips any engineer can follow when there’s a design shortage on their team.
Context
I’m a product designer with a diverse background. I have worked in different industries from education and advertising to retail and technology.
I always thought of roles as a strict boundary between what my responsibilities are and what they’re not. As a designer, I would be in charge of design, and engineers would be in charge of coding. That helped me define my role and also have certain control over my responsibilities.
Last year, while I was working at Airbnb — a tech company renowned for its design culture — I faced a big challenge. After my on-boarding week, I landed on a team with 12 engineers, one PM, one data scientist, one researcher, and just me as a designer. I freaked out a little bit. How was I going to satisfy the needs of my team?
I thought about three possible solutions.
- Working more hours. That was my first instinct. If I had to deliver design for more than twice the ideal number of engineers, I would have to work many more hours. That would seriously affect my life/work balance and eventually burn me out.
- Slowing down. If I wanted to keep working at my usual pace, I would end up being a human bottleneck. Design requests would start accumulating and I would never have the time to catch up (which would have a serious negative impact on our team goals).
- Letting go. As a designer, it’s hard to let go. We are proud to be the experts with the experience. Letting the whole team design felt like I was not doing my job properly, and of course, it had an impact on my ego. But with time, this proved to be the best approach.
Everyone is a designer
I’ve thought a lot about this subject, and I found a great article by Daniel Burka that ended up convincing me that this was the right approach. Everyone can be a designer.
Letting go didn’t mean that I stopped caring about our design. But I had to enable and encourage the rest of the team to use their design mindset and propose solutions to user problems or business goals. In the end, the user who uses your product doesn’t care if one particular screen or flow was designed by a designer or not. They care about the experience they are having, and that’s not a one-person responsibility.
In order to do this properly, I gave a few design tips and tools to our team and scheduled design office hours once a week. This provided a fixed spot where everyone could come with their design ideas to discuss it and share feedback.

This process ended up having amazing results. In just a few weeks, we witnessed how some of those ideas got shipped to production with positive results. We were moving way faster than before and the team was super excited to see their design ideas out there in production!
Possible scenarios
Before jumping to the design tips for developers, I want to start by mentioning the possible scenarios you might face. This will depend a lot on what stage of the project you are in.
Scenario 1 - There’s no designer.
Probably the most common scenario among early stage startups or student projects. Having no designer on your team means you are the designer! Do not freak out, and use this opportunity to learn. I’m sure that if you follow some simple rules you can deliver a cohesive MVP.
At this stage, you are probably a very small team. Don’t spend a lot of time trying to build something beautiful, trendy, or eye-catching. Focus on building a great experience with a decent UI. You will have time to improve it later.
Scenario 2 - There’s only one designer for roughly 10 developers.
This happened to me last year, and your designer will certainly need help. How can you help? Propose ideas — don’t expect that everything will come resolved. Sit down with your designer and show them your ideas. They will definitely appreciate it. Join them in brainstorming sessions and give feedback. If designs don’t come fully spec’ed out, ask your designer for the source file and look at it yourself to save them some time.
Scenario 3 - There’s one designer every 4 to 6 developers.
You are lucky, as this is an ideal scenario! It doesn’t mean you can fully forget about design, but it is no longer of primary concern. I would still recommend that you join the brainstorming sessions to propose ideas and to give early feedback from your engineer perspective.
Design tips for developers
Here’s a list of design tips that will help you if you find yourself in the no-designer scenario. But they can also be applicable in any other circumstance.
Designer mindset
If you are going to design, it’s very important that you think as a designer. When you are designing, don’t think about engineering problems, but think about how to solve user problems.
The user comes first.
Let’s say you have to build a photo uploader feature. During your designer time you shouldn’t think about performance, code optimization, or platform limitations. Think about what is the most effective and intuitive way a user can upload a photo. Think about the user’s motivation to upload a picture. How can this process be straightforward and maybe even enjoyable?
Then, when you finish your design, wear your engineer hat and review what you just did, with your engineer perspective. Is this technically doable? How long does it take to build this feature as you’ve designed it? Do you have the time to build it? If not, can you reduce the scope a bit so you can reach your deadlines?

It’s very important that you don’t cross the line between roles, or you will end up limiting your design because of engineering constraints or vice-versa. If it helps, you can try dedicating mornings for design time and afternoons for engineering time. Or you can use an area in your working space to do all the design work, and then move to a different area to do your engineer work.
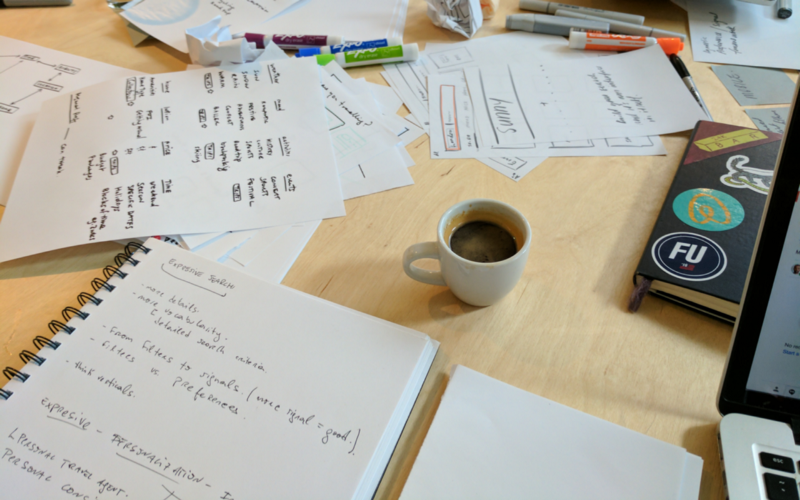
Build a plan
If you have an idea, before jumping straight to the code, build a plan. You can do wireframes, use sticky notes, a whiteboard, or sketch on a notepad — that’s up to you. Don’t skip this step even if you think you have all the details in your head. When you finalize your wireframes, review it and you will probably notice you are missing something.

Balsamic is a good tool for rapid wireframing. You can also use Sketch or Figma for your whole design process from wireframes to production.
Start with a framework
Not having a designer on your team doesn’t mean you have to design everything from scratch. There’s a lot of already built frameworks that you can use as a starting point and customize them your way. Bootstrap and Foundation are my favorite ones, but there are plenty of them depending on the type of application you want to build.
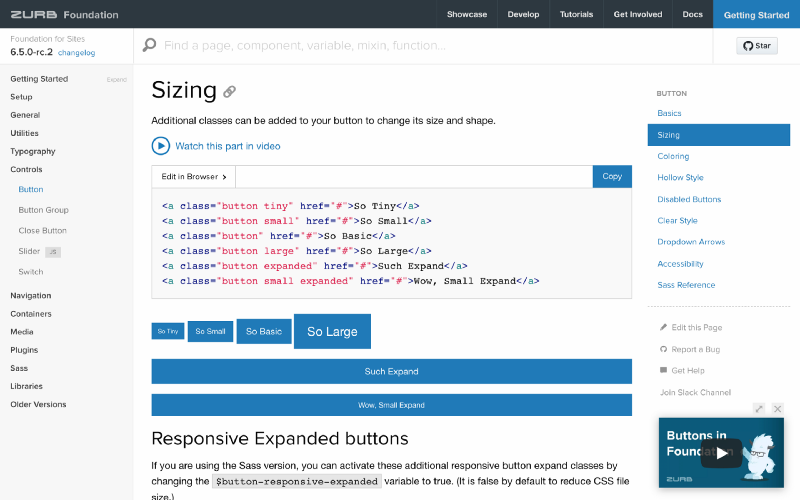
If you are building a native app, I strongly recommend that you follow Material Design’s guidelines for Android and Human Interface’s guidelines for iOS. Start with following the native patterns as closely as possible, unless you explicitly want to build a unique UI, like Snapchat, or a game. Only after you dominate the default patterns and components can you start customizing.
Design systems
If you are lucky to have at least one designer on your team, you can think about building your own design system.
Watch out!
This can be time-consuming and is only worth it when you are scaling fast and you have to maintain multiple applications with the same visual language. A great tool for building a design system is Pattern Lab.
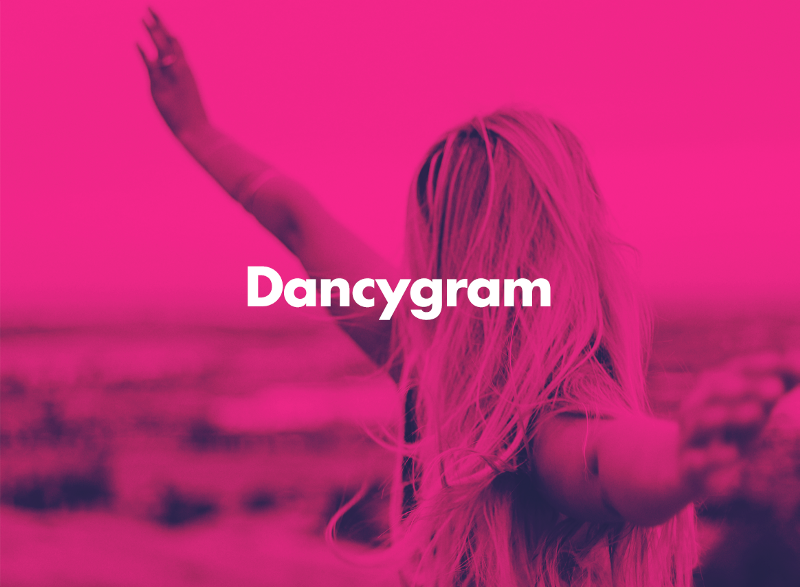
Branding
As you build your framework you will probably start making decisions that will define your brand. Don’t feel intimidated by this! Branding is a fun exercise that you can definitely do. The brand you end up creating won’t get set in stone and you will probably hire a designer if your MVP is successful or if you get more resources. My friend Marc wrote a fun article about how to make a logo in about 5 minutes.
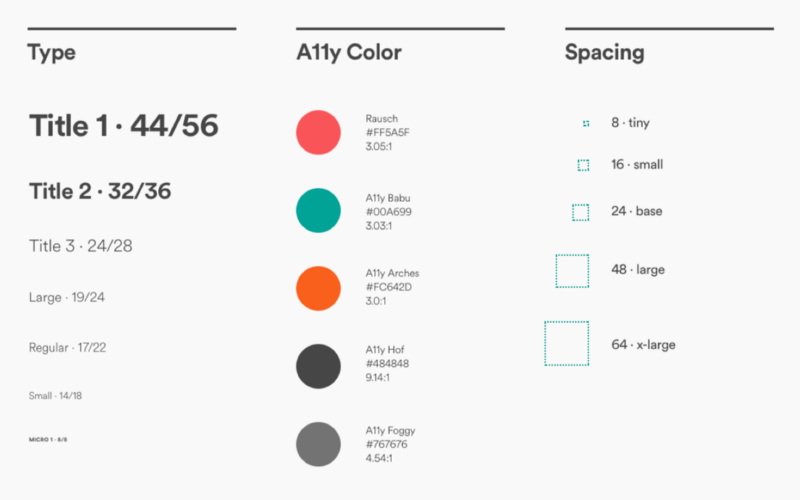
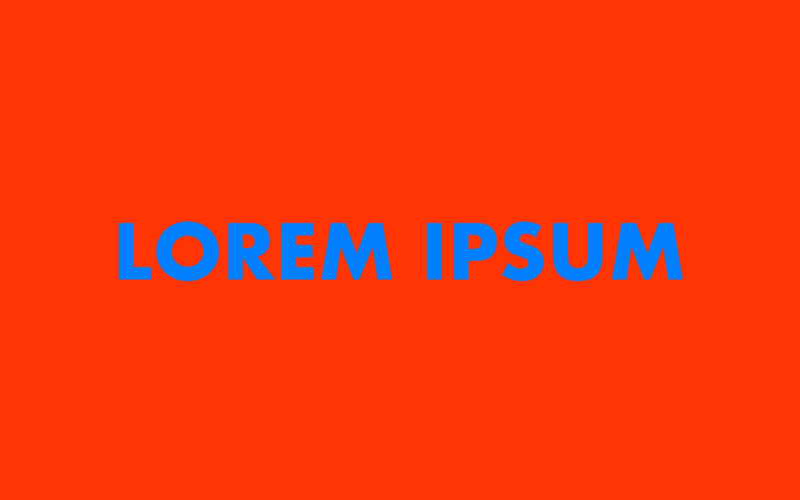
Typography
After building your logo, you may want to choose a font family for the rest of the app. Google has a good beginner’s guide for choosing web fonts.
You can certainly use the same font you used for your logo, but make sure your font has good readability, especially if your product has large amounts of text. I recommend that you keep it simple and limit the number of font families to one or two max. Here’s a list of popular fonts.
A common technique is to use a distinctive font for headings and a more readable font for larger blocks of text. You can get inspired by these examples. A handy tool I use a lot to identify fonts on web pages is the WhatFont chrome extension.
When building your framework, be conscious about the number of different font sizes you use. Again, keep it simple. If possible, use the minimum amount of variations. Try to avoid going under 16pt for large amounts of text. Many people, like me, will have trouble reading under that size!
If your product needs it, use a proper font that supports many languages. Noto, for example, is a font developed by Google that aims to support all languages.
Color
Similar to typography, keep it simple. A common technique is to choose a primary color displayed most frequently across your app and a secondary color that provides more ways to accent and distinguish your product. For inspiration, you can use this color combinations page made by Tobias van Schneider, or use Material Design’s color tool to play around with color combinations. For more complex combinations you can use the Adobe color wheel.
When choosing two colors, avoid having vibrating color combinations. This happens when adjacent colors appear to merge, blur, and glow, giving the illusion of motion. Learn more in this article. Be careful with this undesirable effect if you create gradients.
Last, think about color contrast and accessibility. For an MVP, you don’t have to be fully compliant with WCAG. But with a little attention, you can reach some minimum degree of compliance. There are many tools to check your color contrast ratio like this one.
Iconography
Icons can definitely give some character to your UI and will help you in moments you need to synthesize complex concepts. They also take up less space and avoid long strings and internationalization problems. However, if you end up using an unclear icon to convey an important action, you will have a serious issue. If there’s doubt about the icon, use text only or an icon with a label close to it.

Good sources for icons are Noun Project, Material Design icons, and Streamline icons.
Illustrations
Illustrations can help you support important messages that you don’t want to get lost. On average, users read at most 28% of the text. Having an illustration and reducing the amount of text can help the user digest that information. A small animation can make that moment even more delightful.
It’s hard to find the right illustration that fits your needs, so my recommendation would be to hire an illustrator to do it on demand.
Otherwise, if you don’t have the resources for that, you can always look for free illustrations and may find what you need. Just remember to give credit.
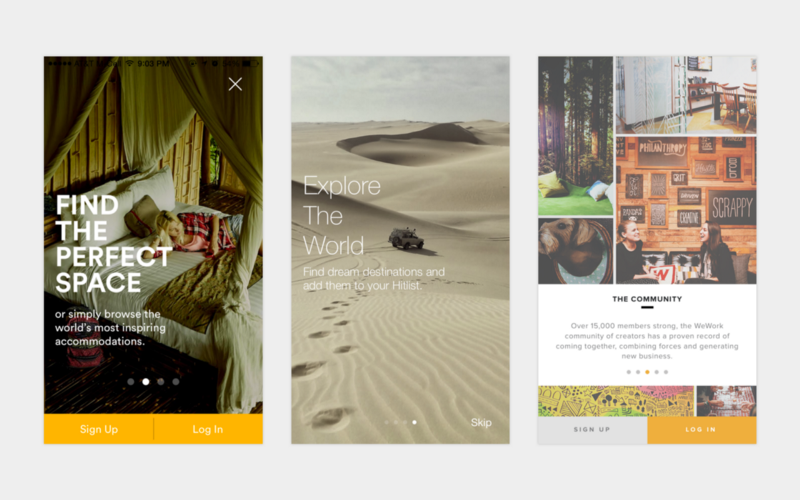
Photography
When I build a new product, I always like to create a set of photos that I call product in use. These show different scenarios of users using your product or enjoying the benefit that comes after using your product.
For example, if you are creating an app that helps you reduce the time spent on your phone, maybe you want to have a set of photos of people participating in outdoor activities, or spending time with their families.
Once you have this set of photos, you can use it to build the story and merchandise around your product. Use the photos on your onboarding tour, landing page, social media pages, or press release. Be consistent with the images you use, the style, the tone, and the age group. This will influence how people perceive your brand.
An amazing source for free images is Unsplash. If you want to place your product in context, an affordable option is Placeit.
Prototyping
At some point you may want to build a prototype for testing an idea or a flow. You can test a prototype even at the wireframing stage!
A very simple tool for building prototypes is InVision, as it allows you to link a series of static images and build a flow with transitions that make it look like a finished product. Framer is another great prototyping tool, and it’s expanding its capabilities beyond prototyping every day.
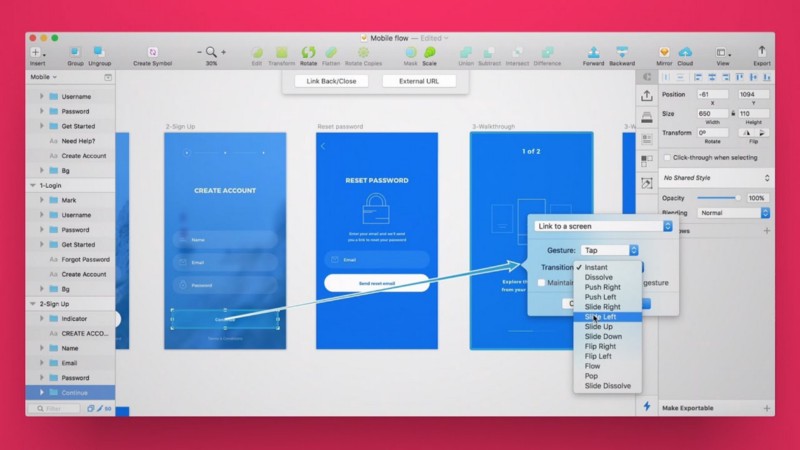
Don’t get too attached to these tools that are constantly changing. Anything that works for you to test your idea (even paper prototyping) is fine.
User testing
By now you probably have a product or prototype that you are excited to test. Testing your product with only 5 users will give you early insights into what is working and what is not.
If you have the budget, you can use a tool like UserTesting. But if you don’t, you can do your own user testing recruiting family or friends as long as you keep it objective. Before starting your test, take some time to identify what questions you are trying to answer through user testing.
One easy and cheap way to test is the thinking aloud test. This consists of letting testers simply verbalize their thoughts as they move through the user interface after you give them a task. It is important that you keep quiet and don’t help the testers accomplish their tasks.
For example, if they ask you “What happens if I press this button” you can reply “What would you expect to happen?” Otherwise, if you give them the answer, you won’t learn from their experience.
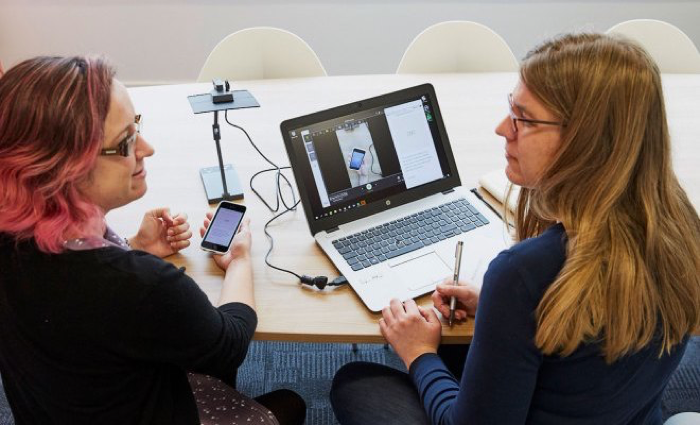
It could help to have a third person to document the session. It’s hard to be the moderator and take notes at the same time. If you can not find a third person to help, you can video-record your session.
Iterate
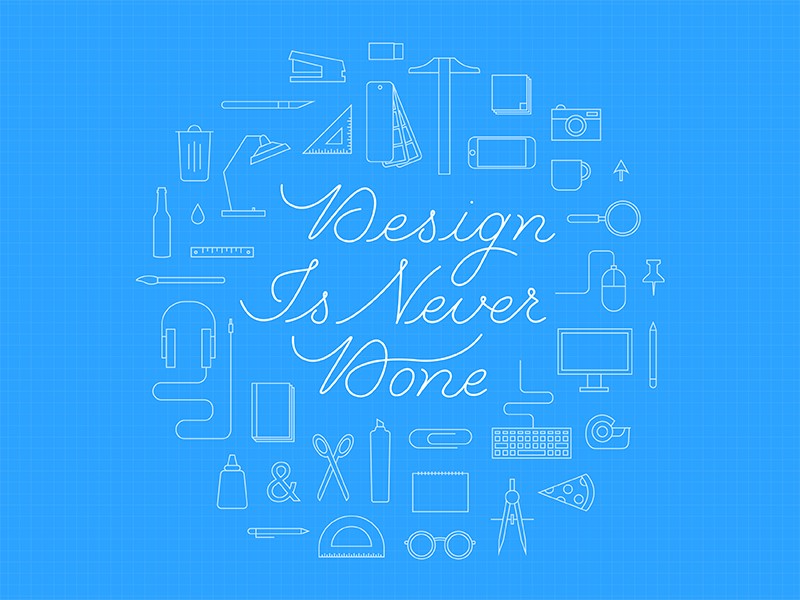
After launching your product, remember: Design is never done!
You will probably learn a lot after launching version one of your MVP. Take that knowledge and go back to the wireframing → prototyping → user testing cycle.
Open conversation
I hope you find these tips useful and applicable to your every day work.