

Dotfiles are important files that will play an integral role in your career as a software developer.
First, they can help make you more productive. But not only that - you'll be able to have that productive setup you created for youself on any machine.
This article is an introduction on how to get started with dotfiles.
You'll learn what they are, how to locate them on your system, and how to create a couple of simple dotfiles. In addition I'll give you some suggestions and resources on how to customise your settings and expand your knowledge.
Let's get started!
What are dotfiles?
Many computer software programs store their configuration settings in plain, text-based files or directories.
Dotfiles are configuration files for various programs, and they help those programs manage their functionality.
What sets them apart from regular files and directories is their prefix.
Dotfiles are named that way because each file and directory starts with a dot (.)
On Unix based systems, dotfiles are hidden by the Operating System by default.
Examples of common dotfiles
Most programs store their configurations in your home directory by default.
Some common dotfiles that you may have heard of or used before are:
- If you use the Bash shell, you might have a
.bash_profileand.bashrcfile, both of which contain scripts that load each time you start a new terminal session and configure the shell. - If you use the Zsh shell, which is the new default for MacOS, you would have (or would've created) a
.zshrcfile which configures and customises the shell. - If you use the command line code editor Vim, you would store its configurations in a
.vimrcfile. - After setting up and configuring Git on your local machine, you would have a
.gitconfigfile, which would contain all your information and settings. - Many programs, instead of storing their configurations in your home directory, instead store them in the hidden
.configdirectory (folder) on your system.
How to Find Dotfiles
In Finder, the root of your Home directory might look something like this:
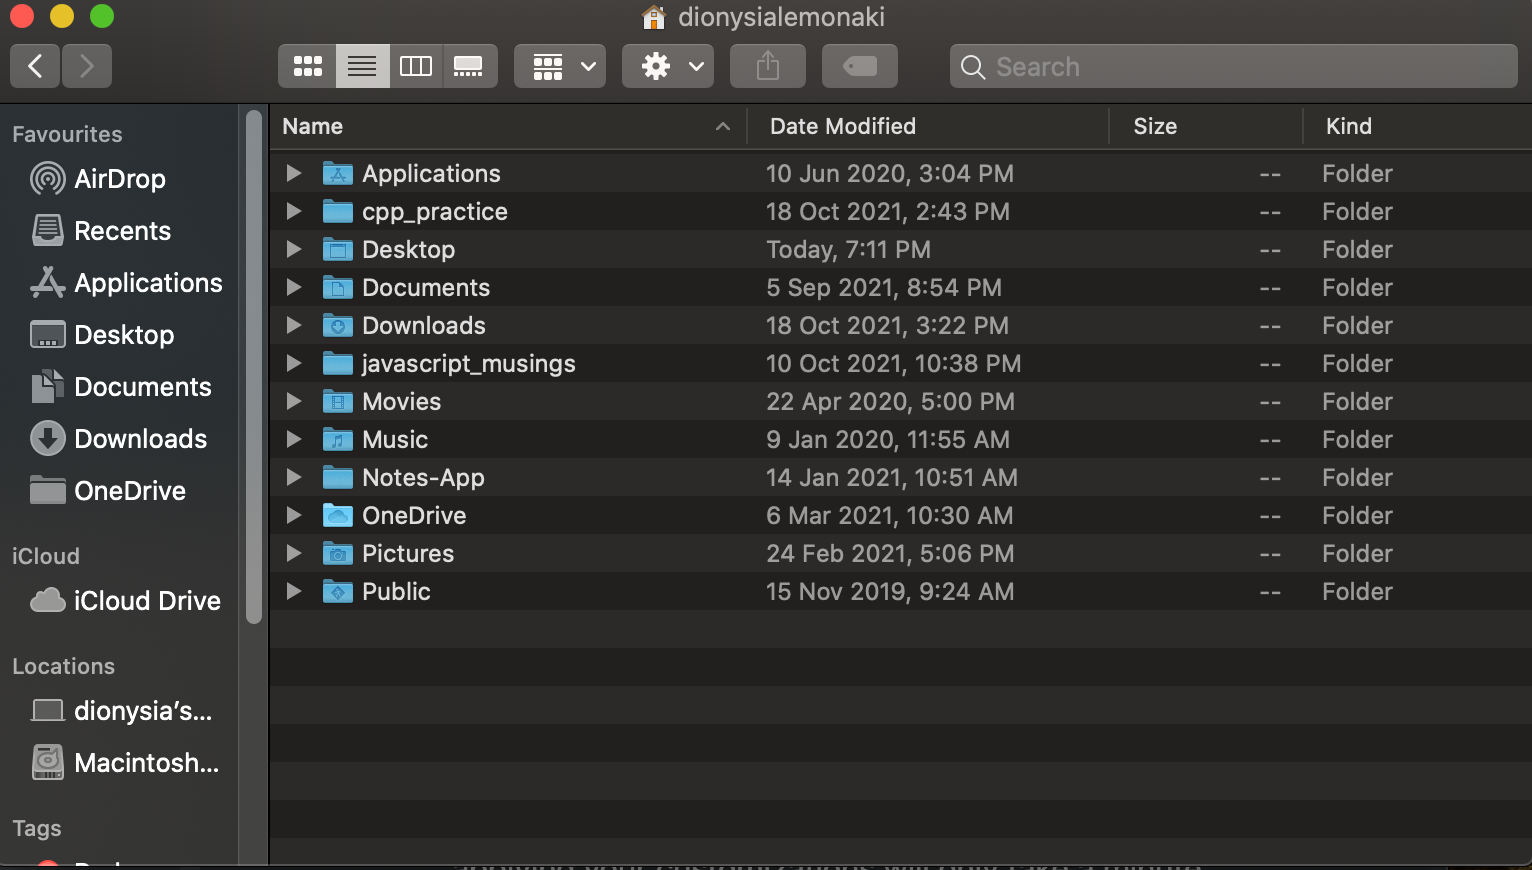
But you've seen that computer systems have many more files stored which are hidden by default.
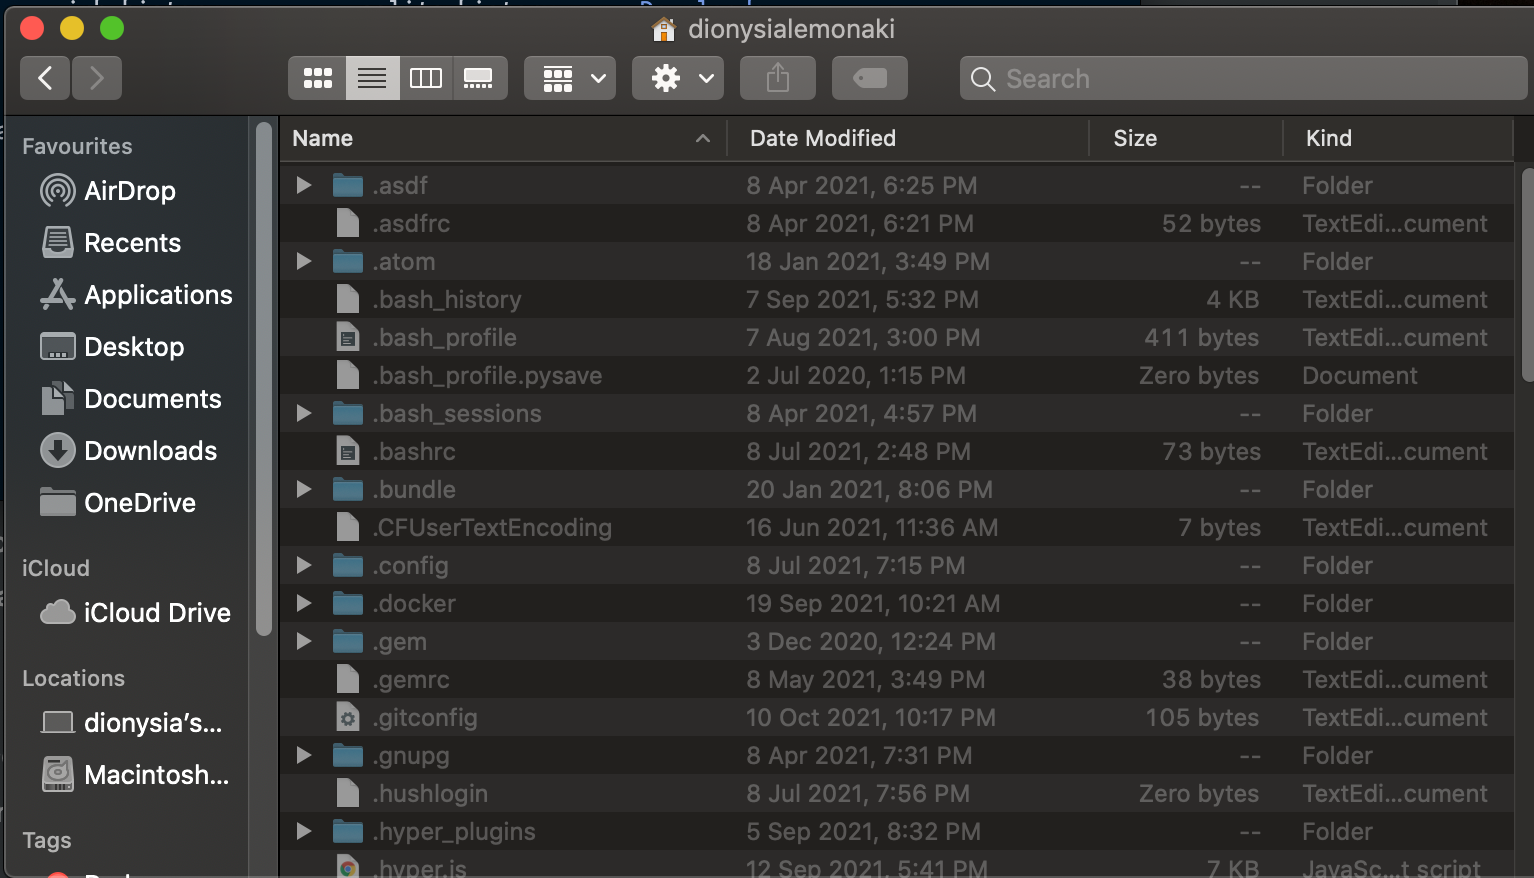
To view dotfiles in Finder, go to the root of your Home directory and hold down the keys Command Shift . and the same time.
You'll soon see a variety of dotfiles that either you created on your own or were created when you installed a piece of software.
To view dotfiles from the command line (which is where you'll use and interact with them the most), you again have to add some extra steps to your search.
The list command, ls, which lists all files and directories in the current directory, doesn't show dotfiles by default - despite the fact that they're there.
First, navigate to your home directory. You can use the cd command to help you get there, if you're not there already.
Then use the ls command with the -a flag, which stands for all, like so:
ls -a
If you want to see some extra bits of information about your files, you can also use the -l flag, which lists files and directories in long format and includes details about the date and time they were created, their size, and so on.
ls -la
In the output, you'll see all files and directories – inlcuding all hidden ones – in your currect home directory.
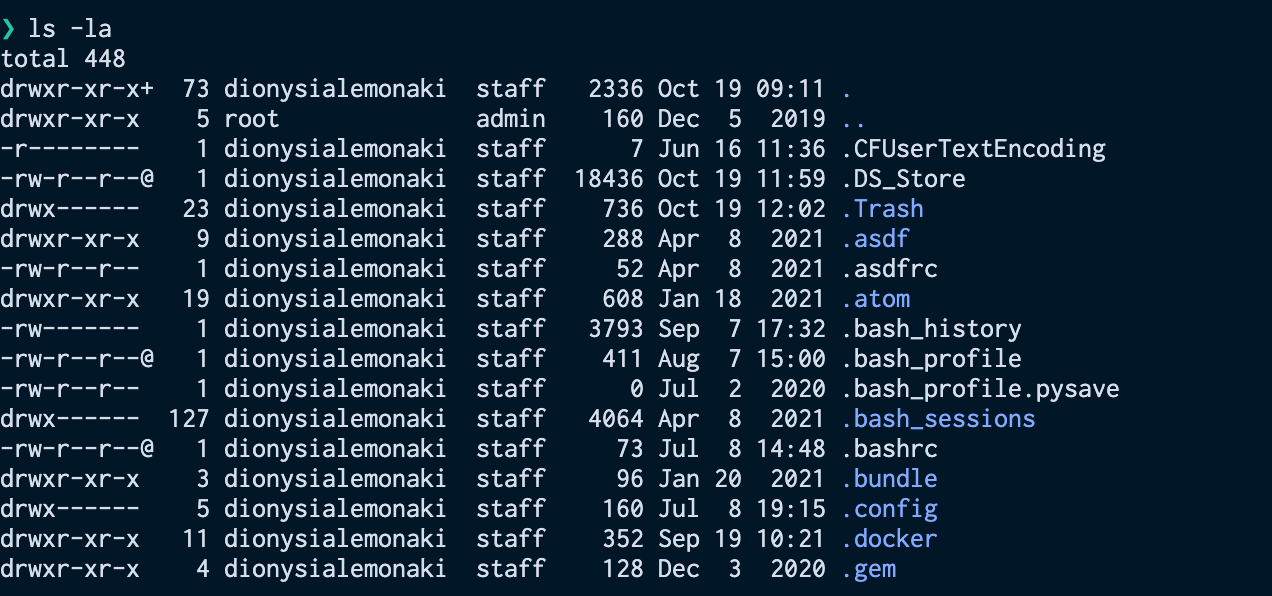
Each file and directory that starts with a period/dot is a dotfile.
Why Use Dotfiles?
Your dotfiles are personal to you.
You spend a sufficient amount of time fine-tuning your setup. You curate configurations and settings that best suit your workflow, aesthetic, and preferences. And you end up with a development environment that helps you, personally, be more productive.
What if after all that time you spent, you now have to switch to a new, different machine? Does that mean you have to start all over again from the beginning?
How would you remember the exact settings and commands you used?
Or what if you have a second machine and you want your set up to be exactly the same on both systems?
One of the main goals of developers is to automate repetitive tasks.
Creating a dotfile repository that is source-controlled and hosted on GitHub will save you time when you want to set up a new computer and install the exact same settings you created for your previous one.
That way all your settings and preferences can be reusable and consistent on other machines.
How to Create Dotfiles
How to set up a folder to hold your dotfiles
It's good practice to have all your dotfiles in their own folder.
For simplicity's sake, I'll show an example of how to create a folder at the root of your home directory. But you can add the folder wherever is more convenient for you.
Also, I'll be showing examples of how to create a .zshrc and .vimrc file, but similar ideas apply to any other dotfiles you create.
Navigate to your home directory (cd) and make a directory named dotfiles that will hold all your configuration files:
mkdir dotfiles
To create dotfiles, you use the touch command and pass the name(s) of the file(s) as the argument to the command. The filename(s) will have a preceding period.
To create a .zshrc and a .vimrc file in the dotfiles directory, do this:
touch ~/dotfiles/.zshrc ~/dotfiles/.vimrc
If those files already exist on your system and you want to move them to the dotfiles directory, you can move them there using the mv command:
mv ~/.zshrc ~/dotfiles/
The first argument is the current path of the file – the tilde (~) stands for the home direcory. By default, most hidden confuguration files are located there.
The second argument is the path where you want to move the file to. In this case you want to move it to the the dotfiles directory that is located in the home directory.
You can do the same for the .vimrc file:
mv ~/.vimrc ~/dotfiles/
To view the files:
ls -a dotfiles
.         ..     .vimrc    .zshrc
With those files in place you can then add all your preferred configurations there.
How to set up configurations
Below are some ideas that could help you start the configurations of the dotfiles you created.
How to personalise your Zsh prompt
After setting up the .zshrc file, anything added to that file will affect the customisation of your Zsh shell program.
Now could be the time to customise your shell prompt. This will be personal to your taste, but here are some resources to get you started:
- How to customize your zsh prompt like a pro
- Jazz up your zsh terminal in seven steps
- More ideas to customize the zsh prompt
- How to Customize the zsh Prompt in the macOS Terminal
How to customise Vim
After creating the .vimrc file, you can customise the command line text editor Vim. Here are a couple of resources to help you start that process:
What are aliases and functions
One way to improve your workflow and enhance your productivity, is to cut down the time it takes to type commands you use often. You can achieve that by creating shortcuts.
Aliases are shortcuts to terminal commands. They are a shorter version of a long command.
As a developer you'll use Git often, so it's a good idea to create Git aliases to help save time on long, repetitive Git commands. Have a read on some of the most helpful ones on this freeCodeCamp article.
Another way to save time is by simplifying processes.
You can combine two commands into one by creating an isolated behavior that does one specific job. You can do that by creating functions.
One helpful function to create is to combine the command for creating a new directory (mkdir) with the command to change directory (cd).
In this way, you will create a new folder and immediately change into it – all in one step.
The function to do so looks like this:
function mkcd() {
  mkdir -p "$@" && cd "$_";
}
To read up on Zsh, functions have a look at this article on Scripting OS X that covers both aliases and functions in Zsh.
You can add both aliases and functions to your .zshrc file or you can create separate .aliases and .functions dotfiles.
How to Symlink your Dotfiles
You may have noticed that none of the settings you added to the files in the dotfiles folder have any effect on your system.
A program's configuration files, as mentioned previously, are hidden and stored in the home directory by default. This is where the program will look for and read its settings from.
It's a good idea to symlink (or create a symbolic link -a pointer) the file in the dotfiles directory where you have stored your preferred settings alongside with other files you created, with the file in its default home directory.
It's like the file will be in two places at the same time!
The file will be in both the dotfiles directory and there will also be a 'copy' of it in the home directory.
To create a link, you use the ln (stands for link) command with the -s argument (which stands for symbolic).
Here's how to symlink the .zshrc and .vimrc files:
ln -s ~/dotfiles/.vimrc  ~/.vimrc
ln -s ~/dotfiles/.zshrc  ~/.zshrc
This will make the programs you use aware of where their configuration files are normally – back in the home directory.
ls -l ~/.zshrc

lrwxr-xr-x  1 dionysialemonaki  staff  39 Oct 21 18:30 /Users/dionysialemonaki/.zshrc -> /Users/dionysialemonaki/dotfiles/.zshrc
Looking at the details of the .zshrc file, it shows that the file located in the home directory points to the file in the dotfiles directory. The -> indicates the symlink.
Symlinking all your dotfiles manually is a cumbersome process and can get tiring and repetitive quickly as you add more dotfiles to the folder.
To make the process easier, you can create a shell script that will automate calling ln -s on the dotfiles you create or use a utility for that job.
How to Version Control your Dotfiles
Having your files under version control will help you track all the changes you make to them over time, and will also allow you to share them on GitHub.
Make sure to change directory into the dotfiles directory (cd dotfiles).
Follow these steps to organise your files in a git repository:
- Initialise the repository:
git init
- Add all the files you've created so far:
git add .
- Commit the changes and add a commit message:
git commit -m "Added dotfiles"
How to host your dotfiles on GitHub
Make sure you've signed into your GitHub account.
Then, create a new repository:
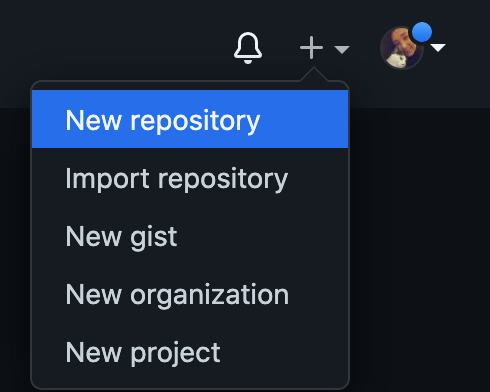
Give it a name add click "Create repository".
Next, in the command line, add:
git remote add origin url

#where 'url',the GitHub url of the repository you previously created
#ending in .git
Finally,
git push -u origin main
And now you are able to share your dotfiles online!
Conclusion
And there you have it – you now know the basics of dotfiles! I hope you found this tutorial helpful.
Your dotfiles project will most likely follow you throughout your career and will grow the more you learn about dotfiles themselves. And it'll also change as you learn more about what you like and don't like regarding your workflow and development environment setting by lots of trial and error.
Thanks for reading!