
There are many ways to code graphics for the web. You can create art with CSS. You can code an SVG image as part of an HTML file. Or you can generate graphics from JavaScript using the Canvas API.
In this article, we'll explore how to use JavaScript to draw some basic shapes. You don't need to have any prerequisites for this tutorial. We are only going to have a simple HTML and a plain JavaScript file that you can run directly in the browser.
You might be wondering – would anyone code an image from JavaScript? For one, you can generate graphics dynamically based on some variables. For instance, you can create a diagram. Or even better, we can create an entire game with JavaScript as we cover it in this tutorial.
The following article focuses on part of the tutorial above, and teaches you the basics of drawing with JS.
The Canvas Element
To draw on the screen, first we need to define a canvas element in HTML.
<!DOCTYPE html>
<html lang="en">
  <head>
    <meta charset="utf-8" />
    <title>Canvas</title>
    <script src="index.js" defer></script>
  </head>

  <body>
    <canvas id="myCanvas" width="1000" height="1000"></canvas>
  </body>
</html>
This element has an ID, so that we can access it in JavaScript. Here we also set its size. If the size is dynamic, we can also set this size in JavaScript as we do in the tutorial above.
We defined a <canvas> element in HTML. How do we paint things on it?
Let's create a separate JavaScript file, where we'll add the rest of the code. We'll load this file with the script element above. Then in index.js, first, we'll get the canvas element by ID and get its rendering context.
const canvas = document.getElementById("myCanvas");
const ctx = canvas.getContext("2d");

. . .
This is a built-in API with many methods and properties that we can use to draw on the canvas. In the next few sections, we'll continue with this file and see a few examples of how to use this API.
How to Draw a Rectangle
Let’s look at a few quick examples. The most basic thing we can do is to fill a rectangle.
 Using the
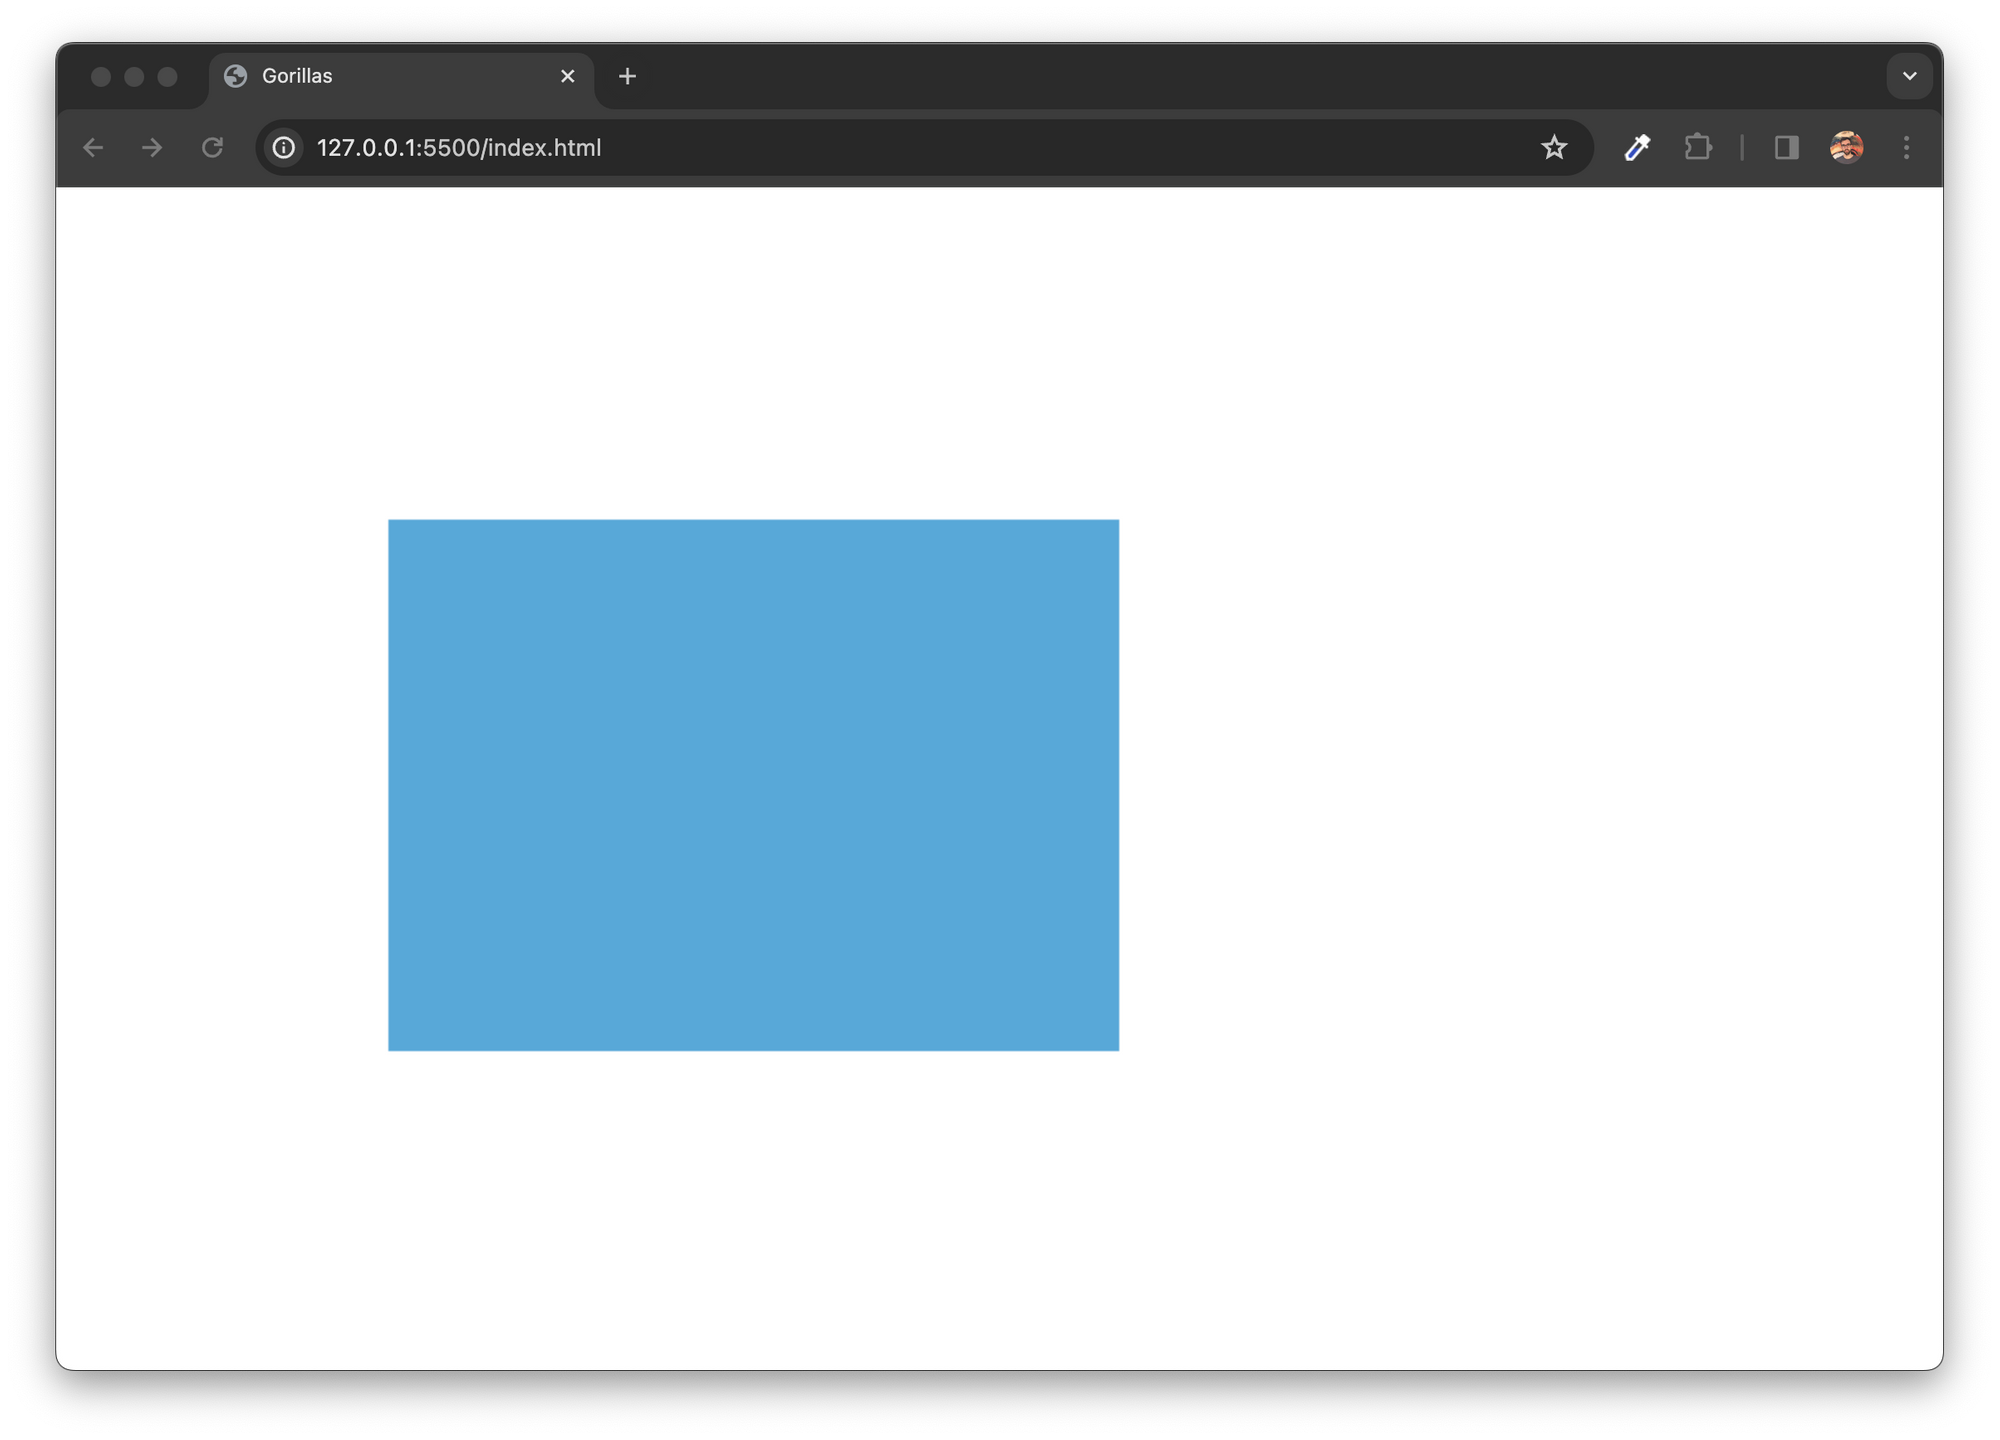
 fillRect` method to fill a rectangle
const canvas = document.getElementById("myCanvas");
const ctx = canvas.getContext("2d");

ctx.fillStyle = "#58A8D8";

ctx.fillRect(200, 200, 440, 320);
With the fillRect method, we specify the top left coordinate of our rectangle (200, 200), and we set its width and height (440, 320).
By default, the fill color is going to be black. We can change it by setting the fillStyle property.
The way canvas works is that we have to set up drawing parameters before we paint, and not the other way around. It’s not like we paint a rectangle, and then we can change its color. Once something is on the canvas, it stays as it is.
You can think of it like a real canvas, where you also pick the color with your brush before you start painting with it. Then once you've painted something you can either cover it, by painting something over it, or you can try to clear the canvas. But you can’t change existing parts, really. That’s why we set the color here up front and not afterward.
How to Fill a Path
We can of course draw more complicated shapes as well. We can define a path, like this:
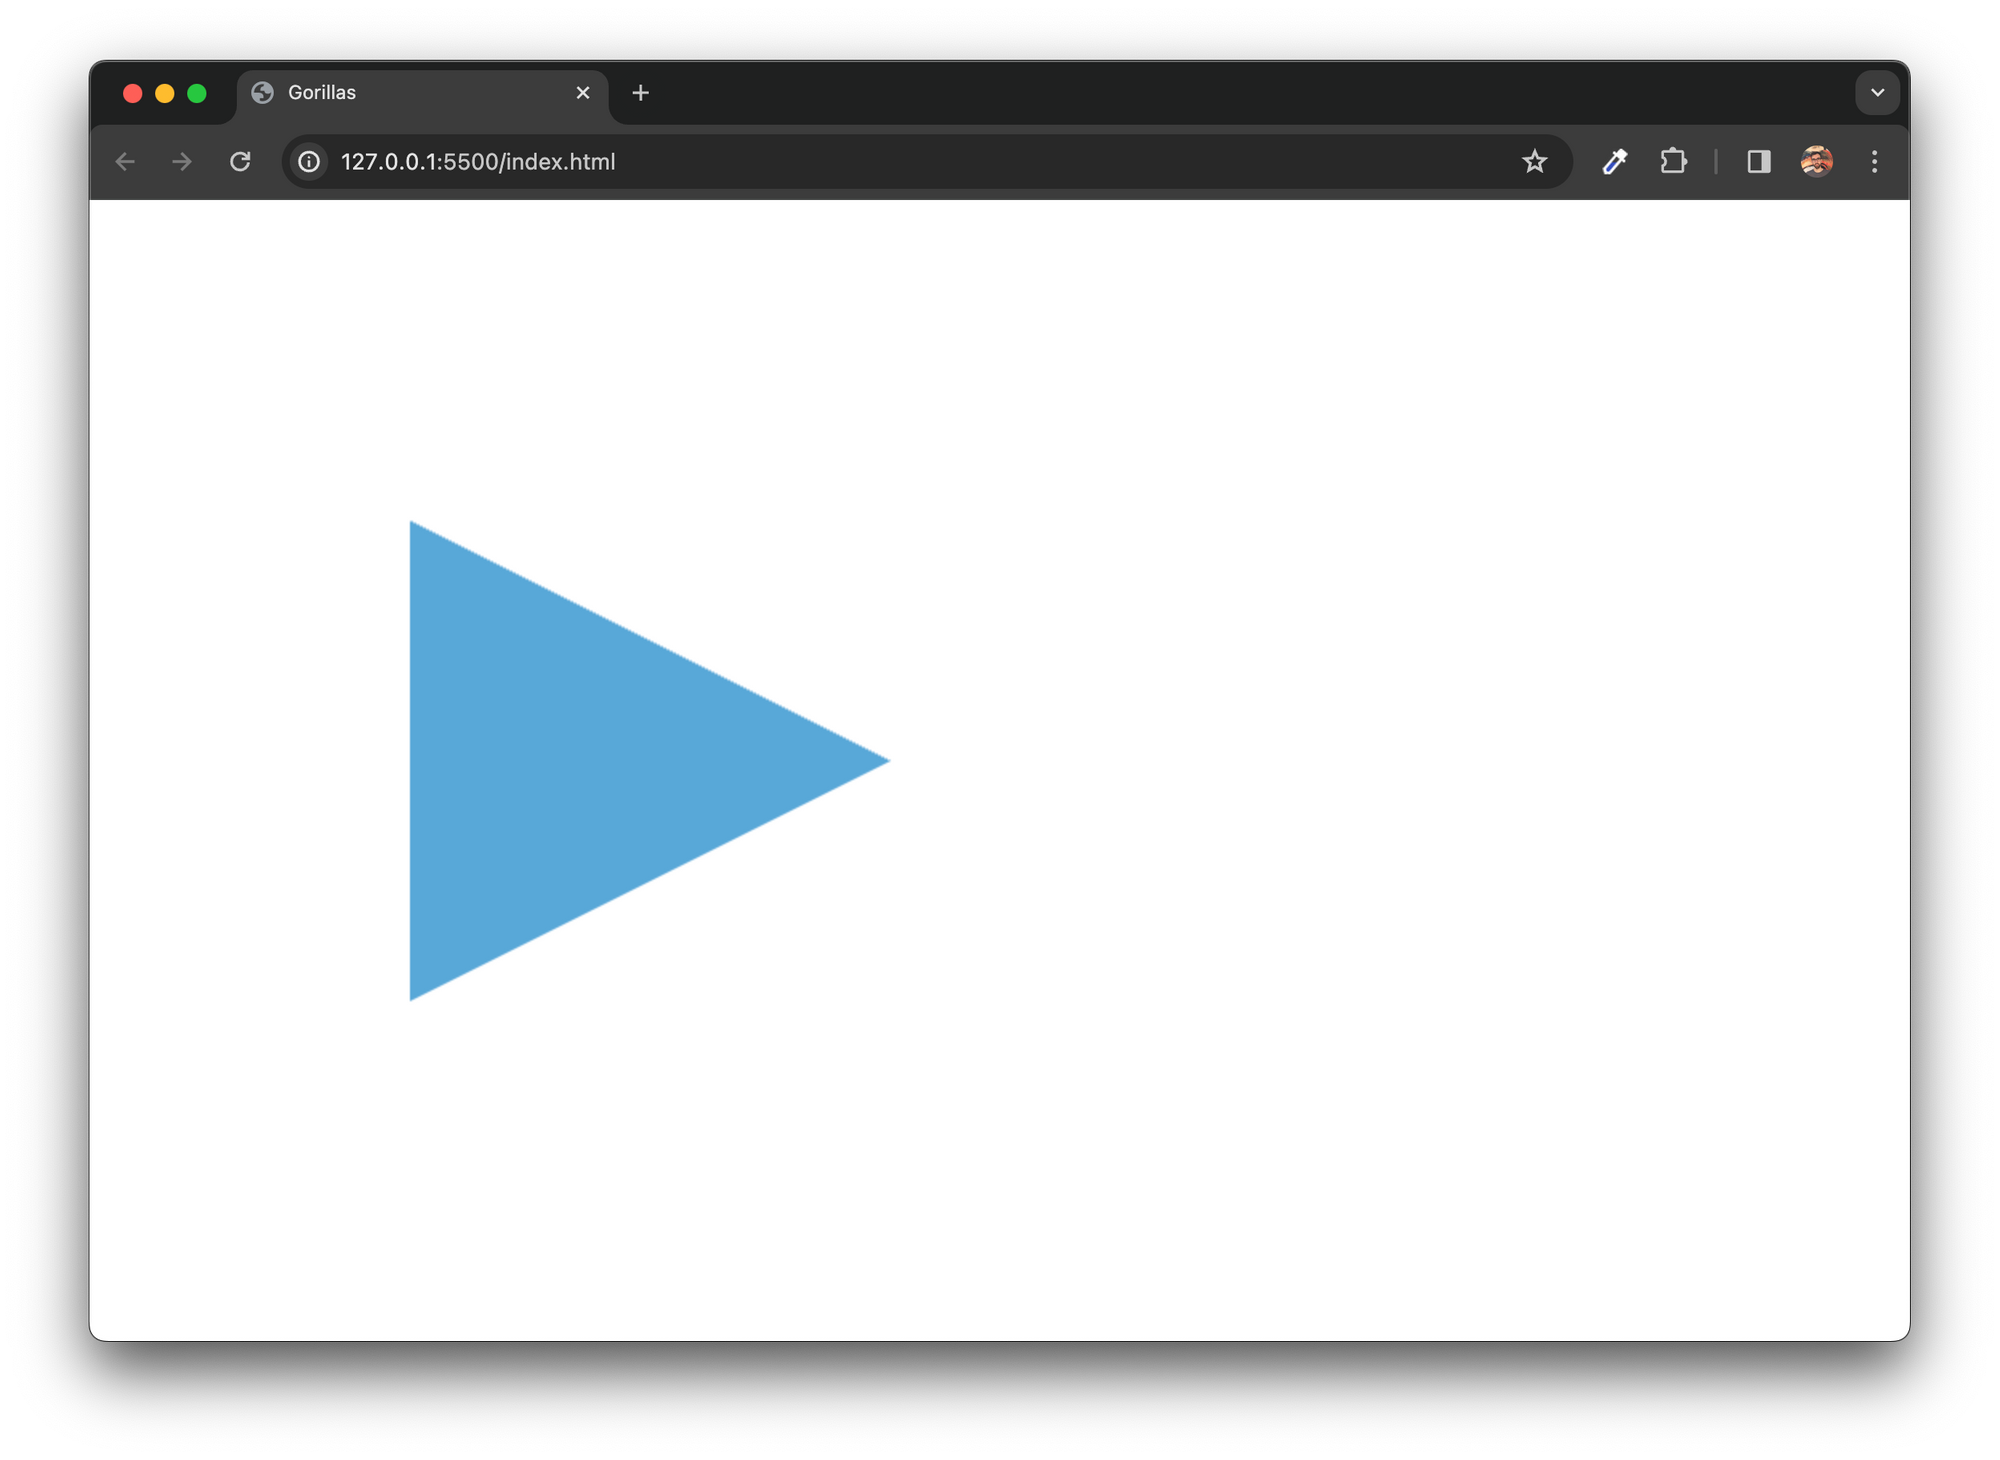 Filling a path
const canvas = document.getElementById("myCanvas");
const ctx = canvas.getContext("2d");

ctx.fillStyle = "#58A8D8";

ctx.beginPath();
ctx.moveTo(200, 200);
ctx.lineTo(500, 350);
ctx.lineTo(200, 500);
ctx.fill();
Paths start with the beginPath method and end with either calling the fill or the stroke method – or both. In between, we build the path by calling path-building methods.
In this example, we draw a triangle. We move to the 200,200 coordinate with the moveTo method. Then we call the lineTo method to move to the right side of our shape. And then we continue the path, by calling the lineTo method again to 200,500.
None of this would be visible if we didn’t end with the fill method to fill the path we just built.
How to Draw a Stroke
In a very similar way, we can also draw a line. Here, we'll start with the beginPath method again. We'll also build up the shape with a moveTo and two lineTo methods. The coordinates here are the same. But in the end, we don’t call the fill but the stroke method. This, instead of filling the shape, will draw the line we built.
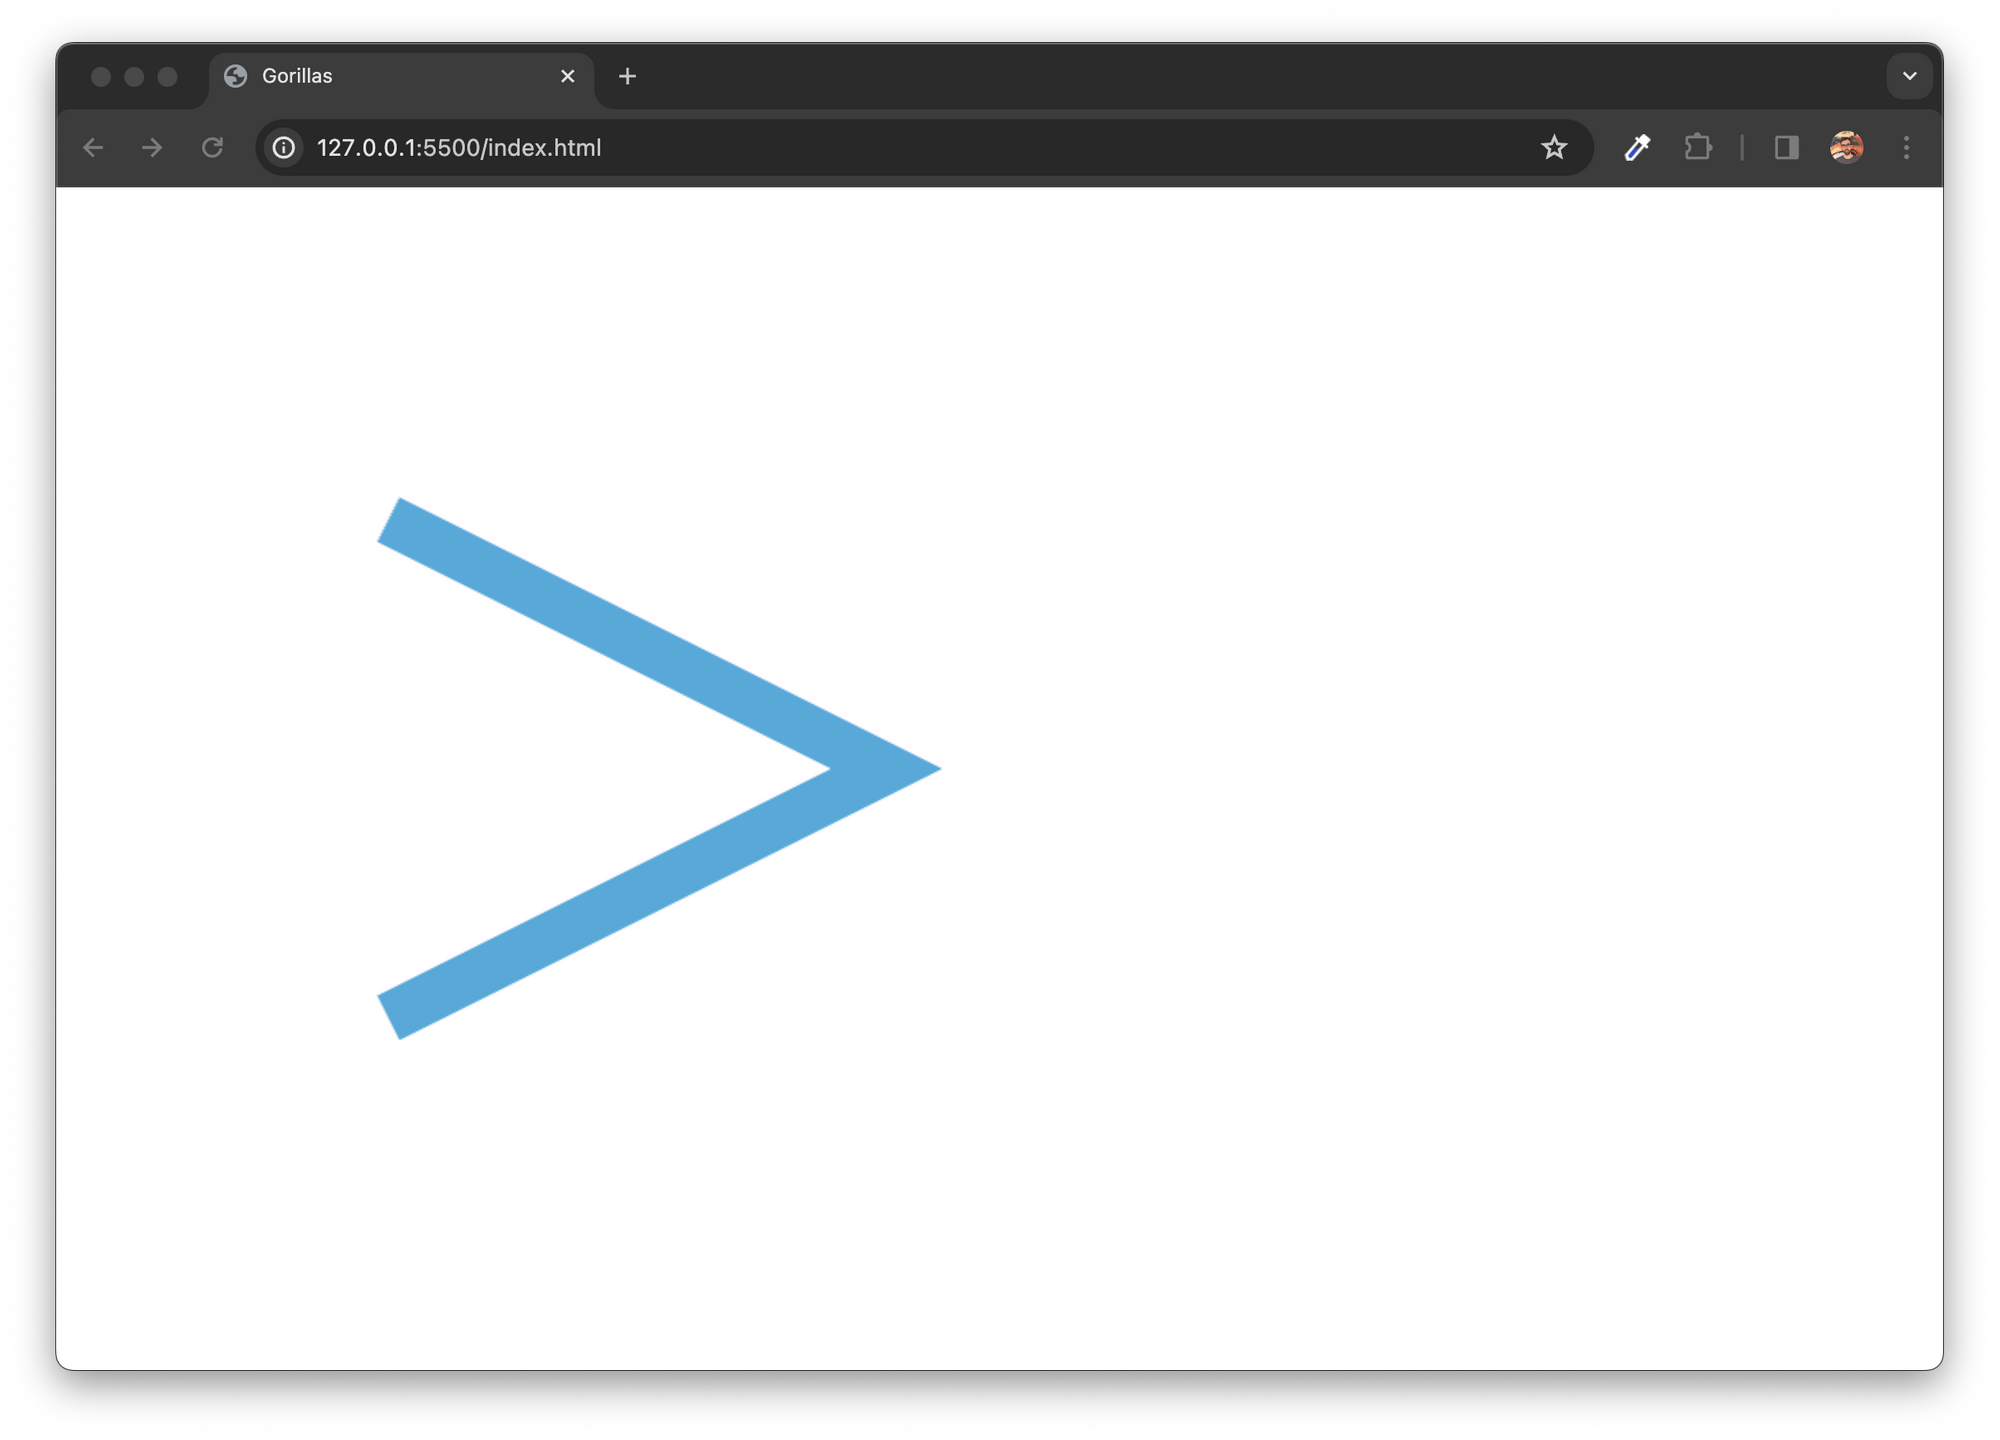 Drawing a stroke
const canvas = document.getElementById("myCanvas");
const ctx = canvas.getContext("2d");

ctx.strokeStyle = "#58A8D8";
ctx.lineWidth = 30;

ctx.beginPath();
ctx.moveTo(200, 200);
ctx.lineTo(500, 350);
ctx.lineTo(200, 500);
ctx.stroke();
Strokes have different styling properties. Instead of the fillStyle property, we set strokeStyle. To this property – and also to fillStyle – we can assign any color value that is valid in CSS. To set the line width we use the lineWidth property.
We can also build more complex paths. In the example below, we draw a curve.
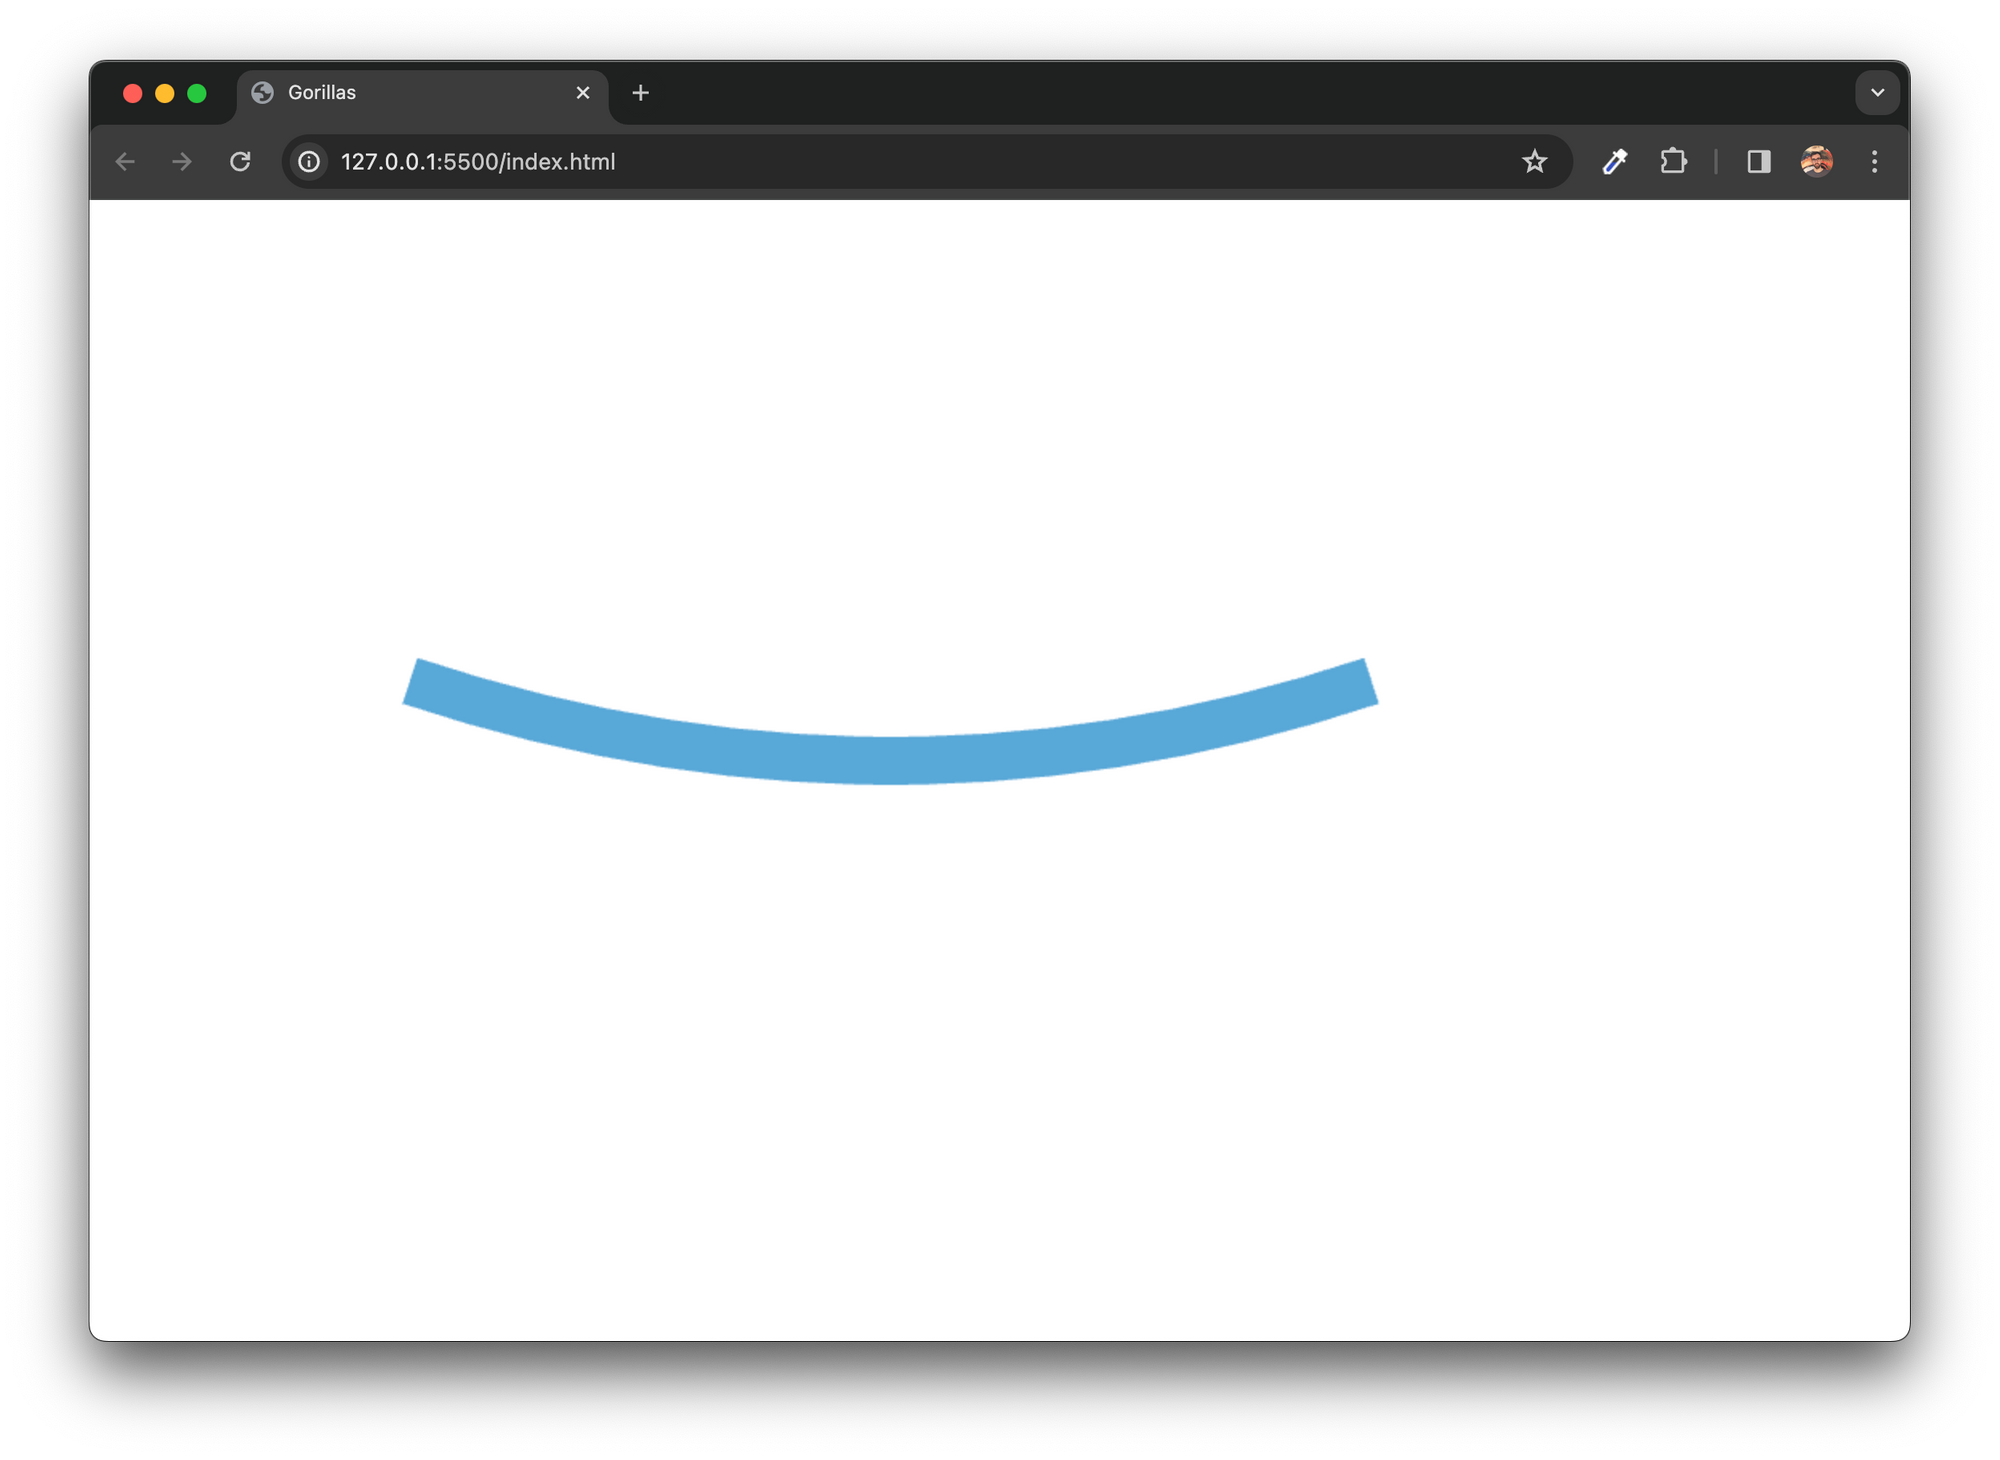 Drawing a curve
const canvas = document.getElementById("myCanvas");
const ctx = canvas.getContext("2d");

ctx.strokeStyle = "#58A8D8";
ctx.lineWidth = 30;

ctx.beginPath();
ctx.moveTo(200, 300);
ctx.quadraticCurveTo(500, 400, 800, 300);
ctx.stroke();
A quadratic curve is a simple curve with one control point. As the curve goes from the starting point (which we set with moveTo), the curve bends towards this control point (set as the first two arguments of the quadraticCurveTo method) as it reaches its end position (set as the last two arguments).
Next Steps
With these very basic shapes, we can already get quite far. We use these methods to draw the gorillas in the Gorillas - JavaScript Game Tutorial.
 We fill a path to draw the body and the legs of the gorillas, and use strokes to draw the arms and the face
For a deep dive, read the full tutorial where we build up a complete game with plain JavaScript. In this tutorial, we not only cover how to draw the gorillas and the city skyline but also implement the whole game logic. From event handling, through the animation loop, to hit detection.
For even more, you can also watch the extended tutorial on YouTube. In the YouTube version, we also cover how to make the buildings destructible, how to animate the hand of the gorilla to follow the drag movement while aiming, have nicer graphics, and we add AI logic, so you can play against the computer.
Check it out to learn more:
You can subscribe to my channel for more JavaScript game development tutorials: