By Clark Jason Ngo
I created this guide because of an experience I had while teaching. My students needed to use an application that was only available on Windows OS but the students only had macOS.
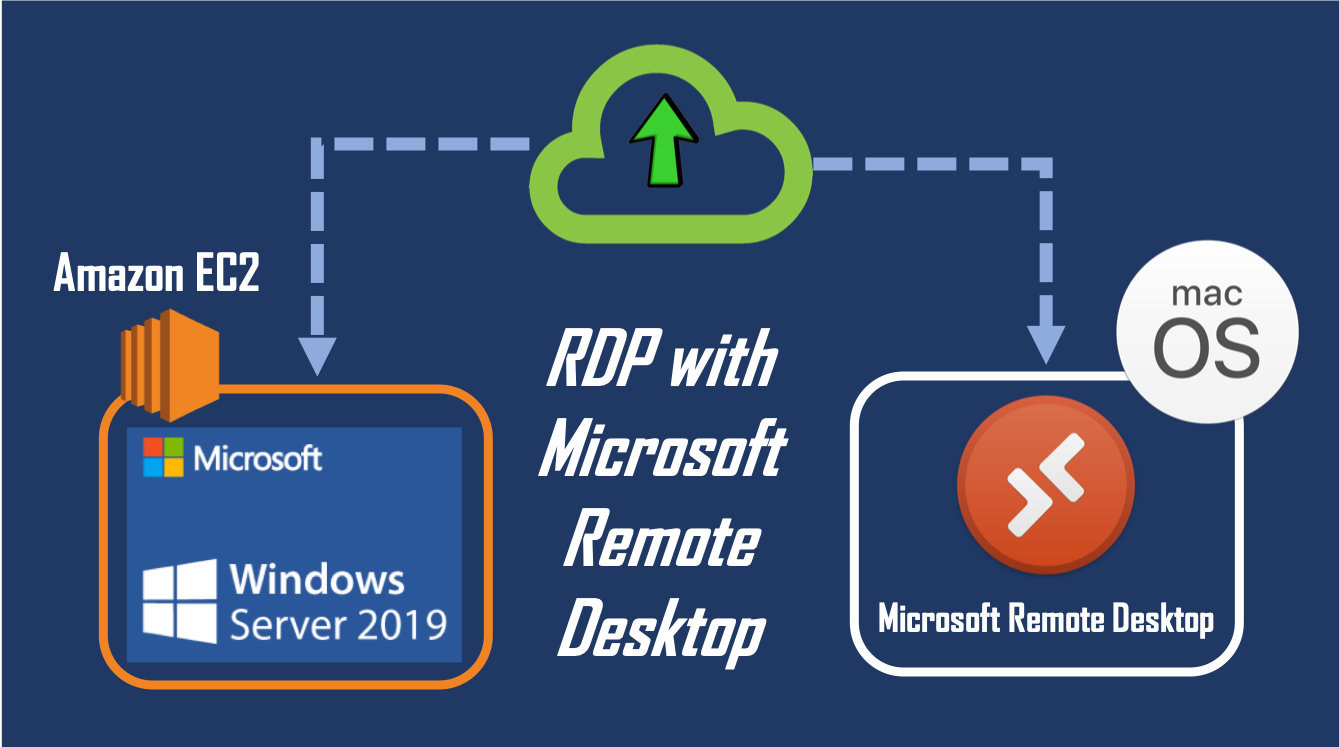
We will be touching on the technologies shown below:

- Amazon EC2: launch a Windows Server 2019
- Microsoft Remote Desktop: macOS application to remote desktop connect (RDP) to EC2
Amazon EC2
Launching a Windows Server EC2 Instance
- Sign in to your AWS Management Console.
- Choose Services, then EC2.
- In the sidebar, click Instances.
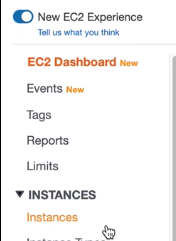 EC2 sidebar
- Click Launch Instance.
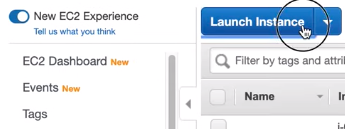 Launch Instance button
- Scroll down and choose Microsoft Windows Server 2019 Base.
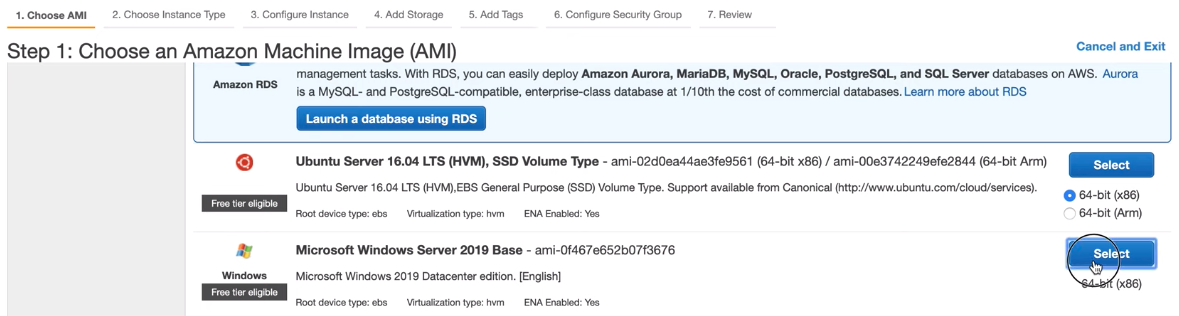 Choose AMI page
- At the bottom of the Choose Instance Type page, click Review and Launch. This will skip you to the Review page.
 Launch with minimal configuration
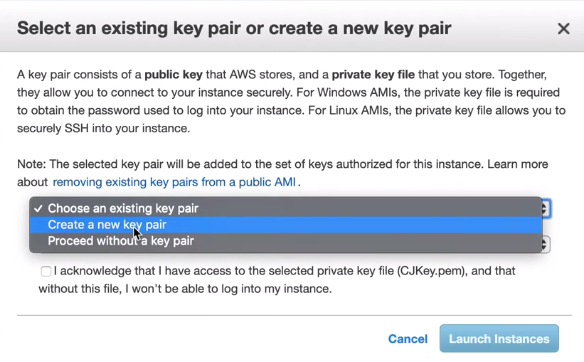
- In the Review page, click Launch. You'll be prompted to select an existing key pair or new key pair.
If you choose Create a new key pair, you need to give the new key pair a name, then download the key pair. Then you'll be able to proceed to choose Launch Instance.
 Key pair to access the instance
If you choose Choose an existing key pair, you need to select a key pair and tick the checkbox to acknowledge the use of the key pair.
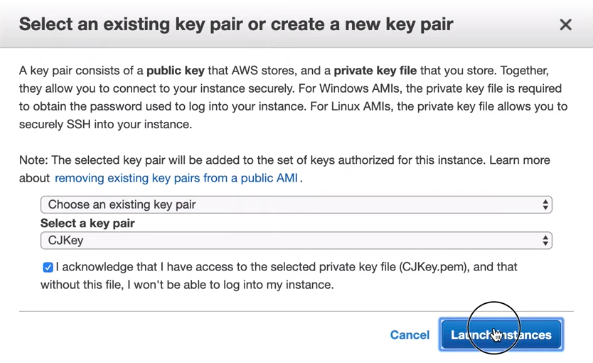 Last step to launch instance
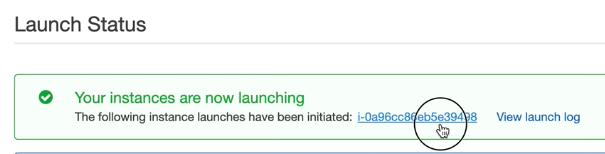
- Click the generated Instance ID.
 Accessing the EC2 Instance
Find and save the following information:
Public DNS (IP Address)
- Username
- Password
To get the IP Address, scroll to the right of your EC2 instance:
 IP Address of EC2 Instance
You can also find this in the Description tab below:
 IP Address of EC2 Instance
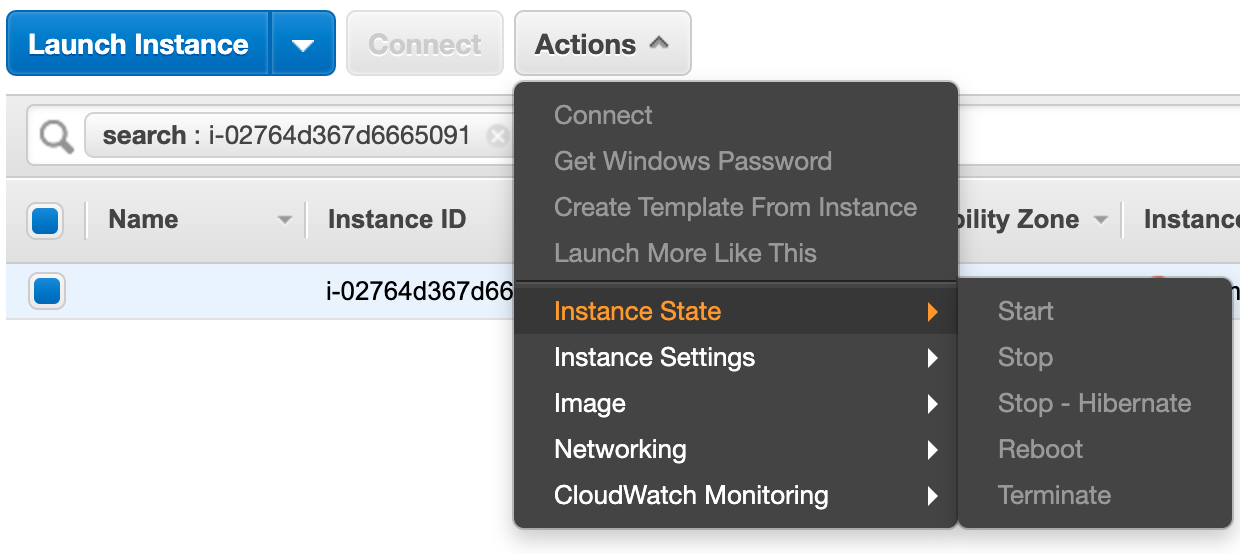
- To get the username and password, choose the EC2 instance (tick the checkbox), click Actions, then Get Windows Password.
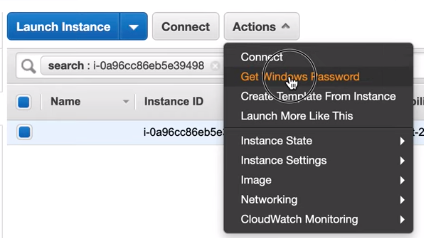 Obtaining the username and password
You may encounter Password not available and you'll need to wait a couple of minutes.
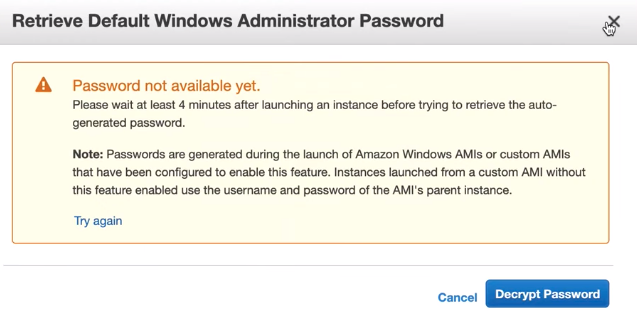 Provisioning the auto-generated password
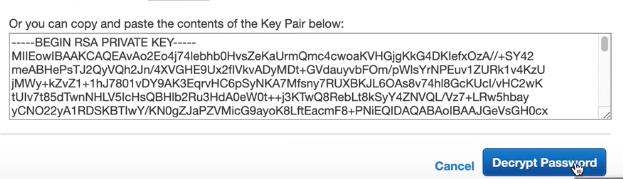
- Locate the existing key pair or the newly created key pair you have downloaded in your local machine. Click Choose File.
 Retrieve the key pair
- After uploading the key pair, click Decrypt Password.
- Copy the following information and save it in a file or clipboard. Click Close when you are done.
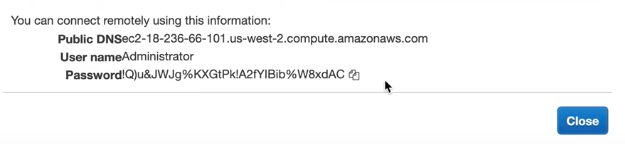 Information for remote desktop connection
Microsoft Remote Desktop
Installing the application and connecting to EC2 instance
- Open your App Store, then search for Microsoft Remote Desktop. Click Install (it shows UPDATE here as I already have installed).
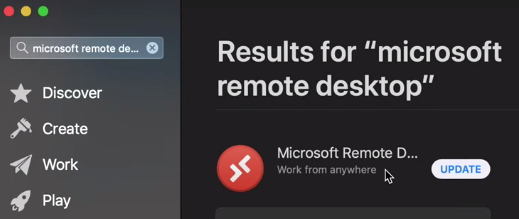 Microsoft Remote Desktop in the App Store
After installation, Open Microsoft Remote Desktop.
At the top, click the + Icon and choose Desktop.
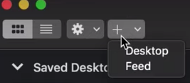 Creating a new desktop connection
- In the PC name, copy the EC2 Instance IP address, then click Add.
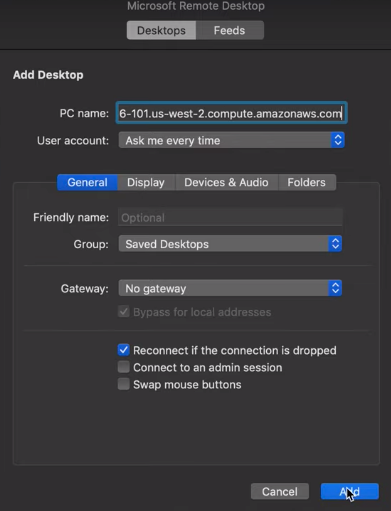 Adding the IP address
- Copy the Administrator and Password from earlier and paste it here. Hit Continue.
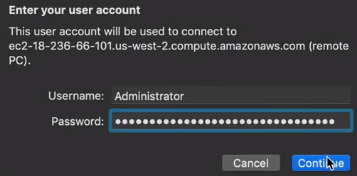 Signing in with the username and password
You are now connected to your Windows Server EC2 Instance.
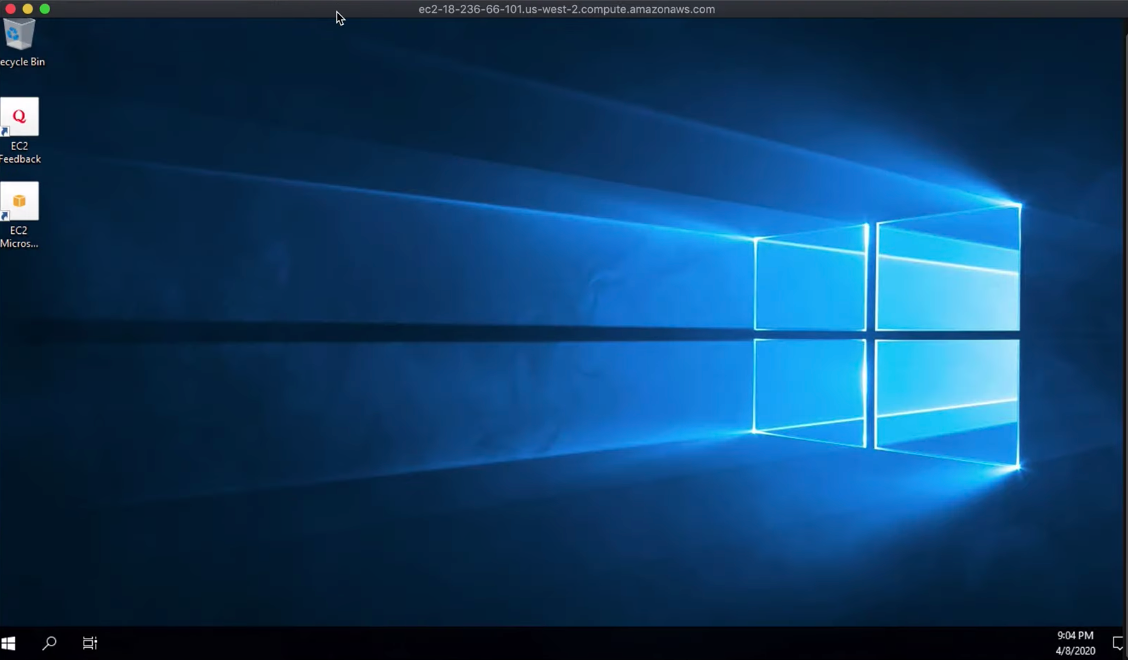 Windows Server EC2 Instance
Note: To avoid getting charged after you have used up the free tier for EC2, either click Stop to have a lower cost, or Terminate to remove the instance and not be charged.
You have access to this by selecting the instance and choosing Actions > Instance State > Stop/Terminate.
Here's a video tutorial:
Connect with me on LinkedIn here.