By Rakesh Potnuru
If you have a personal blog, you might be using a comment system to manage your blog's discussions and comments. If so, it's time to think about updating your comment system.
You can take your blog's comments to the next level with the help of GitHub Discussions. In this article, I am going to explain how to integrate GitHub discussions into your blog and make most out of it.
What is "GitHub Discussions"?
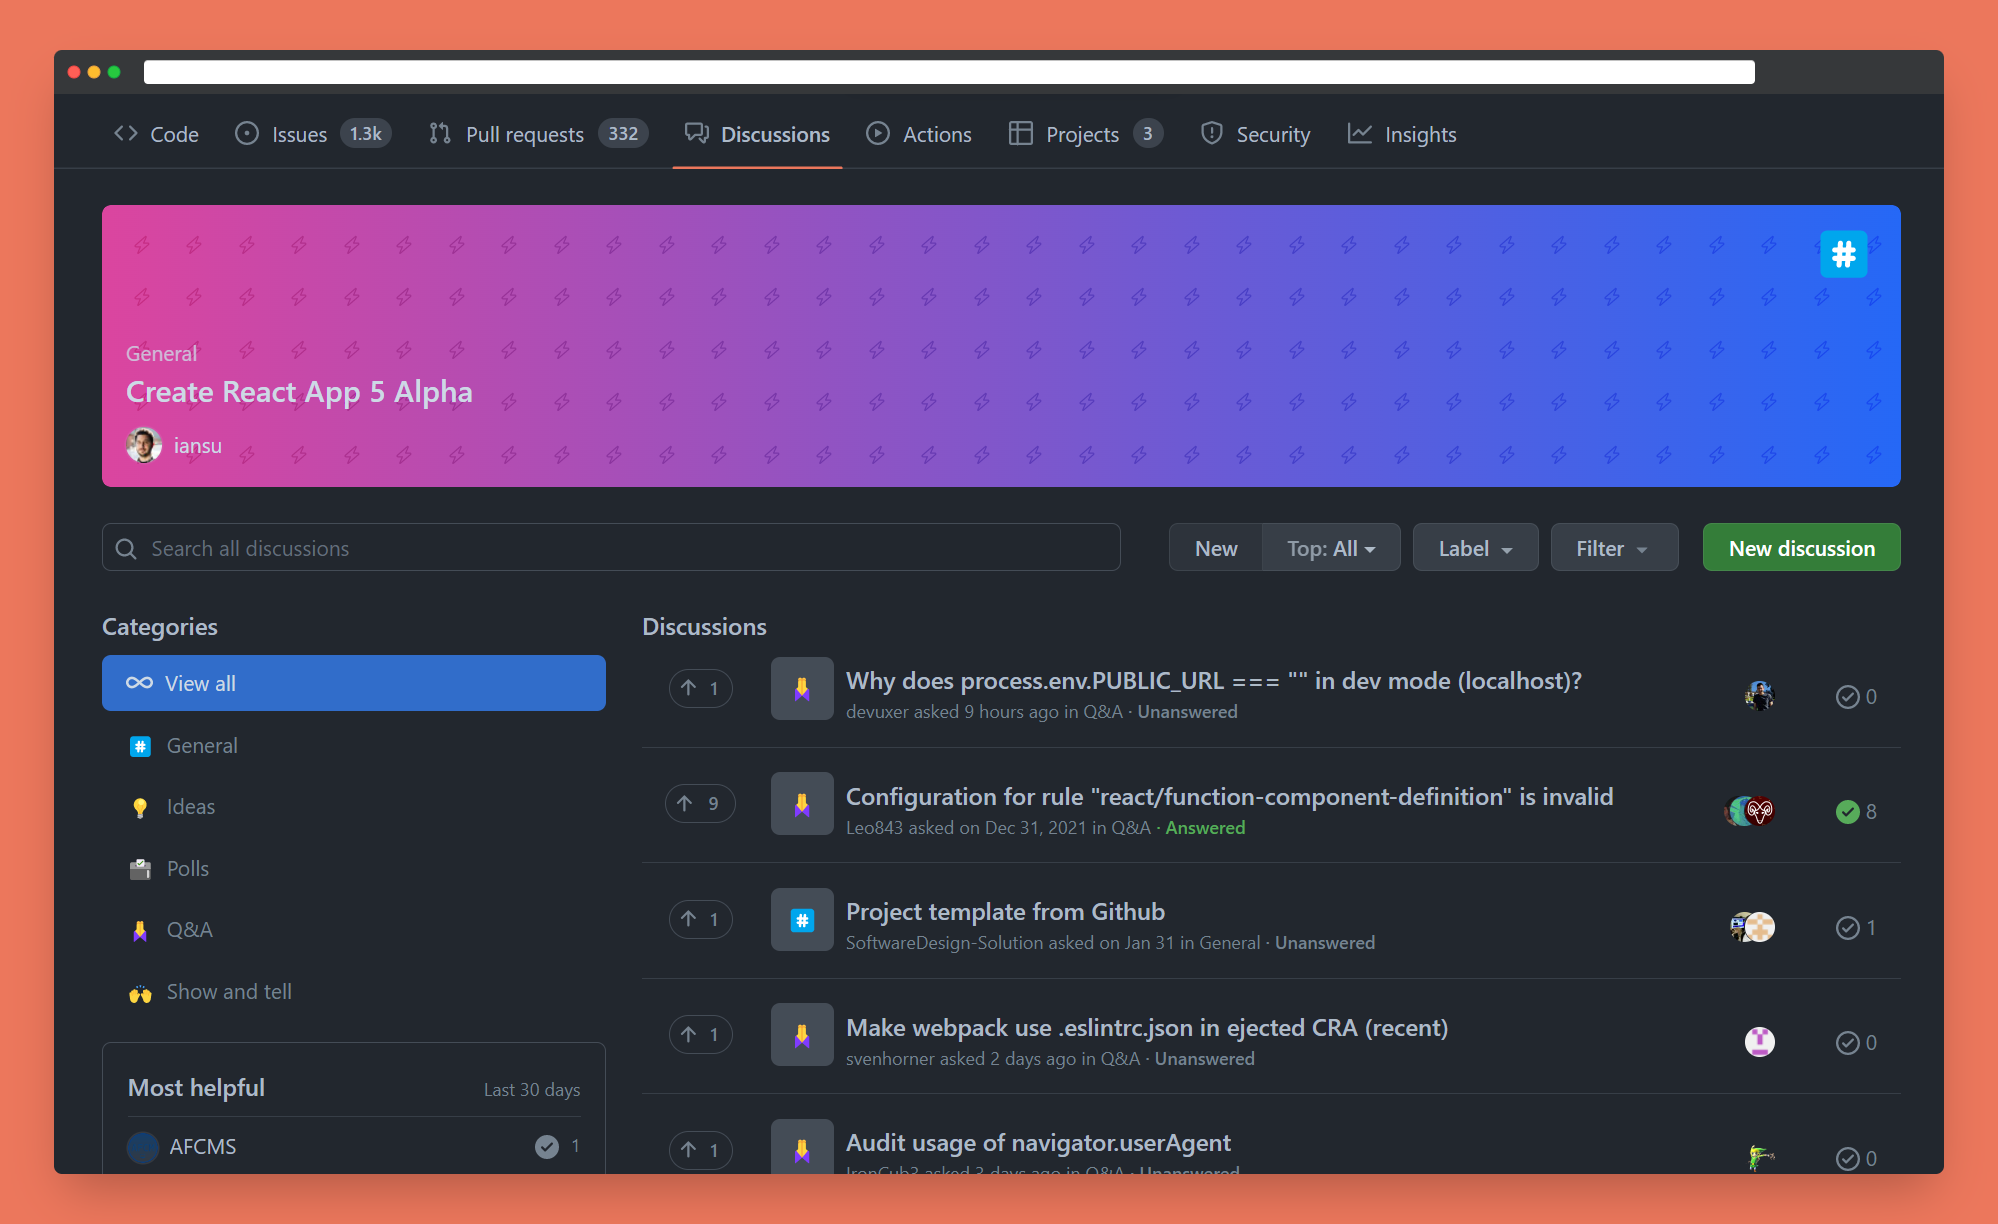
GitHub discussions is a forum that can be enabled on every GitHub repository. It makes it easy for developers to discuss new features, get feedback from the community, create polls, make announcements, and more.
GitHub Discussions is a one stop collaboration place for developers and community members.
How to Use GitHub Discussions as Chat System
To integrate GitHub Discussions into your blog, we are going to use giscus.
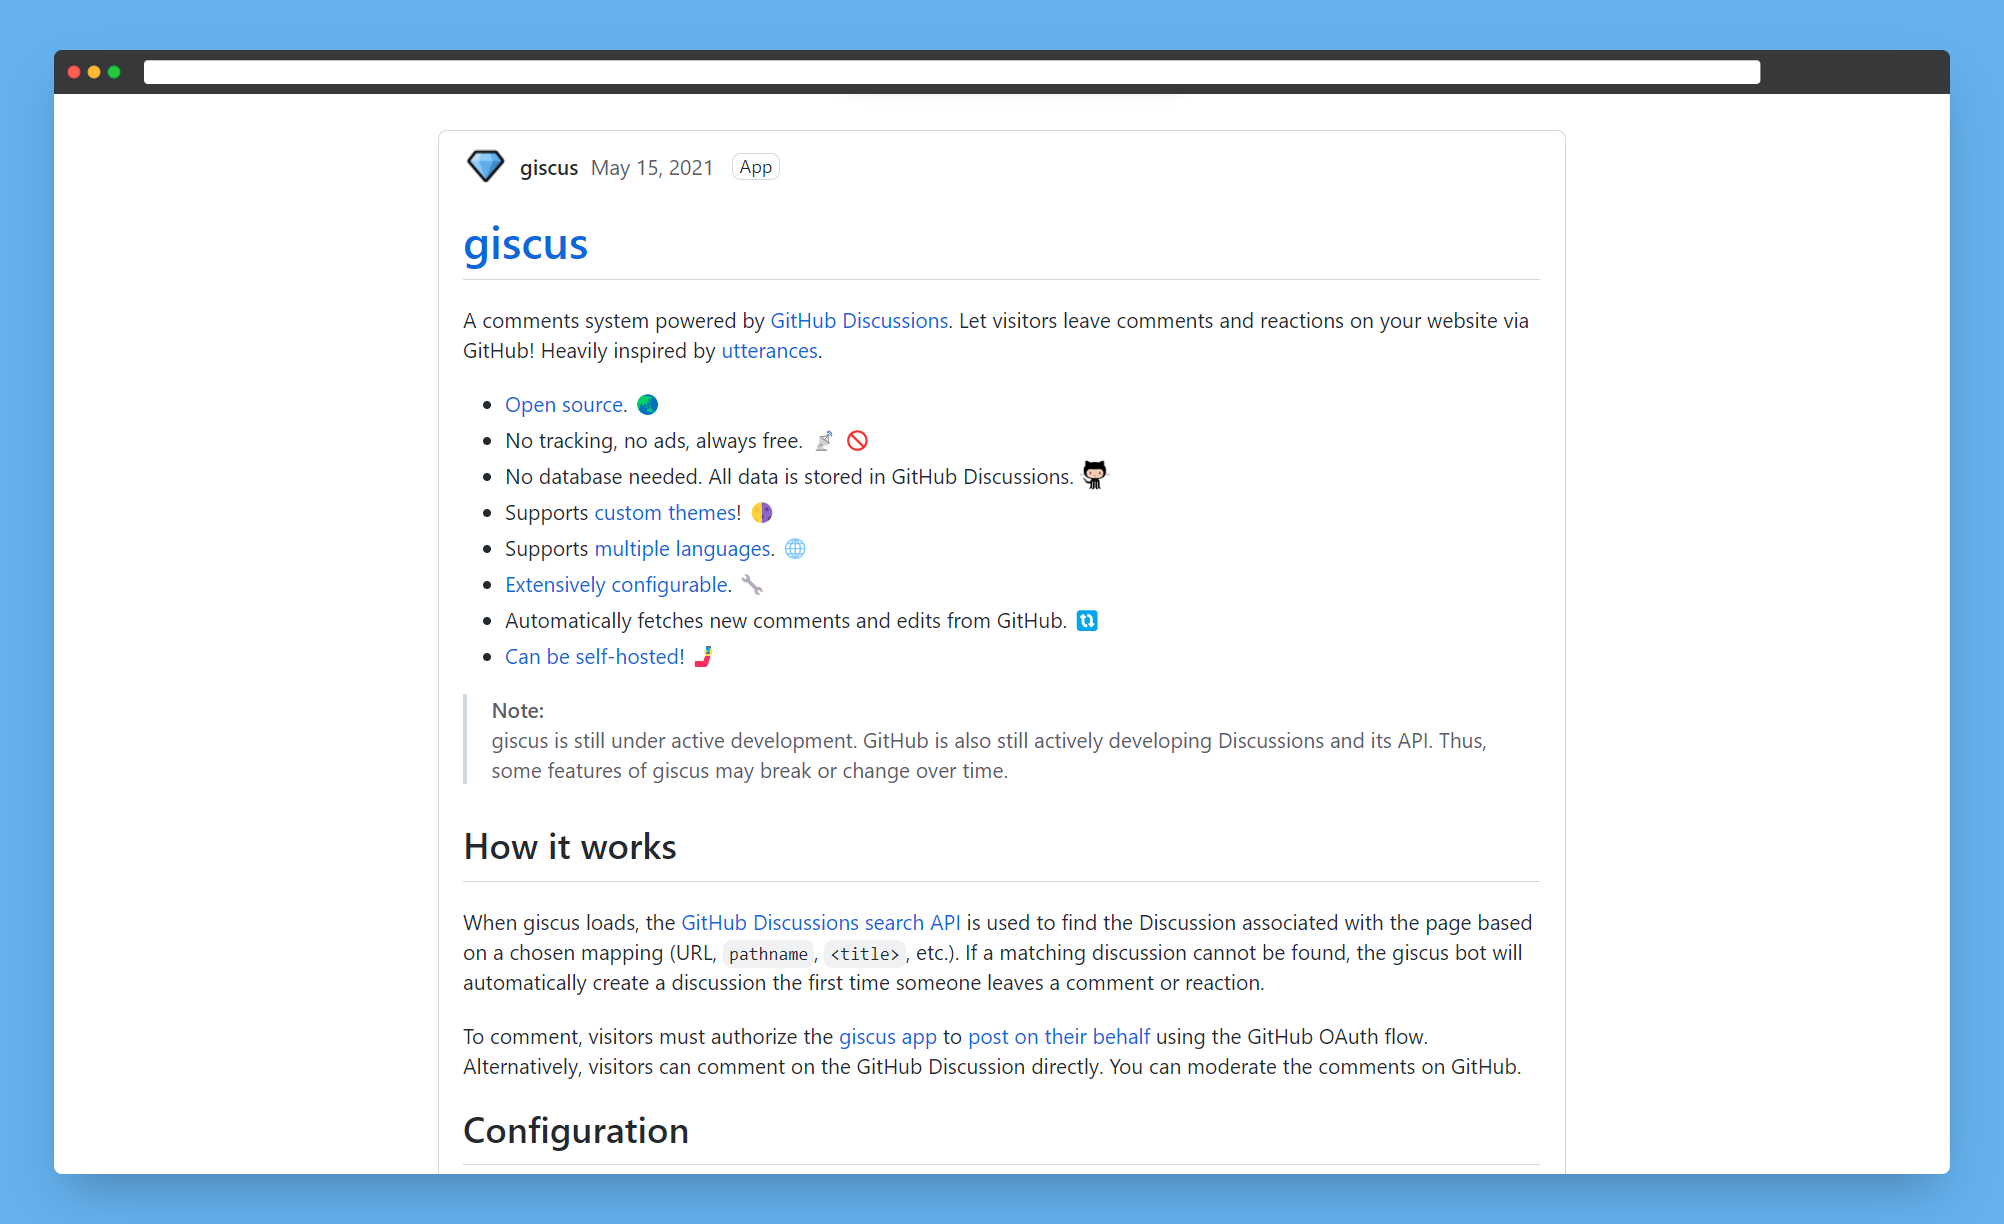
giscus is a GitHub Discussions-powered comment system. It lets you integrate discussions from your repository into your blog.
Your readers can leave comments on your blog, which will appear on both the blog and the discussions page of your repo.
Advantages of using Discussions as your blog chat system
- It's completely free
- There are no ads or tracking
- It's super powerful
- You have complete control over comments and full moderation authority.
- There are lots of themes
- It's quite customizable
- You can self-host on your own servers
Just keep in mind that this tool is mainly suited for dev blogs because mostly developers use GitHub.
How to Integrate giscus in Your Blog
Prerequisites
- A blog (you must have access to the source code)
- A GitHub account
- Your selected repository must be public
First, you'll need to enable discussions for your repo.
Go to the repo Settings -> Under the Features section -> Check the Discussions box.
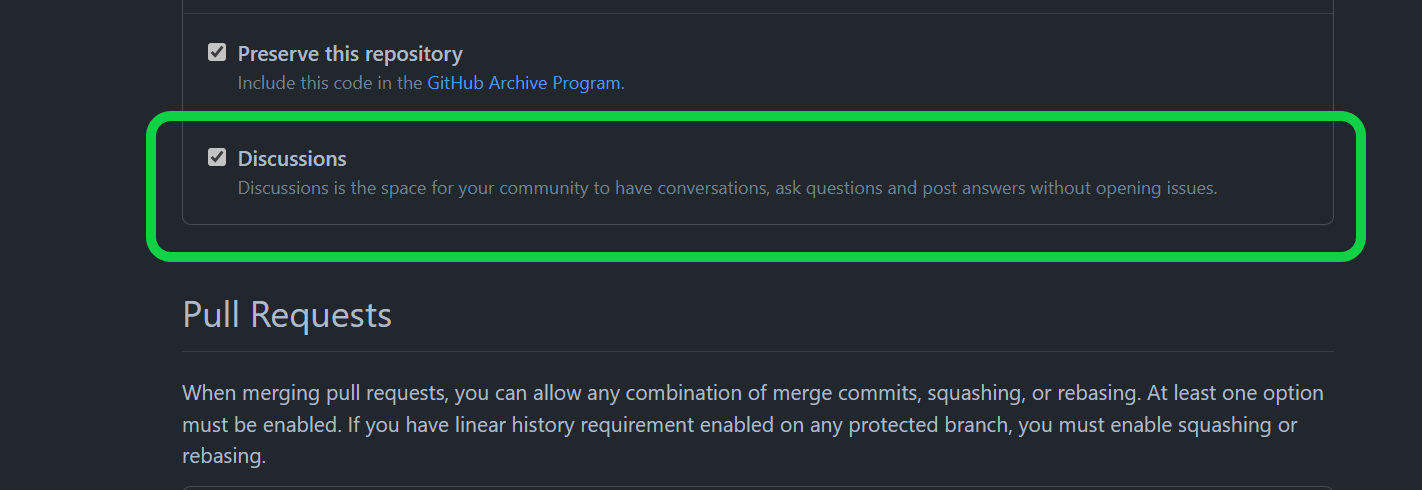 Discussions enabled
Next, install the giscus app in your repo.
Go to https://github.com/apps/giscus, follow the prompts, and give access to only the selected repo.
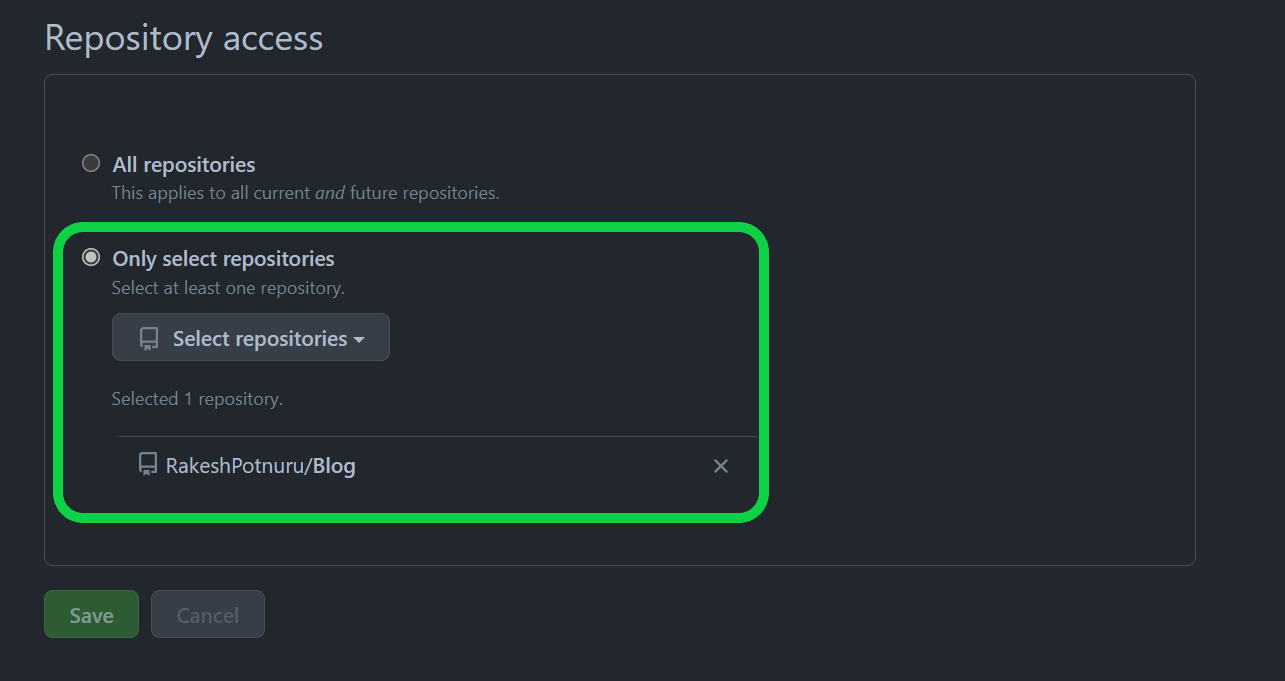 Repository access
Now the important part: we need to configure the giscus widget.
First, go to giscus homepage and scroll to Configuration section.
Select your widget language. This is the language in which you want to display your widget.
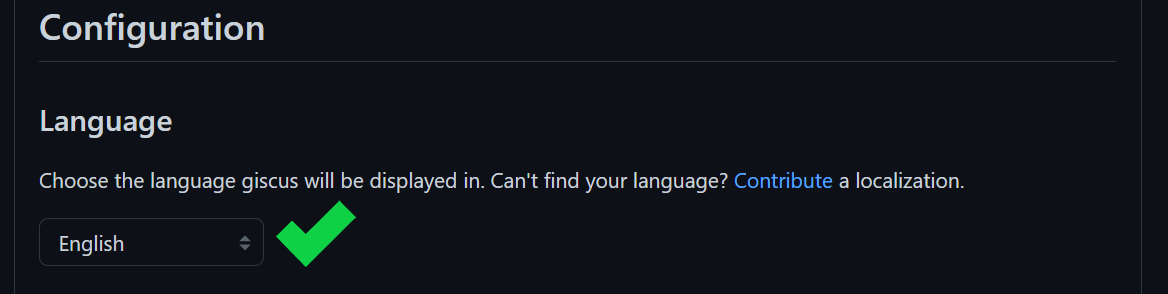 Selecting language
Then type your repo name along with your username like username/reponame.
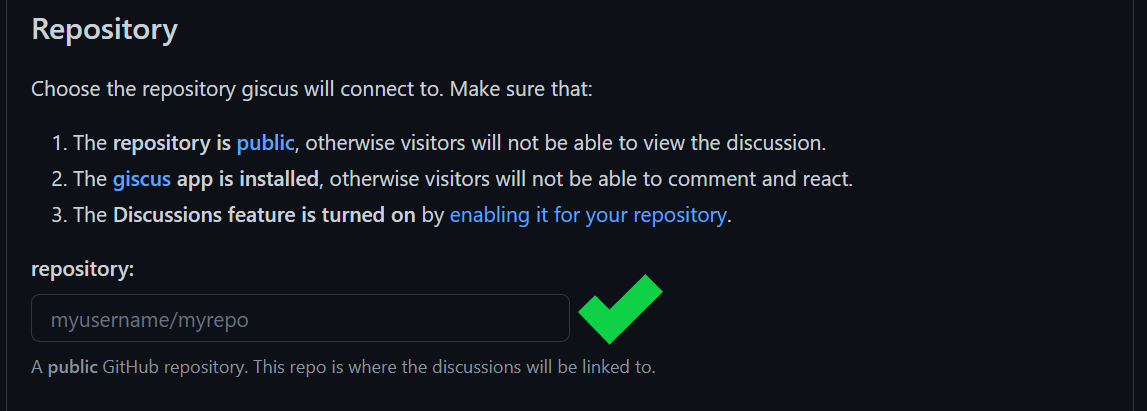 Typing repository name along with username
For Page ↔️ Discussions Mapping, I would recommended choosing "Discussion title contains page URL". But depending upon your needs choose the one that best suits you.
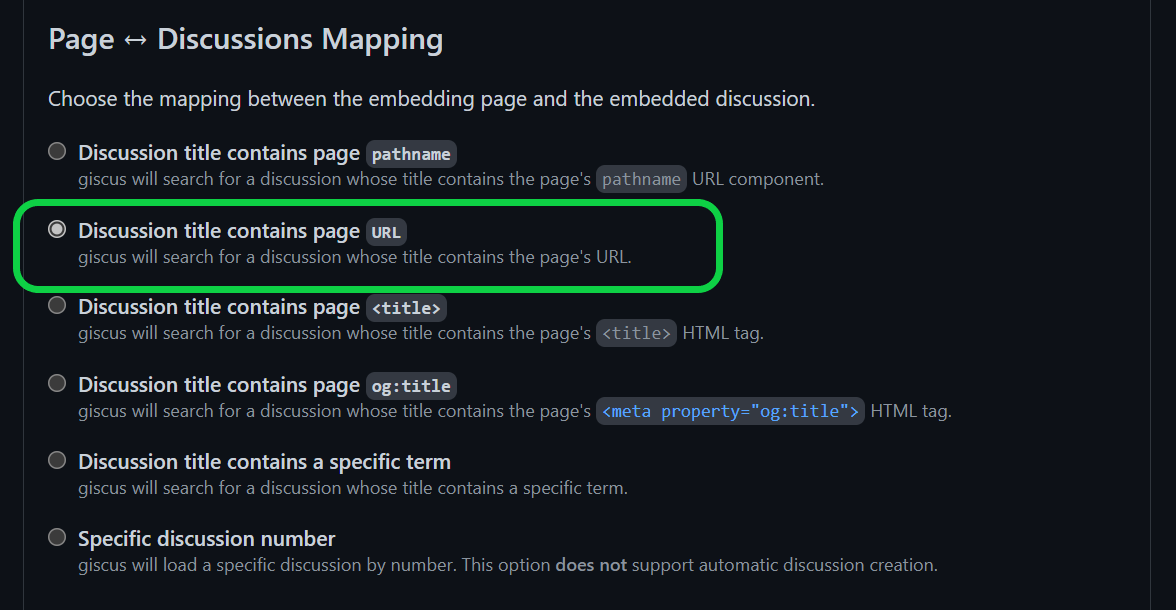 Page ↔️ Discussions Mapping
Next, create a category in your discussions page on your GitHub repo – something like "Comments" – or choose existing category.
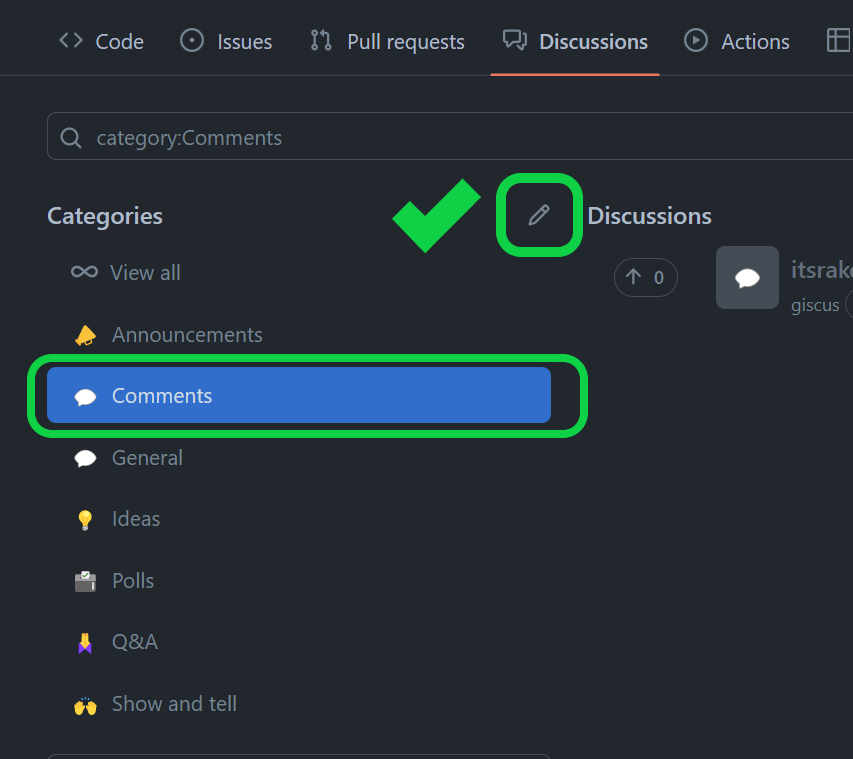 Creating a discussion category
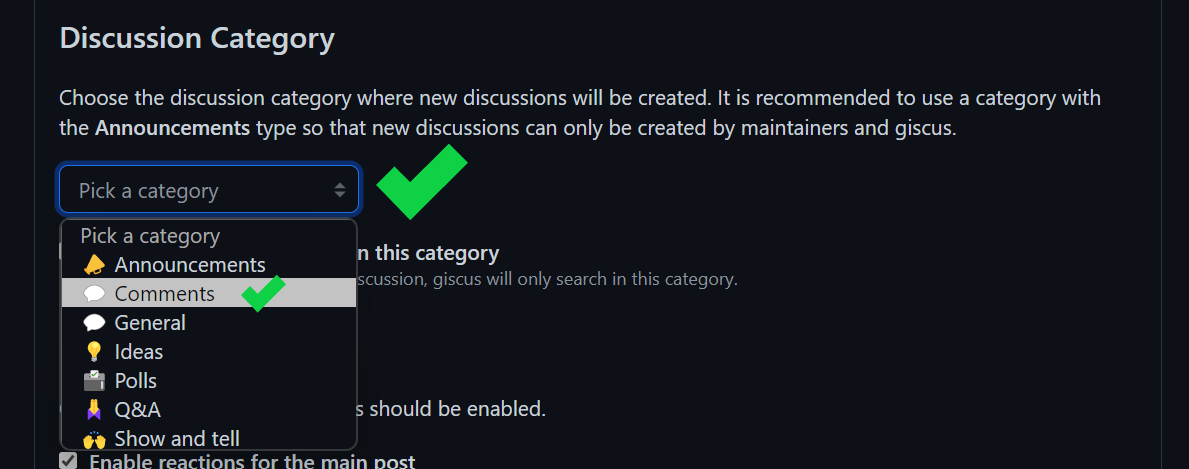 Choosing a category
Then enable the optional Features if you want.
Next, select the theme. And don't worry – you can programmatically toggle different themes.
Finally, copy and paste in the generated code.
Giscus will generate a script tag based on your settings, which you can paste into your code. But we will see how to use the giscus component.
How to use giscus-component
If your blog is built with React/Vue/Svelte or Web components then you can install the giscus component.
For example, to integrate giscus in React, do the following:
- Install the giscus package.
npm i @giscus/react

or

yarn add $giscus/react
- Then import
giscusin your component and use it. Copy the attributes which we got in the last step, removedata-from all the attributes, and covert attributes into validjsxattributes.
import Giscus from '@giscus/react';

export default function MyApp() {
  return (
    <Giscus
      id="comments"
      repo="giscus/giscus-component"
      repoId="MDEwOlJlcG9zaXRvcnkzOTEzMTMwMjA="
      category="Announcements"
      categoryId="DIC_kwDOF1L2fM4B-hVS"
      mapping="specific"
      term="Welcome to @giscus/react component!"
      reactionsEnabled="1"
      emitMetadata="0"
      inputPosition="top"
      theme="light"
      lang="en"
      loading="lazy"
    />
  );
}
It's basically the same procedure for other frameworks.
Here's the Final Result
This is how the whole thing works:
 Final result
Conclusion
In this article, we learnt the benefits of using GitHub discussions as a chat system. We also learned how to create and integrate the giscus widget in our website.
I hope you found this helpful. Make sure to ⭐ the giscus GitHub repo to support them.
Follow me on Twitter where I share random tips, resources, and my learnings around web development and technical writing.