

Building React apps can either be a very fun experience or a very difficult and tedious one, based off of the tools you choose.
React is a JavaScript library that, unlike frameworks like Angular, leave us to making a lot of decisions on our own. You have to choose which tools and libraries you would like to power your React projects.
I want to share my top five choices with you for building React apps. I believe these will enable you to have the most fun experience by making your app development easier, faster and, most importantly, simpler.
Want to Build a Web App? Use Next.js
Probably the most important choice you can make in building a React app is whether to choose a React framework or not.
There are many different React frameworks on the market, such as Gatsby and Redwood.js, to name a couple.
Next.js, however, continues to be an equally great option for both full-stack applications and static sites.
 nextjs.org, the official documentation site for Next.js
Need to build a full-stack app with a Node server? Next.js gives you API routes out of the box, which just lets you drop an API endpoint in your pages directory that will be executed as a serverless function.
Want to build a static site that pulls data from a CMS? No problem. Next gives you static-site generation to request that data at build time and exports your site as plain HTML, CSS, and JavaScript.
Next.js does the heavy lifting for all kind of essential tasks that you will encounter as you build your app.
For example, Next.js gives you tools to...
- Effortlessly integrate with TypeScript
- Preload custom fonts (@next/font)
- Handle simple and dynamic routing
- Server-side render your content
- Use environment variables with zero configuration
- Add custom redirects, rewrites, and headers
All of this and much more is available through the next npm library. The reason it makes good sense to build with Next is that there are many things that Next.js provides that you haven't even thought of yet.
Despite being a pretty comprehensive framework, Next.js isn't going to be the only dependency you need. For example, Next.js doesn't provide authentication. However, there are some great tools such as next-auth and Blitz.js that will give you easy authentication with Next.
If Next.js can't do something for you directly, you can still find lots of solutions at the Next.js website (plus great documentation) for almost everything your React app will need.
Need to Fetch Data? Use React Query
If you're doing any type of data fetching within your application, you should be using React Query.
Note that the library is called @tanstack/react-query for React Query version 4.
React Query is a very powerful library that allows us to fetch data or handle any type of asynchronous operation using a set of custom hooks, namely useQuery and useMutation.
 React Query, also known as TanStack Query
The whole purpose of React query is to make data fetching (called querying) and updating data (mutating) an enjoyable and much easier experience than it was in the past.
Previously, you might have fetched data or done some sort of async action within the useEffect hook. The problem with doing so in most cases is that this operation will always be performed on component mount. That means if your component is loaded within a particular page, that operation will be performed every time the page loads.
import { useQuery } from '@tanstack/react-query'

function App() {
  const info = useQuery({ queryKey: ['todos'], queryFn: fetchTodoList })
}
The downside is that you are most likely performing that operation far more than you need to. If you are fetching data and the data does not change, what's the point of fetching it again?
That's where React Query comes in. By giving us far greater control over our data fetching, we are able to specify when we want to fetch and refetch a query.
Additionally, if we're fetching data and it has changed, React Query will default to giving us the cached data first, which is then replaced with the new data. The benefit of this is that we don't have to see a loading spinner every time the data we are fetching changes.
In short, React Query gives us total control over the external data within our application and gives us a convenient cache with sensible defaults so that we have a far better experience for our users with far fewer loading spinners.
There's a bit of a learning curve with React query, but once you get used to it, you'll wonder how you ever built a React application without it.
Need to Manage State? Use Zustand
Managing state in the past usually required installing the library Redux once your project got to a certain size.
Redux is still a great library with the somewhat recent addition of Redux Toolkit. In most cases, however, Redux may be more sophisticated than what you need.
Zustand is a library that makes managing global state and React applications dead simple.
 Zustand State Management library
All you have to do to manage a certain value is to import the zustand package, create a store (which is just a function call that accepts an object), place the property that you want to manage on that object, and use this store as a hook throughout your application. That's it!
import create from 'zustand'

const useCounterStore = create({ count: 0 })
Updating that state is as simple as using the internal set function. With it, we can make methods on this object which we can update any state value the way we like. It's really that simple.
import create from 'zustand'

const useCounterStore = create((set, get) => ({
  count: 0,
  increaseCount: get().count + 1 // increases count value by 1
}))
The great benefit of using Zustand is that it doesn't require any provider – you don't need to wrap any thing around your React component tree. Additionally, this state can be consumed within any React component, even outside of your React components entirely.
Zustand also gives you control over how your components update in response to a state change. If you don't mind your components re-rendering on every state change, you can grab the entire state:
const state = useCounterStore()
However, if you want to only update a component when one particular value changes, you can select the slice of state you want:
const count = useCounterStore((state) => state.count)
Zustand takes what is a fundamentally intimidating thing – managing shared state across many different components – and turns it into a very simple and even enjoyable experience due to its easy syntax and many conveniences.
Want Animations? Use Framer Motion
Perhaps the most fun part of any application is adding visual effects like transitions and animations. Framer Motion is makes the process of developing any kind of transition and animation easy.
 Framer Motion (framer.com/docs)
Framer Motion is a package that allows you to do really impressive animations of almost any kind. Whether it is simple transitions, gestures, or complex layout animations framer has you covered.
The benefit of using Framer Motion is that it provides a very simple declarative API for how you want your animation to take place.
To use Framer, you just swap whatever JSX element you want to animate, such as a div with motion.div.
Once we use this special motion component, we can pass it a number of props which control animation. The only prop we really need, though, to animate our components is the animate prop.
<motion.div animate={{ x: 100 }} />
This props additionally allows us to set up what its initial position will be, how it will animate, and if it exits the DOM, what the exit animation will look like.
Framer gives us just the same controls as plain CSS animations, such the ability to delay the animation or choose its easing curve. Additionally, it gives a ton more options through custom hooks and components, as well as special values that we can set.
With Framer Motion, we can:
- Animate when components are reordered with the
Reordercomponent - Create scroll-linked animations with
useScroll - Animate exit animations with the
AnimatePresencecomponent - Create spring-like animations with the
useSpringhook - Add drag controls with the
useDragControlshook - Animate elements in 3d space with the
framer-motion-3dpackage
In a sentence, if you are looking to easily make your React app visually impressive, you owe it to yourself to check out Framer Motion.
Want to Build a Native App? Use Capacitor.js
It makes sense to consider using React native if you want to build a native app as a React developer. React Native is a great library for building iOS and Android applications with a very similar syntax to any traditional React web projects
There are some libraries which may allow you to share code between your React and React Native projects if you want to build a web and native app, such as React Native web.
However, there is really only one library that will enable you to build true cross platform React apps with a single code base. That library is Capacitor.js.
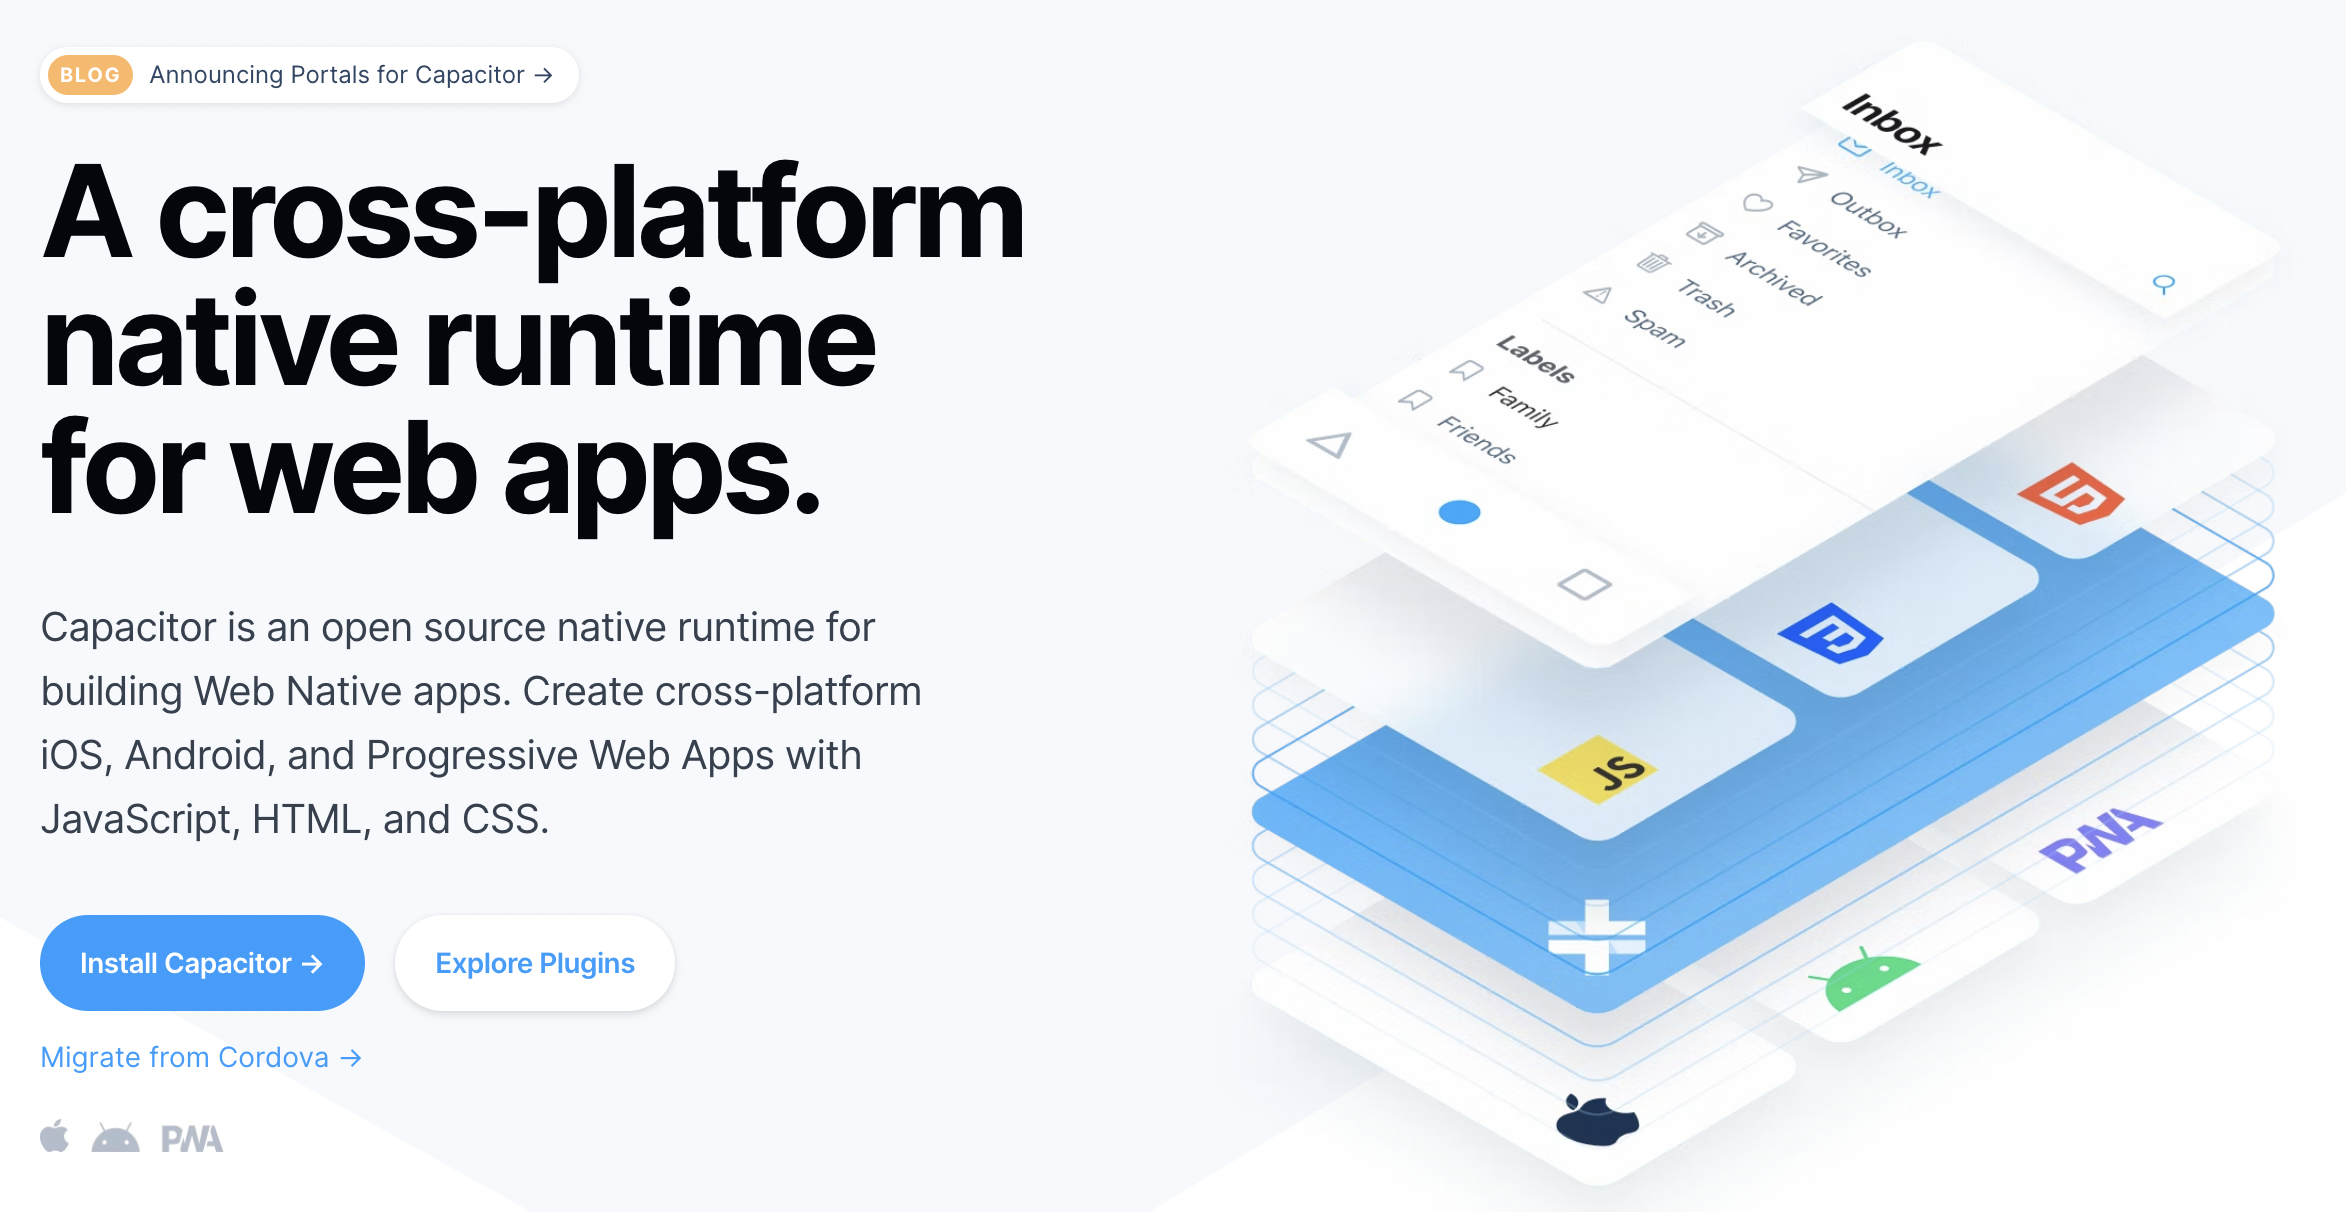 Capacitor.js
Capacitor.js is a drop-in solution for you to make your web app work on native platforms. In other words, it allows your app to be deployable on the app stores to run on devices natively, but does not require you to change any of your existing code if it has already been designed for the web.
To use Capacitor, you just need to install a couple of packages, @capacitor/core and @capacitor/cli. Capacitor will give you many native APIs to provide all the functionality that a standard native app would have such as push notifications or haptic feedback.
Capacitor allows you to turn your web app into a native app with all the functionality of a native app. Capacitor is one of those impressive solutions that can really change the limits of your application to be able to serve a completely different kind of user and exists in a completely different space if you so choose.
Become a Professional React Developer
React is hard. You shouldn't have to figure it out yourself.
I've put everything I know about React into a single course, to help you reach your goals in record time:
Introducing: The React Bootcamp
It’s the one course I wish I had when I started learning React.
Click below to try the React Bootcamp for yourself:
 Click to get started