
Efficient storage management is a crucial aspect of maintaining a well-organized computing environment.
In this detailed guide, we'll explore the features of Master Boot Record (MBR) disk partitioning using the parted command on Linux.
Additionally, we'll cover the process of adding a new hard disk in VMware, as well as how to format and mount a newly created partition using mkfs and fstab, respectively.
Table Of Contents
Here's what we'll cover in this comprehensive guide:
Overview of MBR
MBR is a legacy partitioning scheme used on BIOS-based systems, with a 512-byte sector at the beginning of the storage device which contains partition information and the bootloader.
The 512 bytes of the MBR are organized as follows:
Master Boot Code (446 bytes): This section contains the executable code responsible for loading the operating system. It locates the active (bootable) partition and passes control to its boot sector.
Partition Table (64 bytes): The next 64 bytes are reserved for the partition table, which can describe up to four primary partitions or three primary partitions and one extended partition.
MBR Signature (2 bytes): The last two bytes contain a signature (0x55AA), indicating that this is a valid MBR.
Introduction to the Parted Utility
parted is a command-line utility designed for creating, resizing, and managing disk partitions on Linux systems.
It offers a comprehensive set of features for handling disk-related tasks and is widely used due to its flexibility and robust capabilities. The primary goals of parted include:
Partition Creation and Resizing:
partedenables users to create new partitions on a disk, resize existing partitions, and adjust the allocation of disk space.File System Support: It supports various file systems, including ext2, ext3, ext4, FAT, NTFS, and more, allowing users to choose the file system that best suits their needs.
Partition Table Manipulation:
partedfacilitates the management of partition tables, including creating, modifying, and deleting partitions within these tables.Sector-level Operations: The utility operates at the sector level, allowing for precise control and manipulation of disk structures.
How to Install Parted
You can install parted on your system using this command:
yum install parted
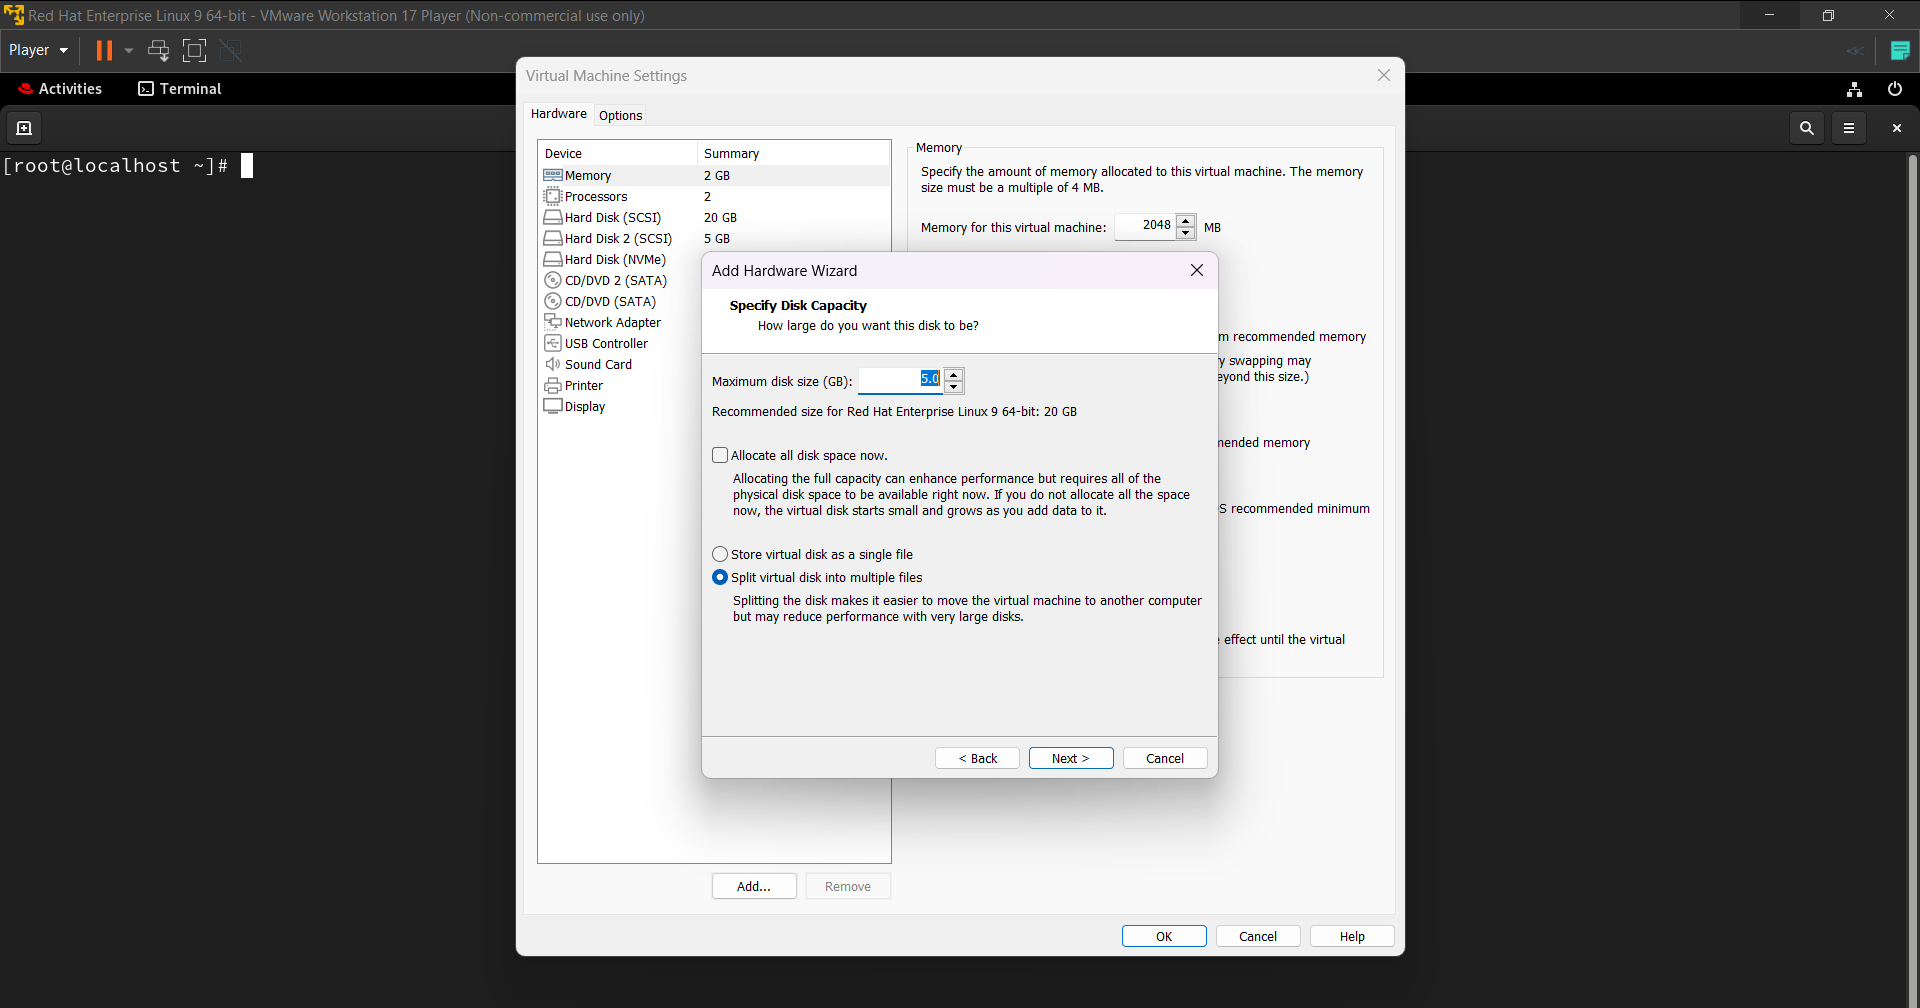
Before creating partition we need to add new disk to our virtual machine. I am using VMware. Go on and start RHEL virtual machine.
First we need to go to Player option on top left corner and then to the Manage option. Using that option, you can select virtual machine settings.
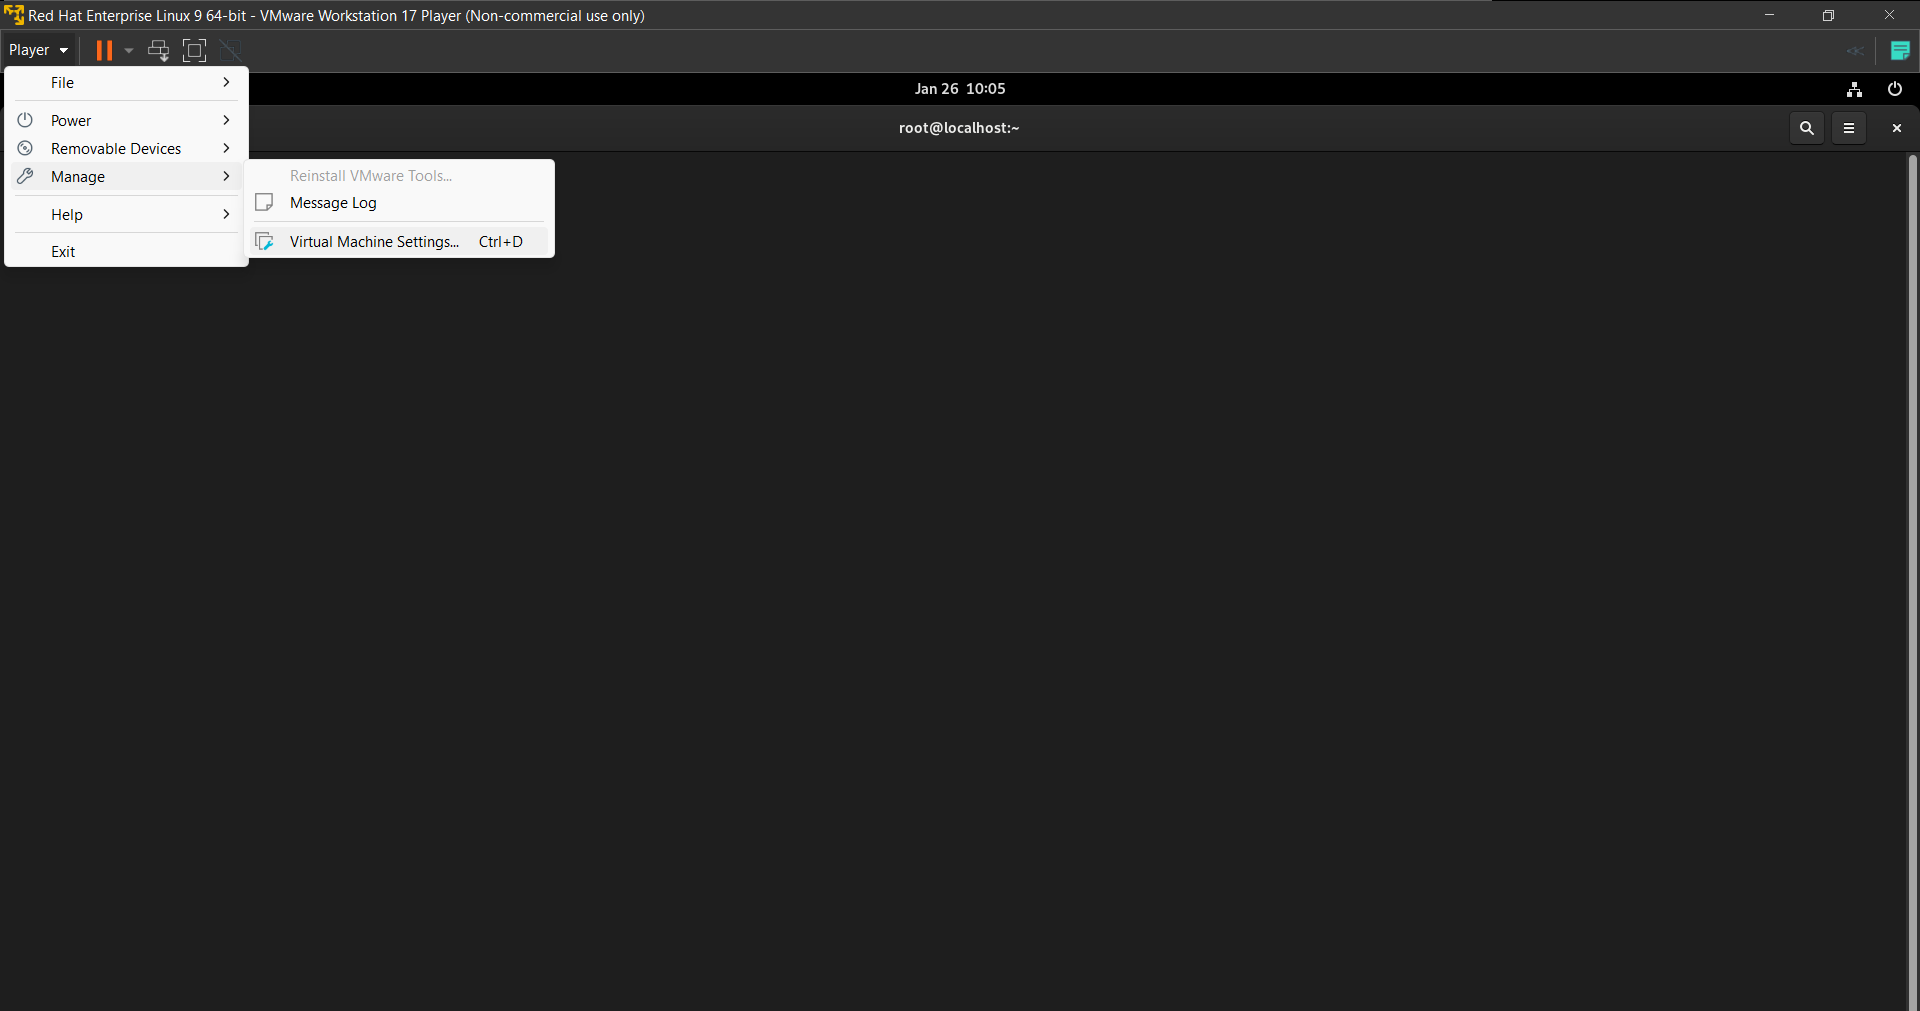
Add new hard disk in VMware
Click on "add to new hard disk". Then select hard disk and keep pressing on next until it asks for disk capacity. For learning purposes, add only 5 GB disk.
Continue clicking next until you get to the finish option.
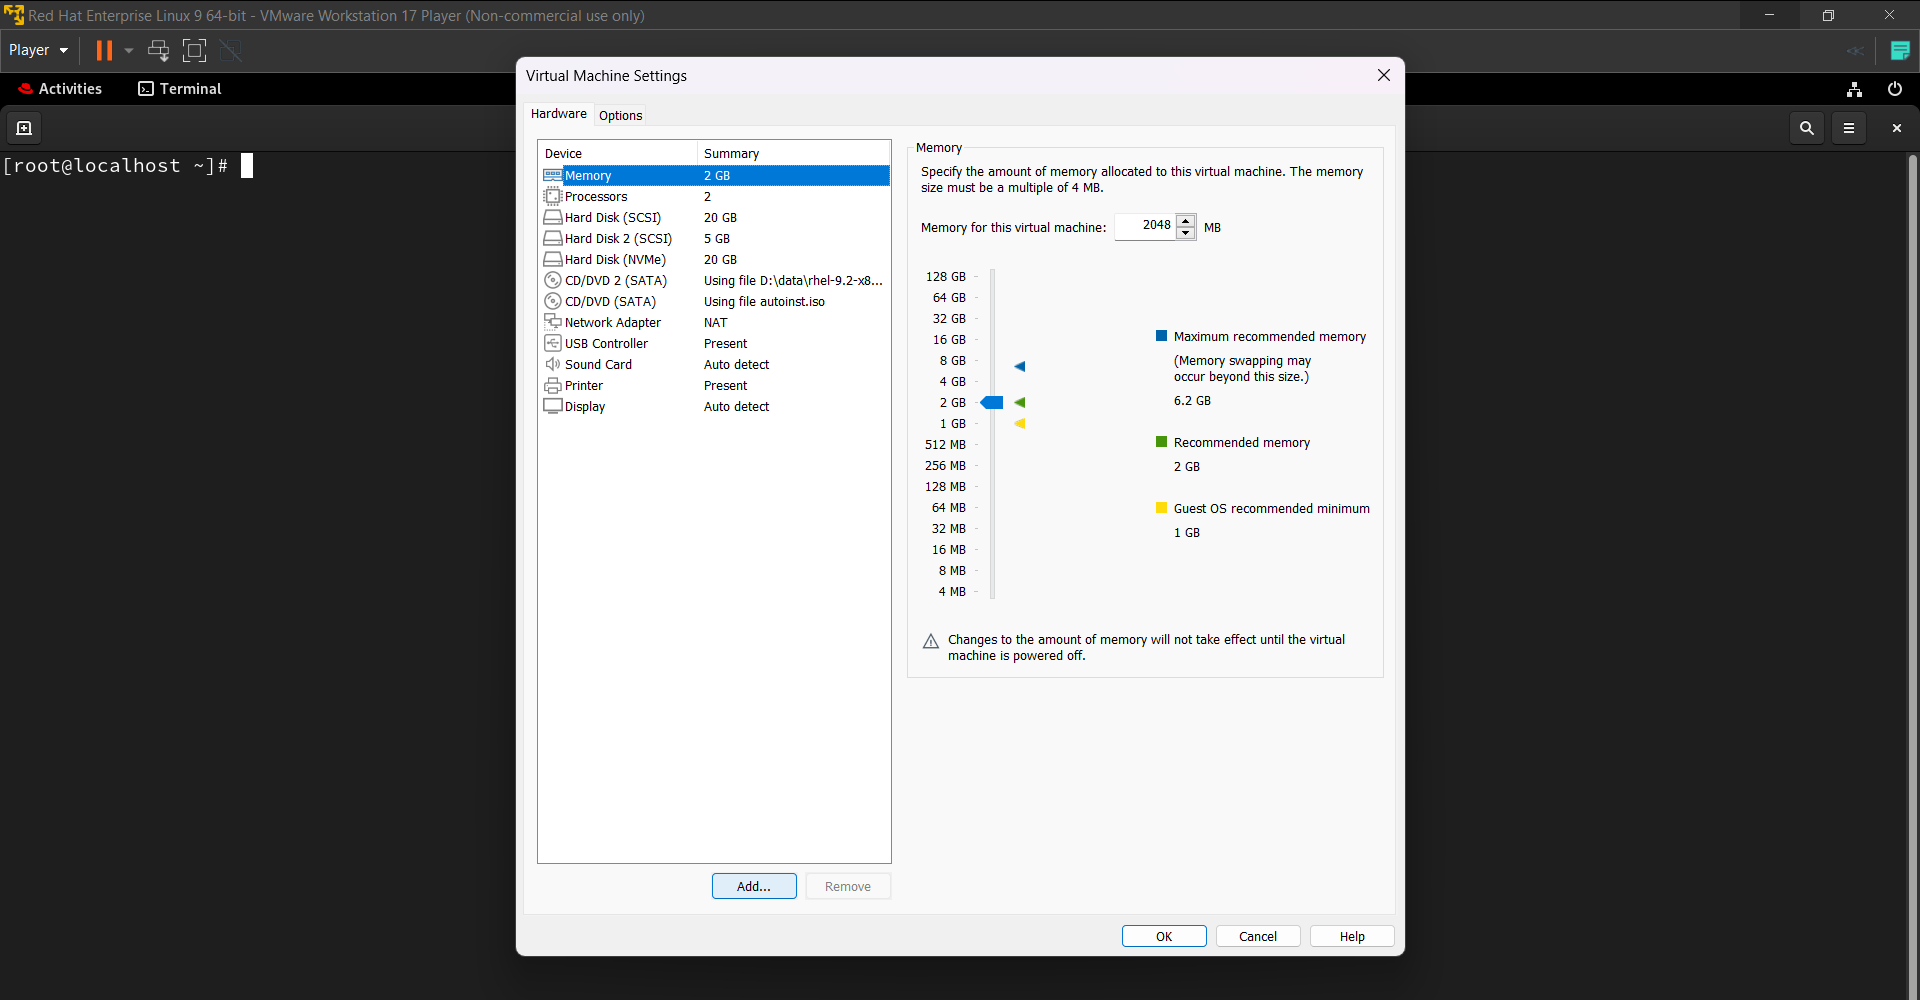
Adding virtual hard disk - 1
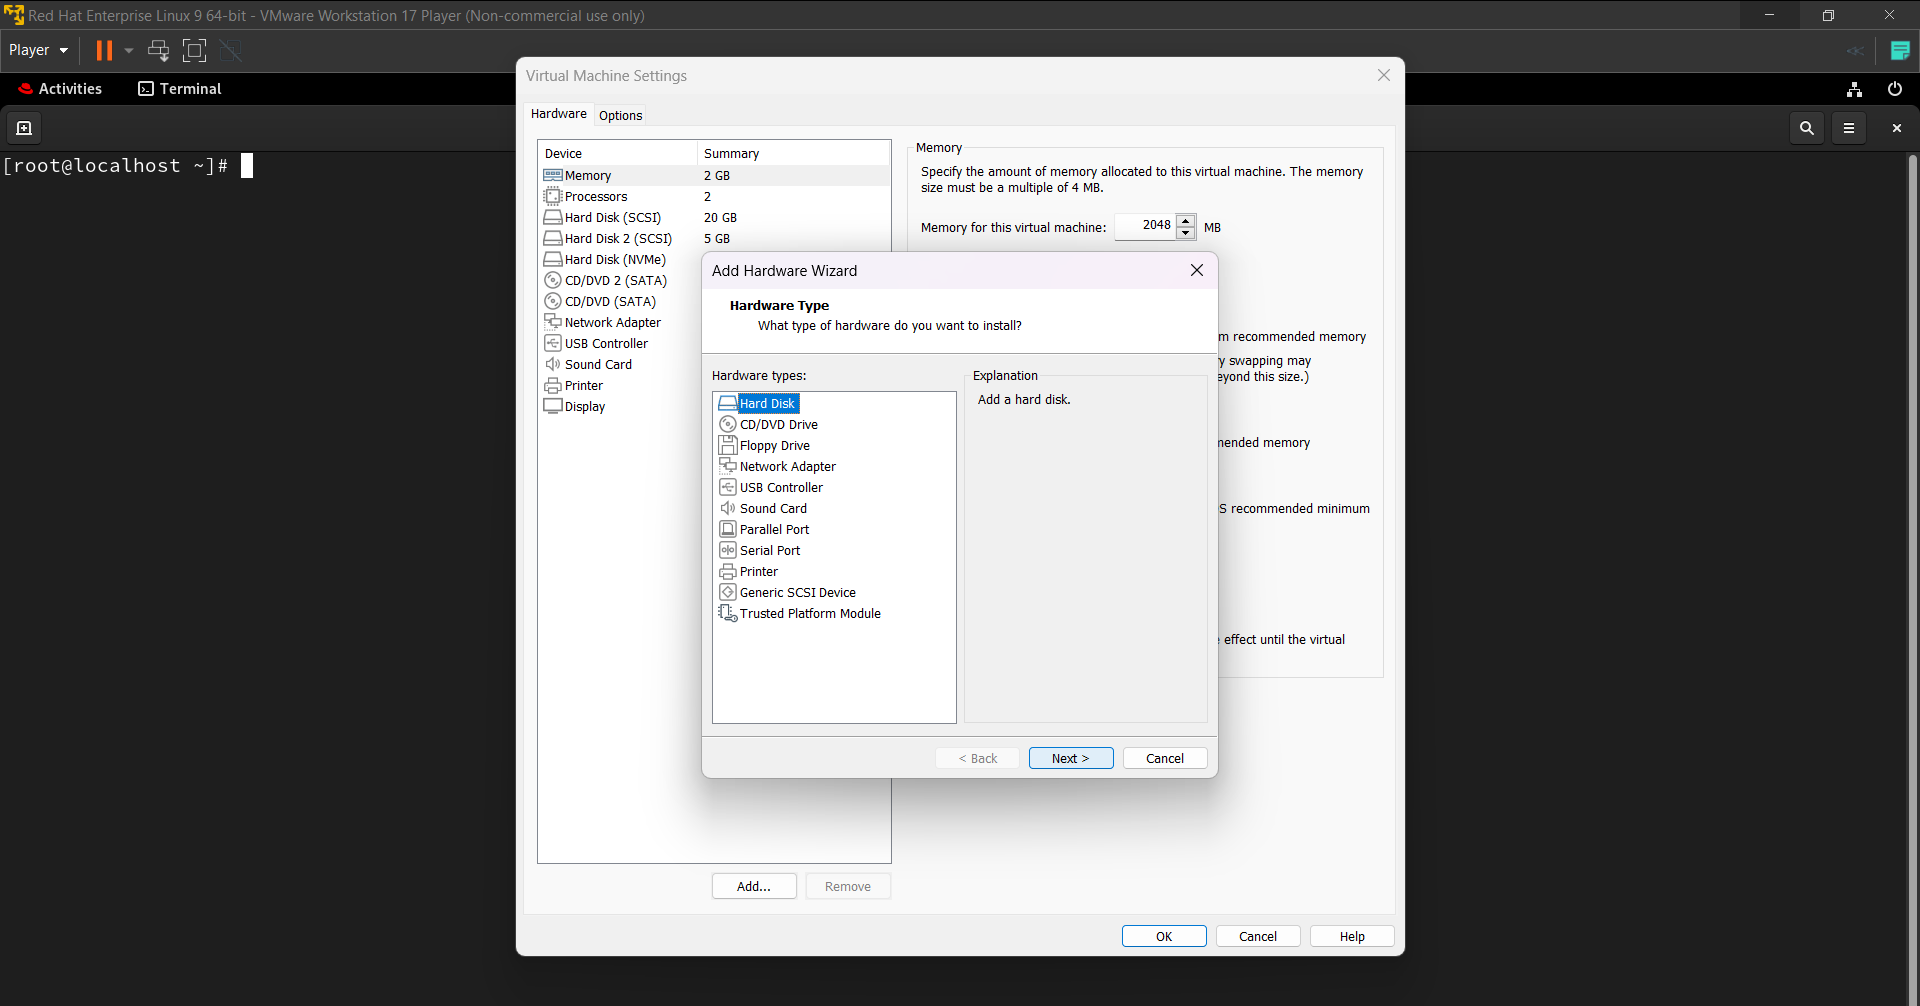
Adding virtual hard disk - 2
Adding virtual hard disk - 3
We are focusing on creating partition, so we'll not focus on parts which are not needed for partition.
Next, restart your virtual machine to reflect the newly added hard disk.
How to Identify Disks
Identifying disks is a crucial step in the process of disk partitioning as it ensures that you are working with the correct storage device on your system.
Use the lsblk command to display information about block devices, including hard drives and partitions.
lsblk
Look for the disk you want to partition. Disk names are typically in the format /dev/sdX, where 'X' is a lowercase letter representing the disk. For example, /dev/sda, /dev/sdb, etc.
How to Launch Parted
Open a terminal and launch parted for the target disk:
parted /dev/sdX
This initiates the parted utility with elevated privileges and directs it to focus on the specified storage device (/dev/sdX).
Once executed, the user enters the parted interactive mode for the specified device, enabling the configuration and management of partitions on that particular storage device.
How to Create a New MBR Partition Table
If the disk is unpartitioned, create a new MBR partition table using this command:
(parted) mklabel msdos
This instructs parted to create a new MBR partition table on the currently selected storage device. This action will remove any existing partition information on the device, effectively starting with a clean slate for partitioning.
It's important to note that this command should be used with caution, as it erases the existing partition table and all associated data on the device.
How to Create Primary Partitions
You can create a primary partition with specified filesystem type, start, and end:
(parted) mkpart primary [filesystem-type] [start] [end]
mkpart: This is thepartedcommand used to create a new partition. The term "mkpart" stands for "make partition."primary: This specifies the type of partition to be created. In this case, it's a primary partition. Primary partitions are the basic partitions on a disk, and they can be used to install an operating system or store data.[filesystem-type]: Replace this placeholder with the desired filesystem type for the partition. Common filesystem types includeext4,ntfs,fat32, and so on.[start]and[end]: These placeholders represent the starting and ending points of the partition, specified in megabytes (MB) or as a percentage of the total disk size. For example, you might define the partition to start at 1 GB and end at 10 GB.
How to Display Partition Information
Use this command to verify the partition layout:
(parted) print free
When you enter (parted) print free in the parted interactive mode, it will provide a summary of the free space available on the selected disk, including details such as the starting and ending points of the unallocated space, its size, and any constraints on creating new partitions within that space.
Here's the output:
(parted) print free
Model: ABC Storage Device
Disk /dev/sdX: 1000GB
Sector size (logical/physical): 512B/4096B
Partition Table: msdos
Disk Flags:

Number  Start   End     Size    Type  File system  Flags
        32.3kB  1049kB  1017kB  Free Space
 1      1049kB  256MB   255MB   primary  ext4         boot
 2      256MB   512MB   256MB   primary  linux-swap
 3      512MB   1000GB  1000GB  primary  ntfs
Press ctrl + d to get out of parted.
How to Format the Partition with mkfs
After partitioning, format the partition with a desired filesystem (for example: ext4)
mkfs.[filesystem-type] /dev/sdX1
This tells the system to create a file system of the specified type on the designated partition. After executing this command, the chosen file system will be created on the partition, and it will be ready to store files and data.
How to Automate Mounting with fstab
You can find the UUID of the partition using this command:
sudo blkid /dev/sdX1
Edit /etc/fstab to include an entry for automatic mounting, and make sure filesystem-type is as same as filesystem type of mkfs.[filesystem-type]
The /etc/fstab file, short for "file systems table," is a crucial configuration file on Unix and Unix-like operating systems, including Linux. It is used to define how storage devices (such as hard drives and partitions) should be mounted into the file system.
The primary purpose of the /etc/fstab file is to specify how various storage devices should be mounted during the system's startup process.
UUID=[your-uuid] /dir-to-mount-path [filesystem-type] defaults 0 0
Here's an example:
UUID=127854Vd344HHttRpq977739 /kedar ext4 defaults 0 0
UUID=127854Vd344HHttRpq977739: This part specifies the Universally Unique Identifier (UUID) of the block device or partition to be mounted. The UUID is a unique identifier assigned to the filesystem, ensuring a consistent reference even if the device names change. In this case, the UUID is "127854Vd344HHttRpq977739."
/kedar: This part indicates the mount point, which is the directory in the file system where the device specified by the UUID will be attached. In this example, the mount point is "/kedar."
ext4: This specifies the type of the file system on the device. In this case, it's "ext4," which is a commonly used file system on Linux.
defaults: The "defaults" option is a shorthand for a set of commonly used mount options. It includes options like read/write access and allows executing binaries from the file system. If more specific options are needed, they can be listed explicitly.
0: This field represents the dump option. It is used by the dump command to determine whether the file system should be backed up. A value of 0 indicates that no automatic backups are required.
0: The last field represents the pass option. It is used by the fsck (file system check) utility to determine the order in which file systems are checked at boot time. A value of 0 indicates that the file system should not be checked.
This /etc/fstab entry directs the system to mount a device, identified by the specified UUID and formatted as ext4, onto the "/kedar" directory during the boot process. The mount is performed with default options, and there is no requirement for automatic backups or file system checks.
Here are some reasons to use UUID instead of partition name
Device names (e.g.,
/dev/sda1) can change, especially in systems with multiple storage devices or when hardware configurations are modified. UUIDs remain constant.During the boot process, multiple storage devices may be detected simultaneously. UUIDs eliminate the possibility of race conditions, where the operating system may assign different names to the same physical device in different boot instances.
If device names are used in
/etc/fstaband names change due to hardware changes, it may lead to mounting errors or data corruption. UUIDs ensure the correct device is always mounted.UUIDs are more human-readable and less prone to typos than device names, making the
/etc/fstabfile easier to read and maintain.UUIDs remain the same when moving a storage device from one system to another, ensuring correct mounting without modifying
/etc/fstabfor the new system.
Here's an example /etc/fstab entry using UUID:
UUID=xxxxxxxx-xxxx-xxxx-xxxx-xxxxxxxxxxxx /mnt/data ext4 defaults 0 2
Replace xxxxxxxx-xxxx-xxxx-xxxx-xxxxxxxxxxxx with the actual UUID of the partition.
How to Mount a Partition
Once everything is done, we will mount partition on one of your directory.
mount -av
If this returns a "successfully mounted" message on kedar directory, then your partition has mounted on kedar directory.
Now every time you turn on your system, the specified partition will automatically be mounted on the "/kedar" directory, ensuring seamless access to its contents throughout your computing sessions.
This persistent mount configuration is facilitated by the entry in the /etc/fstab file, providing a consistent and reliable attachment of the partition during the system's startup process.
How to Create Logical Partitions
Logical partitions are a key concept in disk partitioning, especially in systems using the Master Boot Record (MBR) partitioning scheme.
MBR allows for a maximum of four primary partitions, and to overcome this limitation, one of the primary partitions can be designated as an extended partition.
Within the extended partition, multiple logical partitions can then be created.
Identify the Disk
Begin by identifying the disk where you want to create logical partitions. You can use the lsblk or fdisk -l commands to list the available disks and their partitions
lsblk
Launch Parted for the Disk
Use the parted command to launch the interactive interface for the chosen disk (replace 'X' with the appropriate disk identifier):
parted /dev/sdX
Create an Extended Partition
If not already created, you need to establish an extended partition within which the logical partitions will reside.
This step is essential as logical partitions can only exist within an extended partition. Assume the free space is from 50% to 100% of the disk:
(parted) mkpart extended 50% 100%
Create Logical Partitions
Now, within the extended partition, you can create logical partitions. The following example creates a logical partition using ext4 file system from 0% to 25% of the extended partition.
You can also give size using MB format. For that you need to know the free space. You can do that using print free command inside parted.
(parted) mkpart logical ext4 0% 25%
You can repeat this step to create additional logical partitions with different sizes or file systems.
Partitioning Scheme Numbering Convention
In the Master Boot Record (MBR) partitioning scheme, the numbering convention for logical partitions within an extended partition typically starts from 5. This is because the four primary partitions (if they exist) are assigned numbers 1 to 4, and logical partitions are numbered starting from 5.
Here's a common numbering scheme:
Primary Partition 1:
/dev/sdX1Primary Partition 2:
/dev/sdX2Primary Partition 3:
/dev/sdX3Primary Partition 4:
/dev/sdX4Extended Partition:
/dev/sdX4(the extended partition is counted as one of the four)Logical Partition 5:
/dev/sdX5Logical Partition 6:
/dev/sdX6Logical Partition 7:
/dev/sdX7, and so on.
Wrapping Up
Thank you for exploring how MBR disk partitioning works with me today. You can dive deeper into the realm of Linux expertise and stay tuned for more insightful content in my future tutorials.
You can follow me on: