
By Said Hayani
Authentication allows us to secure our apps, or limit access for non-user members. Authentication can also be used, for example, to limit access to a paid service or specific service.
That's just one example of how authentication can be in your app. Today we will add authentication to a React Native app using Firebase.
1 Installing react-native-firebase
The first thing we do is install and initialize Firebase inside our app. In React Native we need to use a Firebase Container for React Native. We are going to use react-native-firebase.
If you are about to start a new React Native app from scratch and you would like to use Firebase, you are lucky - you can install react-native-firebase pre-integrated using the React Native CLI.
//
npx @react-native-community/cli init --template=@react-native-firebase/template authenticationFirebase
//** source: https://invertase.io/oss/react-native-firebase/quick-start/new-project
Then just install the pod for iOS by running the following command inside the root directory of your app.
cd ios && pod install
If you are having issues installing a new project with Firebase please refer to react-native-firebase docs
Adding react-native-firebase to an existing project
Install the react-native-firebase package using yarn or npm
yarn add @react-native-firebase/app
or:
npm install @react-native-firebase/app
Then install pods for iOS.
shell cd ios && pod install
Running the app
For iOS, there are two ways to do it: I personally use Xcode, as it gives me a clear idea if something went wrong and the build failed.

Always make sure the package is running - hit yarn start to start the app.
The second way to run the app on iOS is running the react-native run-ios command - and that's it.
Adding firebase credentials
This step requires us to create a new project in the Firebase console .
After creating a new project on the dashboard page select add Firebase to iOS app. This will show you the steps to add credentials to iOS like below.
It consists of a few steps :
Download the
GoogleService-info.plistfile and put it inside the iOS folder within your project.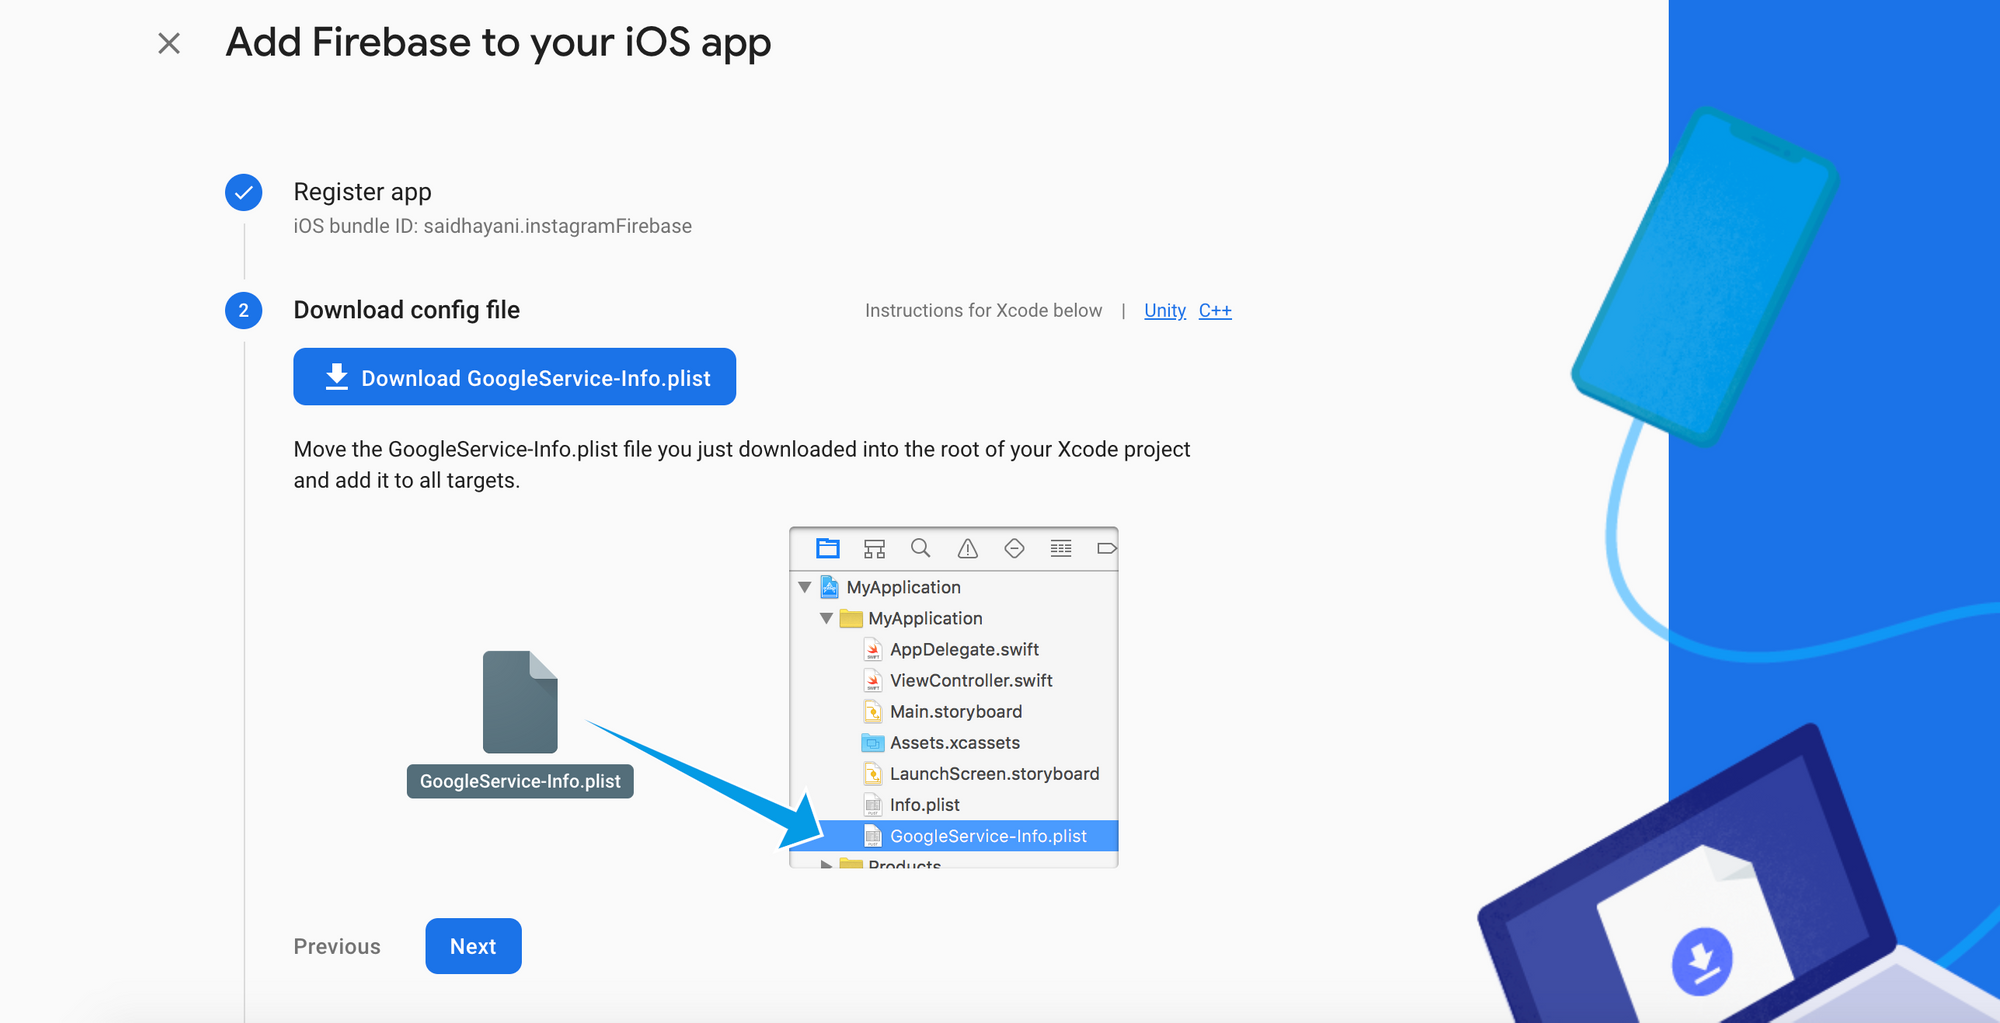
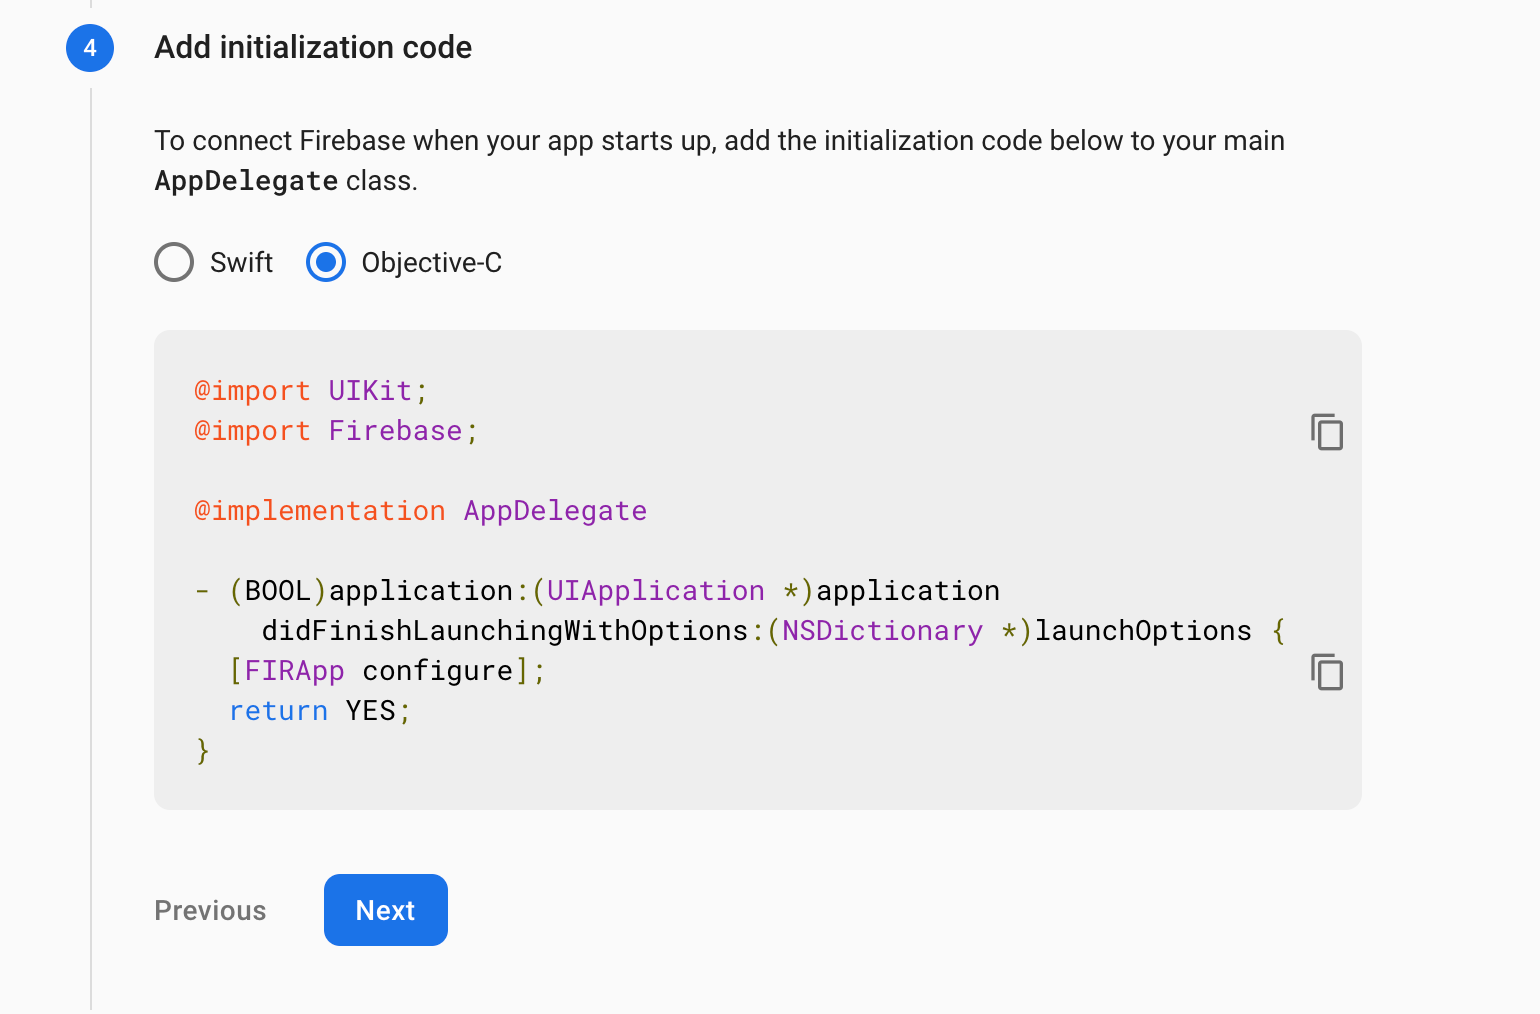
Initialize Firebase
For Android
Android has a different setup for Firebase. In project settings in the Firebase console select add Firebase to Android.
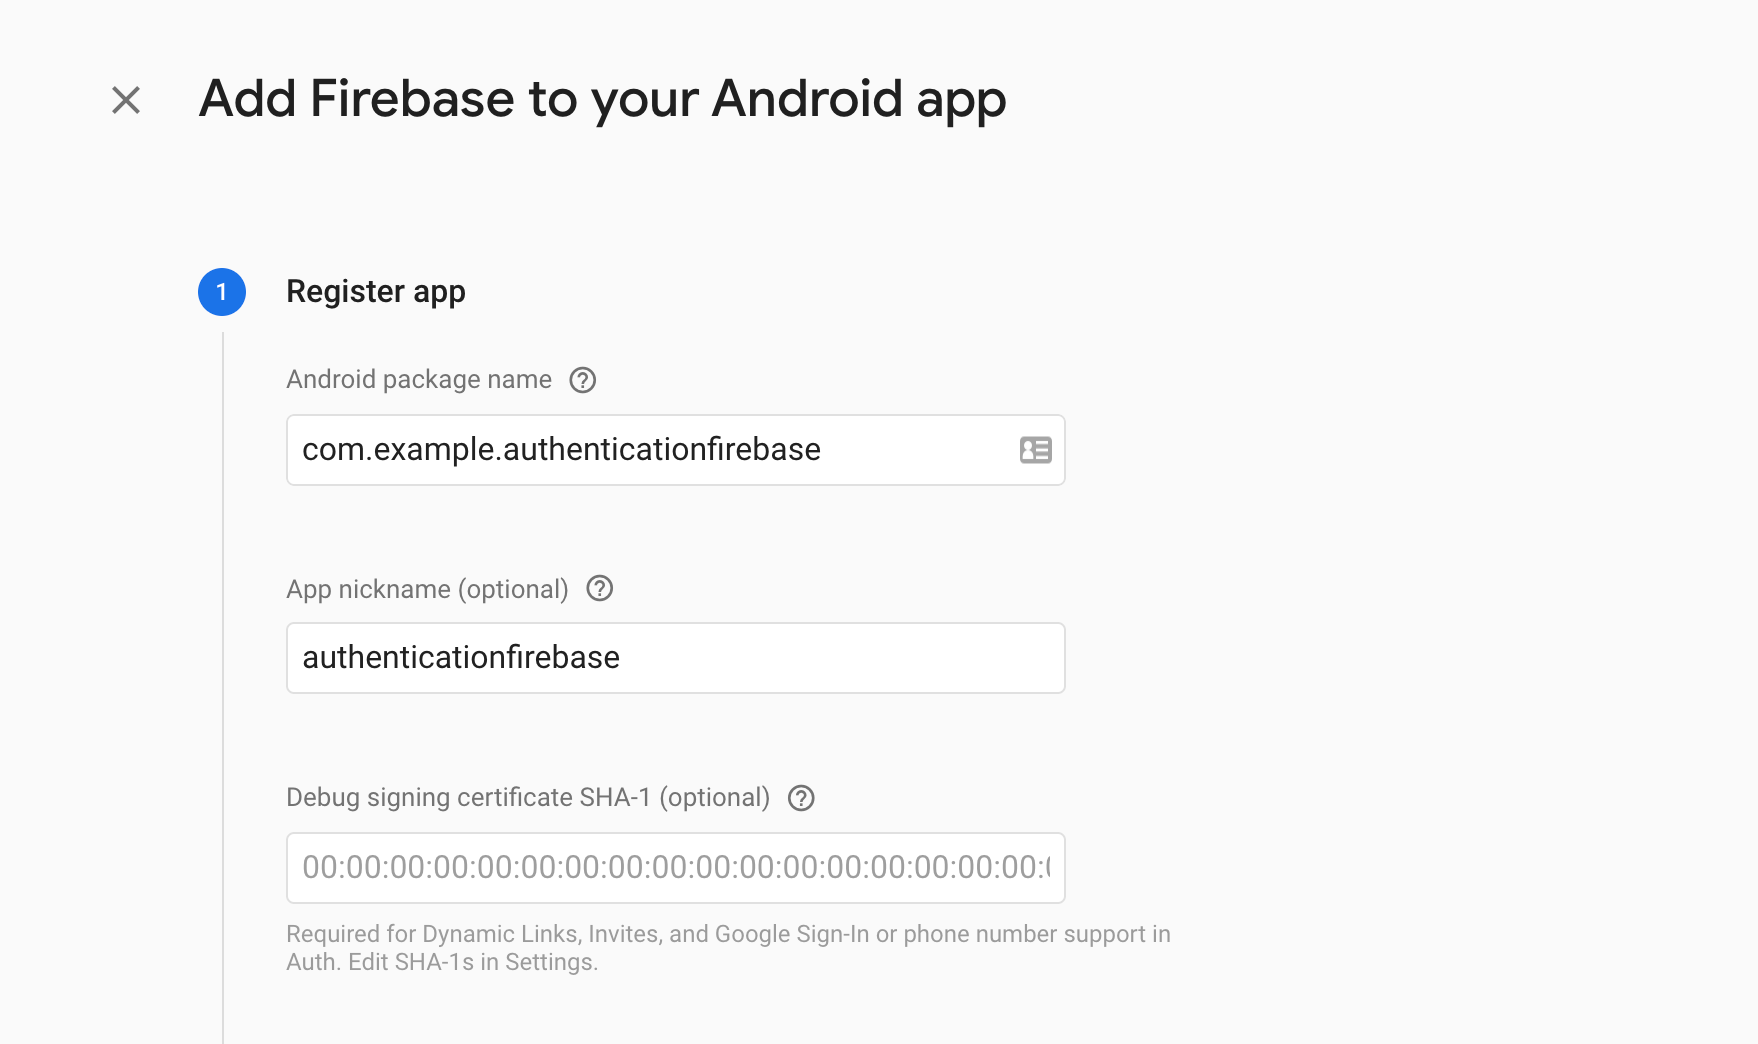
You can put any name you like in the app name input - just make sure it conforms to the Firebase requirements. Then click Register.
After that, you need to download the google-services.json file and put it within the android/app folder.
Then the next step is to initialize the Android SDK.
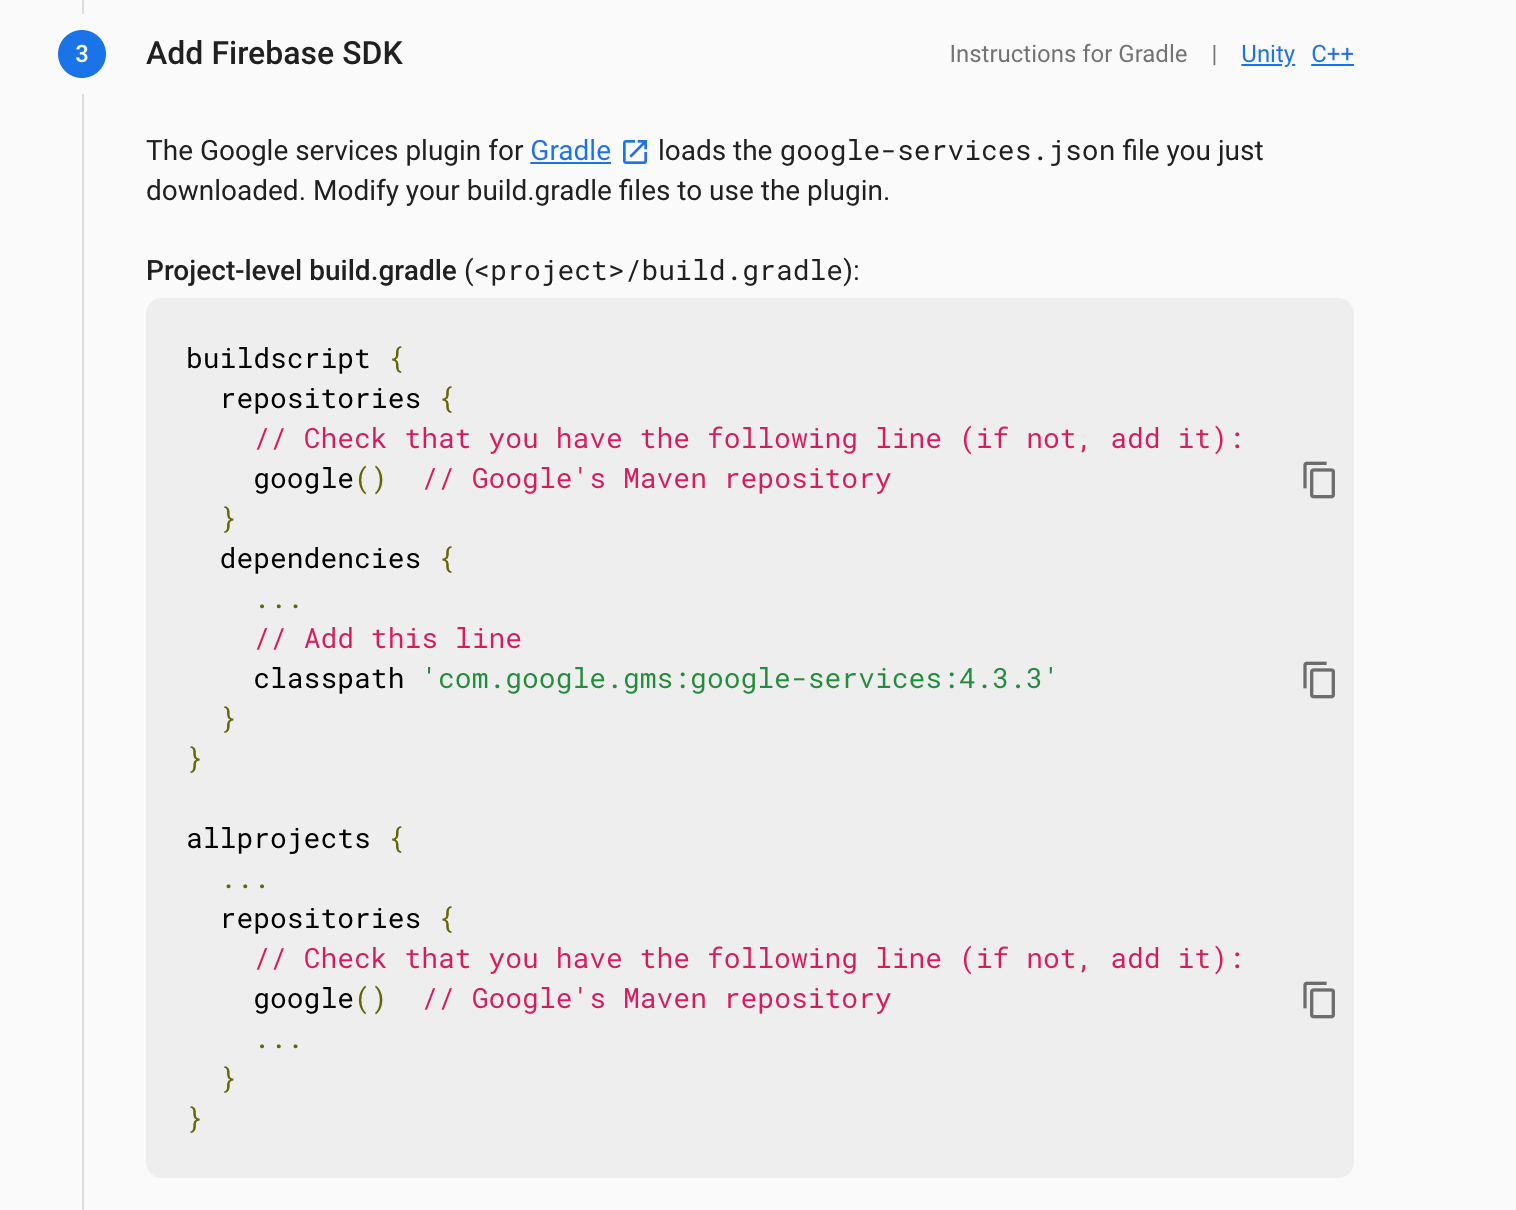
The last step is to apply the Firebase plugin inside: android/app/build.gradle .
apply plugin: 'com.google.gms.google-services'
If you have any issues running the steps above you can always refer to the Firebase docs or react-native-firebase websites.
Now that we are done with the integration, the next step is to implement Firebase functions to create users and sign in in React Native.
Adding SignIn, Login
This phase is simple: just some React and JavaScript code to call Firebase functions. I'm going to create a simple UI for Login and SignUp (this is not necessary for this tutorial so you can skip this step).
I will put the full source code at the end of article *
We will use the createUserWithEmailAndPassword function to sign up for a new user. I already implemented all the validation on the form - we just need to call this function to create a user.
When the user presses the Continue button, __doSignUp will be called and the code looks like this:
const __doSignUp = () => {
  if (!email) {
    setError("Email required *")
    setValid(false)
    return
  } else if (!password && password.trim() && password.length > 6) {
    setError("Weak password, minimum 5 chars")
    setValid(false)
    return
  } else if (!__isValidEmail(email)) {
    setError("Invalid Email")
    setValid(false)
    return
  }

  __doCreateUser(email, password)
}

const __doCreateUser = async (email, password) => {
  try {
    let response = await auth().createUserWithEmailAndPassword(email, password)
    if (response) {
      console.log(tag, "?", response)
    }
  } catch (e) {
    console.error(e.message)
  }
}
Make sure you installed @react-native-firebase/authto be able to call auth().createUserWithEmailAndPassword(email, password)
// import auth
import auth from "@react-native-firebase/auth"
The function that creates a new user in Firebase looks like this:
const __doCreateUser = async (email, password) =>{
    try {
     let response =  await auth().createUserWithEmailAndPassword(email, password);
      if(response){
        console.log(tag,"?",response)
      }
    } catch (e) {
      console.error(e.message);
    }
If the function throws an error, make sure to enable the email / password method in the authentication section in the Firebase console.
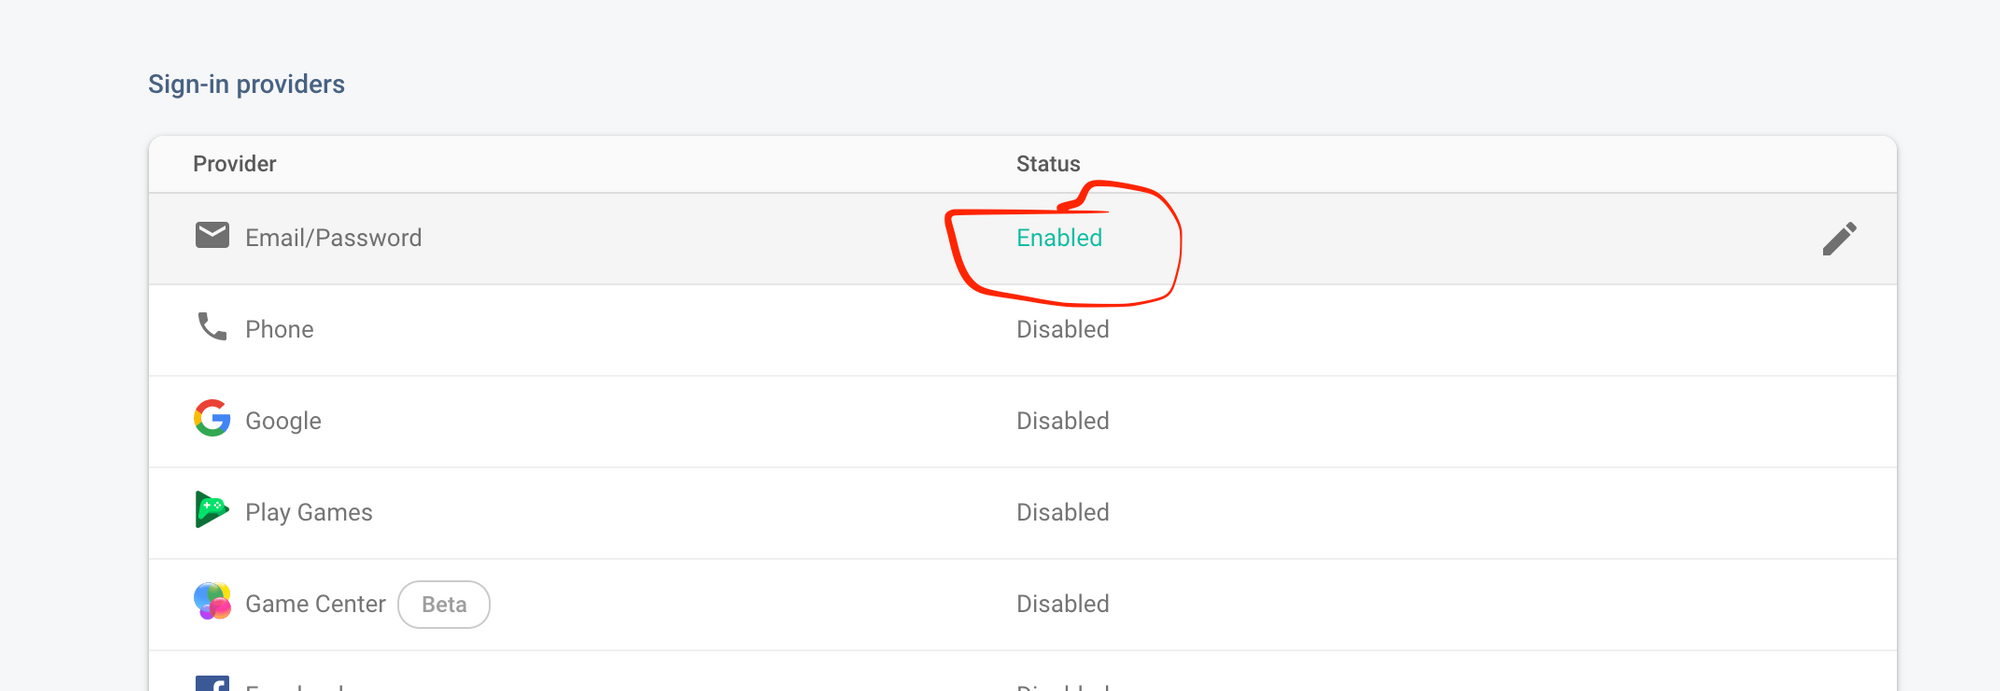
If everything went well, and the data entered (email, password) is valid, an alert will show up. If you check the Authentication section in the Firebase console you will notice that a new user has been created.
Here is the source code of SignInComponent.
const SigInComponent = () => {
  const [email, setEmail] = useState("")
  const [password, setPassword] = useState("")
  const [fetching, setFetching] = useState(false)
  const [error, setError] = useState("")
  const [isValid, setValid] = useState(true)
  const __doSignUp = () => {
    if (!email) {
      setError("Email required *")
      setValid(false)
      return
    } else if (!password && password.trim() && password.length > 6) {
      setError("Weak password, minimum 5 chars")
      setValid(false)
      return
    } else if (!__isValidEmail(email)) {
      setError("Invalid Email")
      setValid(false)
      return
    }

    __doCreateUser(email, password)
  }

  const __doCreateUser = async (email, password) => {
    try {
      let response = await auth().createUserWithEmailAndPassword(
        email,
        password
      )
      if (response && response.user) {
        Alert.alert("Success ✅", "Account created successfully")
      }
    } catch (e) {
      console.error(e.message)
    }
  }

  return (
    <SafeAreaView style={styles.containerStyle}>
      <View style={{ flex: 0.2 }}>
        {!!fetching && <ActivityIndicator color={blue} />}
      </View>
      <View style={styles.headerContainerStyle}>
        <Text style={styles.headerTitleStyle}> Sign Up </Text>
      </View>
      <View style={styles.formContainerStyle}>
        <TextInput
          label={"Email"}
          autoCapitalize={false}
          keyboardType="email-address"
          style={styles.textInputStyle}
          placeholder="Mail address"
          onChangeText={text => {
            setError
            setEmail(text)
          }}
          error={isValid}
        />

        <TextInput
          label={"Password"}
          secureTextEntry
          autoCapitalize={false}
          style={styles.textInputStyle}
          selectionColor={blue}
          placeholder="Password"
          error={isValid}
          onChangeText={text => setPassword(text)}
        />
      </View>
      {error ? (
        <View style={styles.errorLabelContainerStyle}>
          <Text style={styles.errorTextStyle}>{error}</Text>
        </View>
      ) : null}
      <View style={styles.signInButtonContainerStyle}>
        <TouchableHighlight
          style={styles.signInButtonStyle}
          onPress={__doSignUp}
          underlayColor={blue}
        >
          <View
            style={{
              flexDirection: "row",
              justifyContent: "space-around",
            }}
          >
            <Text style={styles.signInButtonTextStyle}>Continue</Text>
          </View>
        </TouchableHighlight>
      </View>
    </SafeAreaView>
  )
}
For LoginComponent it’s mostly the same the only thing we need to change is we use signInWithEmailAndPassword method instead.
const __doSingIn = async (email, password) => {
  try {
    let response = await auth().signInWithEmailAndPassword(email, password)
    if (response && response.user) {
      Alert.alert("Success ✅", "Authenticated successfully")
    }
  } catch (e) {
    console.error(e.message)
  }
}
 {
// this.register("said1292@gmail.com", "123456");
this.__isTheUserAuthenticated();
}
__isTheUserAuthenticated = () => {
let user = firebase.auth().currentUser.uid;
if (user) {
console.log(tag, user);
this.setState({ authenticated: true });
} else {
this.setState({ authenticated: false });
}
};
And we can change the UI based on if the user is authenticated or not. We can display user info by just using the same method.
firebase.auth().currentUser.email // said543@gmail.com
And to logout, you can just call await firebase.auth().signOut();
I’m sure integrating navigation like react-navigation would be awesome, but it was not our focus in this article. So feel free to add navigation so you can just navigate based on the user status.
Feel free to check out the full source code ?on GitHub
Thanks for reading.
Originally published on saidhayani.com