

There are a lot of tools to automate our code tasks. We can check for syntax issues with ESLint and format our code with Prettier.
But not everyone on the team will remember to run those commands every time they commit. How can we use Husky to add Git hooks to run them for us?
- What are Git Hooks?
- What is Husky?
- What are we going to build?
- Step 0: Setting up a new project
- Step 1: Installing Husky to a project
- Step 2: Configuring Husky to run Git hooks
- Step 3: Using Husky to format code with Prettier
What are Git Hooks?
Git hooks are scripts that you can set up to run at certain events in the Git lifecycle. These events include different stages of a commit, like before a commit (pre-commit) and after a commit (post-commit).
These are useful in that they allow developers to run custom code tasks or even enforce standards by automating other scripts to run those tasks.
What is Husky?
Husky is a tool that allows us to easily wrangle Git hooks and run the scripts we want at those stages.
It works by including an object right within our package.json file that configures Husky to run the scripts we specify. After that, Husky handles managing at which point in the Git lifecycle our scripts will run.
What are we going to build?
We’re going to set up a simple project that we can use to test out Git hooks.
While you should be able to follow along with any project that you’re working with, I’m going to use Next.js as the starting point for this project, simply for the fact that we can run a single command to get a project started.
One consideration about following along with this project, though, is that we’ll use Prettier as an example of what you can do with Git hooks.
Prettier is a tool that will automatically format our code for us, which if you’re not expecting that to happen, can cause a lot of stress. Following along with me using the Next.js project will allow you to test this out without making any unintentional changes.
As for testing the Git hooks, we’ll start by adding a simple command line statement to see Husky work. But we’ll also test out adding Prettier, which will automatically format our code for us.
Finally, at the time of writing this, Husky released an v5 Alpha version of their Git hook solution. Given it’s still just an Alpha version, we’re going to move forward with v4, which allows us to easily install Husky with npm.
Step 0: How to set up a new project
As I mentioned, you can really follow the same steps here with any project that’s managed with a package.json file.
Next.js is absolutely overkill for this walkthrough, but the goal is to minimize the steps for getting set up to actually work with Husky.
To get started with Next.js, navigate to the directory you want to start your project in and run the following:
yarn create next-app my-husky-project
# or
npx create-next-app my-husky-project
Note: feel free to replace my-husky-project to whatever you’d like to name your directory.
This will create a new folder, create a new Next.js project, and install all the dependencies.
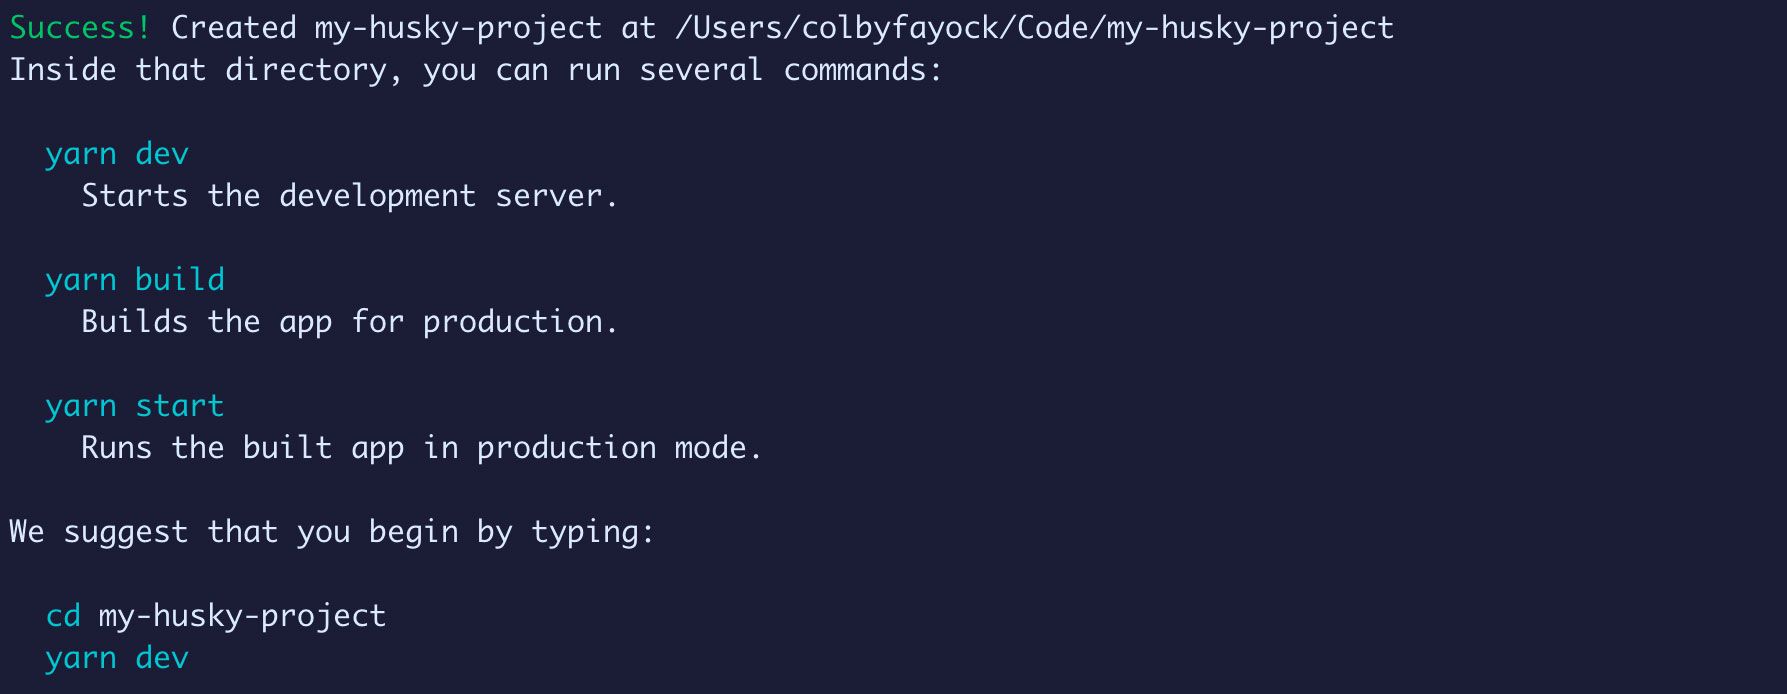
Once it’s done, navigate to that new folder, and we should be ready to go!
Step 1: How to install Husky to a project
To install Husky, we can use yarn or npm.
yarn add husky
# or
npm install husky
Note: if installing Husky at this point installs v5, that means v5 has been officially released. Please see the updated Husky documentation or you can install the latest v4 version by specifying husky@4.3.0 (or whatever the latest version is) when installing.
Once the package is finished installing, we should be ready to go with Husky.
Step 2: How to configure Husky to run Git hooks
Next, we’re going to set up Husky so we can use it for our Git hooks.
Inside of our package.json file, create a new property called husky with an empty object.
"husky": {},
You can add this really wherever you want in the package.json file, but I’m going to add it right below the scripts property so I can more easily manage them together.
Inside of that, we want to add another property called hooks that also specifies an empty object:
"husky": {
  "hooks": {}
},
This is where we’re going to add our Git hooks. Husky supports pretty much all Git hooks defined by Git, so we can be as flexible we would like within our Git event flow.
To test this out, I created a new branch where I literally added every Git hook from that page including a script that simply writes to the terminal [Husky] event name.
Note: don’t feel like you need to do this unless you’re curious. The goal is to be able to show you with my example how it works.
“husky”: {
  “hooks”: {
    “applypatch-msg”: “echo \”[Husky] applypatch-msg\””,
    “pre-applypatch”: “echo \”[Husky] pre-applypatch\””,
    “post-applypatch”: “echo \”[Husky] post-applypatch\””,
    “pre-commit”: “echo \”[Husky] pre-commit\””,
What this will do is tell Husky that at every single stage where we’re permitted to hook into Git, tell us!
When I commit that change, we can immediately see that Husky fires off some of our scripts.
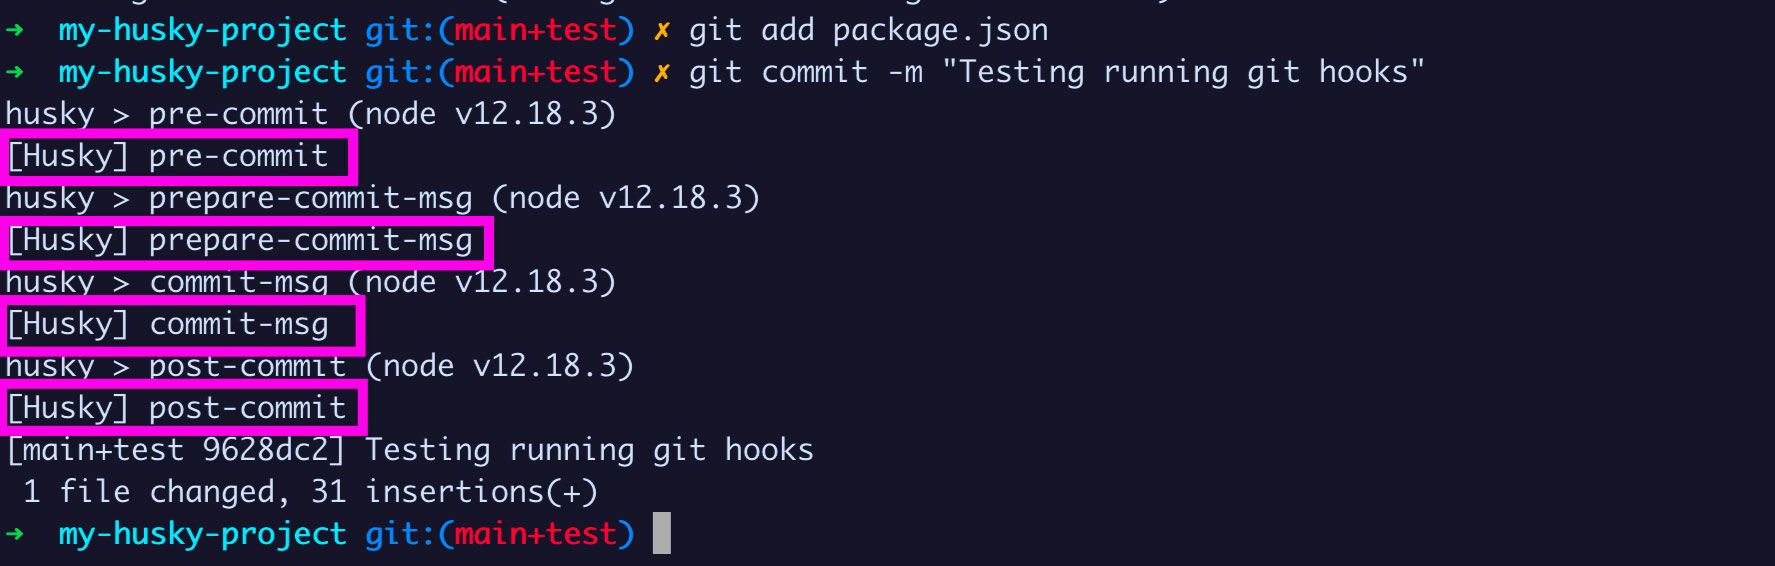
These are all of the events that Git allows us to hook into that happen during the commit process.
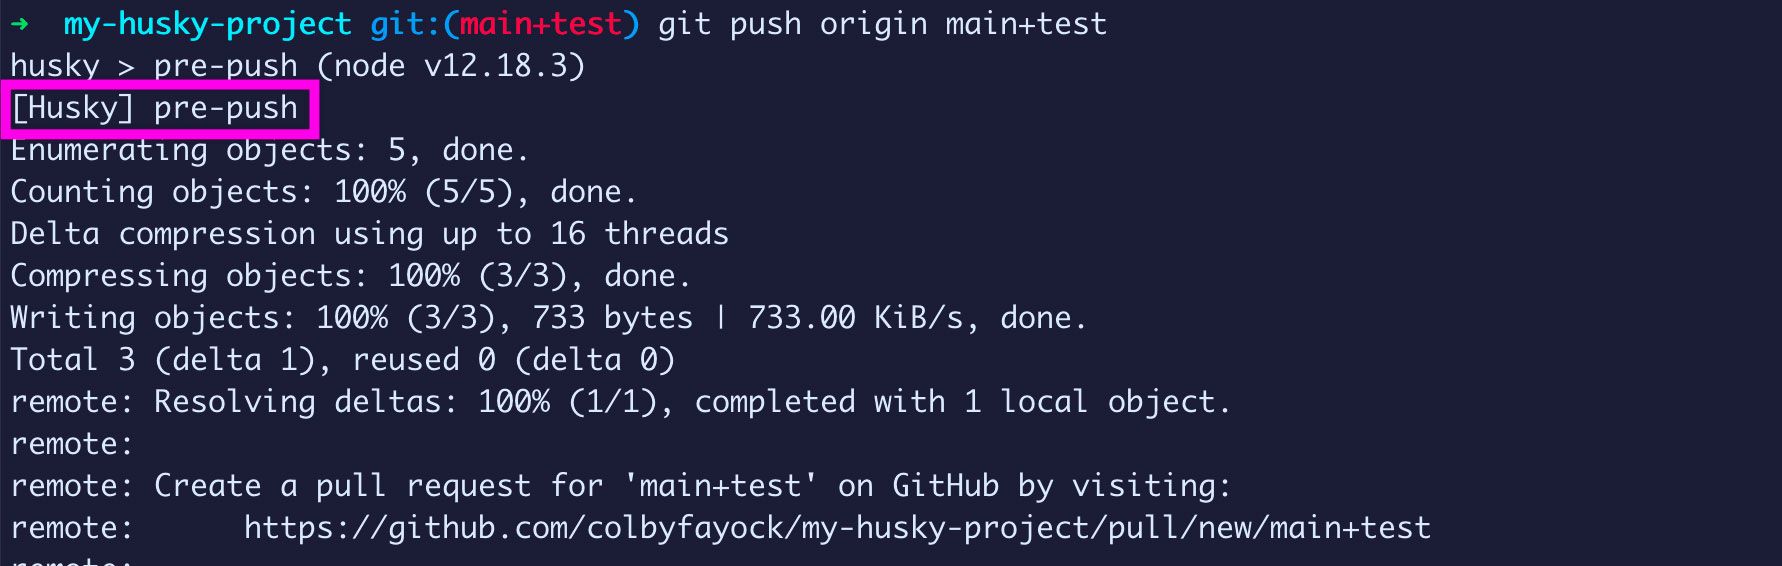
And similarly, if I push those changes out to Github, I can see that the push process runs the pre-push hook!
You may never use most of the hooks that Husky and Git provide (we only saw a few between those two commands).
But it’s awesome to be able to see how powerful this can be, whether it’s running code that formats our code, prevents secret access keys from being committed, or really anything else that can help automate important tasks to your workflow.
We can now see that we can configure Husky by specifying the configuration and the hooks right in our package.json.
Note: If you want to check out my branch that includes every Git hook to test with, you can find it on Github.
Step 3: How to use Husky to format code with Prettier
Finally, for a real-world use case, we’re going to test out using Prettier to automatically format our code.
Prettier is an opinionated code formatting tool that allows you to easily clean up your code to make it look like a single person wrote it.
Why are tools like Prettier important? When working through code, especially with a team, it’s important to maintain consistency so everyone knows what to expect. It will help prevent arguing over a semi-colon in a code review, but it will also help catch syntax errors and prevent bugs.
Warning: running Prettier will automatically format all of your code. While we’re going to test this out before committing the changes, once you apply this as a Git Hook, it will automate this process.
To get started with Prettier, let’s install it with our package manager:
yarn add prettier -D
# or
npm install prettier --save-dev
Note: we’re installing Prettier as a devDependency as our application doesn’t need this to run.
Next, we can add a new script in our package.json that will make it easier to run Prettier to test this out.
Inside the scripts property, add:
"lint": "prettier --check ."
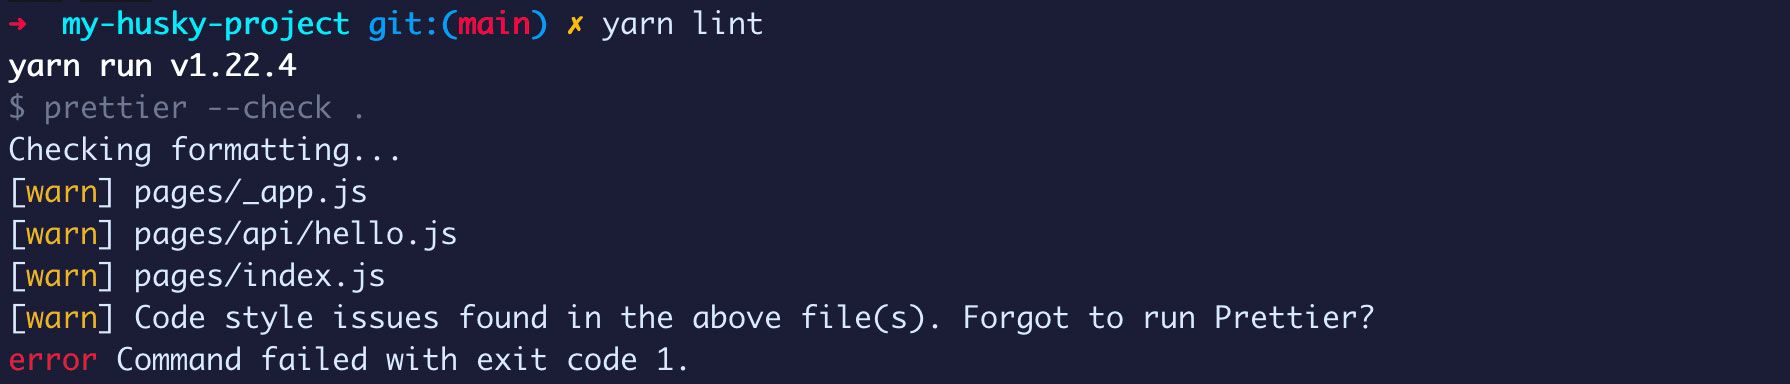
For this first test, we’re going to run it as a “check” which will allow us to see which files would change.
Run the following:
yarn lint
# or
npm run lint
And once we do, we can see that Prettier is telling us that would change the files listed.
At this point, our code will remain unchanged. But if we want to run Prettier for real to make those changes, we can first add an additional script:
"format": "prettier --write ."
And if we run that script, it will update all of those files to format the code to Prettier’s specification.
Warning: just another note, running Prettier to write the changes will make changes in your files. These are all code-style changes that shouldn’t impact how the code runs, but how the code looks. Before running format, you should save any changes by committing with Git so that you can easily revert the changes if you’re not happy with them.
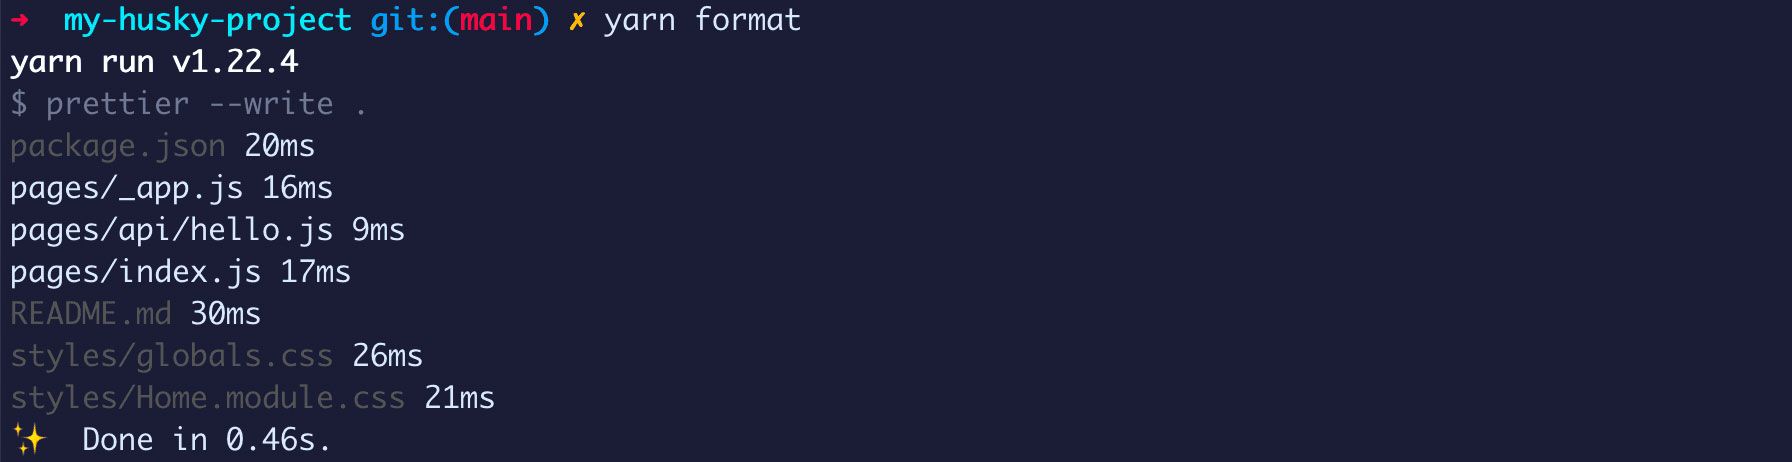
You can now run the script with:
yarn format
And we can see that Prettier updated our files!
Now the part that’s relevant to this walkthrough: we can add this as a Git hook. This way, when someone tries to commit code, Prettier is run before the code is saved. This means that we’ll always keep code consistent with Prettier’s formatting style.
Inside our Husky hooks configuration, let’s add:
"husky": {
  "hooks": {
    "pre-commit": "prettier --write . && git add -A ."
  }
},
If you notice in our pre-commit hook, we’re also adding git add -A ..
When Husky runs, it simply runs the script provided. When running our Prettier command, we’re only formatting the code, but we never save those changes as part of the process. So we use git add to store all of those changes and include them in the commit.
To test this out, I reverted the changes to all of the files that were formatted before. If you’re following along with the same project, you can run:
git checkout pages
Which will reset all of the changes in pages to the last commit.
Now, let’s try to add all of our files with Git and commit the changes.
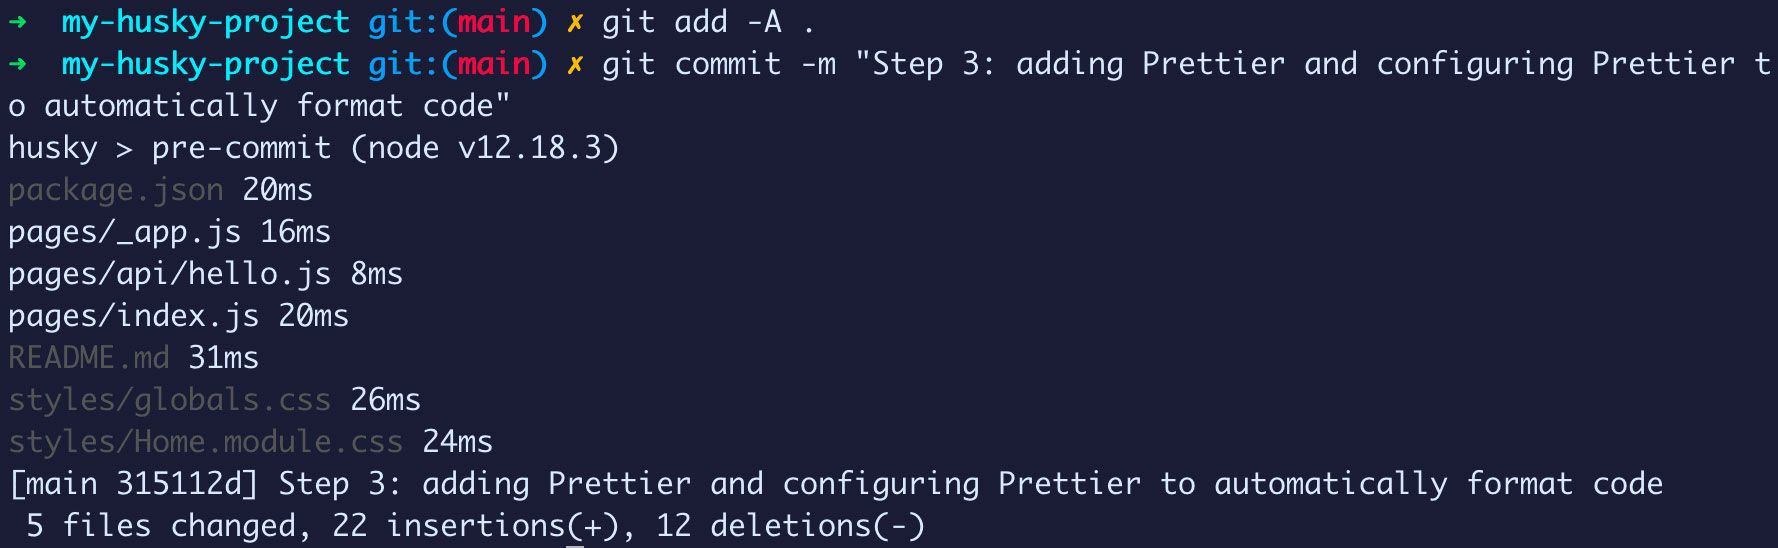
And once we run our commit command, we can see that the Husky pre-commit hook kicks in already and formats our code!
What can I do next?
Use lint-staged to only run formatting on changed files
We’re using Prettier right in our pre-commit hook and specifying . which means it’s going to run on all files every time.
We can use a tool called lint-staged, which allows us to still run our Git hooks with Husky, but it will only run on files that are staged.
For instance, if we wanted to do this with Husky and Prettier, our configuration might look like:
"husky": {
  "hooks": {
    "pre-commit": "lint-staged"
  }
},
"lint-staged": {
  "*": "prettier --write"
},
As part of how lint-staged runs, it will attach the changed files to the end of our Prettier statement automatically for us.
You’ll also notice we didn't include git add. lint-staged will also add any changes to Git for us automatically.
Set up a Prettier config to customize formatting rules
Prettier is very opinionated. There are some things I personally don’t prefer and you might feel the same.
Luckily, Prettier allows you to set up a configuration file that can override some of those files to make your code just the way you and your team want it.
Tell Prettier to ignore files with .prettierignore
You also probably don’t want Prettier running on “all the things” (maybe you do).
Prettier allows you to set up a .prettierignore file right inside of the root of the project next to package.json, similar to .gitignore, that allows you to tell Prettier what files it should not run on.
