By Jennifer Bland

¡Hola! Bonjour. Ciao. 你好. Here is how you add internationalization to Vue.
My company has plants in 37 countries. We write applications for the employees at these plants. Our application has to be translated into their native language. You can easily add internationalization to your Vue application. Let me show you how to add internationalization to the default Vue application.
Creating Our Application
We will be creating an application using the Vue CLI. If you do not have it installed you can install it with this command:
npm install @vue/cli -g
The -g flag will install the Vue CLI globally. Now that we have the CLI installed we can create a new application. Enter this command to create the application:
vue create vue-internationalization
The Vue CLI will prompt you to pick a preset. You have the option of selecting the default preset or manually selecting features. I chose default.

This will scaffold out a Vue application in a folder called vue-internationalization since this is the name we gave at creation. Now change into that directory with this command:
cd vue-internationalization
Once you are in the directory you will need to install all dependencies with this command:
npm install
To verify everything is running correctly enter this command:
npm run serve
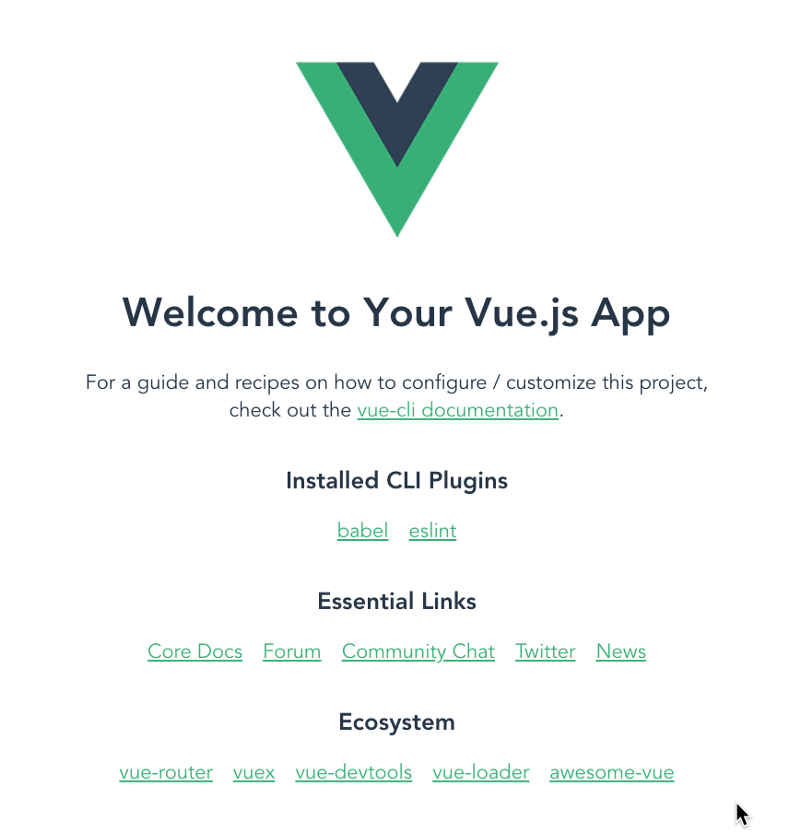
Now open your browser to localhost:8080 and you should see the following:

Next, we will provide international translation for this application.
Vue-i18n Plugin
We will use the vue-i18n plugin for internationalization. Let’s add this plugin to our application. If you still have your server running, stop it. Then at the terminal enter this command:
npm install vue-i18n --save
Since this is a plugin, I am going to configure it as a plugin. Create a folder called plugins in your src folder. Create a file called i18n.js inside the plugins folder.
To provide internationalization you have to tell Vue to use the vue-i18n plugin and provide it a messages object. The messages object will have the translations for every language your application supports.
The first step is to tell Vue to use the plugin. In the i18n.js file enter the following:
import Vue from 'vue';
import VueI18n from 'vue-i18n';

Vue.use(VueI18n);
Now Vue knows to use our internationalization plugin. Next step is to create the translations for every language we support. For demonstration purposes, I am going to add just two languages: English and Spanish. Once you understand how this works it is very easy to keep adding more and more languages to your application.
To add languages we have to create a message object. Objects in JavaScript are made up of key-value pairs. The keys for the messages object will be the languages that we support. Let’s create this using English and Spanish for our supported languages. Add the following code below the Vue.use line in the i18n.js file.
const messages = {
    'en': {},
    'es': {}
};
Next, we have to create a new internationalization object and tell Vue to use it. After the messages object add the following code:
const i18n = new VueI18n({
    locale: 'en', // set locale
    fallbackLocale: 'es', // set fallback locale
    messages, // set locale messages
});
When we create our internationalization object we have to tell it the default locale that we will show initially. In case there is a problem showing this language we can set a fallback locale. Then we tell it the messages object that has our translations. The last line exports this object.
Vue needs to be told to use the internationalization. We do this in the main.js file. Open up the main.js file. Import our internationalization file with this command:
import i18n from '@/plugins/i18n';
Note: if you are not familiar with using the @ in the import line, by default Vue knows that this points to the src directory. This allows you to avoid trying to do relative paths to the plugins directory.
We have to tell Vue to use it so we add i18n to the Vue object. Here is what your main.js file should look like:
import Vue from 'vue';
import App from './App.vue';
import i18n from '@/plugins/i18n';

Vue.config.productionTip = false;

new Vue({
    i18n,
    render: h => h(App),
}).$mount('#app');
Adding International Translations
Open up the i18n.js file. We are going to create our first translation. We will start with the phrase “Welcome to Your Vue.js App.” The translation for each language in the message object is an object.
Just a reminder that an object is a key-value pair. The key is what we will use and value is the translation of the phrase in that language.
So let me show you how this works with English. Update the file to include the following:
const messages = {
    'en': {
        welcomeMsg: 'Welcome to Your Vue.js App'
    },
    'es': {}
};
Now we have to provide a Spanish translation for this phrase. Since I do not speak Spanish fluently, I am going to use Google Translate.
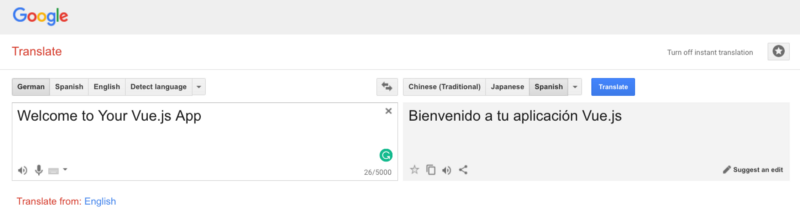
I will copy the Spanish translation that Google Translate provides. Then I will add it to the Spanish section. Every language must use the same key. So our updated message object looks like this now:
const messages = {
    'en': {
        welcomeMsg: 'Welcome to Your Vue.js App'
    },
    'es': {
        welcomeMsg: 'Bienvenido a tu aplicación Vue.js'
    }
};
Now that we have this translation we need to replace the English text in our default application to use our internationalization text. Open up the App.vue file. In the template, it is passing a prop called msg to the HelloWorld component. We want to replace this text with our international text. For simplicity, I am going to remove this prop and place the text in the HelloWorld component.
Open the HelloWorld component. In the h1 tag, the prop msg is being displayed. Let’s replace it with the following code:
<h1>{{ $t('welcomeMsg') }}</h1>
The $t specifies we are using the internationalization plugin. The text we want to be displayed is the value of the welcomeMsg key in our message object. If you have your server stopped, you can start it with this command:
npm run serve
Then go to your browser and you will see the international text displayed.
Changing Languages
We want to be able to see the text change to Spanish if we set our local to be Spanish. The question is how do we do this? The simplest way is to provide a drop-down that shows the flags of the countries whose language support is provided in the application. Users can select their language which results in all text being rendered in that language. So we need a way to allow users to change languages.
To display the flags in a drop-down we could use a .png graphics file. That will clearly work. Let me show you a better way. The vue-flag-icon package provides a collection of all country flags in SVG. Let’s install it with this command:
npm install vue-flag-icon --save
Now that we have it installed we have to tell Vue to use it. Open up the main.js file. We have to import the package we just installed and tell Vue to use it. Your main.js file should look like this now:
import Vue from 'vue';
import App from './App.vue';
import i18n from '@/plugins/i18n';
import FlagIcon from 'vue-flag-icon';

Vue.use(FlagIcon);
Vue.config.productionTip = false;

new Vue({
    i18n,
    render: h => h(App),
}).$mount('#app');
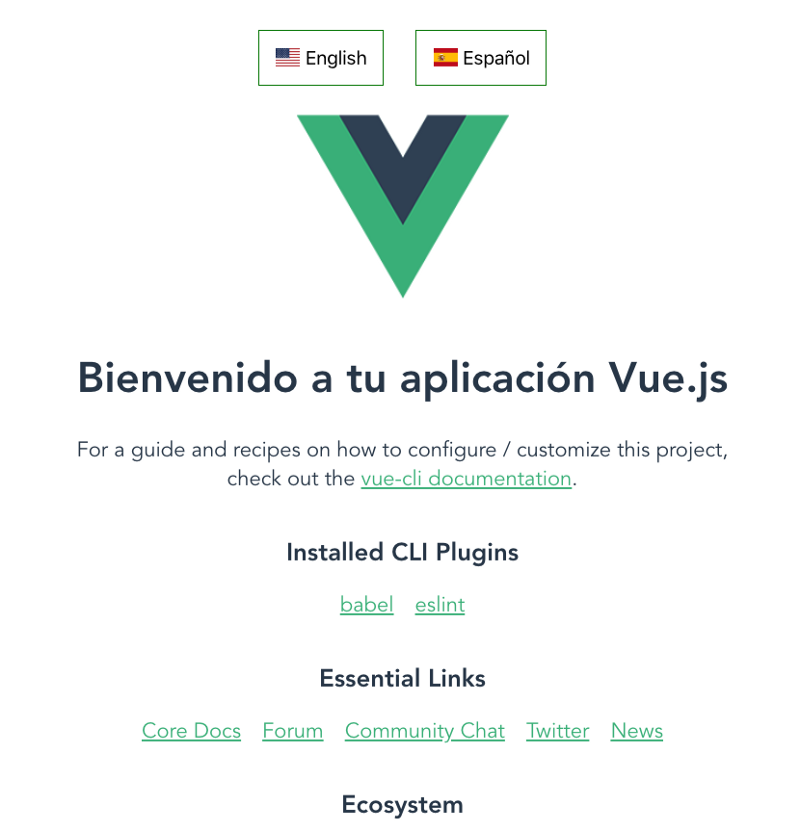
Next, we need to create buttons for the user to select their language. Open up the App.vue component. We are going to show a button for both languages. The user can click on the button to show the text in their language.
In this demo, I am only supporting two languages. In a real-world app, you will probably be supporting many more languages. In that case, you would have an array of all the supported languages. Let’s do this now in our application so you can see how easy it is to transfer over to a bigger application.
We need to add data to our script. We will have an entry called languages which will be an array of objects. The object will contain a flag, language, and a title. This is what the data should look like:
data() {
    return {
        languages: [
            { flag: 'us', language: 'en', title: 'English' },
            { flag: 'es', language: 'es', title: 'Español' }
        ]
    };
}
In our template, we need to create a button for each language in our languages array. We will use a v-for directive to loop over all the entries and create a button for each one. Here is the code you should add to the template before the img.
<div>
    <button v-for="entry in languages" :key="entry.title" @click="changeLocale(entry.language)">
        <flag :iso="entry.flag" v-bind:squared=false /> {{entry.title}}
    </button>
</div>
In the code above we loop through all entries in the languages array. Inside the button, we display the countries flag and the title. When you run this initially we get the default styling for a button provided by your browser. Let’s style the button, so add the following CSS in the style section:
button {
    padding: 15px;
    border: 1px solid green;
    font-size: 18px;
    margin: 15px;
}
I am providing padding around the text and putting a green border around the button. The font-size makes the text readable on the screen. The margin is there just to set space between the two buttons as well as some space between the buttons and the image.
When we created the button we told it to call a method changeLocale if a user clicks the button. This method will change the locale to the language on the button the user clicks. To change the locale we will first need to import our i18n plugin. You can import it with this command:
import i18n from '@/plugins/i18n';
Now we can create our changeLocale method. Here is what it looks like:
methods: {
    changeLocale(locale) {
        i18n.locale = locale;
    }
}
Start your server. You will see the two buttons. Click the Spanish button. The welcome message should instantly change to Spanish.
Finishing The Translations
So far we have only translated one item on the screen. We can repeat what we have done for the remaining text on the page. Open up the i18n.js file. Here are my translations for the section headings on the page.
const messages = {
    'en': {
        welcomeMsg: 'Welcome to Your Vue.js App',
        guide: 'For a guide and recipes on how to configure / customize this project,',
        checkout: 'check out the',
        plugins: 'Installed CLI Plugins',
        links: 'Essential Links',
        ecosystem: 'Ecosystem'
    },
    'es': {
        welcomeMsg: 'Bienvenido a tu aplicación Vue.js',
        guide: 'Para una guía y recetas sobre cómo configurar / personalizar este proyecto,',
        checkout: 'revisar la',
        plugins: 'Plugins de CLI instalados',
        links: 'Enlaces esenciales',
        ecosystem: 'Ecosistema'
    }
};
Now we need to update the HelloWorld component with these translations. Here is the translated template:
<template>
    <div class="hello">
        <h1>{{ $t('welcomeMsg') }}</h1>
        <p>
            {{ $t('guide') }}<br>
            {{ $t('checkout') }}
            <a href="https://cli.vuejs.org" target="_blank" rel="noopener">vue-cli documentation</a>.
        </p>
        <h3>{{ $t('plugins') }}</h3>
        <ul>
            <li><a href="https://github.com/vuejs/vue-cli/tree/dev/packages/%40vue/cli-plugin-babel" target="_blank"
                   rel="noopener">babel</a></li>
            <li><a href="https://github.com/vuejs/vue-cli/tree/dev/packages/%40vue/cli-plugin-eslint" target="_blank"
                   rel="noopener">eslint</a></li>
        </ul>
        <h3>{{ $t('links') }}</h3>
        <ul>
            <li><a href="https://vuejs.org" target="_blank" rel="noopener">Core Docs</a></li>
            <li><a href="https://forum.vuejs.org" target="_blank" rel="noopener">Forum</a></li>
            <li><a href="https://chat.vuejs.org" target="_blank" rel="noopener">Community Chat</a></li>
            <li><a href="https://twitter.com/vuejs" target="_blank" rel="noopener">Twitter</a></li>
            <li><a href="https://news.vuejs.org" target="_blank" rel="noopener">News</a></li>
        </ul>
        <h3>{{ $t('ecosystem') }}</h3>
        <ul>
            <li><a href="https://router.vuejs.org" target="_blank" rel="noopener">vue-router</a></li>
            <li><a href="https://vuex.vuejs.org" target="_blank" rel="noopener">vuex</a></li>
            <li><a href="https://github.com/vuejs/vue-devtools#vue-devtools" target="_blank"
                   rel="noopener">vue-devtools</a></li>
            <li><a href="https://vue-loader.vuejs.org" target="_blank" rel="noopener">vue-loader</a></li>
            <li><a href="https://github.com/vuejs/awesome-vue" target="_blank" rel="noopener">awesome-vue</a></li>
        </ul>
    </div>
</template>
Start your server and view your application in the browser. Click between the two buttons. You will see the text automatically translate to the language you clicked. Watch this gif.

Get the Code
I have the finished code available on GitHub. Please help me out and star the repo when you get the code.
Conclusion
If your app is used by customers all over the world, you will need to add internationalization. To add support for multiple languages you have to install the Vue-i18n plugin. Then translate the text in your application for all the languages you support. The last step is to provide a way for users to toggle between different languages.
I hope you have enjoyed this article. Thanks for reading!