
Tkinter is a Python GUI (Graphical User Interface) toolkit that allows developers to create desktop applications with Python. It provides a set of tools and widgets for building graphical interfaces that are simple and intuitive to use.
Tkinter is included in the standard Python distribution and supports cross-platform development, making it an ideal choice for building desktop applications.
In this tutorial, you will learn how to build a simple IP geolocation-based weather forecasting system using Python. You will use the Geolocation API from ipbase.com to retrieve the user's location based on their IP address, and the OpenWeatherMap API to fetch the current weather conditions for that location. Let's get started!
Prerequisites
Before you start building the project, you need to make sure that you have the following prerequisites:
- Python 3.8+ installed on your system
- Working knowledge of Python
- Basic knowledge of how to interact with web services in Python
- Geolocation API Key from ipbase.com: To use the Geolocation API from ipbase.com, you will need to sign up for an API key. You can sign up for a free account at https://app.ipbase.com/register. Once you have signed up, you can find your API key (highlighted in black) on the dashboard page.
 Getting your API key from ipbase.com
- Weather API Key from OpenWeatherMap: To use the OpenWeatherMap API, you will need to sign up for an API key. You can sign up for a free account at https://home.openweathermap.org/users/sign_up. Once you have signed up, you can find your API key on the API keys page.
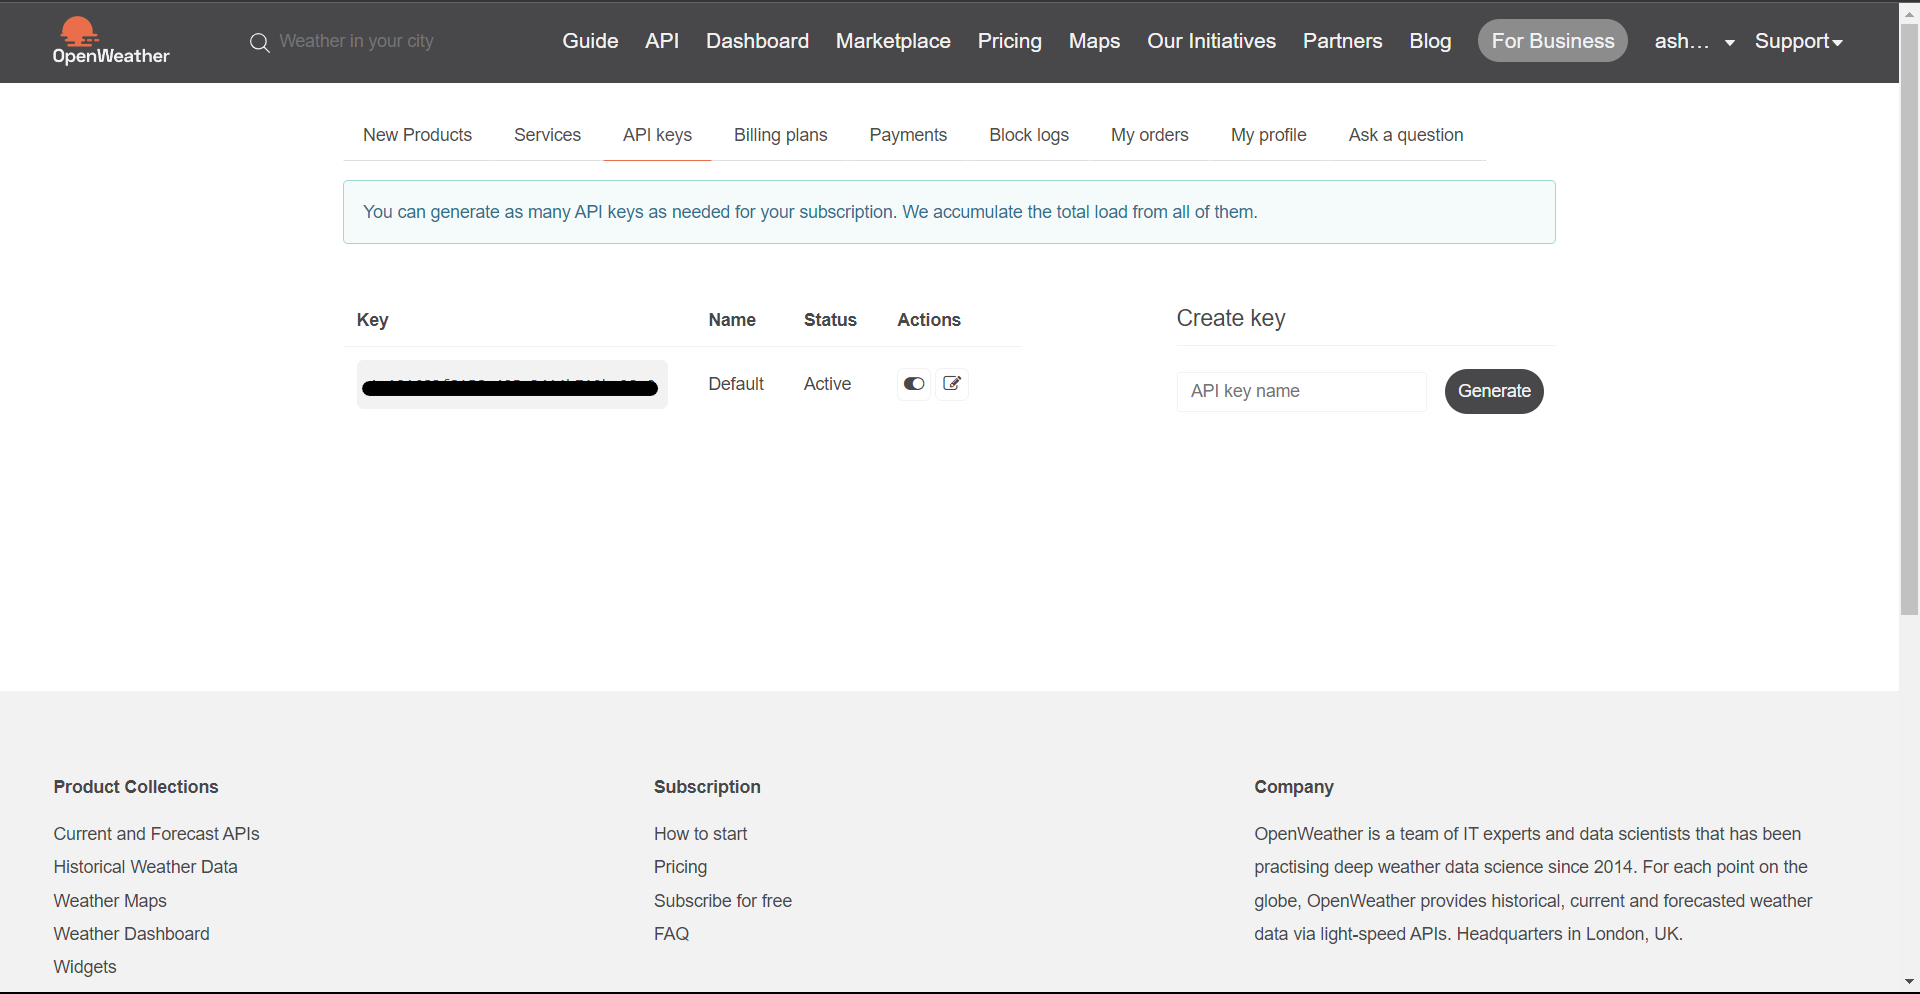 Getting your API key from OpenWeatherMap.com
How to Set Up Your Virtual Environment
Before you start coding, you'll need to make sure you have all the necessary tools and libraries installed. To ensure that you have a clean and isolated environment, you'll create a virtual environment using venv.
Create a project directory and navigate to it in the terminal:
mkdir weather-forecast
cd weather-forecast
Create a virtual environment named env using the following command:
python -m venv env
Python now ships with pre-installed venv library to create virtual environments.
Activate the virtual environment like this:
source env/bin/activate
Note: If you're on Windows, you'll need to use source env/Scripts/activate to activate the environment.
You should see (env) in your terminal prompt, indicating that the virtual environment has been activated.
How to Install the Libraries
Now that you've created the virtual environment, you can install the following libraries:
requests: This library helps you send requests on API endpoints.python-decouple: This library helps you read the values of environment variables
To install the libraries, run the following command:
pip install requests python-decouple
How to Use the Geolocation API to Get Location Details
While there are many geolocation APIs available such as IP Lookup API, ipapi, and so on, you're going to use the ipbase.com API in this tutorial.
The API provides location-based data for any IP address and is very easy to integrate with Python using the requests module. It allows you to retrieve information such as the IP address itself, hostname, location, organization, and more. The API uses RESTful web service and provides responses in JSON format.
In order to get location details using the Geolocation API from ipbase.com, you need to make an HTTP request to the API endpoint with the appropriate query parameters. You need to pass the API key as a mandatory query parameter and the IP address as an optional query parameter.
If you don't pass an IP address, the API returns information about the IP address from which the request was made.
You can use the requests library in Python to make the HTTP request to the API endpoint. Here's an example of how you can make a request:
import requests

api_key = '<YOUR_API_KEY>'
ip_address = '<IP_ADDRESS>'  # Optional

api_endpoint = 'https://api.ipbase.com/v2/info'
query_params = {'apiKey': api_key}
if ip_address:
    query_params['ip'] = ip_address

response = requests.get(api_endpoint, params=query_params)

if response.status_code == 200:
    data = response.json()
    # Handle response data
else:
    # Handle errors
    print(f'Error: {response.status_code} - {response.text}')
The query_params dictionary stores the API key and optionally the IP address to query. As mentioned, if ip_address is provided, you add it to the query_params dictionary as the value of the 'ip' key.
The requests.get() method sends a GET request to the API endpoint, with the api_endpoint URL and query_params dictionary passed as arguments. The response from the API is stored in the response variable. If the response status code is 200, indicating a successful request, you parse the response content as JSON data using the .json() method, and the data variable can be used to access the relevant location details.
If the response status code is not 200, indicating an error, the error message is printed to the console using print(f'Error: {response.status_code} - {response.text}').
A sample successful JSON response looks like this:
{
  "data":{
    "ip":"171.76.86.246",
    "hostname":"None",
    "type":"v4",
    "range_type":{
      "type":"PUBLIC",
      "description":"Public address"
    },
    "connection":{
      "asn":45609,
      "organization":"Bharti Airtel Limited",
      "isp":"Bharti Airtel Limited",
      "range":"171.76.64.0/18"
    },
    "location":{
      "geonames_id":1277333,
      "latitude":12.971940040588379,
      "longitude":77.59368896484375,
      "zip":"560001",
      "continent":{
        "code":"AS",
        "name":"Asia",
        "name_translated":"Asia"
      },
      "country":{
        "alpha2":"IN",
        "alpha3":"IND",
        "calling_codes":[
          "+91"
        ],
        "currencies":[
          {
            "symbol":"Rs",
            "name":"Indian Rupee",
            "symbol_native":"টকা",
            "decimal_digits":2,
            "rounding":0,
            "code":"INR",
            "name_plural":"Indian rupees"
          }
        ],
        "emoji":"🇮🇳",
        "ioc":"IND",
        "languages":[
          {
            "name":"English",
            "name_native":"English"
          },
          {
            "name":"Hindi",
            "name_native":"हिंदी"
          }
        ],
        "name":"India",
        "name_translated":"India",
        "timezones":[
          "Asia/Kolkata"
        ],
        "is_in_european_union":false,
        "fips":"IN",
        "geonames_id":1269750,
        "hasc_id":"IN",
        "wikidata_id":"Q668"
      },
      "city":{
        "fips":"None",
        "alpha2":"None",
        "geonames_id":1277333,
        "hasc_id":"None",
        "wikidata_id":"Q1355",
        "name":"Bangalore",
        "name_translated":"Bangalore"
      },
      "region":{
        "fips":"IN19",
        "alpha2":"IN-KA",
        "geonames_id":1267701,
        "hasc_id":"IN.KA",
        "wikidata_id":"Q1185",
        "name":"Karnataka",
        "name_translated":"Karnataka"
      }
    },
    "tlds":[
      ".in"
    ],
    "timezone":{
      "id":"Asia/Kolkata",
      "current_time":"2023-03-30  0T08:45:00+05:30",
      "code":"IST",
      "is_daylight_saving":false,
      "gmt_offset":19800
    },
    "security":{
      "is_anonymous":"None",
      "is_bot":"None",
      "is_known_attacker":"None",
      "is_proxy":"None",
      "is_spam":"None",
      "is_tor":"None",
      "proxy_type":"None",
      "threat_score":"None"
    },
    "domains":{
      "count":"None",
      "domains":[

      ]
    }
  }
}
The JSON response obtained from the Geolocation API contains a vast amount of information. But you are only concerned with the city key, which is nested inside the location key, which is in turn nested inside the data key. You can extract the name of the city using city["name"].
Thus, once you have parsed the JSON response into a Python dictionary, you can extract the city name as below:
import requests

api_key = '<YOUR_API_KEY>'
ip_address = '<IP_ADDRESS>'  # Optional

api_endpoint = 'https://api.ipbase.com/v2/info'
query_params = {'apiKey': api_key}
if ip_address:
    query_params['ip'] = ip_address

response = requests.get(api_endpoint, params=query_params)

if response.status_code == 200:
    data = response.json()
    # Handle response data
    try:
        location_data = data['data']['location']
        city_name = location_data['city']['name']
        print(city_name)
    except KeyError as e:
        print(f'Error: {e}')
else:
    # Handle errors
    print(f'Error: {response.status_code} - {response.text}')
Note: Make sure you replace the value of api_key with your correct API key value. You can put in a IP address in the ip_address variable or just leave it as empty string.
Output:
Gurugram
How to Use the OpenWeatherMap API to Get Weather Details
OpenWeatherMap API is a free weather API providing current weather data, hourly, 5-day, and 16-day forecasts, historical data, and weather maps for any location worldwide. It provides access to a large amount of weather data, including temperature, wind speed, humidity, precipitation, and more.
To make requests to the OpenWeatherMap API, you need to again use the requests library in Python. You need to make a GET request to the API endpoint with the appropriate query parameters, including your API key and the city name for which you want to get weather details.
Here's an example code snippet that demonstrates how to make a request to the OpenWeatherMap API:
import requests

api_key = '<YOUR_API_KEY>'
city_name = '<CITY_NAME>'

api_endpoint = 'https://api.openweathermap.org/data/2.5/weather'
query_params = {'q': city_name, 'appid': api_key, 'units': 'metric'}

response = requests.get(api_endpoint, params=query_params)

if response.status_code == 200:
    data = response.json()
    # Handle response data
else:
    # Handle errors
    print(f'Error: {response.status_code} - {response.text}')
The response from the OpenWeatherMap API is in JSON format. You can parse the response and convert it into a Python dictionary using the json() method.
A sample successful JSON response looks like below:
{
  "coord":{
    "lon":77.6033,
    "lat":12.9762
  },
  "weather":[
    {
      "id":802,
      "main":"Clouds",
      "description":"scattered clouds",
      "icon":"03d"
    }
  ],
  "base":"stations",
  "main":{
    "temp":27.8,
    "feels_like":29.26,
    "temp_min":26.9,
    "temp_max":27.8,
    "pressure":1018,
    "humidity":61
  },
  "visibility":6000,
  "wind":{
    "speed":3.09,
    "deg":250
  },
  "clouds":{
    "all":40
  },
  "dt":1680150474,
  "sys":{
    "type":1,
    "id":9205,
    "country":"IN",
    "sunrise":1680137244,
    "sunset":1680181248
  },
  "timezone":19800,
  "id":1277333,
  "name":"Bengaluru",
  "cod":200
}
From the response dictionary, you can extract various weather details such as temperature, wind speed, humidity, and precipitation. For example, to extract the temperature in Celsius, you can use the following code:
import requests

api_key = '<YOUR_API_KEY>'
city_name = '<CITY_NAME>'

api_endpoint = 'https://api.openweathermap.org/data/2.5/weather'
query_params = {'q': city_name, 'appid': api_key, 'units': 'metric'}

response = requests.get(api_endpoint, params=query_params)

if response.status_code == 200:
    data = response.json()
    # Handle response data
    temperature = data['main']['temp']
    print(temperature)
else:
    # Handle errors
    print(f'Error: {response.status_code} - {response.text}')
Similarly, you can extract other weather details as required.
How to Build the GUI Application With Tkinter
In the weather forecasting application, you will be using Tkinter to create a graphical interface for the user to input the location details and retrieve the weather information.
The GUI will have an input field where users can enter either the IP address or the city name. It will also include a button to retrieve the weather details and another button to fetch the weather details using the current location direction.
This GUI will be a simple and intuitive way for users to interact with the application and retrieve the information they need.

How to Create the Main Window and Layout
To build a GUI application with Tkinter, you first need to create the main window and layout. You will create a window with a width of 400 pixels and a height of 200 pixels using the Tk() function of the Tkinter module. You will then set the title of the window using the title() function.
You will also add the necessary labels, buttons, and entry fields to our window using the Label(), Button(), and Entry() functions of the Tkinter module. You will use the pack() function to display these widgets in our window.
import tkinter as tk

root = tk.Tk()
root.title("Weather Forecasting App")
root.geometry("400x200")

input_label = tk.Label(root, text="Enter city or IP address:")
input_label.pack()

input_field = tk.Entry(root)
input_field.pack()

submit_button = tk.Button(root, text="Get Weather", command=get_weather)
submit_button.pack()

location_button = tk.Button(root, text="Use Current Location", command=get_location_weather)
location_button.pack()

weather_label = tk.Label(root, text="")
weather_label.pack()

root.mainloop()
You have added the necessary labels, buttons, and entry fields in the above code. The input_label and input_field allows the user to enter the city or IP address. The submit_button retrieves the weather information using the entered value, and the location_button retrieves the weather information for the current location. The weather_label displays the retrieved weather information.
How to Retrieve and Display Weather Information
To retrieve and display weather information, you will define two functions get_weather() and get_location_weather().
The get_weather() function retrieves the weather details based on the user input. If the user inputs an IP address, the function first fetches the city name using the ipbase.com API, then uses the city name to fetch weather details using the OpenWeatherMap API.
If the user inputs a city name directly, the function uses the city name to fetch weather details using the OpenWeatherMap API. The function then updates the weather label to display the temperature in Celsius for the specified location.
The get_location_weather() function fetches the current location using the ipbase.com API and then uses the city name to fetch weather details using the OpenWeatherMap API. The function updates the weather label to display the temperature in Celsius for the current location.
Here is the complete code for the get_weather() and get_location_weather() functions:
import requests
import tkinter as tk
import re
from decouple import config

OPEN_WEATHER_MAP_API_KEY = config("OPEN_WEATHER_MAP_API_KEY")
OPEN_WEATHER_MAP_API_ENDPOINT = 'https://api.openweathermap.org/data/2.5/weather'

IPBASE_API_KEY = config("IPBASE_API_KEY")
IPBASE_API_ENDPOINT = "https://api.ipbase.com/v2/info"

IP_ADDRESS_REGEX = re.compile(r"\b(?:\d{1,3}\.){3}\d{1,3}\b")


def get_weather():
    input_value = input_field.get()

    if IP_ADDRESS_REGEX.match(input_value):
        ipbase_query_params = {
            "apiKey": IPBASE_API_KEY,
            "ip": input_value
        }
        response = requests.get(IPBASE_API_ENDPOINT,
                                params=ipbase_query_params)
        city_name = response.json()["data"]["location"]["city"]["name"]

        weather_query_params = {
            'q': city_name,
            'appid': OPEN_WEATHER_MAP_API_KEY,
            'units': 'metric'
        }
        response = requests.get(
            OPEN_WEATHER_MAP_API_ENDPOINT, params=weather_query_params)
        weather_data = response.json()

    else:
        # Try to get weather data directly using city name
        weather_query_params = {
            'q': input_value,
            'appid': OPEN_WEATHER_MAP_API_KEY,
            'units': 'metric'
        }
        response = requests.get(
            OPEN_WEATHER_MAP_API_ENDPOINT, params=weather_query_params)
        weather_data = response.json()

    # Display weather data
    weather_label.config(
        text=f"{weather_data['name']}: {weather_data['main']['temp']}°C")


def get_location_weather():
    query_params = {
        "apiKey": IPBASE_API_KEY
    }
    response = requests.get(IPBASE_API_ENDPOINT, params=query_params)
    city_name = response.json()["data"]["location"]["city"]["name"]

    weather_query_params = {
        'q': city_name,
        'appid': OPEN_WEATHER_MAP_API_KEY,
        'units': 'metric'
    }
    response = requests.get(
        OPEN_WEATHER_MAP_API_ENDPOINT, params=weather_query_params)
    weather_data = response.json()

    # Display weather data
    weather_label.config(
        text=f"{weather_data['name']}: {weather_data['main']['temp']}°C")
Instead of hardcoding the API key values, you set their values in the environment variables. Create a .env file and add the following code:
export OPEN_WEATHER_MAP_API_KEY='your-value-here'
export IPBASE_API_KEY='your-value-here'
Replace the your-value-here with the correct API key values and run the following command to set the environment variables:
source .env
You then use the python-decouple library to read the API key values in the Python code.
Apart from this, the code imports the re module to use regular expressions for pattern matching. It is used to check whether a user has enter an IP address.
Note: Make sure you add the above two functions before the Tkinter code, otherwise you'll get a NameError for the function names.
If you're confused, you can see the code in this repository.
Conclusion
In this tutorial, you learned how to build a Weather Forecast Application using Tkinter. You utilized two external API services to obtain real-time data.
There are several ways in which you can extend and improve this project. For example, you can add more features to the GUI application, such as the ability to retrieve weather forecasts for multiple days or display weather data for multiple locations at once.
If you've followed along with this tutorial and built your own Weather Forecast application, I encourage you to share your creation with the world! Take a screenshot or record a video of your application in action, and share it on Twitter. Be sure to tag me, @ashutoshkrris, so that I can see your work and share it with my followers.
I can't wait to see what you've created! Happy coding!