
In this beginner React tutorial we're going to build a quiz app. We'll work with complex state objects, how to handle different state hooks, and render things based on state.
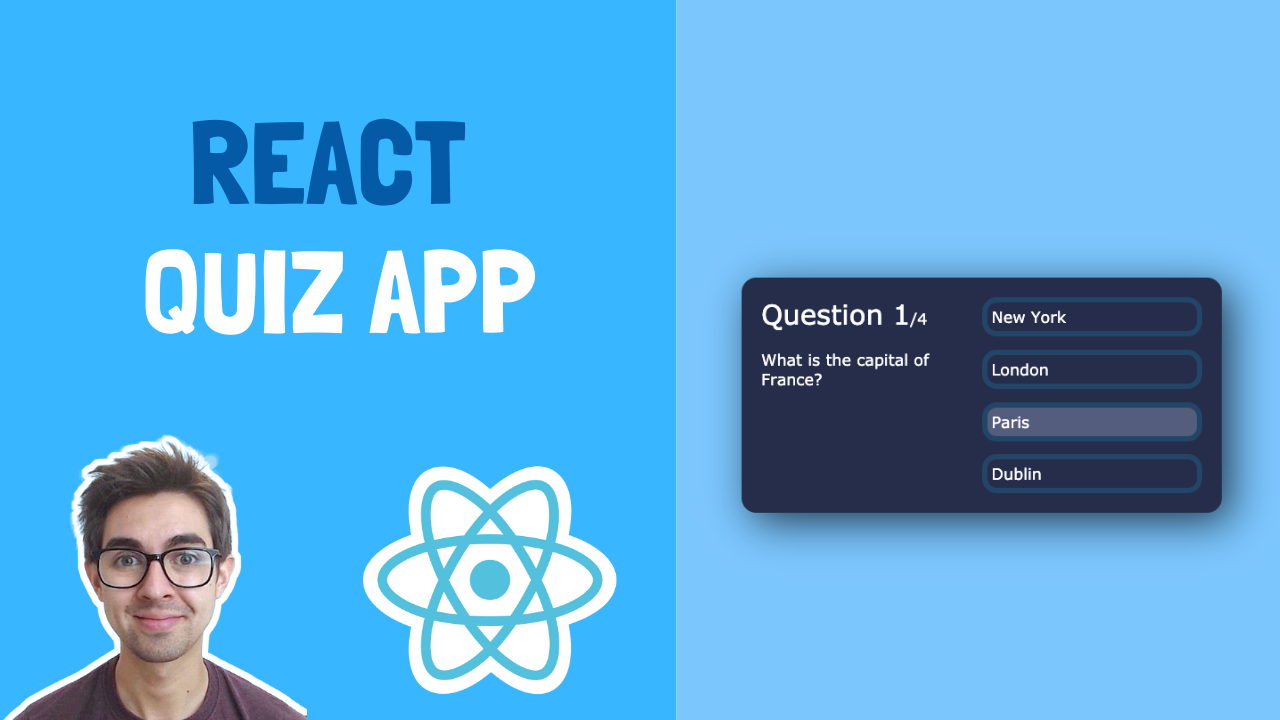
Check it out:

Try it yourself
If you want to have a go yourself first, here are the scenarios (you can also grab the starter code below):
- When the user clicks a button, the next question should show
- If the user gets the question correct, it should increment their score
- When the user gets to the end of the quiz, their total score should be shown
Video Walkthrough
Starter Code
Let's go!
If you open up the starter code and go to App.js, you’ll see I’ve given you a list of questions/answers, stored as an array called questions. This is our quiz.
Our first goal is to take the question data from the array, and display it on the screen.
We’ll remove the hardcoded text and take the data from the first question for now, just to get things going. We'll worry about switching questions later.
In our JSX, remove the hardcoded question text and type {questions[0]} to get the first item (or question) in our question array.
<div className='question-text'>{questions[0]}</div>
Rendering the Question and Answers
The first question is an object, so we can use “dot notation” to get access to the properties. Now we’ll just do {question[0].questionText} to get access to the question text for this object:
<div className='question-text'>{questions[0].questionText}</div>
Save and run the app. Notice how the text updates. Remember we're just taking the first question text from the first object in our questions array.
We’ll take a similar approach to the answer options. Remove the hardcoded buttons and we’ll use the map function to loop over the answer options for a given question.
Remember the map function loops over the array and gives us the current item the loop is currently at, in the form of a variable.
Replace the "answer-section" div with the following:
<div className='answer-section'>
    {questions[0].answerOptions.map((answerOption, index) => (
        <button>{answerOption.answerText}</button>
    ))}
</div>
Save and run the app. Notice how four answer buttons appear and the text is rendered dynamically.
Let's recap:
- We're getting the first question from the questions array:
questions[0] - The first question is an object, which contains an array of
answerOptions. We can get at this array by using dot notation:questions[0].answerOptions - Because the
answerOptionsis an array, we can map over this:questions[0].answerOptions.map - Inside the map function, we render a button for each
answerOption, and display the text
Changing questions using state
Now let's go back into our JSX. Notice how if we change questions[0] to questions[1], or questions[2], the UI will update. This is because it's taking the data from different questions in our questions array, depending on the index.
What we want to do is use a state object to hold which question the user is currently on, and update this when an answer button is clicked. You can see this from running the code in the final example.
Go ahead and add a state object, which will hold the current question number the user is on. This will be initialised to 0 so the quiz takes the first question from the array:
const [currentQuestion, setCurrentQuestion] = useState(0);
Now we want to replace the hardcoded '0' in our JSX with this variable. First for the question text:
<div className='question-text'>{questions[currentQuestion].questionText}</div>
And also for the question section:
<div className='answer-section'>
    {questions[currentQuestion].answerOptions.map((answerOption, index) => (
        <button>{answerOption.answerText}</button>
    ))}
</div>
Now if you initialise the currentQuestion to something other than 0, for example 1 or 2, the UI will update to show the question and the answers for that particular question. Pretty cool!
Let's add some code so that when we click an answer, we increment the currentQuestion value to take us to the next question.
Create a new function called handleAnswerButtonClick. This is what will get called when the user clicks an answer.
We’re going to increment the current question value by one, save it to a new variable, and set this new variable into state:
const handleAnswerButtonClick = (answerOption) => {
    const nextQuestion = currentQuestion + 1;
    setCurrentQuestion(nextQuestion);
};
Next add an onClick event to our button like so:
<button onClick={() => handleAnswerButtonClick()}>{answerOption.answerText}</button>
If we try this, you'll see it works, until we get to the end:

So what’s happening? Well in our handleAnswerButtonClick function, we’re incrementing the number and setting it to state. Thats OK.
But remember that we use this number to access an array, in order to get the question and answer options. Once we get to 5, it will break as there is no 5th element!
Let’s do a check to make sure we don’t go over the limit. In our handleAnswerButtonClick function let’s add the following condition:
if (nextQuestion < questions.length) {
    setCurrentQuestion(nextQuestion);
} else {
    alert('you reached the end of the quiz');
}
This basically says if the next question number is less than the total number of questions, update the state to the next question. Else, we’ve reached the end of the quiz, so show an alert for now.
Showing the score screen
Instead of showing an alert, what we want to do is show the “score” screen.
If we look at the JSX, you’ll notice that I’ve put the markup in here for you, we just need to replace “false” with the logic.
So how do we go about this? Well this is a perfect thing to put in state!
Add another state object which will store wether we want to show the score screen or not:
const [showScore, setShowScore] = useState(false);
And replace false with showScore in our JSX:
<div className='app'>{showScore ? <div className='score-section'>// ... score section markup</div> : <>// ... quiz question/answer markup</>}</div>
Nothing will change, but if we change the state value to true, then the score div will show. This is because everything is wrapped in a ternary, meaning:
“If showScore is true, render the score section markup, else, render the quiz question/answer markup”
Now, we want to update this state variable when the user has reached the end of the quiz. We have already written the logic for this in our handleAnswerButtonClick function.
All we have to do is replace the alert logic that updates the showScore variable to being true:
if (nextQuestion < questions.length) {
    setCurrentQuestion(nextQuestion);
} else {
    setShowScore(true);
}
If we click through the answers of the quiz, it’ll show the score section when we get to the end. At the moment, the text and score shown is a hardcoded string, so we should make it dynamic.
Saving the score
Our next task is to hold a score somewhere in our app, and increment this value if the user selects the correct option.
The logical place to do this is within the “handleAnswerOptonClick” function.
Remember when we iterate over the answerOptions, the map function gives us an object for each which includes the questionText, and a boolean value showing whether that answer is correct or not. This boolean is what we will use to help us increment our score.
In our button, update the function like so:
onClick={()=> handleAnswerButtonClick(answerOption.isCorrect)
Next update the function to accept this parameter:
const handleAnswerButtonClick = (isCorrect) => {
    //... other code
};
Now we can add some logic here in our function. For now we want to say “if isCorrect is true, we want to show an alert”:
const handleAnswerButtonClick = (isCorrect) => {
    if (isCorrect) {
        alert(“the answer is correct!”)
    }

    //...other code
};
This is the same as if(isCorrect === true), just a shorthand version. Now if we try this you will see we get an alert when we click on the correct answer.
Just to recap so far:
- When we iterate over the buttons, we pass the
isCorrectboolean value for that button to the handleAnswerButtonClick function - In the function we check if this value is true and show an alert if it is.
Next we want to actually save the score. How do you think we do this? If you said state value you are correct!
Go ahead and add another state value called “score”. Remember to prefix the function to change the value with “set” so it’ll be setScore. Initialise it to 0:
const [score, setScore] = useState(0);
Next instead of showing an alert, we want to update our score by 1 if the user got the answer correct.
In our handleAnswerButtonClick function, remove the alert and increment our score by one:
const handleAnswerButtonClick = (isCorrect) => {
    if (answerOption.isCorrect) {
        setScore(score + 1);
    }

    //...other code
};
Showing the score
To show the score we just have to make a small change to our rendering code. In our JSX, remove the hardcoded string in the score section, and add this new variable:
<div className='score-section'>
    You scored {score} out of {questions.length}
</div>
<div className='score-section'>
    You scored {score} out of {questions.length}
</div>
Now if we run through the answers, the score is dynamic and will display correctly at the end!
One last thing before we wrap up our quiz app: you’ll notice the current question shown on the UI is always “1”, since it's hardcoded. We need to change this to be more dynamic.
Replace the "question-count" with the following:
<div className='question-count'>
    <span>Question {currentQuestionIndex + 1}</span>/{questions.length}
</div>
Remember we need the +1 as computers start counting from 0 and not 1.
Want more project ideas?
Why not try building some React projects to boost your learning even further? Every week I send out a new project for you to try a working example, starter code, and tips. Subscribe to get this straight to your inbox!