

The package Create React App makes creating and developing React apps a breeze.
It is one of the easiest ways to spin up a new React project and is an ideal choice to use for your own personal projects as well as for serious, large-scale applications.
We're going to cover, step-by-step, how to use all of the major features of Create React App to quickly and easily build your own React projects.
Throughout this guide, I've also included a lot of helpful tips I've learned through building apps with Create React App to make your workflow even easier.
Let's get started.
Tools You Will Need:
- Node installed on your computer. You can download Node at nodejs.org. Create React App requires a Node version of at least 10.
- A package manager called npm. It is automatically included in your installation of Node. You need to have an npm version of at least 5.2.
- A good code editor to work with our project files. I highly recommend using the editor Visual Studio Code. You can grab it at code.visualstudio.com.
Step 1. How to Install Create React App
To use Create React App, we first need to open our terminal or command line on our computer.
To create a new React project, we can use the tool npx, provided you have an npm version of at least 5.2.
Note: You can check what npm version you have by running in your terminal
npm -v
npx gives us the ability to use the create-react-app package without having to first install it on our computer, which is very convenient.
Using npx also ensures that we are using latest version of Create React App to create our project:
npx create-react-app my-react-app
Once we run this command, a folder named "my-react-app" will be created where we specified on our computer and all of the packages it requires will be automatically installed.
Note: Creating a new React app with create-react-app will usually take 2-3 minutes, sometimes more.
Create React App also gives us some templates to use for specific types of React projects.
For example, if we wanted to create a React project that used the tool TypeScript, we could use a template for that instead of having to install TypeScript manually.
To create a React app that uses TypeScript, we can use the Create React App TypeScript template:
npx create-react-app my-react-app --template typescript
Step 2. Reviewing the Project Structure
Once our project files have been created and our dependencies have been installed, our project structure should look like this:
my-react-app
├── README.md
├── node_modules
├── package.json
├── .gitignore
├── public
└── src
What are each of these files and folders for?
README.mdis a markdown file that includes a lot of helpful tips and links that can help you while learning to use Create React App.node_modulesis a folder that includes all of the dependency-related code that Create React App has installed. You will never need to go into this folder.package.jsonthat manages our app dependencies and what is included in our node_modules folder for our project, plus the scripts we need to run our app..gitignoreis a file that is used to exclude files and folders from being tracked by Git. We don't want to include large folders such as the node_modules folderpublicis a folder that we can use to store our static assets, such as images, svgs, and fonts for our React app.srcis a folder that contains our source code. It is where all of our React-related code will live and is what we will primarily work in to build our app.
Note: A new Git repository is created whenever you make a new project with Create React App. You can start saving changes to your app right away using
git add .andgit commit -m "your commit message".
Step 3. How to Run your React Project
Once you have dragged your project into your code editor, you can open up your terminal (in VSCode, go to View > Terminal).
To start your React project, you can simply run:
npm start
When we run our project, a new browser tab will automatically open on our computer's default browser to view our app.
The development server will start up on localhost:3000 and, right away, we can see the starting home page for our app.
Where is our app content coming from?
It's coming from the App.js file within the src folder. If we head over to that file, we can start making changes to our app code.
// src/App.js

import logo from "./logo.svg";
import "./App.css";

function App() {
  return (
    <div className="App">
      <header className="App-header">
        <img src={logo} className="App-logo" alt="logo" />
        <p>
          Edit <code>src/App.js</code> and save to reload.
        </p>
        <a
          className="App-link"
          href="https://reactjs.org"
          target="_blank"
          rel="noopener noreferrer"
        >
          Learn React
        </a>
      </header>
    </div>
  );
}

export default App;
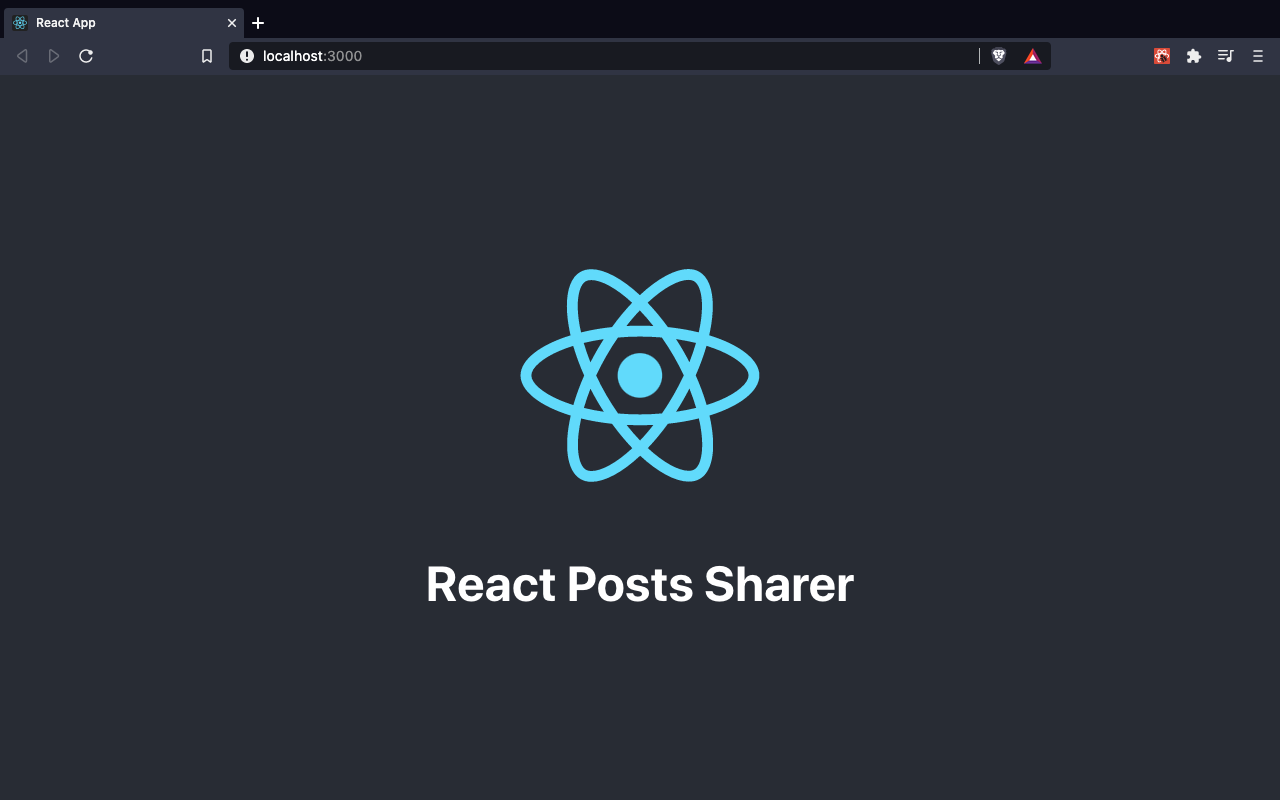
In particular, let's remove the p and a tags, and add an h1 element with the name of our app, "React Posts Sharer":
// src/App.js

import logo from "./logo.svg";
import "./App.css";

function App() {
  return (
    <div className="App">
      <header className="App-header">
        <img src={logo} className="App-logo" alt="logo" />
        <h1>React Posts Sharer</h1>
      </header>
    </div>
  );
}

export default App;
When you save by using Command/Ctrl + S, you will see our page immediately update to look like this:
What is great about the development server is that it automatically refreshes to reflect our changes. There is no need to manually refresh the browser.
Note: The only time you may need to refresh the browser when working with Create React App is when you have an error.
Step 4. How to Run Tests with the React Testing Library
Create React App makes it very simple to test your React app.
It includes all of the packages you need to run tests using the React Testing Library (@testing-library/react).
A basic test is included in the file App.test.js in src. It tests that our App component successfully displays a link with the text "learn react".
We can run our tests with the command:
npm run test
Note: Tests will be run in all files that end in .test.js when you run the command
npm run test
If we run this, however, our test will fail.
This is because we no longer have a link element, but a title element. To make our test pass we want to get a title element with the text "React Posts Sharer".
// src/App.test.js

import { render, screen } from "@testing-library/react";
import App from "./App";

test("renders app title element", () => {
  render(<App />);
  const titleElement = screen.getByText(/React Posts Sharer/i);
  expect(titleElement).toBeInTheDocument();
});
Once we run our test again, we see that it passes:
PASS  src/App.test.js

  ✓ renders app title element (54 ms)

Test Suites: 1 passed, 1 total
Tests:       1 passed, 1 total
Snapshots:   0 total
Time:        2.776 s, estimated 3 s
Ran all test suites related to changed files.
Note: When run the test command, you do not need to start and stop it manually. If you have a failing test, you can jump into your app code, fix your error, and once you hit save, all tests will automatically re-run.
Step 5. How to Change the App's Meta Data
How does our project work? We can see how by going to the index.js file.
// src/index.js

import React from 'react';
import ReactDOM from 'react-dom';
import './index.css';
import App from './App';
import reportWebVitals from './reportWebVitals';

ReactDOM.render(
  <React.StrictMode>
    <App />
  </React.StrictMode>,
  document.getElementById('root')
);
The package ReactDOM renders our application (specifically the App component and every component within it), by attaching it to a HTML element with an id value of 'root'.
This element can be found within public/index.html.
<!DOCTYPE html>
<html lang="en">
  <head>
    <meta charset="utf-8" />
    <link rel="icon" href="%PUBLIC_URL%/favicon.ico" />
    <meta name="viewport" content="width=device-width, initial-scale=1" />
    <meta name="theme-color" content="#000000" />
    <meta
      name="description"
      content="Web site created using create-react-app"
    />
    <link rel="apple-touch-icon" href="%PUBLIC_URL%/logo192.png" />
    <link rel="manifest" href="%PUBLIC_URL%/manifest.json" />
    <title>React App</title>
  </head>
  <body>
    <noscript>You need to enable JavaScript to run this app.</noscript>
    <div id="root"></div>
  </body>
</html>
The entire React app is attached to this HTML page using the div with the id of root you see above.
We don't need to change anything within the body tags. However, it is useful to change the metadata in the head tags, to tell users and search engines about our specific app.
We can see that it includes meta tags for a title, description, and favicon image (the little icon in the browser tab).
You'll also see several other tags like theme-color, apple-touch-icon and manifest. These are useful if users want to add your application to their device or computer's home screen.
In our case, we can change the title to our app name and the description to suit the app we're making:
<!DOCTYPE html>
<html lang="en">
  <head>
    <meta charset="utf-8" />
    <link rel="icon" href="%PUBLIC_URL%/favicon.ico" />
    <meta name="viewport" content="width=device-width, initial-scale=1" />
    <meta name="theme-color" content="#000000" />
    <meta
      name="description"
      content="App for sharing peoples' posts from around the web"
    />
    <link rel="apple-touch-icon" href="%PUBLIC_URL%/logo192.png" />
    <link rel="manifest" href="%PUBLIC_URL%/manifest.json" />
    <title>React Posts Sharer</title>
  </head>
  <body>
    <noscript>You need to enable JavaScript to run this app.</noscript>
    <div id="root"></div>
  </body>
</html>
Step 6. How to Work with Images and Other Assets
If we look at our App component, we see that we are using an img element.
What's interesting is that we are importing a file from our src folder, as if it was a variable being exported from that file.
// src/App.js

import "./App.css";
import logo from "./logo.svg";

function App() {
  return (
    <div className="App">
      <header className="App-header">
        <img src={logo} className="App-logo" alt="logo" />
        <h1>React Posts Sharer</h1>
      </header>
    </div>
  );
}

export default App;
We can import image files and other static assets directly into our React components. This feature comes from Create React App's webpack configuration.
Instead of including static assets directly within our src folder, we also have the option to include them in our public folder.
If we move our logo.svg file from src to public, instead of importing our file by using the import syntax, we can write the following:
// src/App.js

import "./App.css";

function App() {
  return (
    <div className="App">
      <header className="App-header">
        <img src="/logo.svg" className="App-logo" alt="logo" />
        <h1>React Posts Sharer</h1>
      </header>
    </div>
  );
}

export default App;
Any file that's placed in the public folder can be used in .js or .css files with the syntax: /filename.extension.
What is convenient about Create React App is that we do not need to use an img element at all to display this svg.
We can import this svg as a component using the following syntax:
// src/App.js

import { ReactComponent as Logo } from "./logo.svg";
import "./App.css";

function App() {
  return (
    <div className="App">
      <header className="App-header">
        <Logo style={{ height: 200 }} />
        <h1>React Posts Sharer</h1>
      </header>
    </div>
  );
}

export default App;
What is happening here? We can import the svg file as a ReactComponent and then rename it to whatever name we like using the as keyword.
In other words, we can use our imported svg just like we would a regular component.
Svg files have traditionally been challenging to use in React. This component syntax makes it very easy and allows us to do things such as use inline styles (like you see above, where we set the logo's height to 200px).
Step 7. How to Install Dependencies
For our post sharing app that we're making, let's grab some post data to display in our app from the JSON Placeholder API.
We can use a dependency called axios to make a request to get our posts.
To install axios, run:
npm install axios
Note: You can more easily install packages using the shorthand command
npm i axiosinstead ofnpm install
When we install axios, it will be added to our node_modules folder.
We can review all dependencies we have installed directly within our package.json file and see that axios has been added to the "dependencies" section:
{
  "name": "my-react-app",
  "version": "0.1.0",
  "private": true,
  "dependencies": {
    "@testing-library/jest-dom": "^5.11.4",
    "@testing-library/react": "^11.1.0",
    "@testing-library/user-event": "^12.1.10",
    "axios": "^0.21.1",
    "react": "^17.0.1",
    "react-dom": "^17.0.1",
    "react-scripts": "4.0.2",
    "web-vitals": "^1.0.1"
  }
}
We will not include it in this project, but if you are interested in using TypeScript with your existing Create React App project, the process is very simple.
You simply need to install the typescript dependency and the appropriate type definitions to use for React development and testing:
npm install typescript @types/node @types/react @types/react-dom @types/jest
After that, you can simply restart your development server and rename any React file that ends with .js to .tsx and you have a working React and TypeScript project.
Step 8. How to Import Components
Instead of writing all of our code within the App component, let's create a separate component to fetch our data and display it.
We'll call this component Posts, so let's create a folder within src to hold all of our components and put a file within it: Posts.js.
The complete path for our component file is src/components/Posts.js.
To fetch our posts, we will request them from JSON Placeholder, put them in a state variable called posts, and then map over them to display their title and body:
// src/components/Posts.js

import React from "react";
import axios from "axios";

function Posts() {
  const [posts, setPosts] = React.useState([]);

  React.useEffect(() => {
    axios
      .get("http://jsonplaceholder.typicode.com/posts")
      .then((response) => setPosts(response.data));
  }, []);

  return (
    <ul className="posts">
      {posts.map((post) => (
        <li className="post" key={post.id}>
          <h4>{post.title}</h4>
          <p>{post.body}</p>
        </li>
      ))}
    </ul>
  );
}

export default Posts;
We are fetching and returning our post data from the Posts component, but to see it in our app, we need to import it into the App component.
Let's head back to App.js and import it by going into the components folder and getting the Posts component from Posts.js.
After that, we can place our Posts component under our header:
// src/App.js

import Posts from "./components/Posts";
import "./App.css";

function App() {
  return (
    <div className="App">
      <header className="App-header">
        <img src="/logo.svg" className="App-logo" alt="logo" />
        <h1>React Posts Sharer</h1>
      </header>
      <Posts />
    </div>
  );
}

export default App;
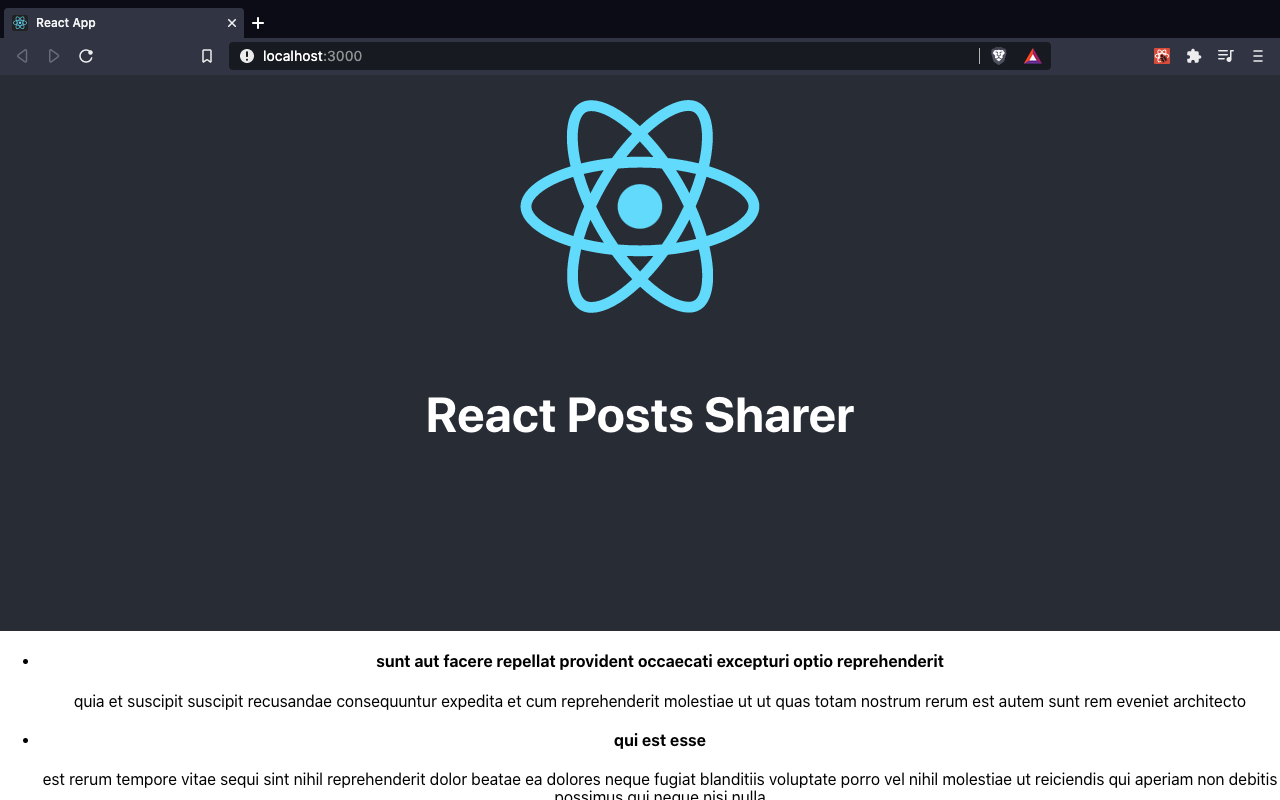
And we can see all of our fetched posts on our home page below our header:
Step 9: How to Style our App with CSS
Our app could benefit from some improved styles.
Create React App comes with CSS support out of the box. If you head to App.js, you can see at the top that we are importing an App.css file from src.
Note: You can import .css files into any component you like, however these styles will be applied globally to our app. They are not scoped to the component into which the .css file is imported.
Within App.css, we can add some styles to improve our app's appearance:
/* src/App.css */

.App {
  text-align: center;
  margin: 0 auto;
  max-width: 1000px;
}

.App-logo {
  height: 40vmin;
  pointer-events: none;
}

.App-header {
  margin: 0 auto;
  display: flex;
  flex-direction: column;
  align-items: center;
  justify-content: center;
  font-size: calc(10px + 2vmin);
}

li {
  list-style-type: none;
}

.post {
  margin-bottom: 4em;
}

.post h4 {
  font-size: 2rem;
}
There is also another global stylesheet called index.css that has more general style rules.
In it, we can add some additional properties for the body element to make our background dark and our text white:
/* src/index.css */

body {
  background-color: #282c34;
  color: white;
  margin: 0;
  font-family: -apple-system, BlinkMacSystemFont, "Segoe UI", "Roboto", "Oxygen",
    "Ubuntu", "Cantarell", "Fira Sans", "Droid Sans", "Helvetica Neue",
    sans-serif;
  -webkit-font-smoothing: antialiased;
  -moz-osx-font-smoothing: grayscale;
}
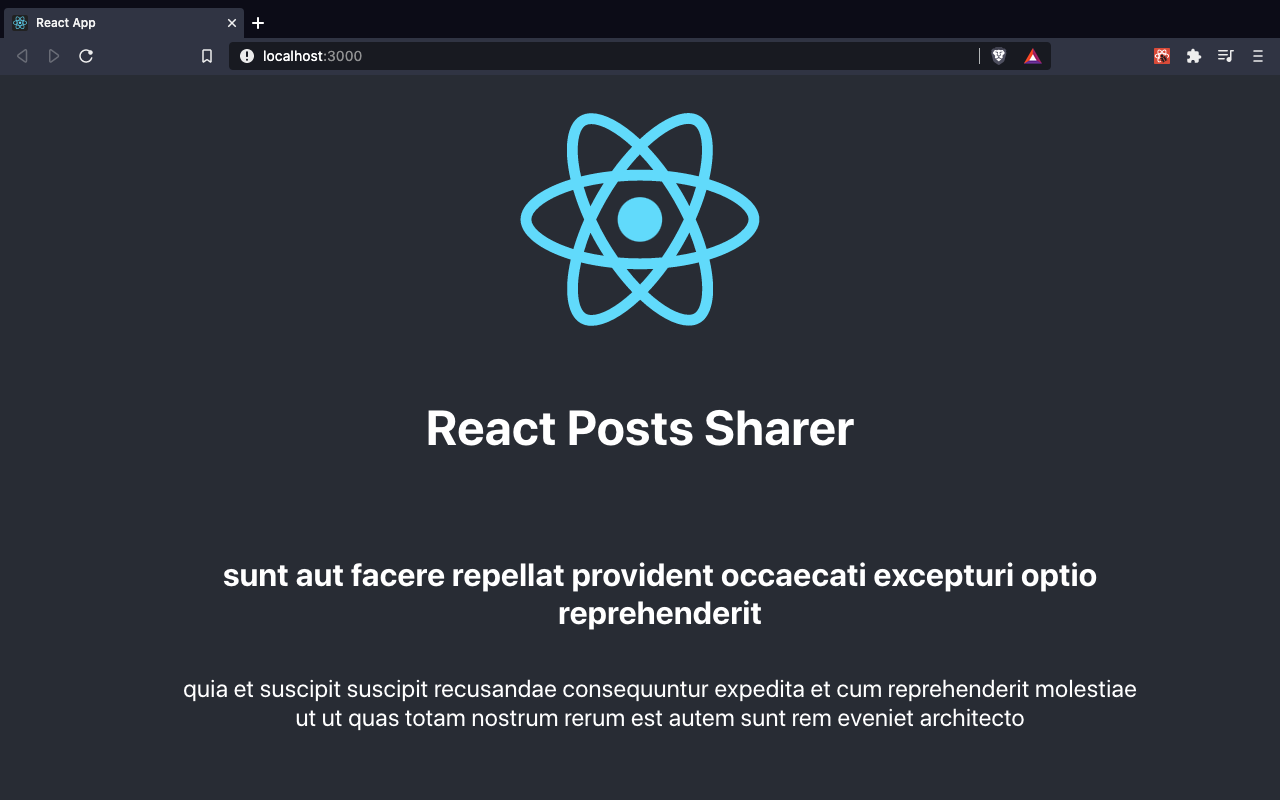
After adding these styles, we have a much better looking app:
Be aware that it is also very easy to add a more advanced CSS configurations, such as if you want to add CSS modules or SASS to your React app.
More helpful resources for CSS styling are included in your README.md file.
Step 10. How to Build the App and Publish It
Once we are happy with our app and are ready to publish it, we can build it with the following command:
npm run build
This command will create an optimized production build for our project and will output what files it has generated and how large each file is:
Compiled successfully.

File sizes after gzip:

  46.62 KB  build/static/js/2.1500c654.chunk.js
  1.59 KB   build/static/js/3.8022f77f.chunk.js
  1.17 KB   build/static/js/runtime-main.86c7b7c2.js
  649 B     build/static/js/main.ef6580eb.chunk.js
  430 B     build/static/css/main.5ae9c609.chunk.css
The output is coming from the build tool Webpack.
It helps to give us an idea of the size of our app files because the size of our .js files in particular can make a large impact on our app's performance.
Each chunk includes a unique string or hash, which will change on every build to make sure any new deployment is not saved (cached) by the browser.
If we did not have this cache-busting hash for each of our files, we likely couldn't see any changes we made to our app.
Finally, we can run our built React project locally with the help of the npm package serve.
This is helpful to detect any errors we might have with the final version of our project before pushing live to the web.
Like create-react-app, we can use npx to run serve without installing it globally on our computer.
npx serve
Using serve, our app will start up on a different development port instead of 3000. In this case, localhost:5000.
And with that, we have a completed React application ready to publish live to the web on any deployment service, such as Netlify, Github Pages, or Heroku!
Become a Professional React Developer
React is hard. You shouldn't have to figure it out yourself.
I've put everything I know about React into a single course, to help you reach your goals in record time:
Introducing: The React Bootcamp
It’s the one course I wish I had when I started learning React.
Click below to try the React Bootcamp for yourself:
 Click to get started