

The Problem We're Solving
In many cases when we want to create a small application, we might have some components that declare and use their own state. And in a few cases, a component might want to share the state with its immediate children.
We can handle these situations just by declaring states locally within a component – and maybe pass the state to its children in the form of props if needed (which is also known as prop drilling).
But if your application grows in size, you might need to pass state to a child which might be several steps down the hierarchy. You might also need to use a common state between sibling components.
Sure, in the case of state sharing between sibling components we can declare the state in their parents and then pass the state down to their children by prop drilling. But that may not always be feasible and has its own disadvantages that we will see in a bit.
Just consider the following diagram:

This is a schematic representation of a component file structure in a typical React application.
Let's say we need to share a common state between Child 5 and Child 6. In that case we can very well declare a state in their parent (that is, Child 2) and pass the state down to the two children (5 and 6).
All good as of now. But what if we need to have the same piece of state in Child 3? In that case we would need to declare the state in the common parent/grandparent of Children 5, 6, and 3 – that is, the App component.
Similarly what if we want to share a state between Children 4, 11, and 10 which are far away from each other in the tree? We would again need to create the state in the App component and then do multiple levels of prop drilling to pass the state from App to these components.
And as time passes and our app grows in size, it will start making our App component or any other such common parent component cluttered with unnecessary state declarations. These declarations aren't used directly by these components but are used by some of their far-down children.
Disadvantages of Multi-Step Prop Drilling
There are primarily two disadvantages with multi level prop drilling. They are:
- Unnecessary bloating of components: As discussed above, as our app grows in size, some common parent components might get bloated with unnecessary state declarations. And these components might not directly use those declarations, but they might be used by some of their distant children. Some other components might also get bloated which are just acting as prop passers to a child component. This will also negatively affect code readability.
- Unnecessary re-rendering: Unnecessary re-rendering is a big no no for a client-side application. Unnecessary re-renders can make an app slow, laggy, unresponsive and give a bad user experience. In React, re-renderings are caused by state or prop changes, among other reasons. So if a component is not actually using a state and is only acting as a passage from parent to child for the props, then it might also get re-rendered unnecessarily when the state/ props changes. See the below picture to understand it better

The Solution to this Problem
This is why we use a state management app like Redux or MobX to handle the above scenarios of state management in a more uniform and efficient way.
In these kind of state management solutions like Redux, we can create a global state and put it in a store. Whichever component requires any state from that store can easily get it by subscribing to the store. This way we can get rid of both the above disadvantages.
- Decluttering of components: Getting state on demand from the component which is "actually" using it can declutter many of our components to a large extent by removing all unnecessary prop drilling.
- No more unnecessary re-renders: As we do not have components that just act as a prop passer, we also avoid unnecessary re-rendering of those components. Only the components that uses a piece of the global state re-render when the state changes which is a desired behavior.
What You'll Learn Here
In this tutorial, you will learn how to set up your own Redux-powered React application. We will create a react application and setup up redux to be able to manage state globally so that any component can access any part of the state (hence the name redux powered react app). Some of the other alternative of redux that one can try are MobX, Zustand etc, but for this article we will be using redux.
We will go through how to create the store and connect it to the application. We'll also see how to write actions and dispatch them on user interactions. Then we'll see how to make reducers and update the store, read the store from other components which are children of App, and much more.
I'll also provide all the important code snippets along the way so that you can quickly spin up the application as you read and code along.
To give you a glimpse in the beginning, this is what we will build by the end:

We will be creating a basic application where we can add and remove items in a cart. We will manage the state changes in the Redux store and display the information in the UI.
Before We Start
Before proceeding with this tutorial, you should be familiar with the Redux store, actions, and reducers.
If you're not, you can go through my last article that I wrote on Redux (if you haven't yet): What is Redux? Store, Actions, and Reducers Explained for Beginners.
This will help you understand the current article. In this previous tutorial, I tried to explain the fundamental principles/ concepts of Redux. I covered what the store is, what actions are, and how reducers work. I also discuss what makes Redux predictable along with an example.

Initial Code Setup
Let's get everything we need setup for our project. Just follow these steps and you'll be up and running in no time.
1. Create a React app with the create-react-app command
npx create-react-app react-app-with-redux
2. Go to the newly created folder
Just type this command to navigate to the new folder:
cd react-app-with-redux
3. Install Redux and the react-redux libraries
You can install Redux and react-redux like this:
npm install redux react-redux
4. Run the application
You can run your new app with the following command:
npm start
How to Build the Main App
5. How to create the Reducer
To create a reducer, first create a folder inside src named actionTypes. Then create a file inside it named actionTypes.js. This file will contain all the actions the application will be dealing with.
Add the following lines in actionTypes.js:
export const ADD_ITEM = "ADD_ITEM";
export const DELETE_ITEM = "DELETE_ITEM";
Since our app will have the functionality of adding and deleting items, we need the above two action types.
Next create a folder inside the src called reducers and create a new file in it named cartReducer.js. This file will contain all the reducer logic related to the cart component.
Note: We will create the view/ UI in step 8, so hold on for that.
Add the following lines in cartReducer.js:
import { ADD_ITEM, DELETE_ITEM } from "../actionTypes/actionTypes";

const initialState = {
  numOfItems: 0,
};

export default const cartReducer = (state = initialState, action) => {
  switch (action.type) {
    case ADD_ITEM:
      return {
        ...state,
        numOfItems: state.numOfItems + 1,
      };

    case DELETE_ITEM:
      return {
        ...state,
        numOfItems: state.numOfItems - 1,
      };
    default:
      return state;
  }
};
As we discussed it in my previous tutorial, we created an initial state for the app and assigned it to the default parameter of state in the cartReducer function.
This function switches on the type of action dispatched. Then depending on whichever case matches with the action type, it makes necessary changes in the state and returns a fresh new instance of the updated state.
If none of the action types matche, then the state is returned as it is.
Finally we make a default export of the cakeReducer function to use it in the store creation process.
6. How to create the store and provide it to the app
Create a file inside src with the name store.js and create the store using this command:
const store = createStore()
Add the following lines in store.js:
import { createStore } from "redux";
import { cartReducer } from "./reducers/cartReducer";

const store = createStore(cartReducer);

export default store;
Now it's time to provide this store to the App component. For this we'll use the <Provider> tag that we get from the react-redux library.
We wrap the whole App component inside the <Provider> tag using the following syntax:
// rest of the code ...

<Provider store={store}>
        <div>App Component</div>
        // child components of App/ other logic
</Provider>

// rest of the code ...
By wrapping the App component inside the <Provider> tag, all the children component of App will get access of the store. You can read my previous article on What is Redux? Store, Actions, and Reducers Explained for Beginners to know more.
Continuing with App.js, add the following lines to the file:
import "./App.css";
import { Provider } from "react-redux";
import store from "./store";

function App() {
  return (
    <Provider store={store}>
      <div>App Component</div>
    </Provider>
  );
}

export default App;
7. Create the Actions
Now create a folder inside src called actions and create a file inside it called cartAction.js. Here we will add all the actions to be dispatched on some user interactions.
Add the following lines in the cartAction.js:
import { ADD_ITEM, DELETE_ITEM } from "../actionTypes/actionTypes";

const addItem = () => {
  return {
    type: ADD_ITEM,
  };
};

const deleteItem = () => {
  return {
    type: DELETE_ITEM,
  };
};

export { addItem, deleteItem };
In the above code we created two action creators (pure JS functions that returns action object) called addItem() and deleteItem(). Both the action creators return action objects with a specific type.
Note: Each action object must have a unique type value. Along with it, any additional data passed with the action object is optional and will depend on the logic used for updating the state
8. How to create the view/UI
Now that we have created all the required entities such as the store, actions, and Reducers, it's time to create the UI elements.
Create a component folder inside src and a Cart.js file inside it. Add the following lines inside Cart.js:
import React from "react";

const Cart = () => {
  return (
    <div className="cart">
      <h2>Number of items in Cart:</h2>
      <button className="green">Add Item to Cart</button>
      <button className="red">Remove Item from Cart</button>
    </div>
  );
};

export default Cart;
Add this Cart component in the App.js file:
import "./App.css";
import { Provider } from "react-redux";
import store from "./store";
import Cart from "./component/Cart";

function App() {
  return (
    <Provider store={store}>
      <Cart />
    </Provider>
  );
}

export default App;
Just to make it a bit presentable, I have added a bit of basic styling in App.css as follows:
button {
  margin: 10px;
  font-size: 16px;
  letter-spacing: 2px;
  font-weight: 400;
  color: #fff;
  padding: 23px 50px;
  text-align: center;
  display: inline-block;
  text-decoration: none;
  border: 0px;
  cursor: pointer;
}
.green {
  background-color: rgb(6, 172, 0);
}
.red {
  background-color: rgb(221, 52, 66);
}
.red:disabled {
  background-color: rgb(193, 191, 191);
  cursor: not-allowed;
}
.cart {
  text-align: center;
}
This is how the UI looks as of now:
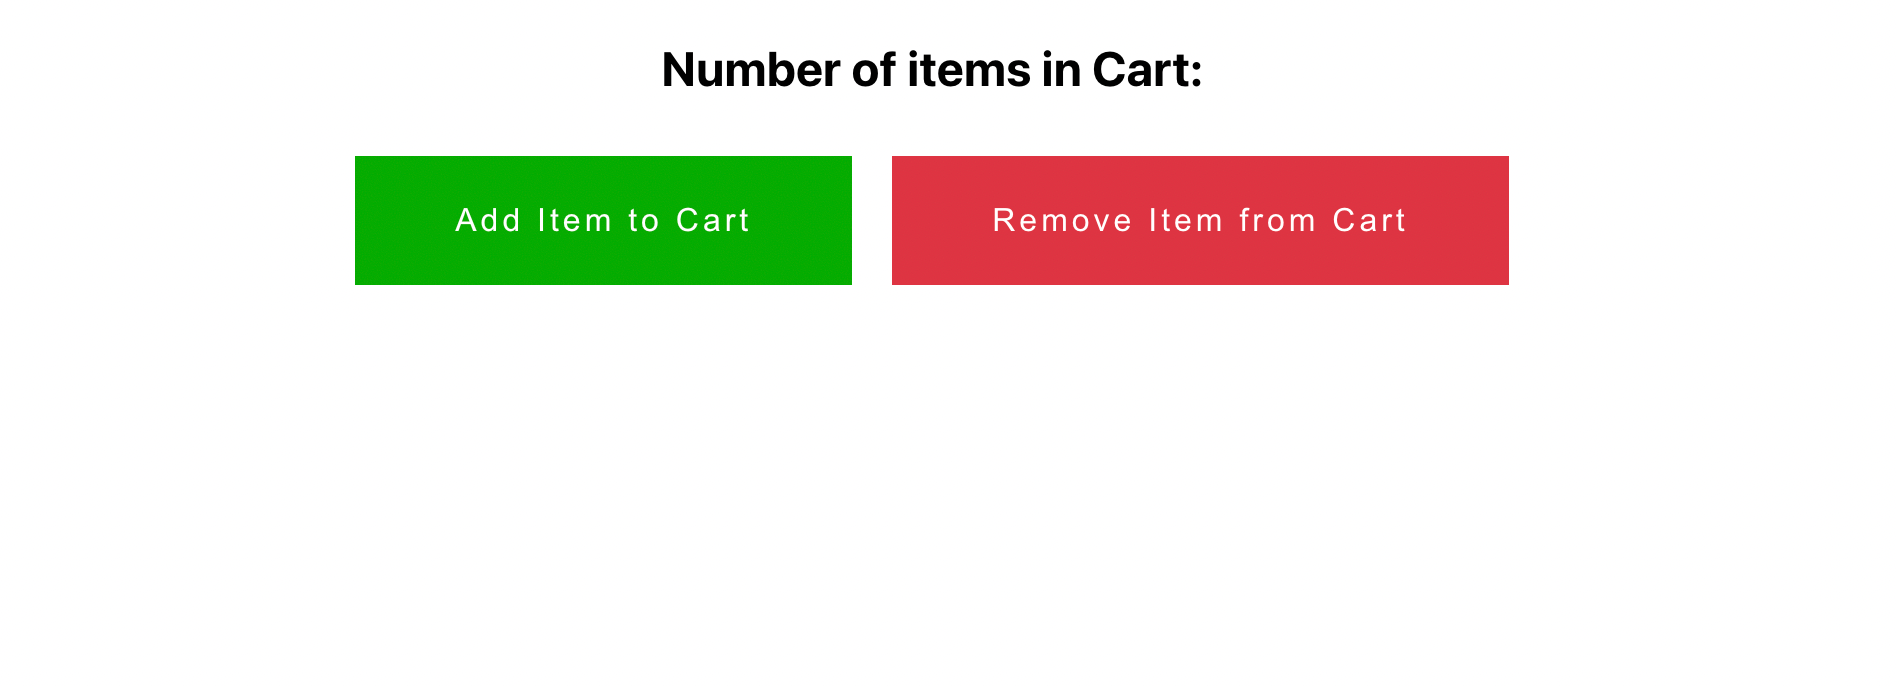
9. How to read and access the store using the useSelector hook
useSelector is a hook provided by the react-redux library that helps us read the store and its content(s).
Import the hook from react-redux and use the following syntax to read the store with useSelector hook:
import { useSelector } from "react-redux";
// rest of the code
const state = useSelector((state) => state);

// rest of the code
After adding the useSelector hook, your Cart.js file will look something like this:
import React from "react";
import { useSelector } from "react-redux";

const Cart = () => {
  const state = useSelector((state) => state);
  console.log("store", state);
  return (
    <div className="cart">
      <h2>Number of items in Cart:</h2>
      <button className="green">Add Item to Cart</button>
      <button className="red">Remove Item from Cart</button>
    </div>
  );
};

export default Cart;
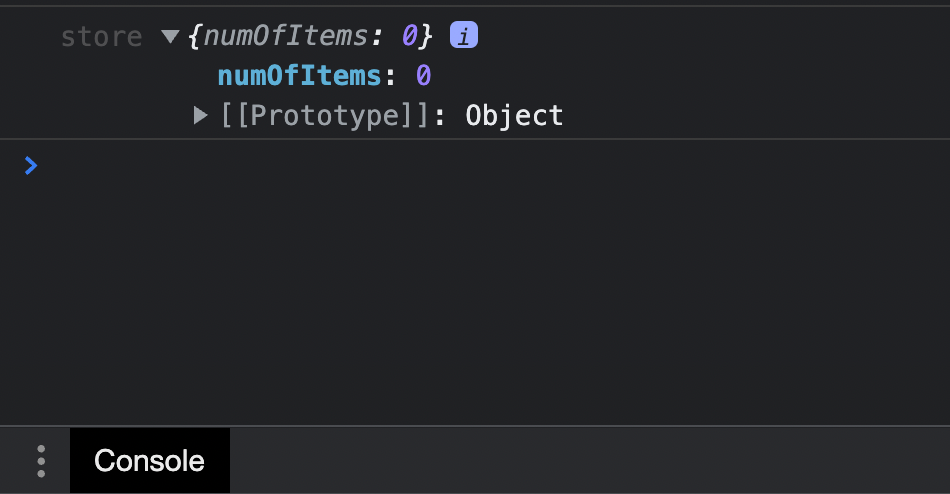
Console logging the state will give us the initial state that we set in the reducer file in step 5.
10. How to dispatch an action on button click with the useDispatch hook
The react-redux library gives us another hook called the useDispatch hook. It helps us dispatch the actions or action creators which in turn return actions. The syntax is as follows:
const dispatch = useDispatch();

dispatch(actionObject or calling the action creator);
Thus adding a dispatcher into our Cart.js will finally make the file look something like this:
import React from "react";
import { useSelector, useDispatch } from "react-redux";
import { addItem, deleteItem } from "../actions/cartAction";

const Cart = () => {
  const state = useSelector((state) => state);
  const dispatch = useDispatch();
  return (
    <div className="cart">
      <h2>Number of items in Cart: {state.numOfItems}</h2>
      <button
        onClick={() => {
          dispatch(addItem());
        }}
      >
        Add Item to Cart
      </button>
      <button
        disabled={state.numOfItems > 0 ? false : true}
        onClick={() => {
          dispatch(deleteItem());
        }}
      >
        Remove Item to Cart
      </button>
    </div>
  );
};

export default Cart;
Note how on click of the Add Item to Cart button, we dispatch the action creator addItem() that we created in step no. 7.
Similarly on click on the Remove Item from Cart button, we dispatch the action creator with deleteItem().
The state variable stores the state of the app, which is basically an object with a key numOfItems. So state.numOfItems gives us the current number of items value in the store.
We display this information in the view in the line <h2>Number of items in Cart: {state.numOfItems}</h2>.
To dig a bit deeper, when a user clicks the Add Item to Cart button, it dispatches the addItem() action creator. This, in turn, returns an action object with type type: ADD_ITEM.
As mentioned in my previous tutorial, when an action is dispatched, all the reducers become active.
Currently in this example we have only one reducer – cartReducer. So it becomes active and listens to the action dispatched.
As shown in step 5, the reducer takes the state and the action as input, switches on the action type and returns the fresh new instance of the updated state.
In this example, when the action with type: ADD_ITEM matches the first switch case, it first makes a copy of the entire state using the spread operator ...state. Then it makes the necessary update – which in the case of adding items is numOfItems: state.numOfItems + 1 (that is increasing the numOfItems by 1).
Similarly, using the same logic, on clicking on the Remove Item from Cart button, an action with type type: DELETE_ITEM is dispatched which goes and decreases the numOfItems by 1.
Here is the demo of the working app:
Notice how we were able to control the behavior of the Remove Item from Cart button based on the value of numOfItems in the Redux store. As a negative number of items does not makes sense, we disabled the Remove Item from Cart button if state.numOfItems <= 0.
This way we are able to prevent the user from decreasing the number of items in the cart if its already 0.
This was a basic example to show you how we can control the behavior of various DOM elements based on the internal state of the app.
And there you go! We just finished setting up our first Redux-powered React application. Now you can go ahead and create various other components based on your requirements and share a common global state among them.
GitHub Repo
Here's the GitHub repo of the project so you can examine the full source code if you like: GitHub repo
Summary
In this article, we learned how to quickly spin up a Redux-powered React application.
Along the way, we learned how to:
- Create actions, action creators, reducers, and the store
- Provide the store to the app using
<Provider> - Read/ access the store from components using the
useSelectorhook and display the state information in the UI - Dispatch the actions on user events such as button clicks, using the
useDispatchhook - Control the DOM elements' behavior with logic based on the state of the application
- We learnt what are the disadvantages of in-efficient state management and multiple level of prop drilling
Additional Resources
Here are some additional resources that you can look into to learn more about Redux
Wrapping Up
Thanks for reading! I really hope you enjoyed reading about how to spin up a Redux-powered React application and found this tutorial useful.
Do consider sharing it with your friends, as I'd really appreciate that. Follow me on LinkedIn and Twitter and stay tuned for more amazing content! Peace out! 🖖