

In this video course I show you how to build three popular games using the latest game development library for JavaScript called Kaboom.js.
This course is exciting for two reasons:
First of all, I am going to be introducing a new technology designed especially for game development in JavaScript.
And second, I am going to be using this technology to walk you through how to create some classic games like Super Mario Bros, Zelda, and Space Invaders, step by step.
What is Kaboom.js?
So before we get to all that, let’s start with the first reason that this course is exciting – the new technology.
Kaboom.js is a JavaScript library that helps you make games fast. We are going to be using this library to simplify creating scenes, adding layers, creating sprites, dealing with actions and collisions, adding key events, debugging and much more.
This simplicity allows you to get into the world of game development at a low barrier of entry. It also gets you coding without being disheartened after trying to wade through pages and pages of documentation – which is common in the game development process we see today.
What We Will Be Covering in this Course
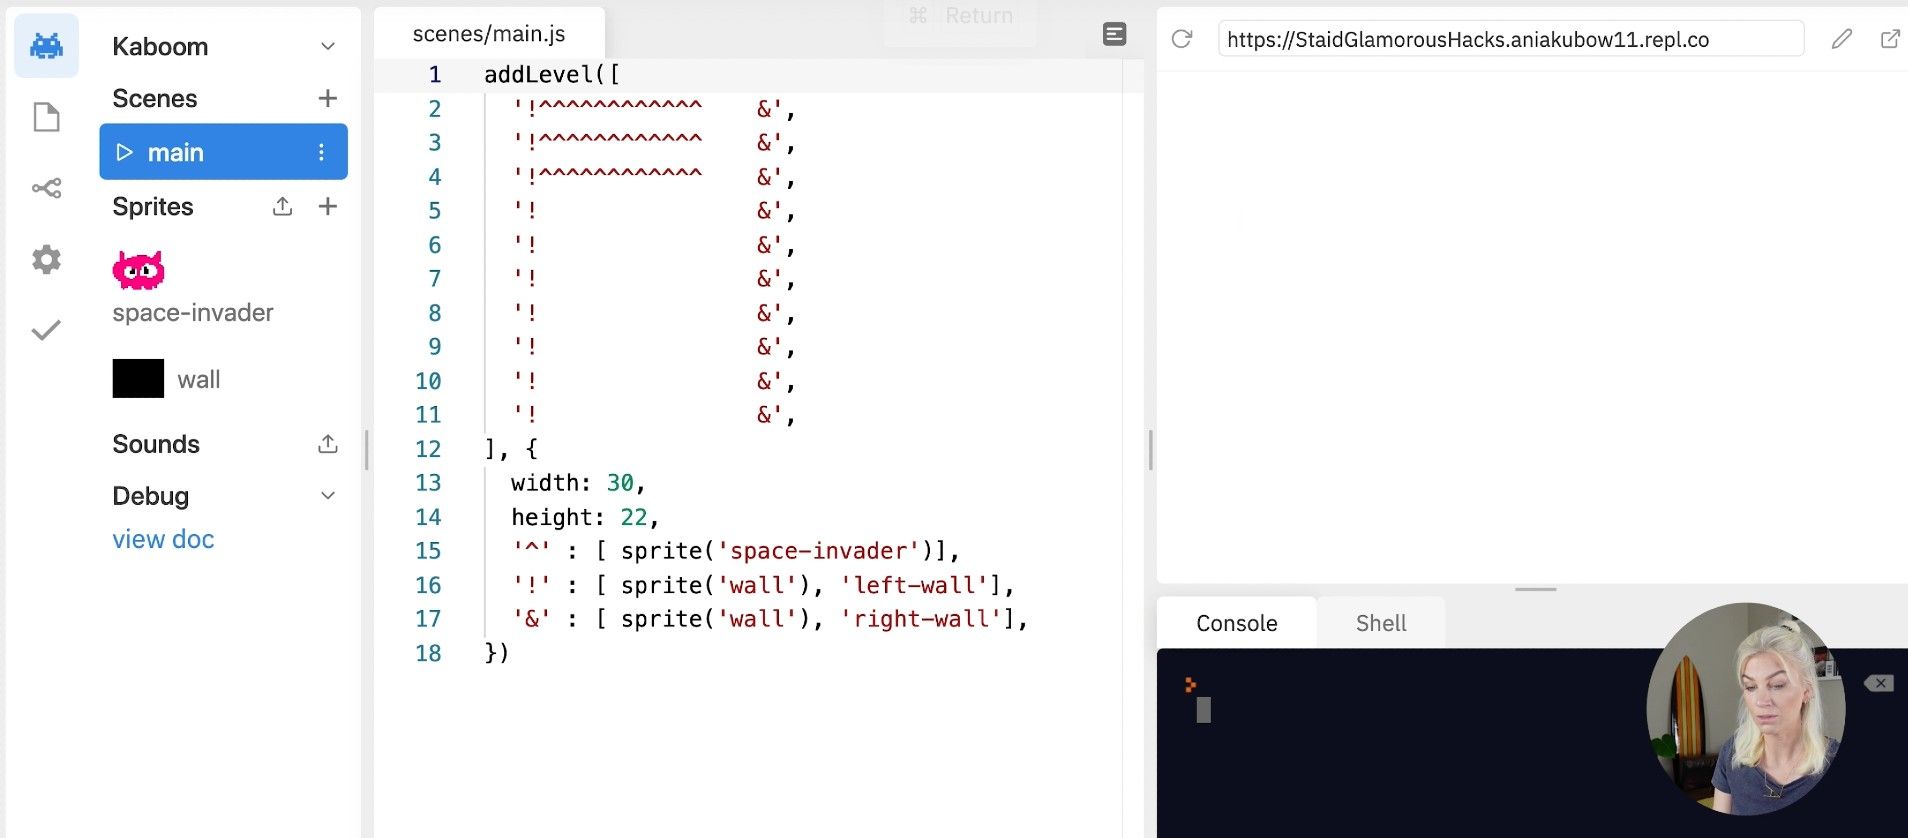
In this course I will show you how to code a generic game using the Kaboom.js methods in a pre-configured environment. We will then move onto creating a game of Space Invaders, followed by Super Mario Bros, in the same pre-configured environment.
After we finish both of these games, we will be building Zelda completely from scratch. We will end with a section about where you can share your games with one another, as well as how to use Kaboom.js in VS Code.
Now that we have covered that, let's get to setting up an environment and getting through some Kaboom.js basics so you can then dive into the full video course! We will be covering these in the video too, so if you get stuck, please refer to the video course for help.
How to Use the Replit Kaboom.js Environment
To get coding straight away, we will be using the Kaboom.js environment on Replit. This environment will save us from having to write the Kaboom lifecycle methods, such as initialising Kaboom or adding scenes.
It will also allow us to create sprites directly in the environment itself.
![]()
If you would like to know how to set up Kaboom.js from scratch in your code editor of choice, there is a short section dedicated to this at the end of the course.
For now, please head over to Replit and create your first Kaboom.js environment now by clicking here.
How to Use Kaboom.js – The Basics
For this course, we will be using Kaboom.js version 0.5.0.
In this section I am going to go over the basic concepts and methods of Kaboom.js. I am going to show you how to add sprites, move our sprites, deal with collisions, as well as show you all the other things we can do with it.
Once we have the basics, we will be using this knowledge to create our three games. And we'll learn a bunch more along the way.
Now, I don't advise you to skip sections of this course. I laid out the chapters so that you'll build on the knowledge you gain throughout each section.
The only prerequisite you need to have is a basic understanding of the fundamentals of JavaScript before starting this course. But, if you are feeling adventurous, please do have a go at following along anyway.
Like I said, this library aims to make JavaScript coding a whole lot easier by providing a layer of ‘shortcuts’, if you will, to create games.
How to Add Layers
Once you have initialised a game in Kaboom, you have the option to add layers. The layers will prevent your sprites colliding with elements you put on the background layer or UI layer, for example.
In the example below I have defined three layers, with the obj layer, being the default.
layers([
    "bg",
    "obj",
    "ui",
], "obj")
How to Add Sprites
Next, let's add a sprite. To do this, simply create a sprite directly in the Replit Kaboom.js environment by clicking the dropdown button under the word 'Sprite' in the left hand tool bar. Use the visual below for guidance, or refer to the video course.
![]()
Once you've created a sprite, use the add Kaboom method, followed by the sprite Kaboom method, and pass through the name of what you called your sprite as a string.
In this case, I have named my sprite 'player'. Make sure to assign it to a const so you can re-use it later.
const player = add([
    sprite("player"),
])
How to Move a Sprite
Next let's move the sprite. By using the Kaboom method of keyDown and passing through a string for the key pressed, as well as a function, I can call that function each time I press the specified key. I would then use the move Kaboom method on the player to move it by passing through an X and a Y axis.
In my example below, the X axis is 100 and the Y is 0. This means that our player will move to the right on our game board each time I press down on the right arrow key.
keyDown('right', () => {
    player.move(100,0)
})
How to Add Text
We can also choose to add text to our game. For example, I can choose to add some text that displays the score.
At the moment, it is hardcoded to the string 0. By using the Kaboom method layer, I can make sure this text is on the ui layer we created earlier. That way it will not interfere with my sprites.
const score = add([
    text("0"),
    layer("ui"),
])
How to Deal with Collisions
There are many ways to deal with collisions using Kaboom.js. One way is to grab the player and use the Kaboom method collides.
In the example below, if my player collides with any sprite with the tag of 'dangerous', it will be destroyed thanks to the destroy Kaboom method.
player.collides('dangerous', () => {
    destroy(player)
})
Let's go!
Okay, now that we have covered the basics, let's get started with the course!
This course was made possible through a grant from Replit.