
If your screen is too bright, it can give you eye problems – especially if you sit in front of a computer coding all day.
This is because a too-bright screen can cause eye strain and fatigue, which can lead to headaches and other maladies.
If you're a regular computer user, eye health is critical for optimal performance. So in this article, I will show you 5 different ways to change your screen's brightness on Windows 10 computers.
How to Change Brightness Settings in Windows 10 Action Center
The quickest way to turn down or adjust your screen brightness is in the Action Center.
To change the screen brightness, click the Notification icon at the very right side of the taskbar. You will get access to a slider with which you can increase and decrease your screen brightness.
If you don’t see the slider appear immediately, click on “expand” to reveal it.
How to Change Brightness Settings in Windows Mobility Center
Another quick way to change your screen brightness is to do it in the Windows Mobility Center.
There are several ways to get there. One is by right-clicking on your battery meter and selecting “Windows Mobility Center”. Another is by right-clicking on the Start menu (Windows logo) and then selecting “Mobility Center”.
The first tab you will see is a slider for adjusting the screen brightness to any level you want.
How to Change Brightness Settings in Windows 10 Settings
You can also adjust your brightness in the settings menu.
Step 1: Click on the Start menu (The Windows icon)
Step 2: Click on Settings
Step 3: Open up System, then click Display
Step 4: Right under Brightness and Color, use the slider to adjust Screen Brightness to the level that suits you. Sliding to the left turns down screen brightness, and right turns it up.
If you like to use a keyboard shortcut, press and hold Windows + I to launch Settings, then click display to get access to the slider for increasing and decreasing screen brightness.
How to Change Brightness Settings Automatically According to Battery Life
This is a good idea both for your eyes and for your computer. Windows 10 has a feature that allows you to turn down screen brightness when your battery life is at/below a certain percentage.
To do this, follow the steps below:
Step 1: Click on Start, Settings, and then System. Or simply press and hold Win + I.
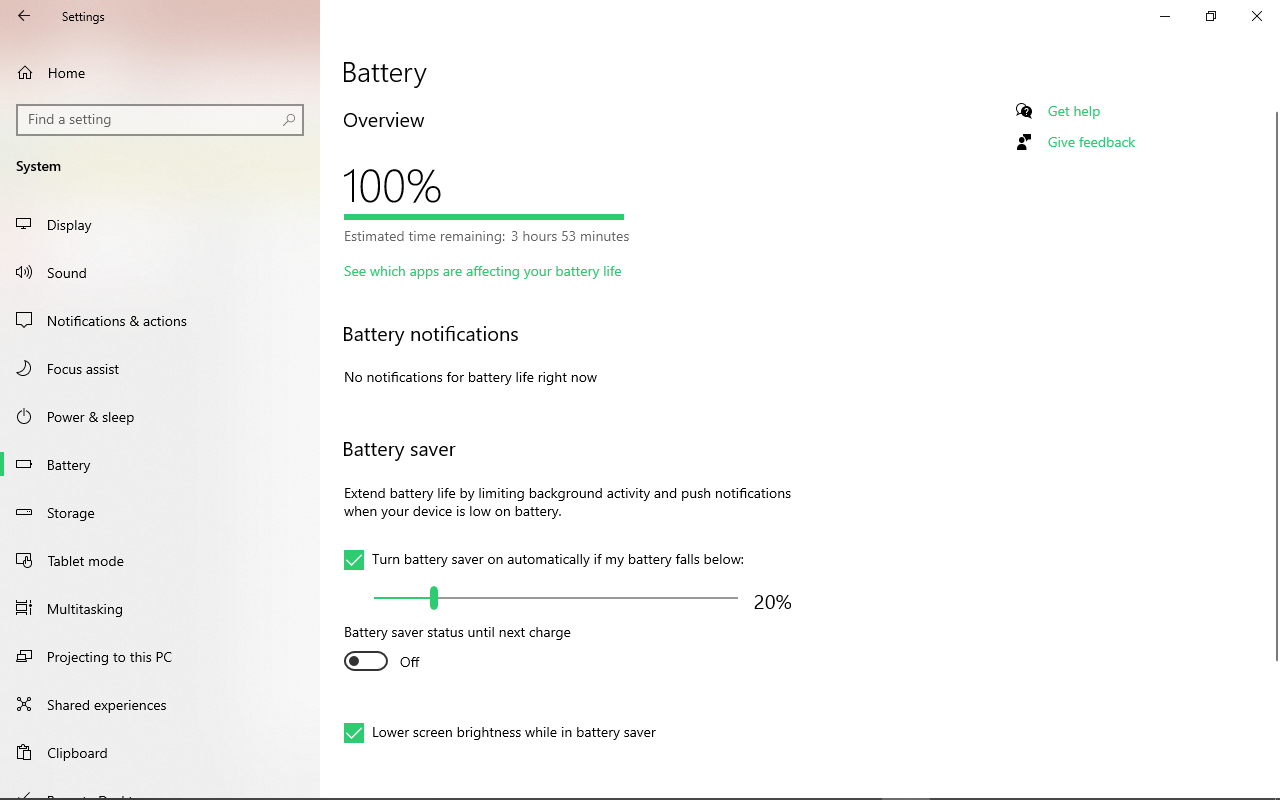
Step 2: Click on Battery
Step 3: Under Battery Saver, check “Turn battery saver on automatically if my battery falls below:”
Step 4: Use the slider to select the percentage at which you want the battery saver to be turned on
Step 5: Check Lower screen brightness while in battery saver
How to Change Screen Brightness with a Keyboard Shortcut
Most keyboards have shortcuts for decreasing or increasing screen brightness, especially if you are using a laptop.
The two keys usually have a sun icon with an arrow pointing down to turn down brightness, and another arrow pointing up to turn up the brightness. Some don't have arrows at all, just the sun icon.
The most common keyboard shortcut combinations are the function key (fn) + the designated key for turning down the brightness or turning it up.
Apart from the 5 methods I shared above, you can automatically adjust brightness according to ambient (surrounding) brightness, but not all Windows 10 computers can do this.
To get access to this feature, open up settings, click on system, and then display. If you are able to see “Change brightness automatically when lighting changes”, then your computer has the sensor that can detect ambient lighting. If you don't see it, then your computer doesn’t have access to this feature.
Wrapping Up
I hope this article helps you get familiar with the various ways you can turn down your Windows 10 computer brightness. This will help you protect your eyes and perform better in your job.
Thank you for reading and have a nice time.