
Automated chatbots are quite useful for stimulating interactions. We can create chatbots for Slack, Discord, and other platforms.
In this article, I'll teach you how to build a Telegram chatbot that will tell you your horoscope. So, let’s get started!
How to Get Your Bot Token
To set up a new bot, you will need to talk to BotFather. No, he’s not a person – he’s also a bot, and he's the boss of all the Telegram bots.
- Search for @botfather in Telegram.
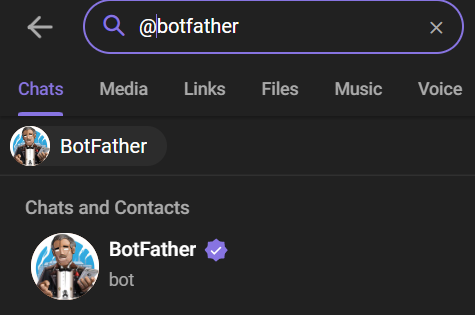 BotFather Telegram Bot
- Start a conversation with BotFather by clicking on the Start button.
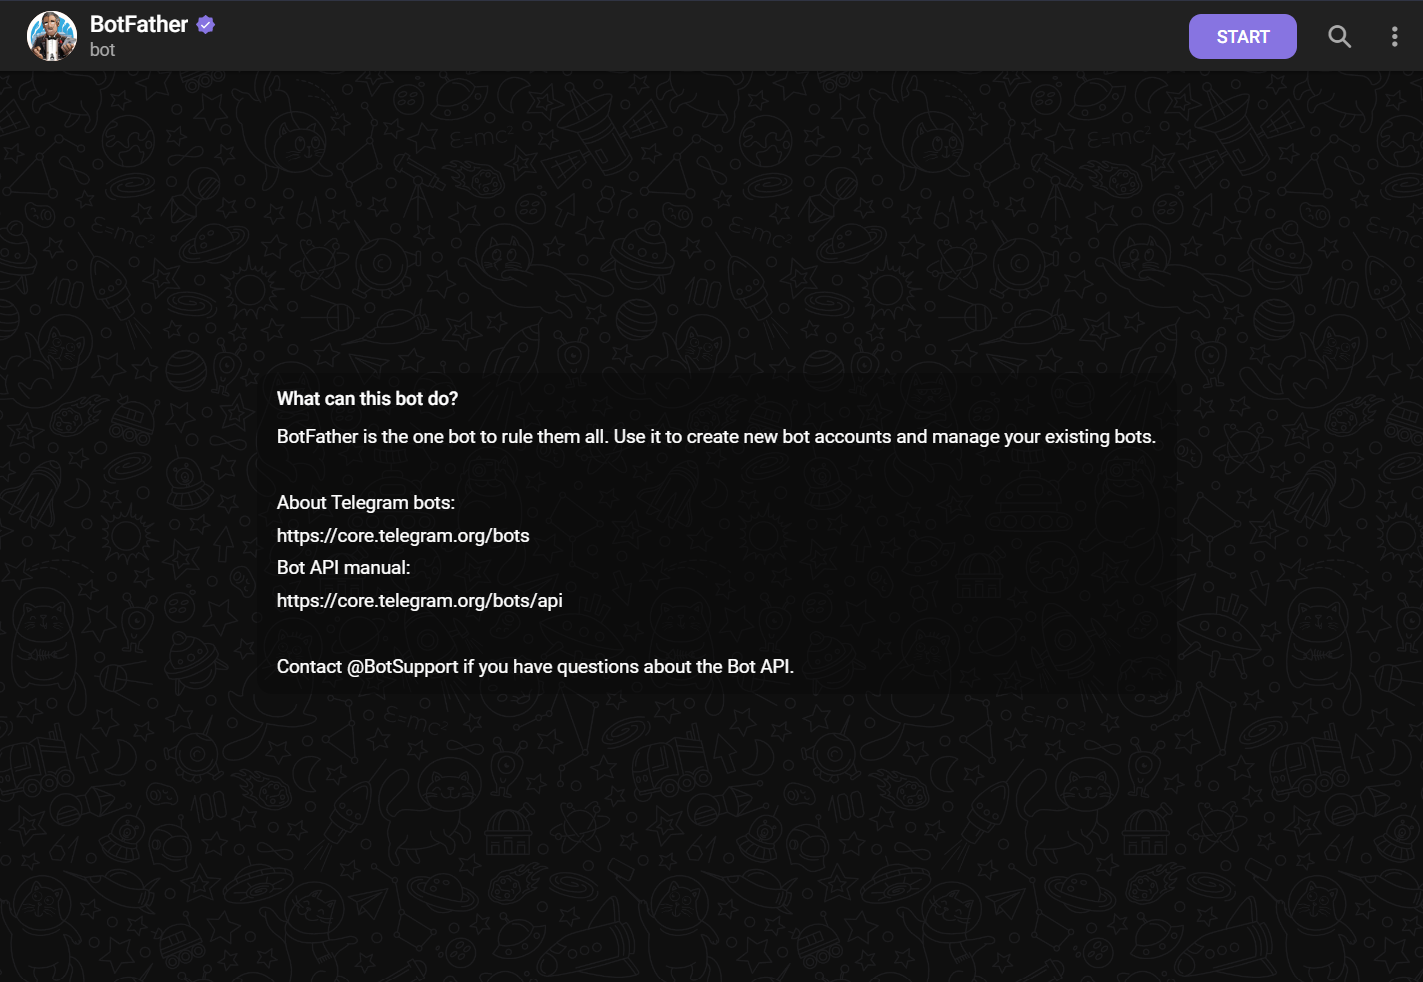 Click on Start Button
- Type
/newbot, and follow the prompts to set up a new bot. The BotFather will give you a token that you will use to authenticate your bot and grant it access to the Telegram API.
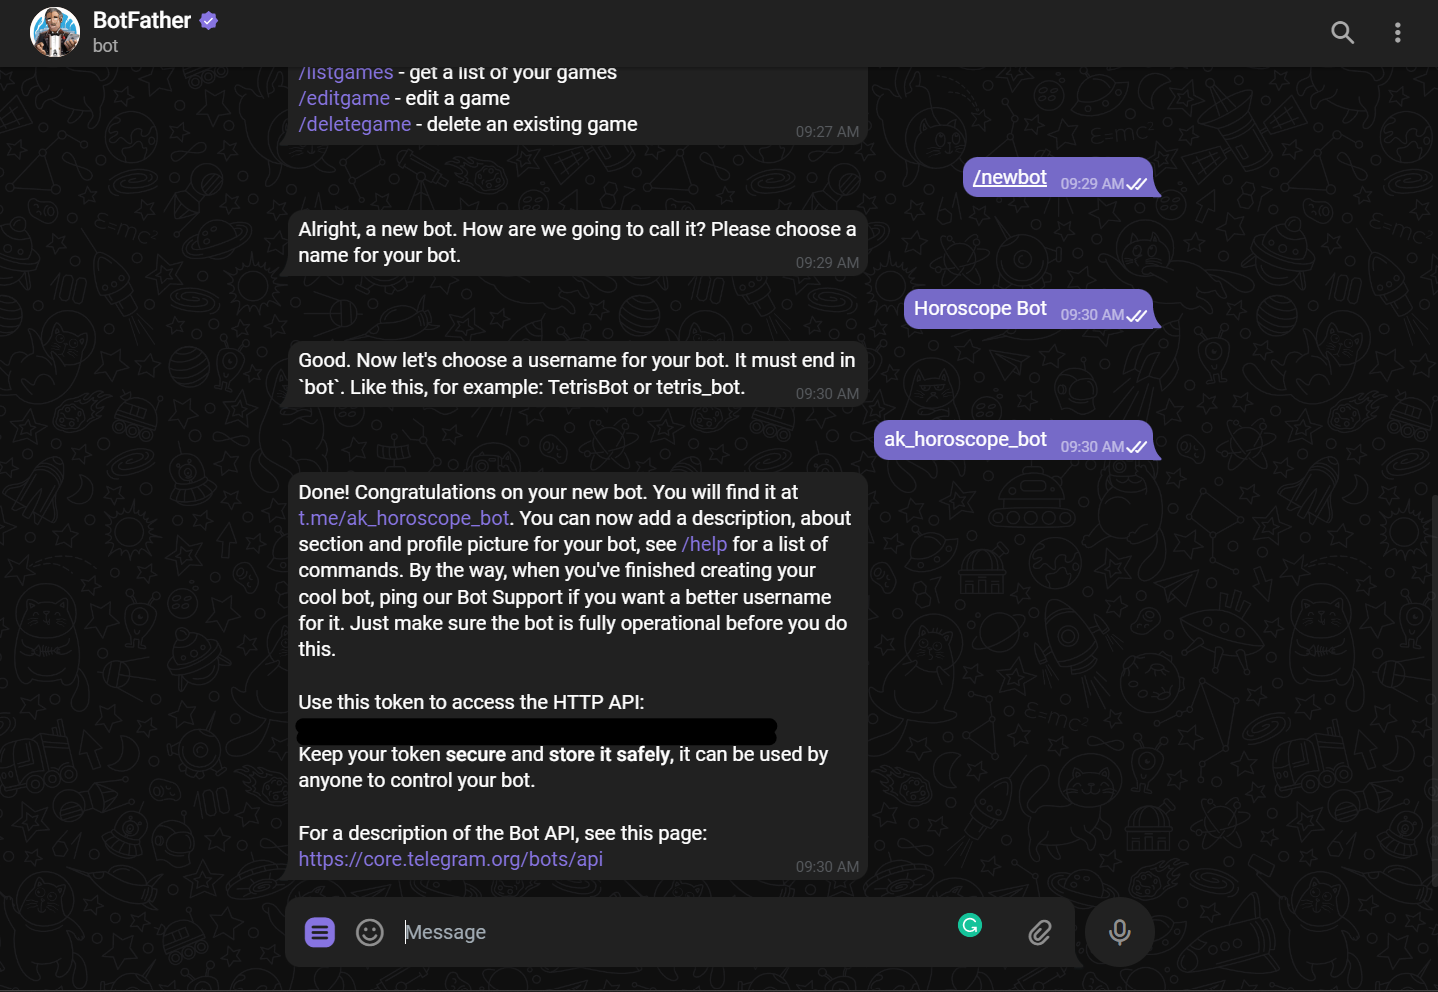 Getting access token
Note: Make sure you store the token securely. Anyone with your token access can easily manipulate your bot.
How to Set Up Your Coding Environment
Let’s set up the coding environment. While there are various libraries available to create a Telegram bot, we’ll use the pyTelegramBotAPI library. It is a simple but extensible Python implementation for the Telegram Bot API with both synchronous and asynchronous capabilities.
Install the pyTelegramBotAPI library using pip:
pip install pyTelegramBotAPI
Next, open your favorite code editor and create a .env file to store your token as below:
export BOT_TOKEN=your-bot-token-here
After that, run the source .env command to read the environment variables from the .env file.
How to Create Your First Bot
All the API implementations are stored in a single class called TeleBot. It offers many ways to listen for incoming messages as well as functions like send_message(), send_document(), and others to send messages.
Create a new bot.py file and paste the following code there:
import os

import telebot

BOT_TOKEN = os.environ.get('BOT_TOKEN')

bot = telebot.TeleBot(BOT_TOKEN)
In the above code, we use the os library in order to read the environment variables stored in our system.
If you remember, we exported an environment variable called BOT_TOKEN in the previous step. The value of BOT_TOKEN is read in a variable called BOT_TOKEN. Further, we use the TeleBot class to create a bot instance and passed the BOT_TOKEN to it.
We then need to register message handlers. These message handlers contain filters that a message must pass. If a message passes the filter, the decorated function is called and the incoming message is supplied as an argument.
Let's define a message handler that handles incoming /start and /hello commands.
@bot.message_handler(commands=['start', 'hello'])
def send_welcome(message):
    bot.reply_to(message, "Howdy, how are you doing?")
Any name is acceptable for a function that is decorated by a message handler, but it can only have one parameter (the message).
Let’s add another handler that echoes all incoming text messages back to the sender.
@bot.message_handler(func=lambda msg: True)
def echo_all(message):
    bot.reply_to(message, message.text)
The above code uses a lambda expression to test a message. Since we need to echo all the messages, we always return True from the lambda function.
You now have a simple bot that responds to the /start and /hello commands with a static message and echoes all the other sent messages. Add the following to the end of your file to launch the bot:
bot.infinity_polling()
That’s it! We have a Telegram bot ready. Let’s run the Python file and go to Telegram to test the bot.
Search for the bot using its username if you’re unable to find it. You can test it by sending the commands like /hello and /start and other random texts.
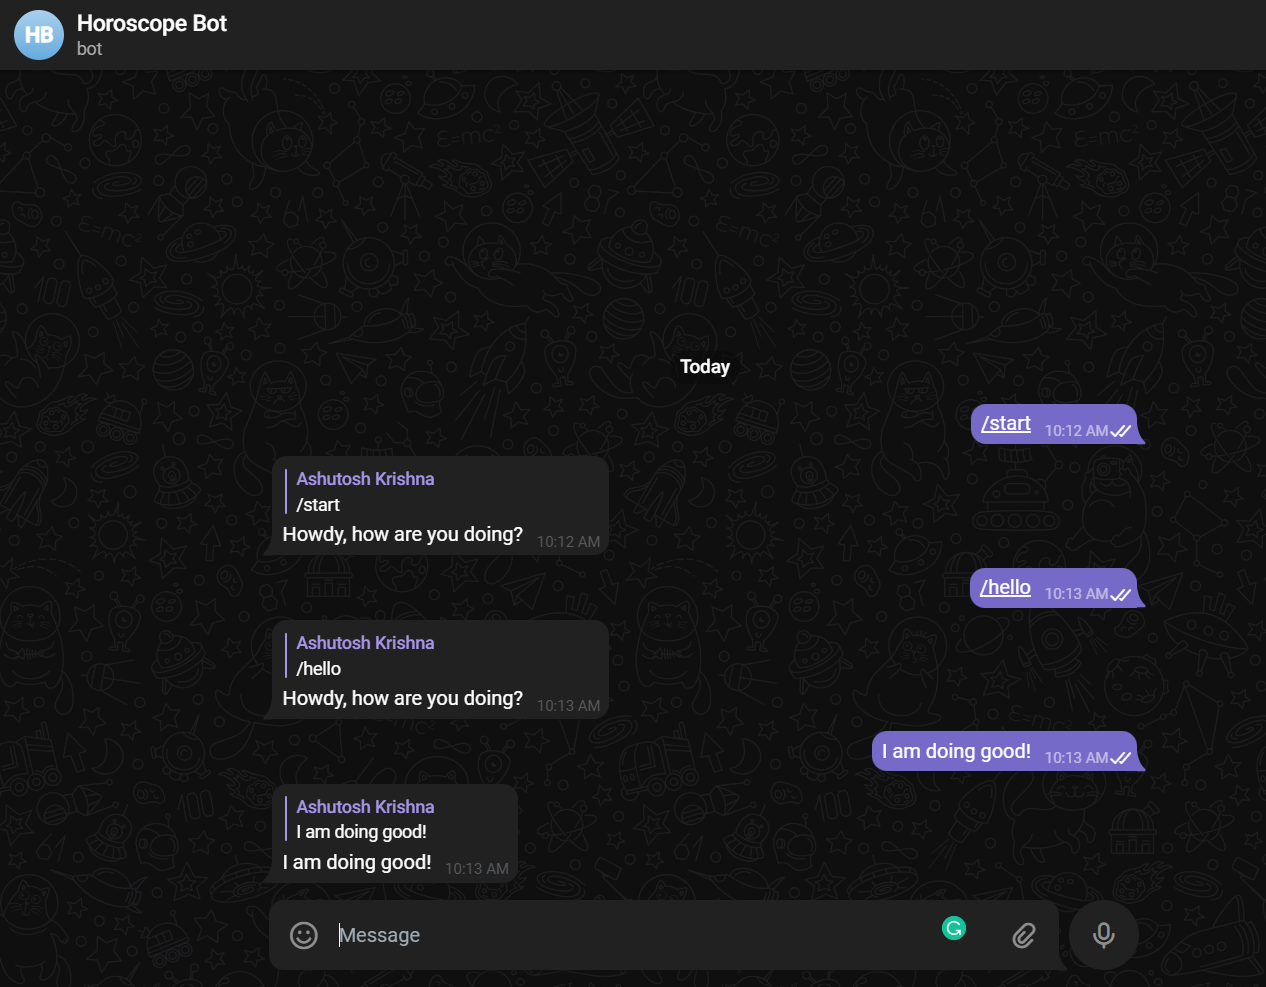 Testing the bot
Note: All the message handlers are tested in the order in which they were declared in the source file.
For more information on using the pyTelegramBotAPI library, you can refer to their documentation.
How to Code the Horoscope Bot
Let’s shift our attention to building our Horoscope Bot now. We will use message chaining in the bot. The bot will first ask for your zodiac sign, and then the day, and then it will respond with the horoscope for that particular day.
Under the hood, the bot interacts with an API to get the horoscope data.
We are going to use the Horoscope API that I built in another tutorial. If you wish to learn how to build one, you can go through this tutorial. Make sure you explore the APIs here before getting started.
How to fetch the horoscope data
Let’s create a utility function to fetch the horoscope data for a particular day.
import requests

def get_daily_horoscope(sign: str, day: str) -> dict:
    """Get daily horoscope for a zodiac sign.
    Keyword arguments:
    sign:str - Zodiac sign
    day:str - Date in format (YYYY-MM-DD) OR TODAY OR TOMORROW OR YESTERDAY
    Return:dict - JSON data
    """
    url = "https://horoscope-app-api.vercel.app/api/v1/get-horoscope/daily"
    params = {"sign": sign, "day": day}
    response = requests.get(url, params)

    return response.json()
In the above Python code, we created a function that accepts two string arguments – sign and day – and returns JSON data. We send a GET request on the API URL and pass sign and day as the query parameters.
If you test the function, you will get an output similar to below:
{
   "data":{
      "date": "Dec 15, 2022",
      "horoscope_data": "Lie low during the day and try not to get caught up in the frivolous verbiage that dominates the waking hours. After sundown, feel free to speak your mind. You may notice that there is a sober tone and restrictive sensation today that leaves you feeling like you will never be able to break free from your current situation. Don't get caught in this negative mindset."
   },
   "status": 200,
   "success": true
}
Note: You can explore more about the requests library in Python in this tutorial.
How to add a message handler
Now that we have a function that returns the horoscope data, let’s create a message handler in our bot that asks for the zodiac sign of the user.
@bot.message_handler(commands=['horoscope'])
def sign_handler(message):
    text = "What's your zodiac sign?\nChoose one: *Aries*, *Taurus*, *Gemini*, *Cancer,* *Leo*, *Virgo*, *Libra*, *Scorpio*, *Sagittarius*, *Capricorn*, *Aquarius*, and *Pisces*."
    sent_msg = bot.send_message(message.chat.id, text, parse_mode="Markdown")
    bot.register_next_step_handler(sent_msg, day_handler)
The above function is a bit different from the other functions we defined earlier. The bot’s horoscope functionality will be invoked by the /horoscope command. We are sending a text message to the user, but notice that we have set the parse_mode to Markdown while sending the message.
Since we’ll use message chaining, we used the register_next_step_handler() method. This method accepts two parameters: the message sent by the user and the callback function which should be called after the message. Thus, we pass the sent_msg variable and a new day_handler function that we’ll define next.
Let’s define the day_handler() function that accepts the message.
def day_handler(message):
    sign = message.text
    text = "What day do you want to know?\nChoose one: *TODAY*, *TOMORROW*, *YESTERDAY*, or a date in format YYYY-MM-DD."
    sent_msg = bot.send_message(
        message.chat.id, text, parse_mode="Markdown")
    bot.register_next_step_handler(
        sent_msg, fetch_horoscope, sign.capitalize())
We fetch the zodiac sign from the message.text attribute. Similar to the previous function, it also asks the day for which you want to know the horoscope.
In the end, we use the same register_next_step_handler() method and pass the sent_msg, the fetch_horoscope callback function, and the sign.
Let’s now define the fetch_horoscope() function that accepts the message and the sign.
def fetch_horoscope(message, sign):
    day = message.text
    horoscope = get_daily_horoscope(sign, day)
    data = horoscope["data"]
    horoscope_message = f'*Horoscope:* {data["horoscope_data"]}\\n*Sign:* {sign}\\n*Day:* {data["date"]}'
    bot.send_message(message.chat.id, "Here's your horoscope!")
    bot.send_message(message.chat.id, horoscope_message, parse_mode="Markdown")
This is the final function where we get the sign from the function parameter and the day from the message.text attribute.
Next, we fetch the horoscope using the get_daily_horoscope() function and construct our message. In the end, we send the message with the horoscope data.
Bot Demo
Once you run the Python file, you can test this functionality. Here’s the demo:
Recommended Next Steps
As of now, the bot stops working as soon as we stop our Python application. In order to make it run always, you can deploy the bot on platforms like Heroku, Render, and so on.
Here's a link to the GitHub repo for this project - feel free to check it out.
You can also add more functionalities to the bot by exploring the Telegram APIs.