By Ridwan Yusuf
Hi, friends, and welcome to another tutorial. We'll be talking about RabbitMQ, a tool that is widely used as a message broker in distributed and Pub-Sub systems.
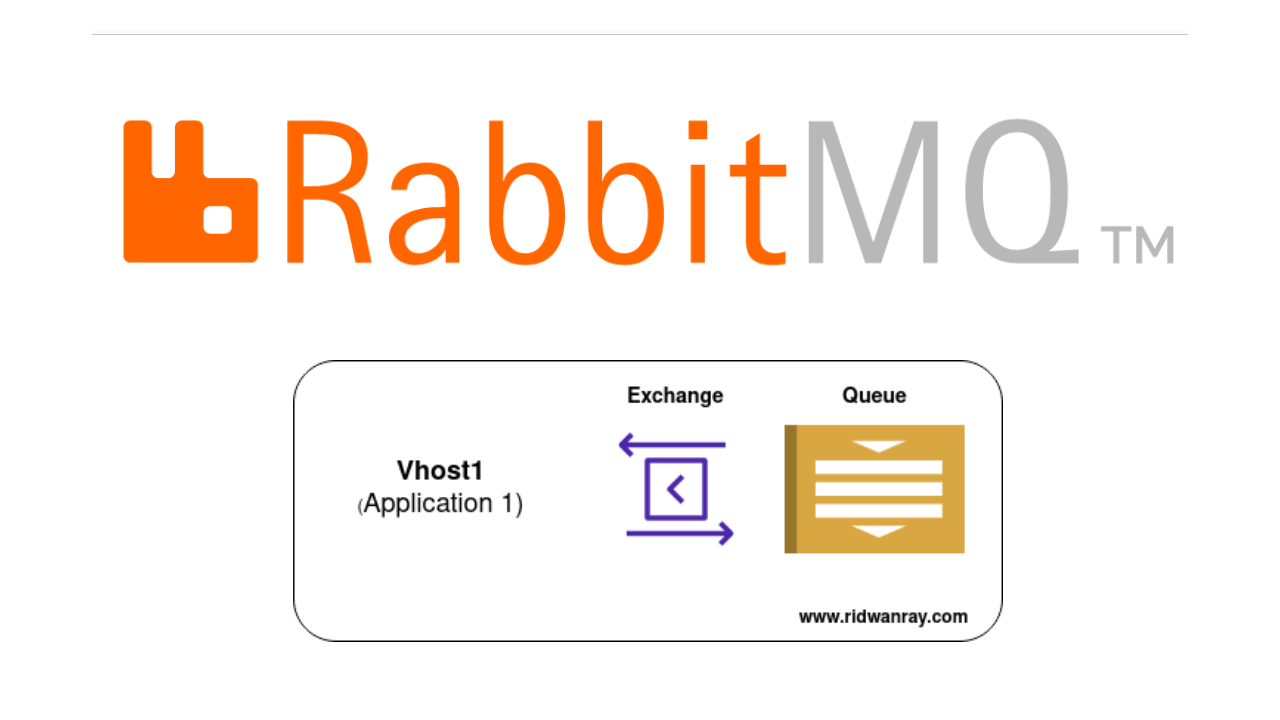
While multiple applications can share a single RabbitMQ instance, it's a great approach to configure it to have different virtual hosts for each application.
One practical usage in a Python application is using it as a Celery broker URL or simply as a message queue.
One benefit of this is that it saves the costs that comes with spinning up multiple instances of RabbitMQ. Creating RabbitMQ virtual hosts is similar both locally and when running in a self-managed solution such as AWS RabbitMQ
By the end of this guide, you will be able to:
- Create multiple virtual hosts for a single RabbitMQ instance.
- Test the connections using the correct credentials, that is user, password, and virtual host.
Prerequisites to follow along:
- Ensure you have Docker and Docker Compose installed, or
- Have a self-managed RabbitMQ instance from AWS, CloudAMQP, or any other service provider
Without any delay, let’s get started
How to Run a RabbitMQ Instance Locally
To keep things simple, we are going to run the RabbitMQ instance in a Docker container.
Create a file named docker-compose.yml and update it with the following content:
docker-compose.yml
version: "3.8"
services:
  rabbitmq:
    image: rabbitmq:3.8-management-alpine
    container_name: 'rabbitmq_test'
    environment:
      - RABBITMQ_DEFAULT_USER=sampleuser
      - RABBITMQ_DEFAULT_PASS=samplepassword
    ports:
        - 5672:5672
        - 15672:15672
    volumes:
      - ~/.docker-conf/rabbitmq/data/:/var/lib/rabbitmq/
      - ~/.docker-conf/rabbitmq/log/:/var/log/rabbitmq
To start the container, run this command in the terminal:
docker-compose up
Once the container is up and running, access the GUI by visiting this link: http://localhost:15672/
 RabbitMQ GUI login page
Use the credentials specified in the docker-compose file to gain access to the dashboard – “sampleuser” and “samplepassword” in my case.
Note: If you are using a self-managed RabbitMQ instance from AWS or CloudAMQP, the RabbitMQ connection string will look similar to this:
amqps://ausername:apassword@32wewjijiokkoo.mq.eu-west-3.amazonaws.com:5671
To access the RabbitMQ admin dashboard, follow these steps:
- Visit the URL using the HTTPS protocol: https://32wewjijiokkoo.mq.eu-west-3.amazonaws.com
- Remove the username, password, and port from the URL.
- After accessing the URL, the system will prompt you to enter the username and password specified in the RabbitMQ connection string (“ausername” and “apassword” in this case). Provide these credentials to log in to the admin dashboard.
How to Create a Virtual Host
Once you are logged in, click on the ‘Admin’ tab, and then navigate to the ‘Virtual Hosts’ tab as shown in the image below.
 RabbitMQ Virtualhost tab
Click on ‘Add a new virtual host’, and provide it with an appropriate name. Finally, click on the ‘Add virtual host’ button to create the new virtual host.
 New Virtual Host created
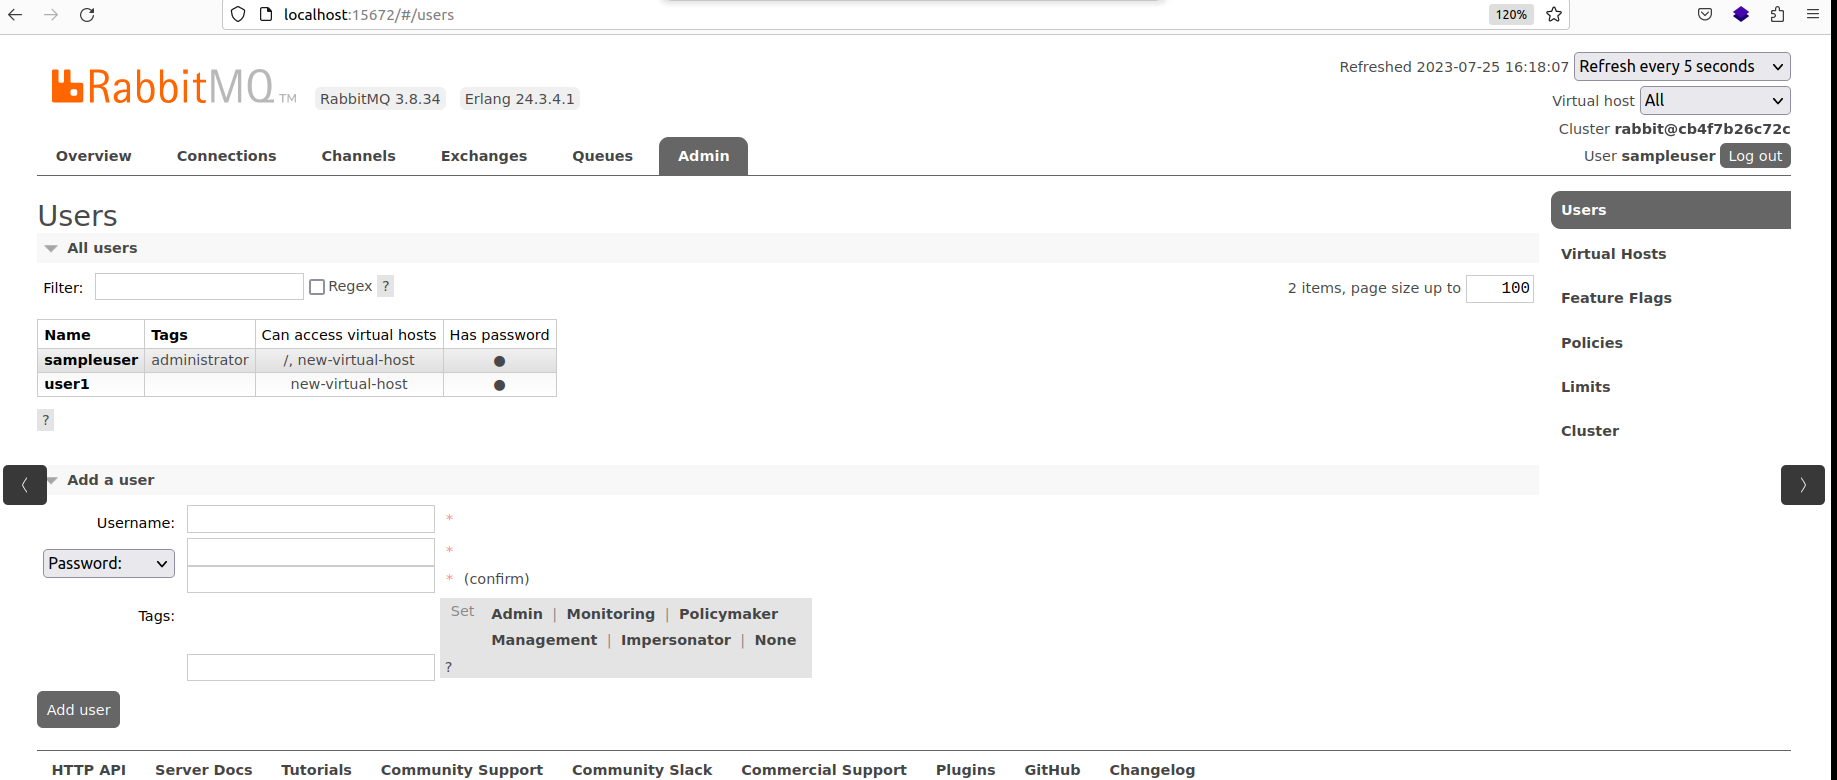
How to Create a New User
On the Users tab, click on the ‘Add a user’ toggle. Specify a Username and Password for the new user. If you wish, you may grant the user access to the Admin (GUI) interface. Finally, click on the ‘Add user’ button to create the new user.
 Create a new user
How to Assign the New User to the Created Virtual Host (Vhost)
On the Users tab, locate and click on the previously created user, which was named ‘user1’ in my case.
 New user in users list
For the new user, choose the virtual host as ‘new-virtual-host’, and then click the ‘Set permission’ button. This grants the user access to the specified virtual host. To confirm this, go back to the Users tab and verify that the user now appears with access to the ‘new-virtual-host'
 Assign new user to the created virtual host
By now, the new user 'user1' has been configured to access the vhost 'new-virtual-host'.
 New user assigned to the created virtual host
How to Test the Connection for the New User and Vhost
To test if the new user can access the new vhost, you can use the following sample Python script. Once everything is working correctly, you can use the URL string to connect to the RabbitMQ broker in any application.
_testrabbit.py
import pika

def test_rabbitmq_url(url):

    try:
        params = pika.URLParameters(url)
        connection = pika.BlockingConnection(params)
        connection.close()
        print("Connection successful!")

    except pika.exceptions.AMQPError as e:
        print("Connection failed:", e)

test_rabbitmq_url('amqp://user1:password@localhost:5672/new-virtual-host')
Note how we have specified the RabbitMQ URL: it has the username as “user1” and password as “password9,” while the virtual host is named ‘new-virtual-host.’
Remember to install pika by running pip install pika on the command line.
To run this script on the terminal, enter the following command:
python test_rabbit.py
 Successfully connected to RabbitMQ
This indicates a successful connection to the RabbitMQ instance.
Change the password in the utility function to an incorrect one, and you should see an outcome similar to this:
 Connection to RabbitMQ failed
Wrapping Up
In conclusion, creating multiple virtual hosts on a single RabbitMQ instance can significantly enhance your message queue management capabilities.
By effectively segregating applications and resources, you ensure better organization, security, and scalability. With the step-by-step guide provided in this article, you now have the knowledge to harness the full potential of RabbitMQ
Thanks for reading, and I hope you enjoyed the article.
For more interesting content and tips, please feel free to check out my video collection on YouTube and consider hitting the subscribe button.
You can also find me on LinkedIn.