

What is Live2D?
Live2D is a technology that allows artists to easily transform traditional 2D illustrations to create fluid expressions and motions.
The most popular software for Live2D modeling and animation is Cubism, which also provides well-documented SDK for web, native apps, and the Unity game development engine.
In this tutorial, I will walk you through how to build on top of Cubism's official Live2D Web SDK sample and deploy it to Heroku, a popular cloud app-hosting platform.
How to Set Up the Environment
To follow along with this tutorial, clone my GitHub repo and checkout the start branch. The finished project is on the develop branch.
I've also recorded a video tutorial on YouTube.
git clone https://github.com/RuolinZheng08/heroku-live2d.git
git checkout start

# update the submodule, Cubism's Live2d Web Framework
git submodule update --init
Install Node.js and npm using Homebrew:
# if you need to install homebrew
/bin/bash -c "$(curl -fsSL https://raw.githubusercontent.com/Homebrew/install/HEAD/install.sh)"

# homebrew will install node and npm at the same time
brew install node
I'll be using Visual Studio Code as my main IDE, but you may follow along using any editor of your choice.
How to Run the Starter Code Locally
The directory structure is as follows. Our web app will be served from Samples/TypeScript/Demo.
.
├─ .vscode          # Visual Studio Code project setting
├─ Core             # Live2D Cubism Core JavaScript and TypeScript source code
├─ Framework        #  Source code for the rendering and animation features
└─ Samples
   ├─ Resources     # Live2D model files and web image assets
   └─ TypeScript    # [IMPORTANT] TypeScript sample project
Inside the heroku-live2d directory, run the following commands:
cd Samples/TypeScript/Demo/

npm install

npm run-script build

npm run-script serve
Navigate to http://localhost:5000/Samples/TypeScript/Demo/ and you should be able to see a Live2D character.
To interact with the model, hold down your mouse cursor and the character's head and eyes will follow your cursor. Tap on the body of the character to see a special animation. Tap on the gear icon in the top right corner to switch between different models.
Mark from Samples/Resources/Mark
How to Deploy to Heroku
The starter code uses npm, TypeScript, and webpack.
To deploy our project to Heroku, we need to create a package.json file that Heroku can use to build our project in our project root directory. We also need to modify Samples/TypeScript/Demo/package.json and the webpack configuration in Samples/TypeScript/Demo/webpack.config.js.
Top-level package.json
The boilerplate package.json for a Node.js Heroku app looks like this:
{
    "name": "heroku-live2d",
    "description": "Live2D Cubism Heroku Demo",
    "scripts": {
        "start": ...,
        "build": ...
    },
    "dependencies": {
        ...
    }
}
Inspect the dependencies and devDependencies attributes in Samples/TypeScript/Demo/package.json and add both sets of dependencies as dependencies to heroku-live2d/package.json.
Remember that when building and serving locally, we used npm run-script [build|serve] from inside the Samples/TypeScript/Demo directory.
Therefore, to run these npm commands from the project root, we need to prepend cd Samples/TypeScript/Demo before the npm commands. The build command, for example, will become:
cd Samples/TypeScript/Demo && npm run-script build
With these changes, the top-level package.json should look like this:
{
    "name": "heroku-live2d",
    "description": "Live2D Cubism Heroku Demo",
    "scripts": {
        "start": "cd Samples/TypeScript/Demo && npm run-script start",
        "build": "cd Samples/TypeScript/Demo && npm run-script build"
    },
    "dependencies": {
        "@typescript-eslint/eslint-plugin": "^2.18.0",
        "@typescript-eslint/parser": "^2.18.0",
        "eslint": "^6.8.0",
        "eslint-config-prettier": "^6.10.0",
        "eslint-plugin-prettier": "^3.1.2",
        "prettier": "^1.19.1",
        "rimraf": "^3.0.1",
        "serve": "^11.3.0",
        "ts-loader": "^6.2.1",
        "typescript": "^3.7.5",
        "webpack": "^4.41.5",
        "webpack-cli": "^3.3.10",
        "webpack-dev-server": "^3.10.1",
        "whatwg-fetch": "^3.0.0"
    }
}
Samples/TypeScript/Demo/package.json
On localhost, we were running on port 5000. However, Heroku will dynamically assign our web app a port stored in a variable $PORT. Therefore, we need the npm run-script start command inside Samples/TypeScript/Demo/package.json to start the webpack server on port $PORT.
Append to scripts > start > webpack-dev-server --progress so it looks like this:
"scripts": {
    "start": "webpack-dev-server --progress --port $PORT",
    ...
}
Samples/TypeScript/Demo/webpack.config.js
Add disableHostCheck to the configuration of devServer and remove port since we have configured it dynamically above.
module.exports = {
    ...,
    devServer: {
        contentBase: path.resolve(__dirname, '../../..'),
        watchContentBase: true,
        inline: true,
        hot: true,
        port: 5000, // delete this line
        host: '0.0.0.0',
        disableHostCheck: true, // add this line
        compress: true,
        useLocalIp: true,
        writeToDisk: true
    },
    ...
}
Add watchOptions so that our node_modules won't be watched. If we don't do this, we will run into an error about exceeding the maximum number of watchers when we deploy to Heroku.
module.exports = {
    ...,
    watchOptions: {
        ignored: /node_modules/
    },
    ...
}
Deploy to Heroku
To download the Heroku command line client, run
brew tap heroku/brew && brew install heroku
Log into Heroku from the command line using heroku login.
Create a Heroku app and append some numbers (for example, 123) to the app name to ensure uniqueness.
heroku create heroku-live2d-NUMBERS
Set up Node.js as the buildpack:
heroku buildpacks:set heroku/nodejs
Add and commit your project using git. Note that we don't necessarily need git push:
git add .
git commit -m "Ready to deploy to heroku"
Push the project to Heroku, assuming you are following along on the start branch. You can always check the branch you are on and push from that branch.
# check which branch we are on
git branch

# the syntax is
# git push heroku GIT_BRANCH_NAME:HEROKU_BRANCH_NAME
git push heroku start:master
You may need to wait for a few minutes for the build process to complete.
After that, navigate to YOUR-HEROKU-APP-NAME.herokuapp.com/Samples/TypeScript/Demo. In my case, the URL is https://heroku-live2d.herokuapp.com/Samples/TypeScript/Demo/. The Live2D characters will be there to greet you :)
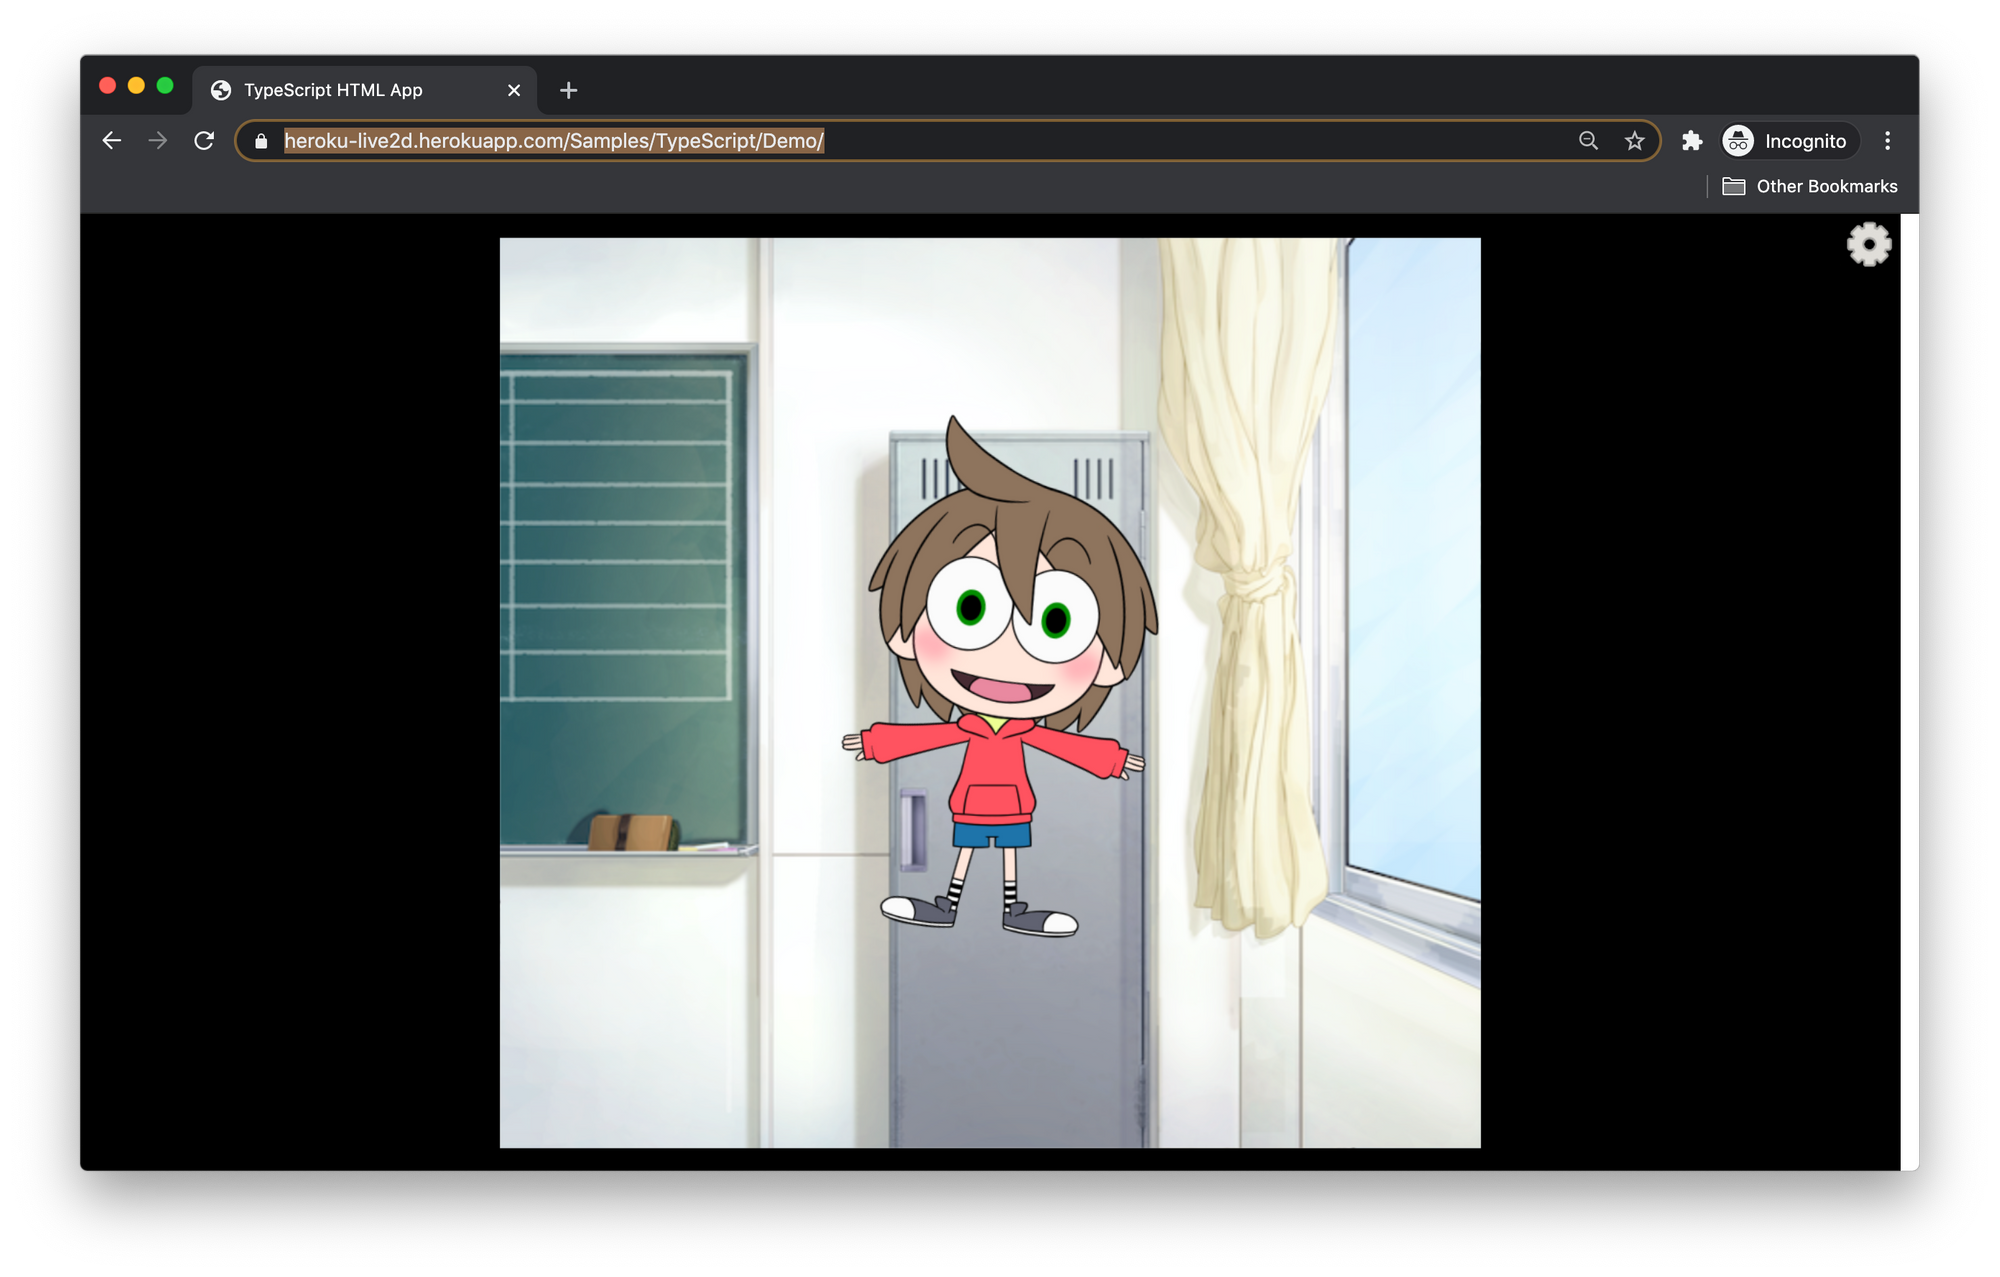
Notice that the highlighted URL is already on Heroku
How to Redirect index.html to Samples/TypeScript/Demo
You might have noticed that YOUR-HEROKU-APP-NAME.herokuapp.com shows a list of the directory structure instead of the Live2D models. We can solve this by adding a dummy top-level index.html that redirects to Samples/TypeScript/Demo.
<!DOCTYPE html>
<html>

<head>
    <title></title>
    <!-- Just a dummy html to redirect to my subdirectory -->
    <meta http-equiv="refresh" content="0; url=Samples/TypeScript/Demo">
</head>

<body>

</body>

</html>
Rerun the deployment command git push heroku start:master. Now when you visit YOUR-HEROKU-APP-NAME.herokuapp.com, you will be automatically redirected to the Live2D model page.
Congratulations on making it to the end of this tutorial! You now have a Live2D Web App deployed to Heroku.
I hope you enjoyed this tutorial. Let's keep in touch! Connect with me on LinkedIn, GitHub, Medium, or check out my personal website.